Legokritor, nästa generation –
Lego crayons, next generation

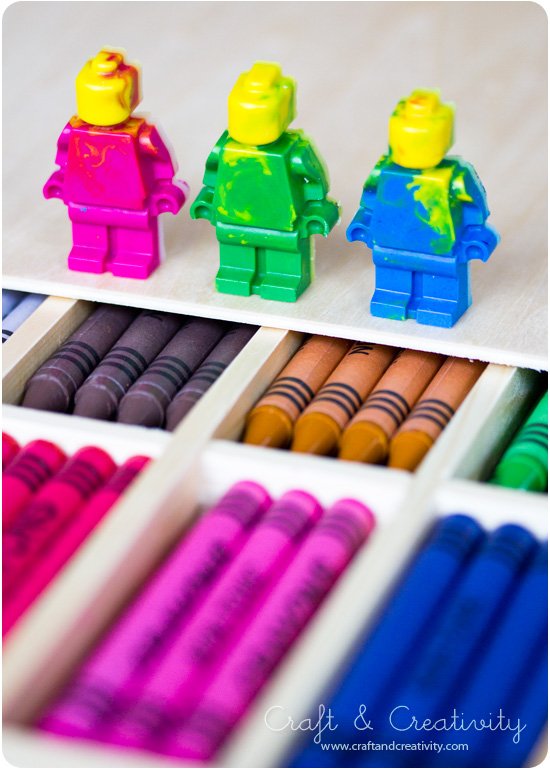
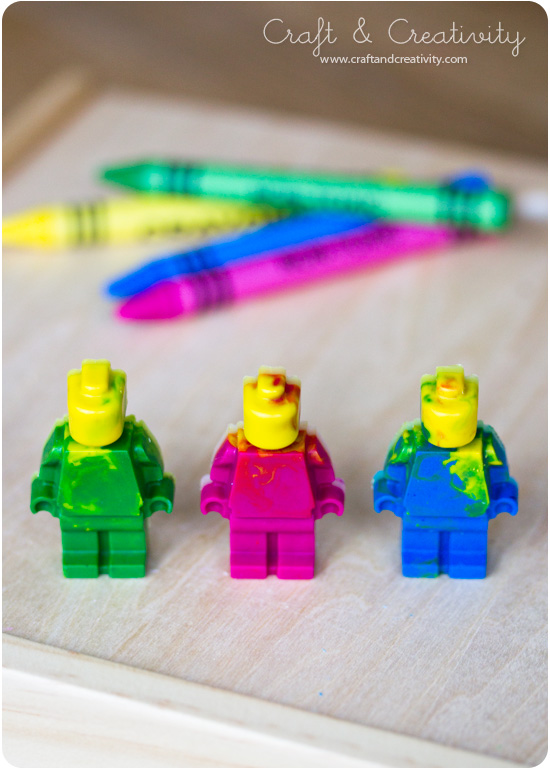
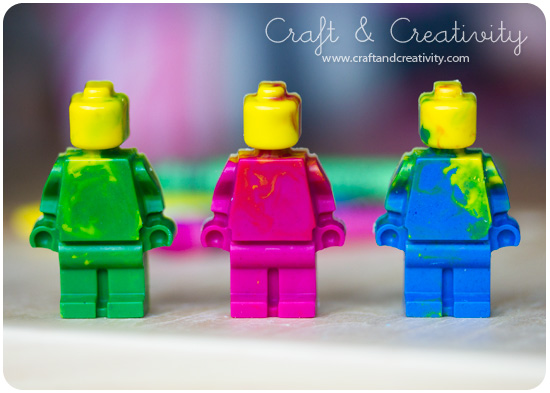
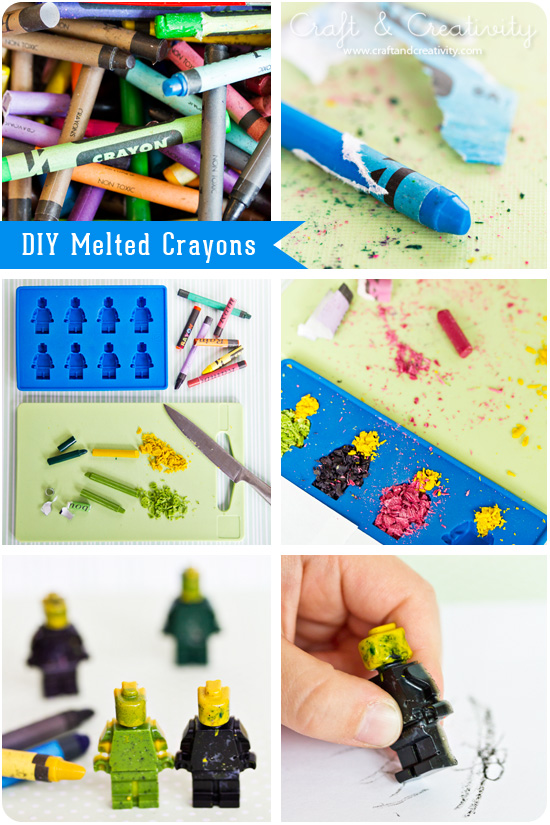
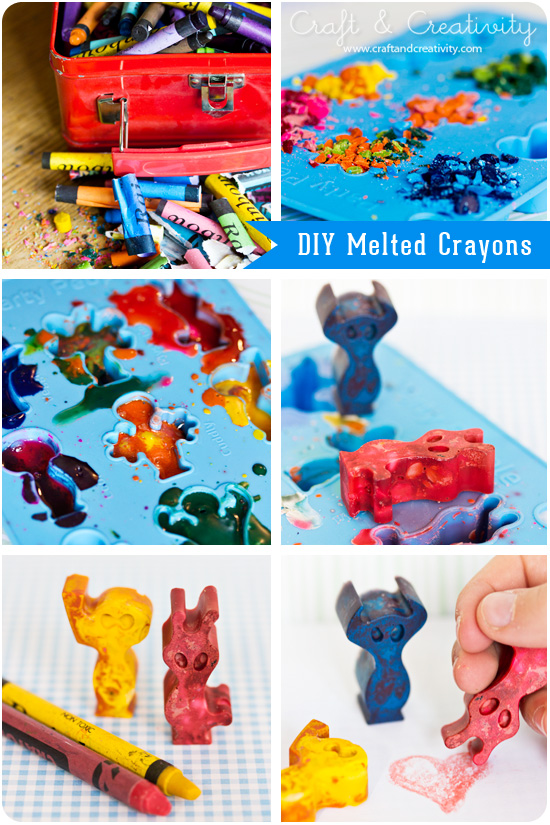
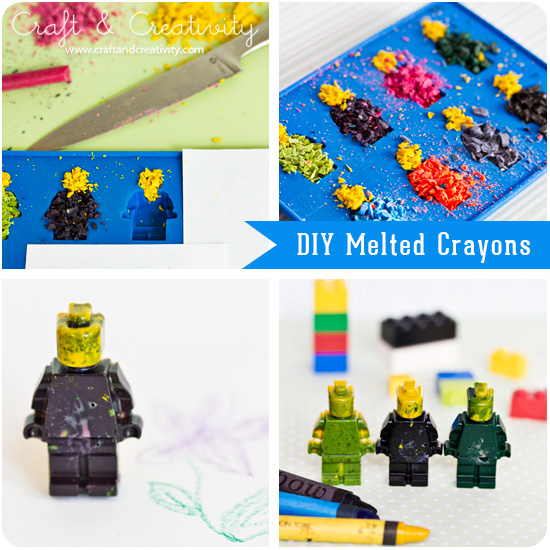
Är man envis så är man. Jag var bara tvungen att testa smälta lite fler kritor och denna gång använda vaxkritor. Det gick så mycket bättre än sist! De smälte snabbare, behöll färgen bättre och ser snyggare ut. /
Stubborn as I am, I just had to try make some more melted crayons and this time use real wax crayons. They turned out much better then last time! They melted faster, retained color better and looks so much nicer. 

Läs mitt förra inlägg om smälta kritor för mer information om hur jag gick tillväga. /
Take a look at my previous melting crayon blog post for a full tutorial.

Uppställda och klara att ritas med! / All set up and ready to be used!

Knappar på ståltråd – Buttons on wire

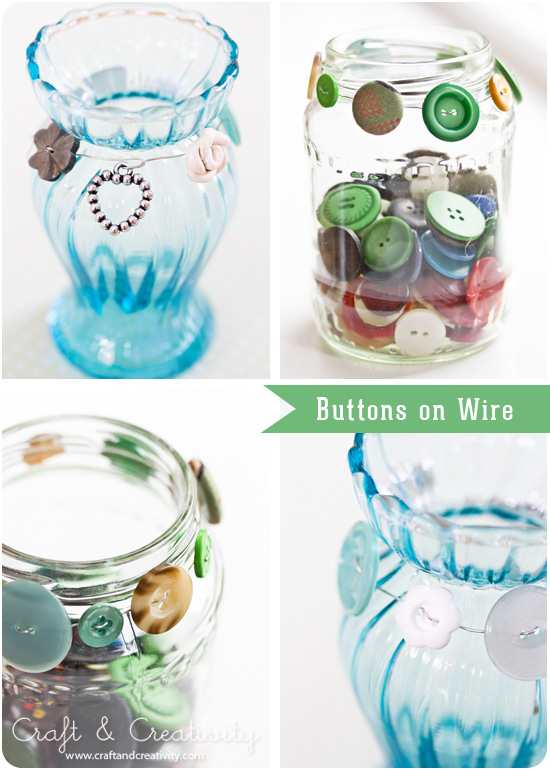
Med ganska små medel kan man piffa upp vardagliga saker hemma och ge dem din egen unika design. Det här kan vara ett sådant exempel. Börja med att samla ihop gamla knappar eller hängen som du har liggande i gömmorna. Det går ofta också att fynda knappar på loppis för en spottstyver. Titta i skåpen och se om du har några gamla glasburkar, vaser eller krukor som skulle passa att piffa till.
—-
With relatively small means you can spice up everyday things in your house and give them your own unique design. This could be one of those examples. Start by collecting old buttons or pendants that you might have lying around. Or for that matter, you can often find buttons at the flea market for a bargain price. Take a look in your cupboards and see if you can find some old glass jars, vases or pots that could use a make-over. 

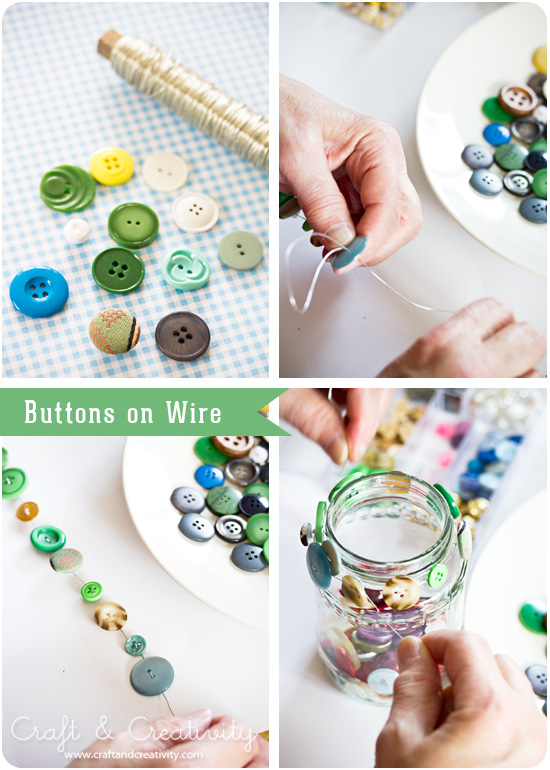
Trä knapparna på en ståltråd och vira dem runt din burk/vas/kruka. Jag valde att ha lite avstånd mellan knapparna. Fäst genom att tvinna ändarna på ståltråden några varv och klipp av överbliven ståltråd med en avbitartång. /
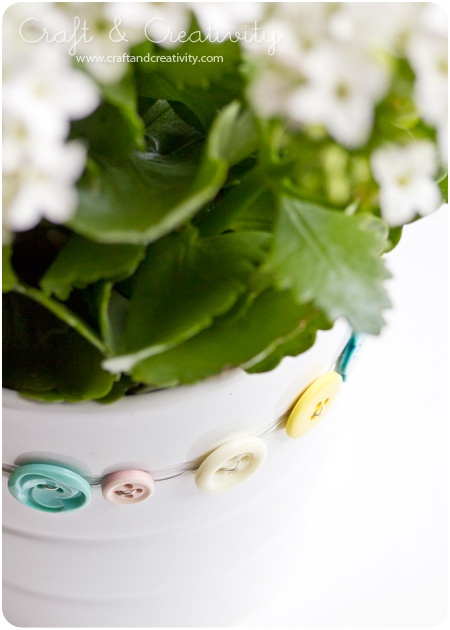
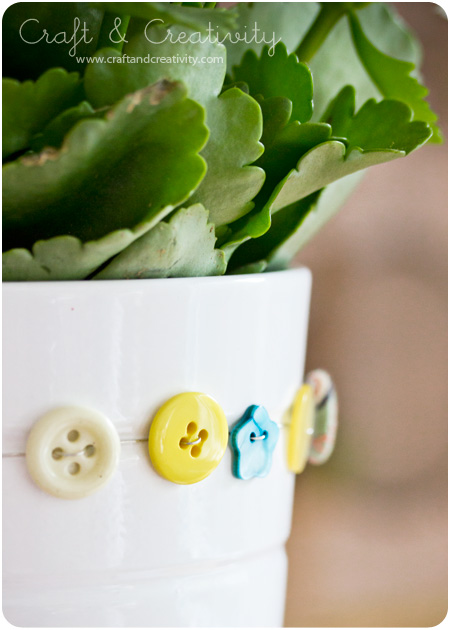
Thread your buttons on craft wire and wrap around your jar / vase / pot. I chose to leave some space between the buttons. Secure by twisting the ends of the wire. Cut off excess wire with wire cutters.

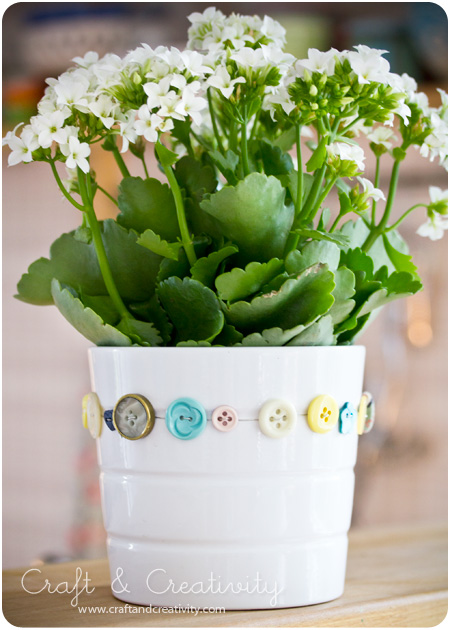
En helt vanlig billig kruka har fått ett nytt utseende. Just den här passade bra eftersom den var skårad och ståltråden hålls därför på plats. Om man har en kruka som är helt slät kan man fästa ståltråden med lite dubbelhäftande tejp på ett par ställen (på baksidan av knapparna). /
An ordinary flower pot with a new twist. This particular pot worked very well since it is carved, and because of that the wire is held in place. If you have a pot that is completely smooth, you can attach the wire with some double-sided adhesive tape (on the back of a few of the buttons). 


Inspirationen till detta pyssel fann jag hos Lady by the Bay. /
I found the inspiration for this craft at Lady by the Bay

Smälta kritor – Melted crayons

Gör så här: Avlägsna allt papper från dina kritor/kritstumpar. Finfördela kritorna med en kniv. Fyll valfri silikonform (eller annan passande ungssäker form) med kritbitarna. Smält i ugnen på ca 200°C i 5-10 min. Passa noga. Får kritorna vara inne för länge i ugnen riskerar de att skikta sig. Bränn dig inte när du tar ut formen ur ugnen! Ett annat tips (som jag läste på Homemade by Jill) är att först smälta kritorna i en tom konservburk i vattenbad och sedan hälla “smeten” i formarna för att stelna.
—–
Do like this: Remove all paper from your crayons / crayon nubs. Cut the crayons into small pieces with a knife. Fill your optional silicone mold (or other suitable oven-safe mold) with the crayon crumbs. Place the mold in the oven at 400°F (200°C) for about 5-10 minutes, until the crayons have melted. Place close attention. Be sure not to burn yourself when removing the mold from the oven! Another tip (which I read at Homemade by Jill) is to first melt the crayons in an empty tin can in water bath and then pour the “batter” into the molds. 

Silikonformen med monster hittade jag på Cervera. Ikea har också roliga varianter för under 10 kr. Isbitsformen med legofigurer har jag köpt på Lego.com (den har jag tidigare använt till att göra choklad-lego-gubbar till barnkalas…).

The monster shaped silicone mold comes from a Swedish retailer called Cervera. Ikea also has molds in fun shapes for a favorable price. I bought the Lego minifigure ice cube tray from Lego.com (I previously used them to make chocolate lego minifigures for the kids’ birthday parties…). 

Tips: Olika kritor fungerar olika bra att smälta, upptäckte jag. Efter att googlat lite så förstod jag att det bör vara kritor av vax. Tänk också på att de ska vara giftfria. Silikonformarna kommer troligen inte gå att använda till is/mat efter att du smält kritor i dem. Mina formar blev dessutom missfärgade. Men barnen blev överlyckliga över sina nya och unika kritor! 🙂

Tip: I discovered that different crayons work differently well to melt. After googling I realized that I should have used only wax crayons. Also keep in mind that they must be non-toxic. I don’t think it’s a good idea to use the molds for ice or food after you’ve melted crayons in them. My mold also got discolored. But the kids are very happy about their new and unique crayons! 🙂

Pyntade småstenar – Decorated pebbles

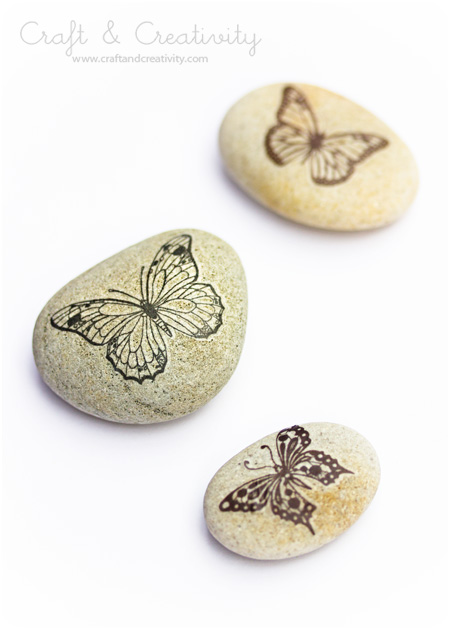
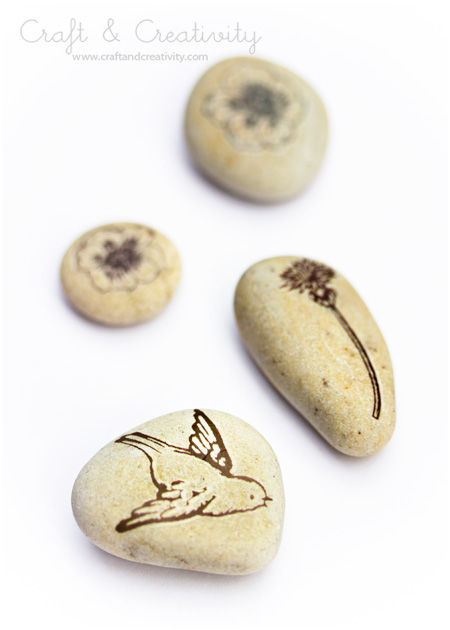
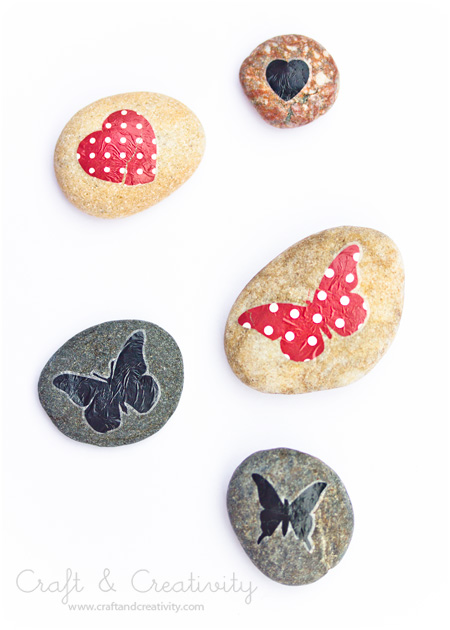
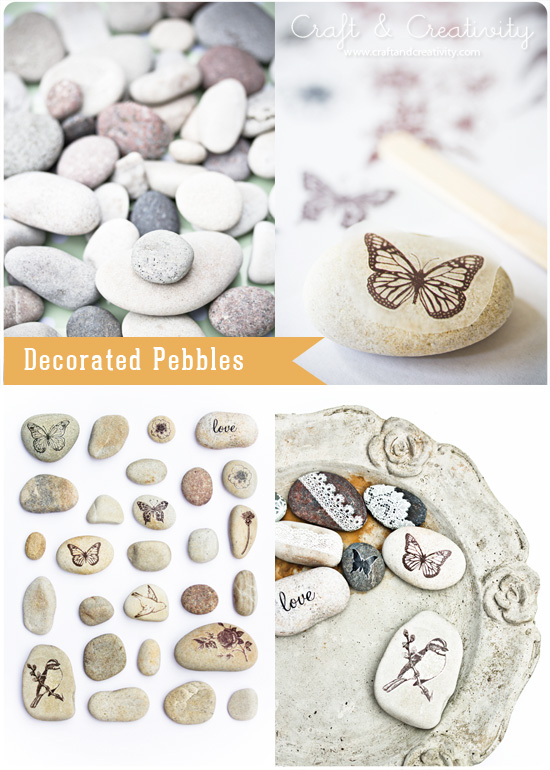
Jag ville göra något mer av de stenar jag plockade på semestern och då kom jag ihåg en pysselidé som jag sett på bloggen GardenMama, nämligen att använda gnuggisar (skrapmotiv/rub-on) på stenarna. Hur enkelt som helst. Gör så här: Klipp ut en gnuggis, gnugga fast den på stenen med en träpinne (t ex glasspinne) eller liknande och sedan är du klar.
—-
I wanted to make something else with the pebbles I picked on our vacation and then I remembered a craft idea that I spotted on GardenMama’s blog. More specifically using transferable images (rub-ons) on stones. It’s as simple as 1-2-3. Do like this: Start by cutting out your rub-on, place the image over your stone, rub with a wooden stick (ice cream stick for example) and your done.


Stenarna får gärna vara så släta som möjligt, då fastnar motiven lätt som en plätt. /
Use as smooth stones as possible, and the images will stick without any hassle. 
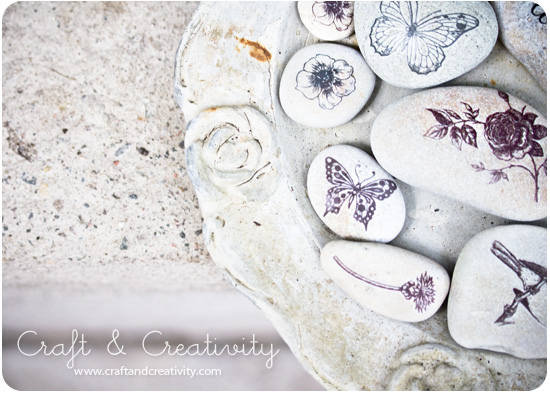
   

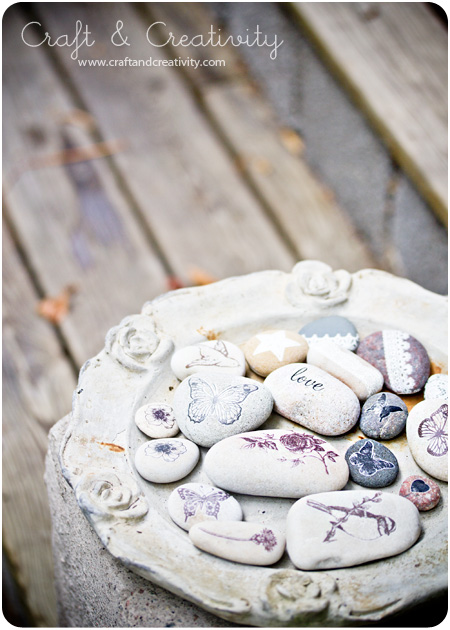
Nu bor dessa dekorativa stenar i vårt växthus. Kanske kommer några av dem bli presenter. Om jag kan skiljas från dem, vill säga. 🙂 /
These decorative stones now reside in our greenhouse. Perhaps some of them will be gifts. If I can part with them, that is. 🙂 
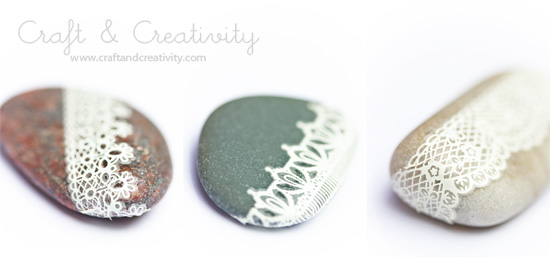
   

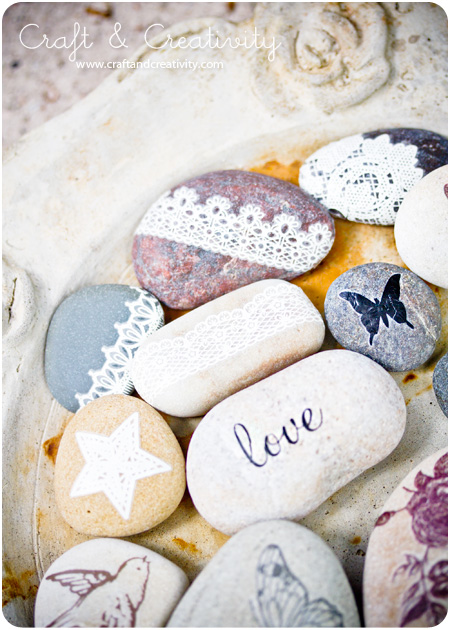
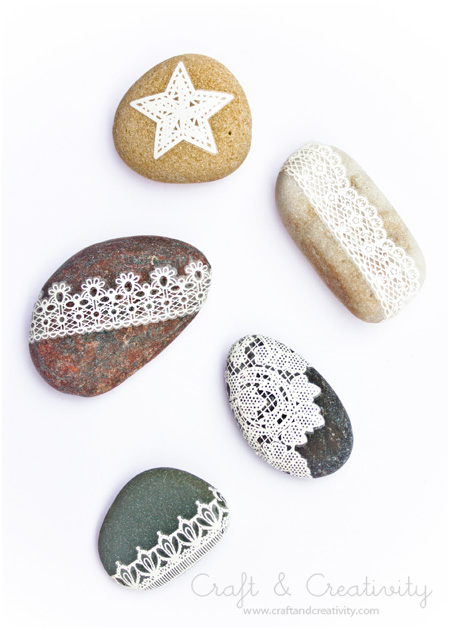
Några andra typer av gnuggismotiv, i färg eller spetsmönster. /
A couple of other types of rub-on motives, in color or lace patterns.
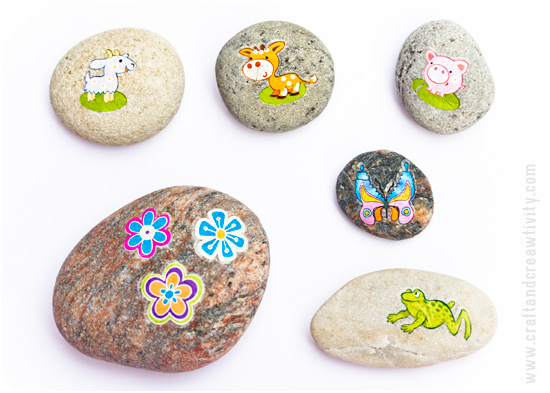
Barnen gjorde några stenar också. Tjejerna var väldigt delaktiga i själva insamlingen av stenarna: “-Mamma, visst var den här stenen rund och fin?”. 🙂
The kids made some stones as well. The girls were very involved in collecting the stones on the beach: “-Mom, isn’t this a nice and round stone?” 🙂
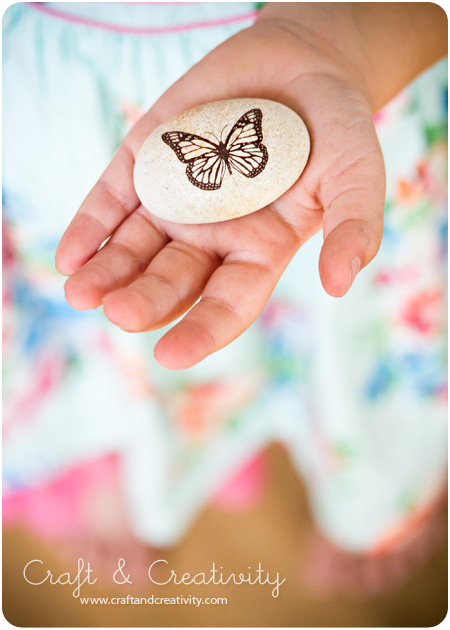
En kombinerad dekoration och reseminne. Plus att de är mysiga att hålla i handen, runda och släta. /
A combined decoration and souvenir. In addition to that, they are really nice to just hold in your hand, round and smooth. 

Slitna jeans blir till shorts –
Turning torn jeans into shorts

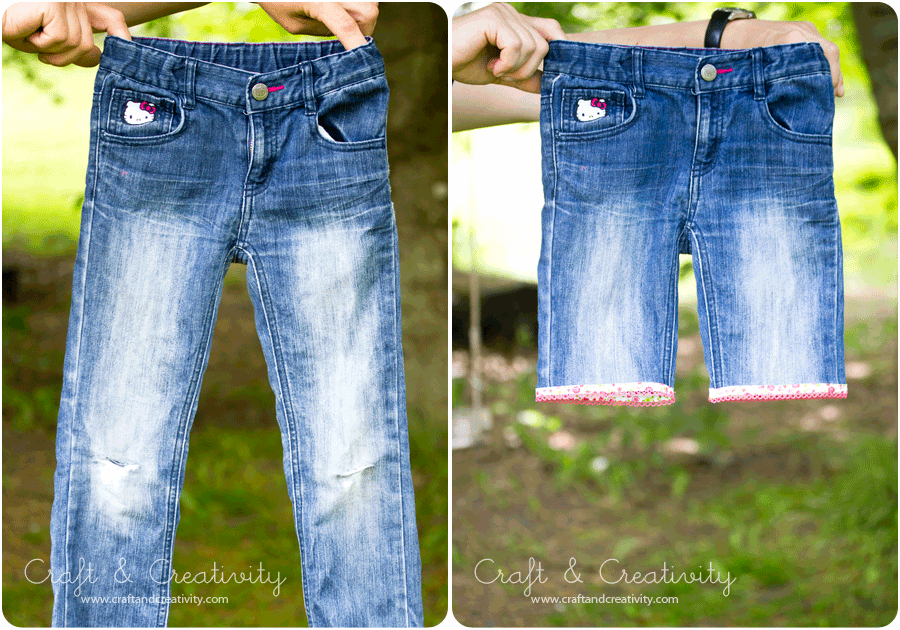
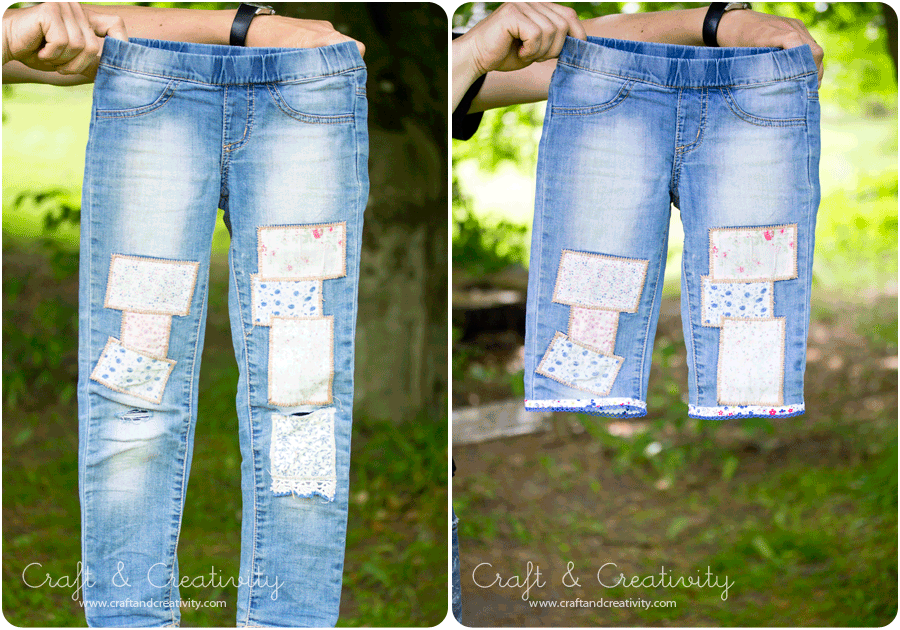
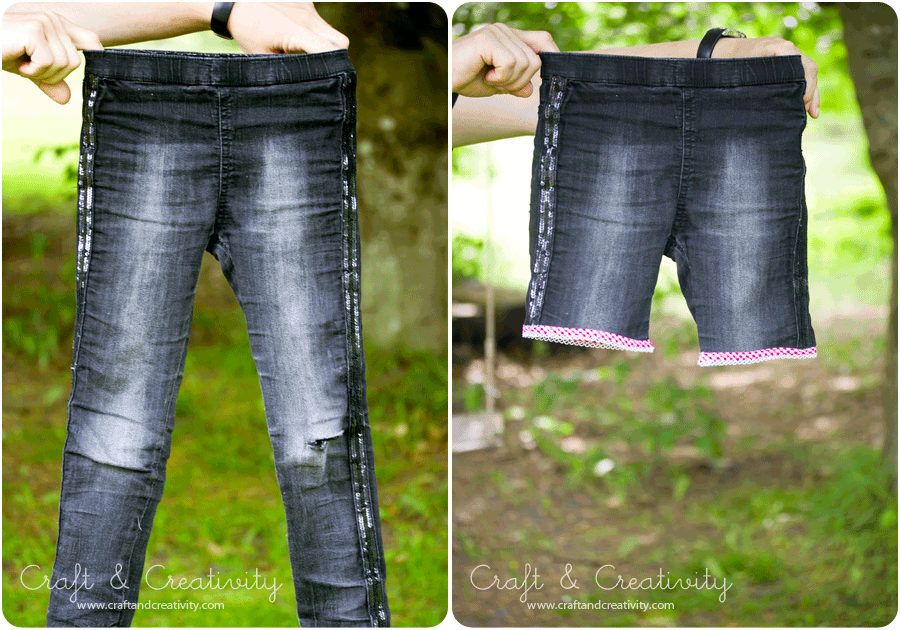
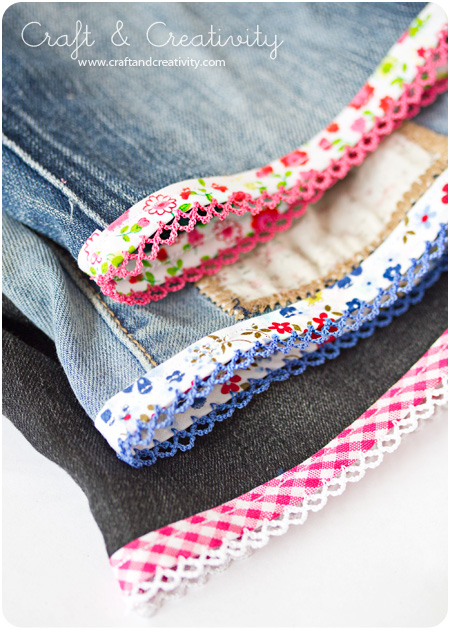
Trasiga jeansknän är något vi råkar ut för ofta här hemma. Att lappa byxor är bland det tråkigaste jag vet och därför blev jag glad när jag kom på tanken att göra shorts av jeansen istället. Jag använde mig av snedslå, dels för att slippa fålla och dels för att få en söt kant. På en timme hade jag fixat till tre par shorts till äldsta dottern. Perfekt inför sommaren!
——
Torn jeans knees is something we encounter frequently in our family. Patching jeans is among the most boring things I know and therefore I was pleased when I came up with the idea to make shorts of the jeans instead. I used bias tape, not only to avoid hemming, but also to get a cute edging. In just one hour I managed to make three pair of shorts for my big girl. Perfect for summer! 

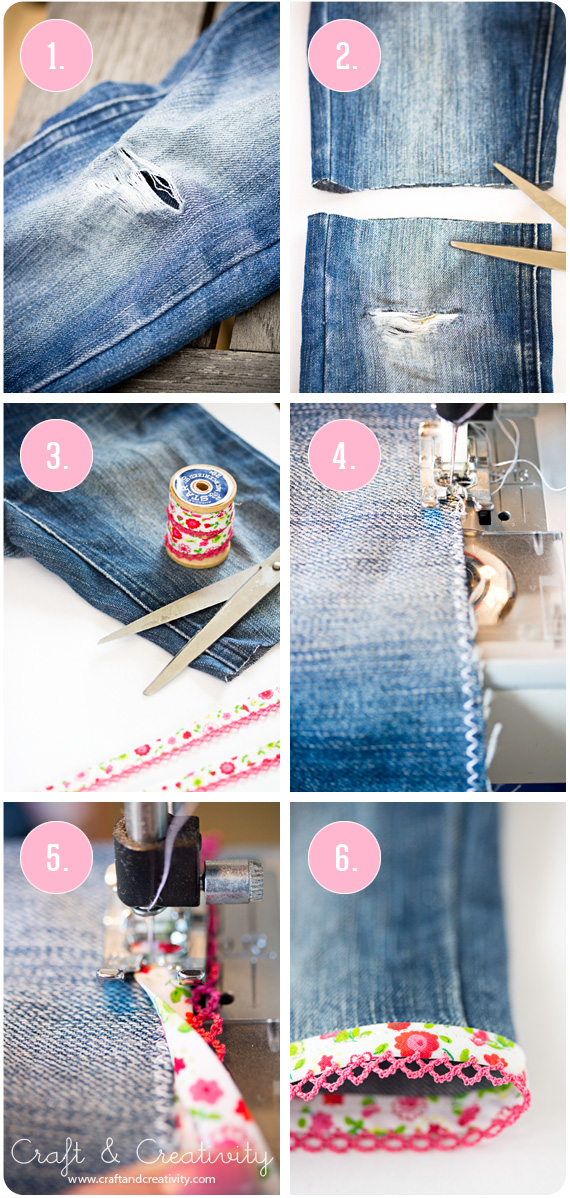
  1. Trasiga byxor…
  2. Klipp av i benen i lagom längd.
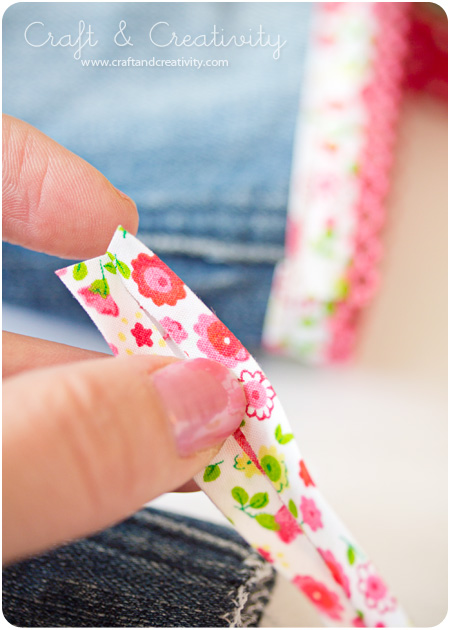
  3. Klipp två längder av snedslån, de ska vara så pass långa att de räcker runt byxbenen.
  4. Sicksacka runt byxbenens kanter.
  5. Sy fast snedslån med en raksöm. Lägg jeanstyget i mitten av snedslån så att snedslån täcker den sicksackade kanten, på insidan och utsidan av byxbenet. Jag nålade inte innan, det gick lättare utan nålar.
  6. Klart!
  1. Torn jeans… 
  2. Cut the legs of the trousers in the length you desire. 
  3. Cut two lengths of bias tape, long enough to reach around the trouser legs. 
  4. Zigzag around the edges of the two legs. 
  5. Sew the bias tape in place, using straight stich. Place the denim fabric in the middle of the bias tape and cover the zigzaged stich, both on the inside and outside of the legs. I didn’t pin first. For me it worked more smoothly to sew without pins. 
  6. You’re done! 


Dottern är jättenöjd med sina nya shorts och hon fick själv välja färg och mönster på banden. /
My daugther is very pleased with her new shorts. She got to pick the color and patterns for the bias tape herself. 


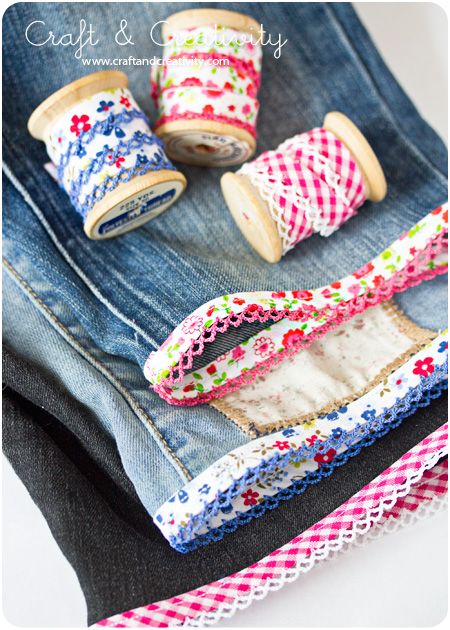
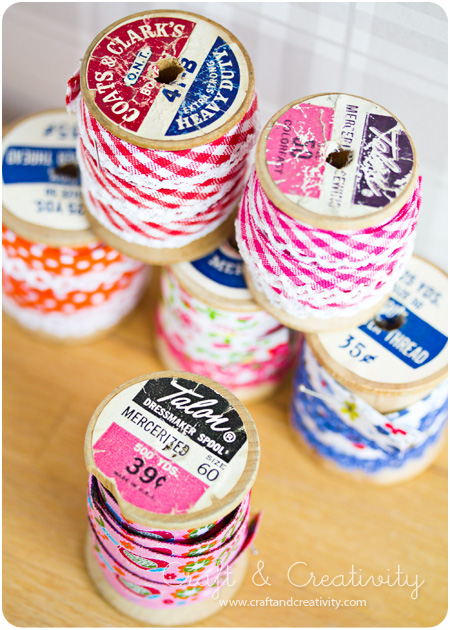
Snedslån har jag köpt via Etsy-butiken Holland Fabric House. Leveransen tog tre dagar. Träspolarna kommer från Hello Stevie Vintage, Etsy. /
I bought the bias tape at the Etsy store Holland Fabric House. The delivery took three days. The wooden spools comes from Hello Stevie Vintage, Etsy. 


Pennhållare av konservburkar –
Tin can pencil holder

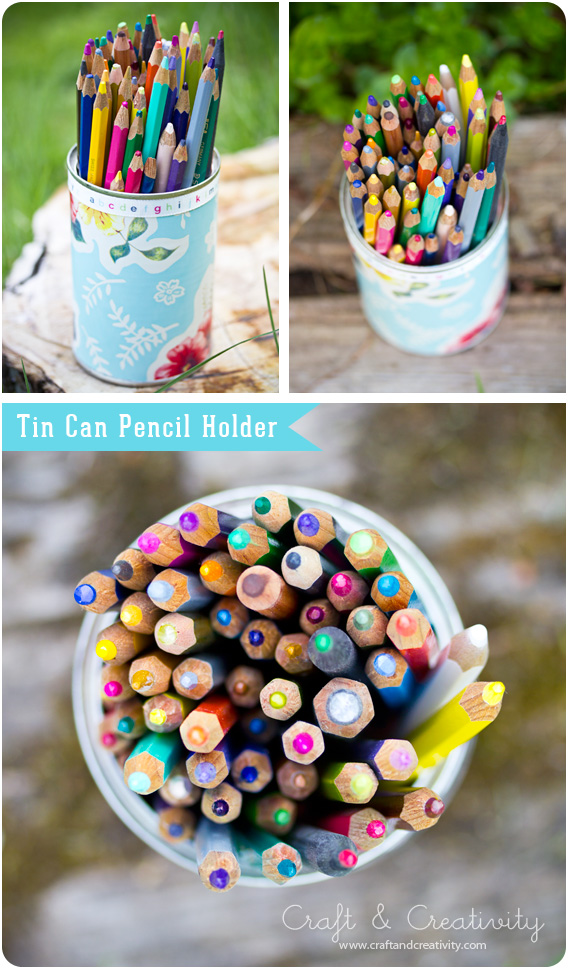
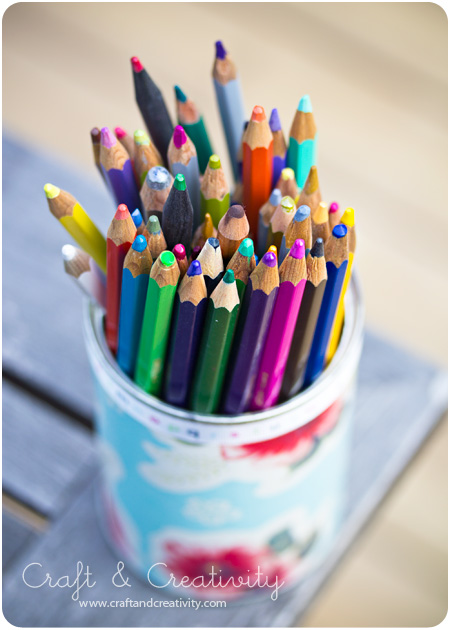
Den här pennhållaren var bland det första jag lade upp på min blogg när jag startade den i  slutet av september förra året. Det är ett sådant enkelt pyssel och därför värt att tipsa om igen. Diska ur en gammal konservburk och klistra eller tejpa fast en bit papper (presentpapper, pysselpapper eller bit tapetprov) runt burken. Pynta lite extra med ett tygband eller washitejp, om så önskas.
——
This tin can pencil holder was among the first items I published on the blog, when I started it in the end of September last year. It’s a type of easy craft that is worth mentioning again. Wash up an old tin can and paste or tape a piece of paper (wrapping paper, craft paper or wallpaper sample) around the can. If you like, you can embellish your pencil holder additionally with a fabric ribbon or washi tape.

Jag använde presentpapper från House Doctor. För närmare beskrivning läs mitt gamla blogginlägg. Ta gärna också en titt på Sofias fina pennhållare av plåtburkar, på bloggen Hildas hem. /
I used wrapping paper from House Doctor. For further instructions, please take a look at my old blog post. And why not take a look at Sofias pretty tin can pencil holders, over at her blog Hildas hem

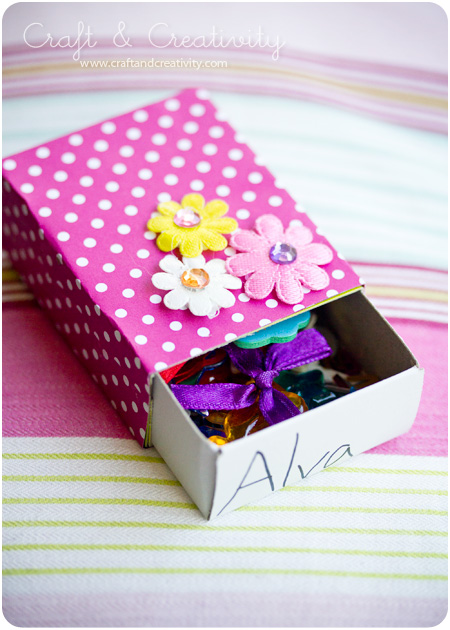
En annan sak man enkelt kan “klä om” på samma sätt är tändsticksaskar. Här har min dotter och jag gjort en liten presentask till hennes kompis, innehållande små pysselsaker. /
Another thing you can easily “dress up” in the same way is matchboxes. Here my daughter and I have made a gift box for one of her friends, and filled it with small craft items. 

Rustik pennhållare – Rustic pen holder

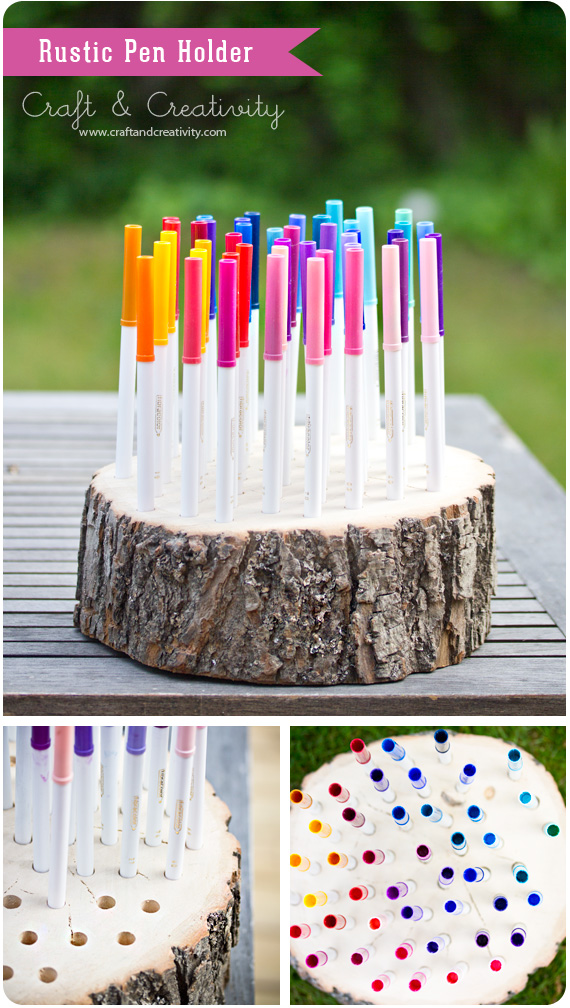
Ända sedan jag såg den här rustika pennhållaren på Pinterest för några månader sedan har jag velat göra en egen. Idén kommer från duktiga Andrea på bloggen Strawberry Chic och där finns också en jättebra beskrivning. Ärligt talat har jag inte gjort pennhållaren själv, jag fick hjälp med både sågning, borrning och slipning. Det tackar jag för! Ibland räcker tiden inte till.
———-
Ever since I lay eyes on this rustic pen holder over at Pinterest a few months ago I’ve been wanting to make one of my own. The idea comes from the talented Andrea at Strawberry Chic and if you pop over there you find an excellent tutorial. To be honest, I didn’t make the pen holder myself, I got help. Both with the sawing and the drilling. I’m grateful for that! Sometimes there’s not enough time. 

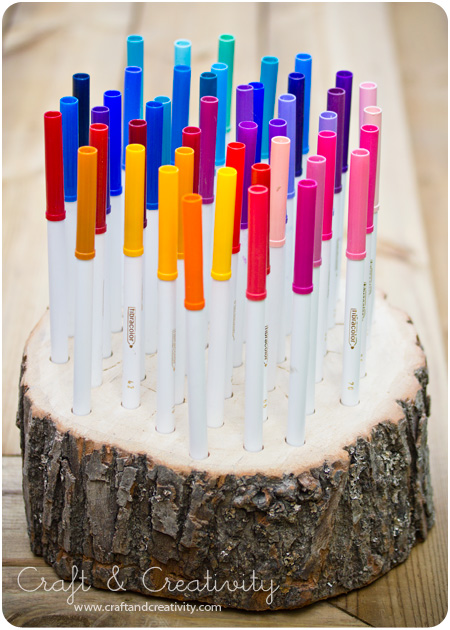
Med färgpennor i tycker jag den liknar en födelsedagstårta! Jag gillar kombinationen av det rustika träet och de glada färgerna. Min stubbe är ganska bred i diameter och blir därför lite otymplig och svårplacerad. Men det går givetvis att välja en smalare stubbe. /
Filled with colored markers like this, I think it looks like a birthday cake! I like the combination of the rustic wood and the cheerful colors. My stump is quite wide and is therefore a bit heavy and takes up much space. But you could of course choose a less wider stump.

Kott-monster – Pine cone monsters

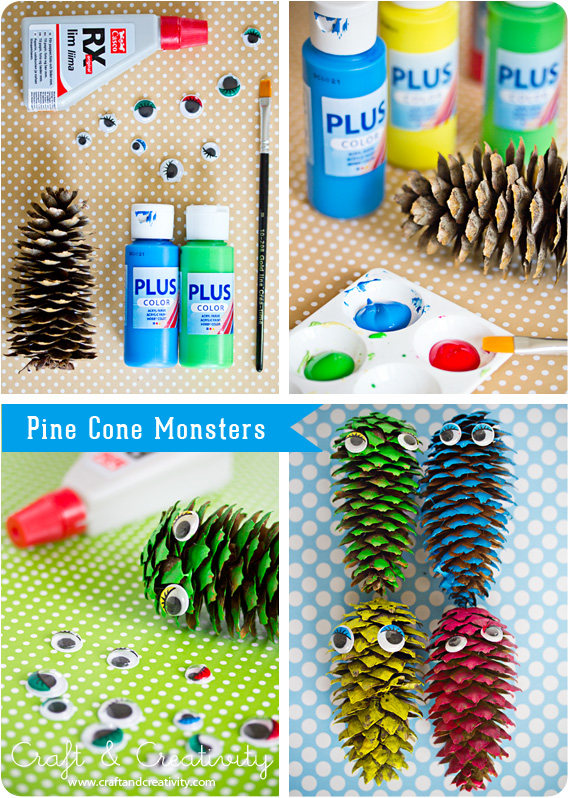
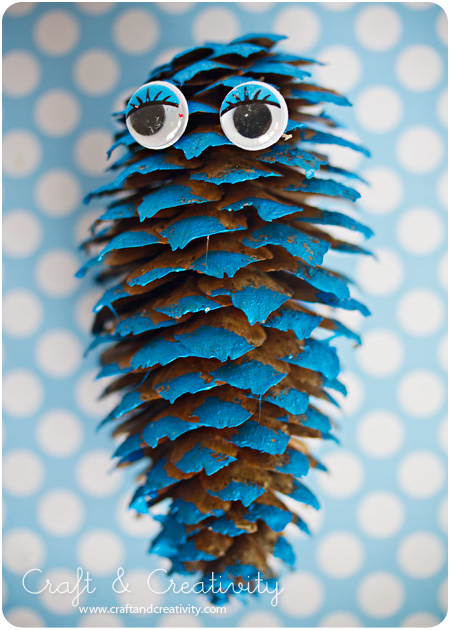
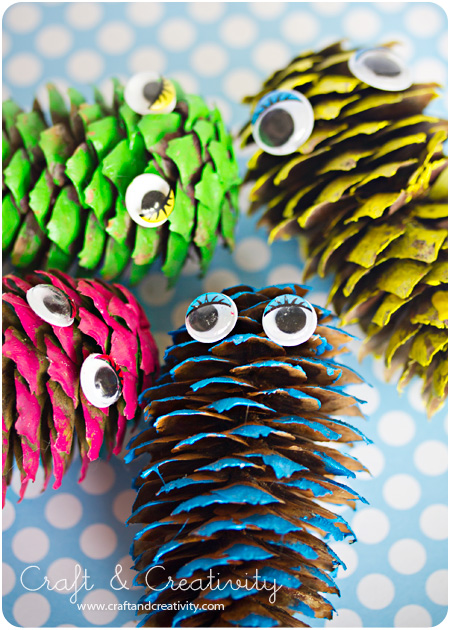
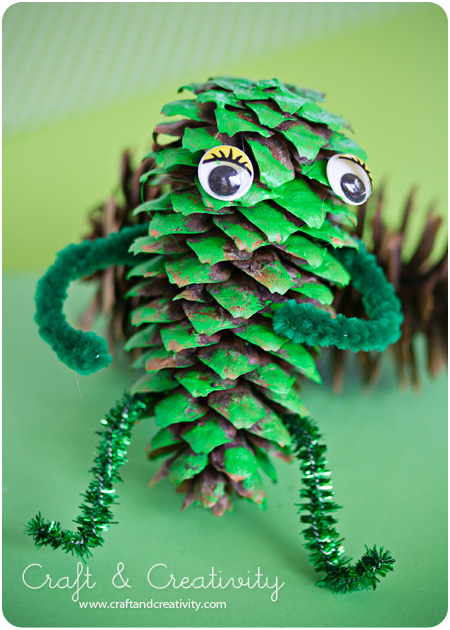
Äldsta dottern kom hem en dag i veckan och hade samlat kottar på lunchrasten. Hon skulle göra monster av dem, berättade hon för mig. Den kvällen var både jag och maken ute på vift och mormor satt barnvakt. När jag kom hem låg dessa fantasifulla skapelser på köksbordet! Jag har med bilder försökt illustrera (i efterhand) hur storasyster gick tillväga för att skapa sina monster. Måla kottarna med hobbyfärg, låt torka, klistra fast ögon = klart!
—-
My oldest daughter came home one day after school and had collected pine cones on her lunch break. She was going to make monsters out of them, she told me. That evening both my husband and I was occupied with late work meetings and my mum babysat the girls. When I got home I found these fantastic creations on the kitchen table! I have tried to illustrate with pictures how big sister went about creating these monsters. Paint the cones with hobby paint, allow to dry, glue the plastic eyes in place = your done! 


Monstren påminner mig om figurerna i serien Sesam som gick på teve på 70-talet. Så söta!
——–
The monsters remind me of characters from the tv-show Sesame Street. So cute! 


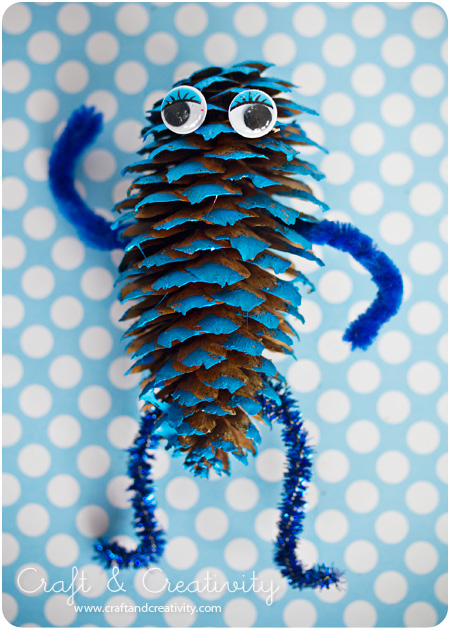
Jag busat lite med dottern och satt dit armar och ben på två av kottarna. Jag tog piprensare som jag stack in i kottarna (inget lim, ifall hon inte uppskattar buset). Får se vad hon säger när hon ser det. Jag tror att hon kommer fnittra. 😀
——-
Without my daughter noticing it, I stuck arms and legs on two of the monsters. I used pipe cleaners but no glue, in case she doesn’t appreciate my little prank. We’ll see what she says when she notices it. I believe it will make her giggle. 😀

Spraymålade burklock –
Spray painted jar lids

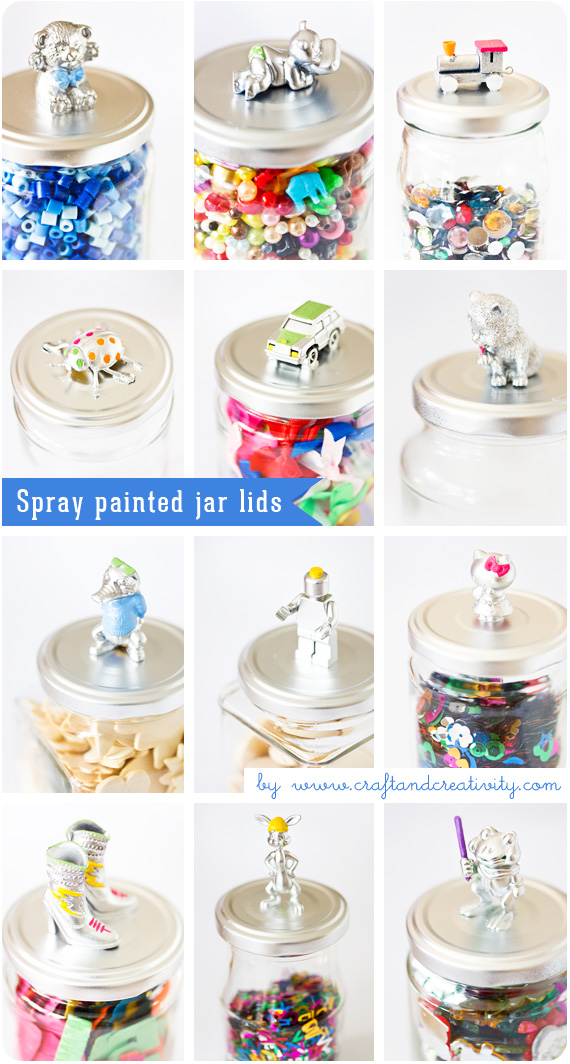
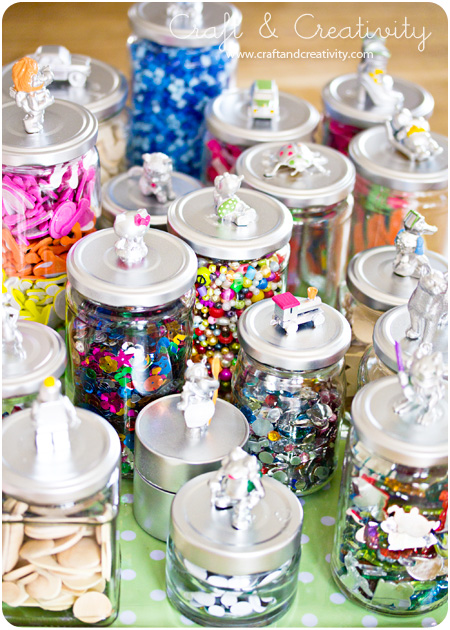
Jag behövde lite fler burkar för mitt pysselmaterial och bestämde mig för att göra några fler i samma stil som de jag gjort tidigare. Den här gången valde jag att färglägga några få detaljer i hobbyfärg efter att silverfärgen torkat. /
I needed more containers for my craft supplies and decided to make some in the same style as the ones I did before. This time I chose to color a few details with hobby paint and a brush, after the silver paint has dried.


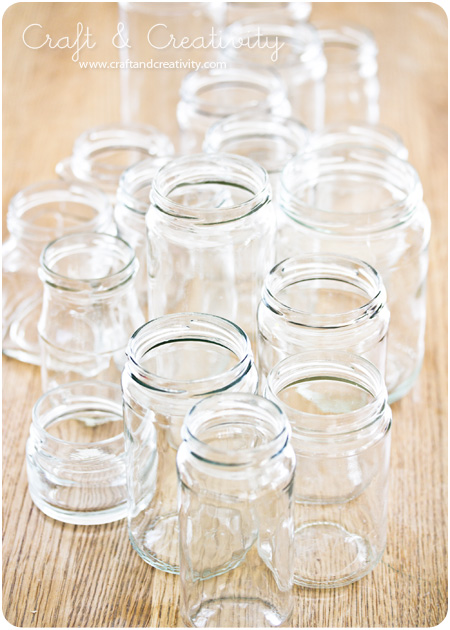
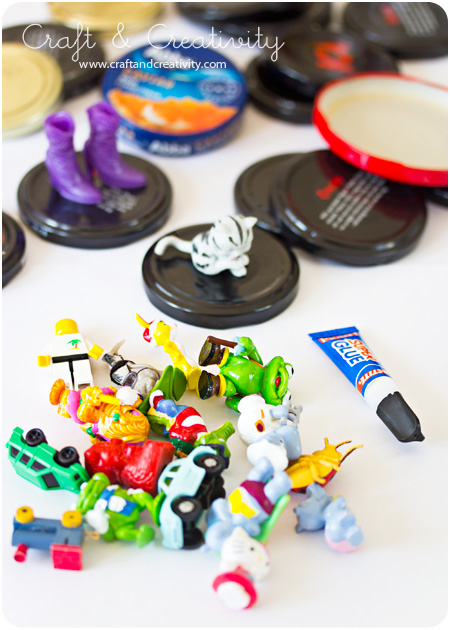
Glasburkarna har vi samlat på oss under en längre tid. De flesta av dem är gamla syltburkar. Återigen länsade jag barnens KinderEgg-samling (jag har fått tillåtelse…) och tog även med ett par Barbie-stövlar och en legogubbe. /
We’ve accumulated the glass jars over time. Most of them are old jam jars. Again, I searched through the girls’ KinderEgg collection for suitable figurines (I have been given permission …) and I also used a couple of Barbie boots and a Lego man. 


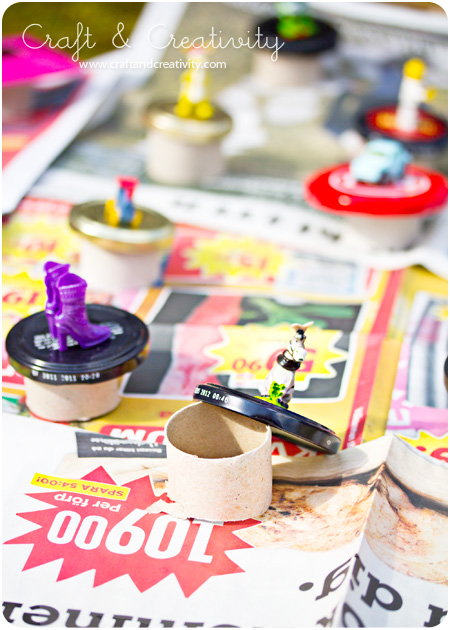
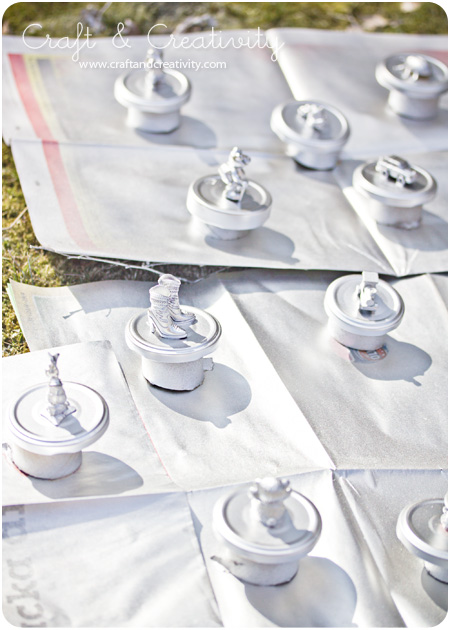
Jag sprayade locken på gräsmattan, med tidningspapper under. För att komma åt att måla runt om och få lite avstånd till underlaget klippte jag sönder toalettpappersrullar som jag placerade locken på. /
I sprayed the lids outside on the lawn and used newspaper to protect the grass. To distance the lids from the ground and get better access when spraying, I used cut up toilet paper rolls.

Närmare beskrivning på hur man gör locken finns i ett tidigare blogginlägg. /
For a detailed description on how to make these lids, please browse this previous blog post

Loppisfynd, del 4 – Thrift finds, part 4

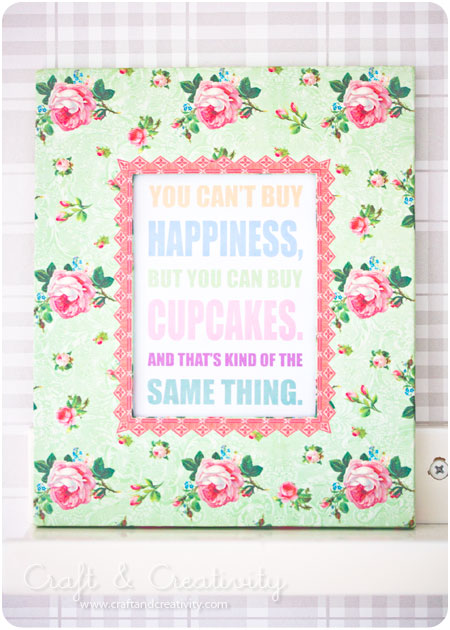
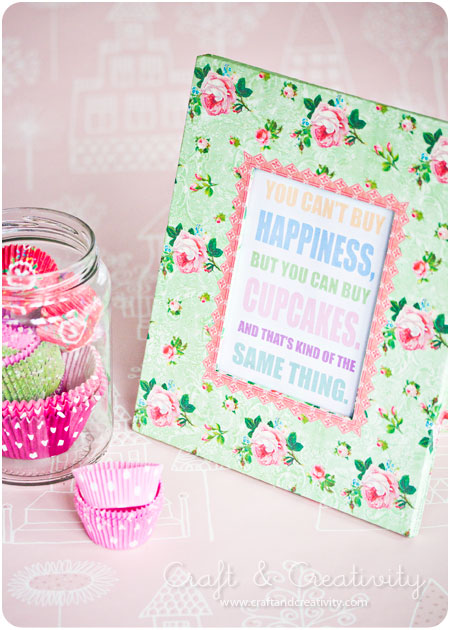
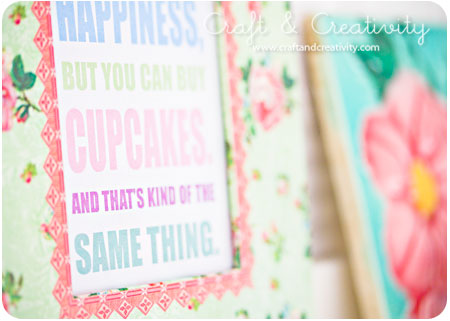
Tack för alla fina påskhälsningar! Vår långhelg har varit kantad av god mat, massor av godis och trevligt umgänge med släkt och vänner. Här kommer sista fyndet från min loppis-shopping härom dagen. En begagnad ram vars innehåll jag bytt ut mot ett hemmagjort motiv. /
Thanks for all your sweet Easter greetings! Our weekend has been filled with fine food, lots of candy and socializing with friends and family. Here’s the last of my findings from my thrift shopping spree the other day. A vintage frame, which content I replaced with a home made one. 


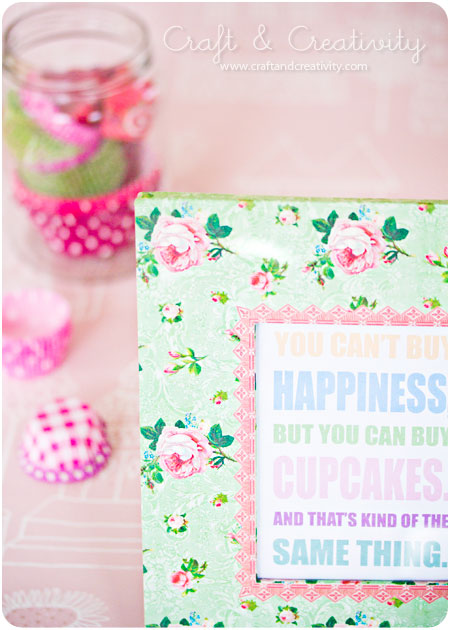
Texten har jag skrivit i datorn och printat ut på skrivaren, på vanligt 80 g skrivarpapper. Jag har sett detta (och liknande) citat lite överallt på nätet och tycker att orden stämmer ganska bra. Man kan också byta ut Cupcakes mot Ice Cream, Chocolate eller Shoes eller något annat man blir glad av. Och man kan förstås skriva på svenska också, om man vill. 😉 /
I typed the text on my computer and printed it on standard 80g print paper. I’ve seen this quote (and similar ones) all over the internet lately and I kind of like it. You could also replace the word Cupcakes with Ice Cream, Chocolate or Shoes, or anything else that makes you happy. 😉

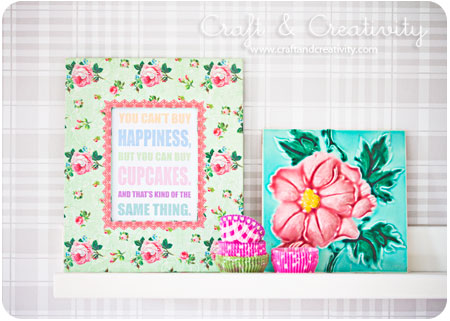
Ramen hamnade på tavellisten i köket bredvid min (tyvärr spruckna) kakelplatta. /
I found a nice place for the frame in the kitchen, accompanied by my (unfortunately cracked) ceramic tile.