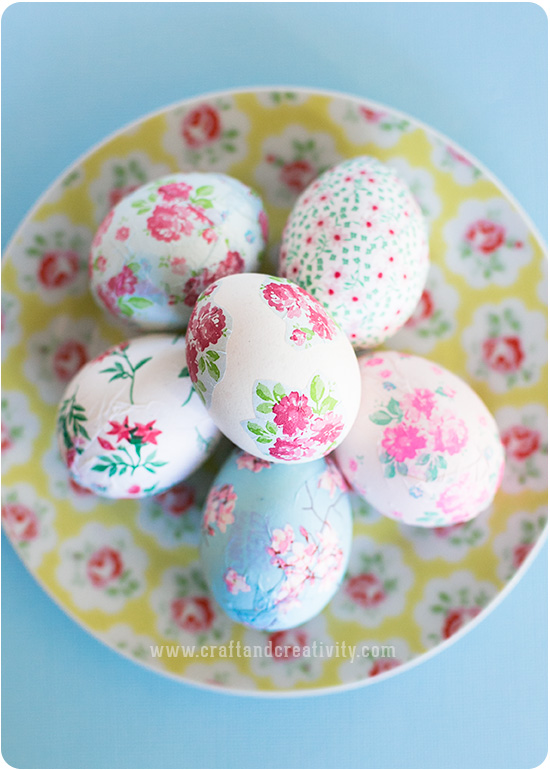
Påsken närmar sig och jag har gjort lite nytt påskpynt med urblåsta ägg och decoupagepapper i fina vårliga mönster.
———–
Easter is coming up and I’ve made some new Easter decorations with blown eggs and decoupage paper in pretty springlike patterns.
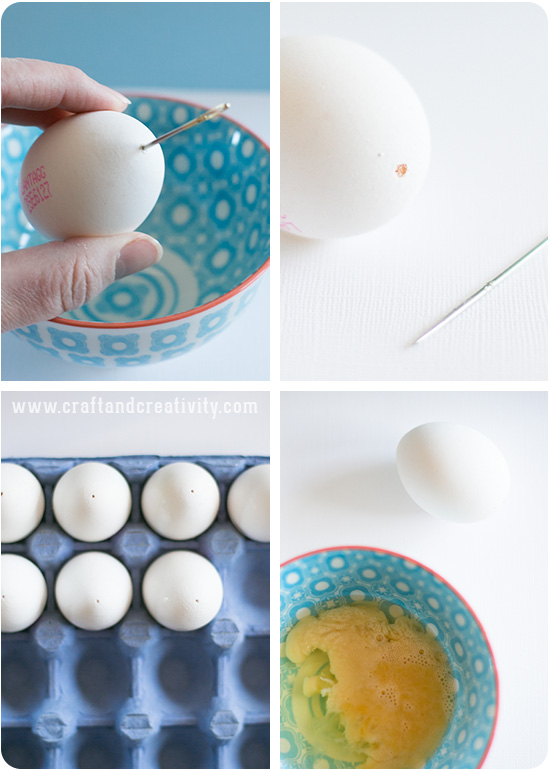
Hur du blåser ut ägg: Skölj äggen i varmt vatten, dels för att rengöra dem och dels för att det är lättare att blåsa ut äggen om de inte är kylskåpskalla. Använd en vass nål och gör ett litet hål i botten på ägget och ett lite större hål i toppen. Stick nålen en bit in i ägget för att spräcka äggulan. Sätt munnen tätt mot det lilla hålet och blås hårt, samtidigt som du håller ägget över en skål. Om äggulan fastnar så testa skaka ägget. När ägget är tömt kan du skölja insidan av ägget under rinnande vatten så att vatten sipprar in genom det stora hålet. Skaka ägget och blås ut vattnet. Upprepa ett par gånger. Det finns även speciella äggblåsare om du inte vill blåsa ur äggen själv. Äggens innehåll kan du använda till att steka pannkakor!
———-
How to blow out eggs: Rinse the eggs in warm water, partly to clean them and partly because it’s easier to blow out eggs that aren’t cold. Use a sharp needle to make a small hole in the bottom of the egg and a bigger one at the top. Stick the needle well into the egg to crack the egg yolk. While holding the egg over a bowl, place your mouth over the small hole and blow hard. If the yolk gets stuck try shaking the egg. When the egg is empty, rinse the inside of the egg under running water so that the water seeps in through the large hole. Shake the egg and blow out the water. Repeat a few times. You can also use a special egg blower if you prefer that. You can use the eggs content to make pancakes!
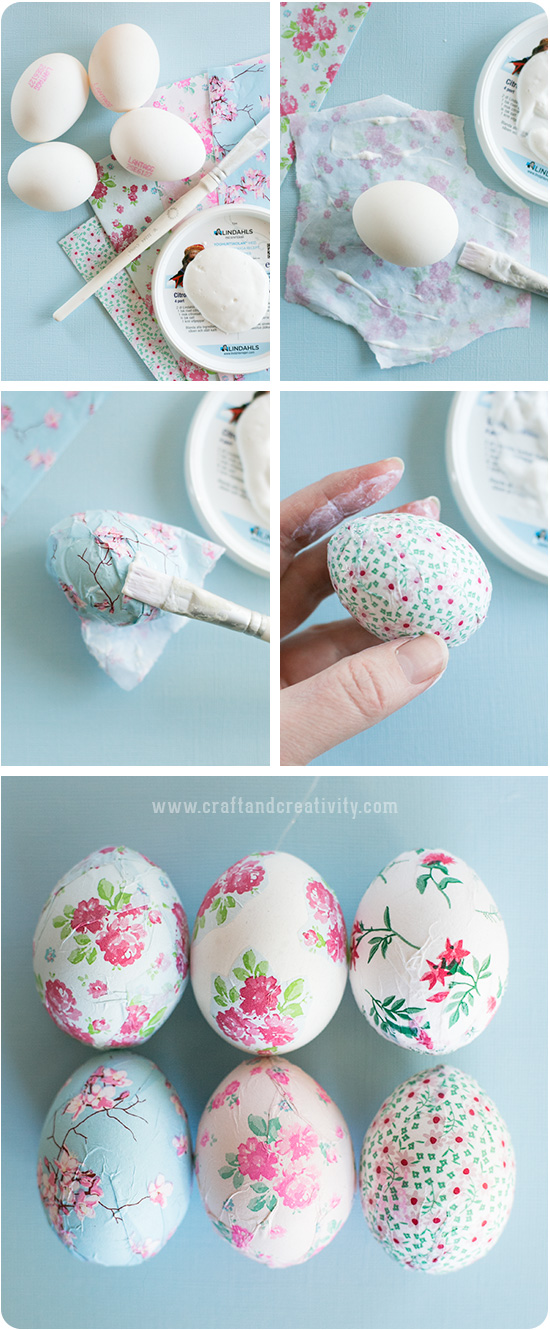
Ett ark decoupagepapper räckte till ca 6 st ägg. Du kan även använda översta lagret på mönstrade servetter. Pensla matt eller blank decoupagelack på papprets undersida och/eller på ägget. Täck hela ägget med papper och pensla decoupagelack på ovansidan. Jag brukar stryka försiktigt med fingrarna över ytan för att jämna till veck och skrynklor. Pappret stramar till sig lite när det torkar.
———-
One sheet of decoupage paper was enough for about 6 eggs. You can also use the top layer of patterned napkins. Brush matte or glossy decoupage lacquer on the back of the paper and/or the egg. Cover the whole egg with paper and brush decoupage lacquer on top. To smooth out folds and creases you can stroke gently with your fingers across the surface. The paper gets tighter when it dries.
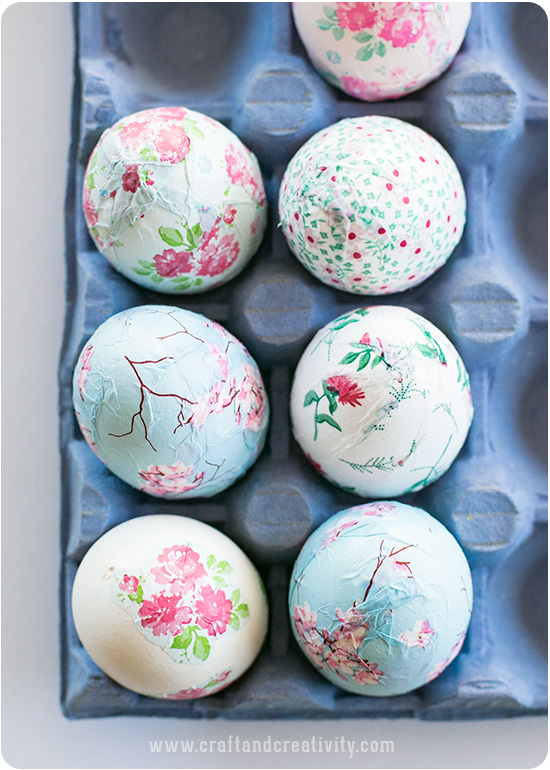
Jag lät mina ägg torka i en äggkartong. Lacken torkar på ca 1 timme.
——–
I let my eggs dry in an egg carton. The lacquer dries in about one hour.
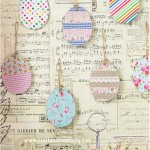
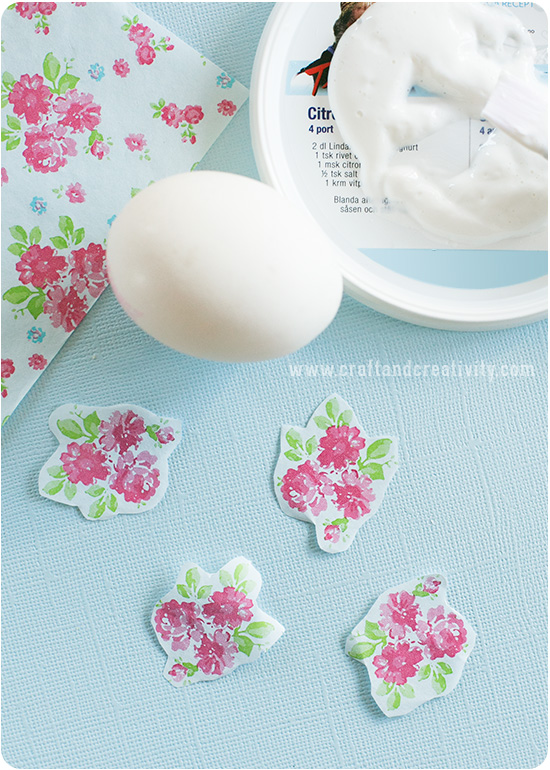
Till ett av äggen klippte jag ut delar av mönstret istället för att täcka hela ägget med decoupagepapper.
———
For one of the eggs I cut out pieces of the pattern instead of covering the whole egg with decoupage paper.
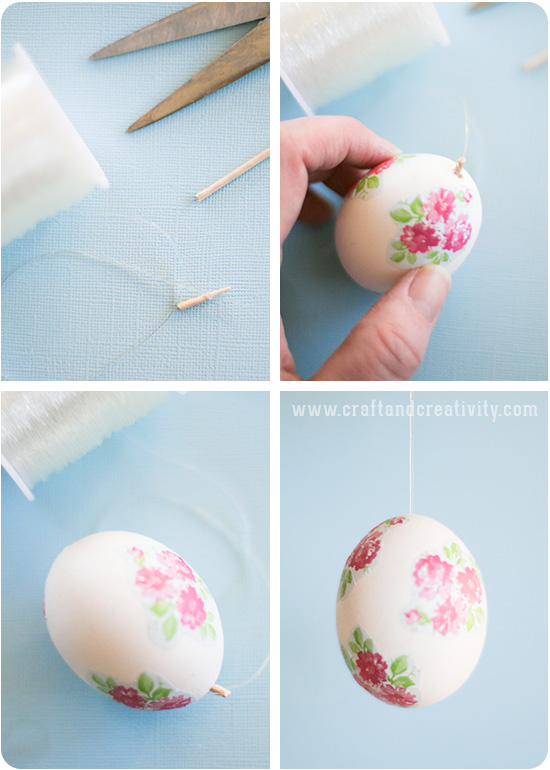
Om du vill kunna hänga dina ägg så rekommenderar jag detta sätt. Klipp av spetsen på en tandpetare och knyt ett snöre runt. Här använde jag en tunn transparent nylontråd. Stoppa in tandpetaren i det stora hålet på ägget och dra åt. Tandpetaren kommer att lägga sig på tvären inuti ägget och du kan hänga ditt ägg i påskriset.
———
If you want to be able to hang your eggs, here’s how you can string them. Cut the tip of a toothpick and tie a thread around. I used a transparent thin nylon thread. Insert the toothpick into the large hole and tighten. The toothpick will place itself crosswise inside the egg and you can safely hang your eggs.
För fler av mina påskpyssel: / For more of my Easter crafts:

So delicate and pretty! This is the essence of spring.
Amalia
xo
Beautifull! And such a Good tutorial! Lovely those easter DIY s! I am hosting a bloggers DIY countdown that start at 23 march. Come and take a look if you like.
Wow, what a beautifull eggs. I love them! Nice colors.
Hur fina ägg som helst!!!
Vad fint! Skall för en gångs skull försöka vara ute i god tid med att måla ägg, och dethär är riktigt inspirerande!
Hvor er de fine. Jeg vil straks kaste mig ud i projektet 🙂
// So nice. Going to try this immediately!
Decoupage is such a great idea, will have to try that next!
Thanks for sharing!
x Motte
http://mottesblog.blogspot.com/
Wow wow wow!! It’s a great idea!!
http://tulleeconfetti.com
They’re really beautiful!
Pingback: Change Up Easter with Decoupage Eggs
Så HIMLA fina! Love it!
Pingback: DIY Hello Kitty Egg and More 12 Easter Egg Projects - DIY All in One
Pingback: Velikonoční decoupage vajíčka | Blog Proděti.cz
Pingback: Ovos de Páscoa. (post 1)
Pingback: Snippets of Design - Easter Eggs to Dye For
Bravo, les oeufs sont très jolis !
Pingback: Bloggkärlek i påsk - Pysselbolaget - Enkla roliga pyssel för barn och vuxna
This is pretty! I made similar ones when I was a child but used foam eggs from the craft store. We used cut out patterns from napkin and paper towel designs and mod podge. Then, my mom attached a ribbon & bow with a straight pin to hang them. Ironic to see this blog since I planned to make them again with my grandchildren this Easter…. Making more memories!