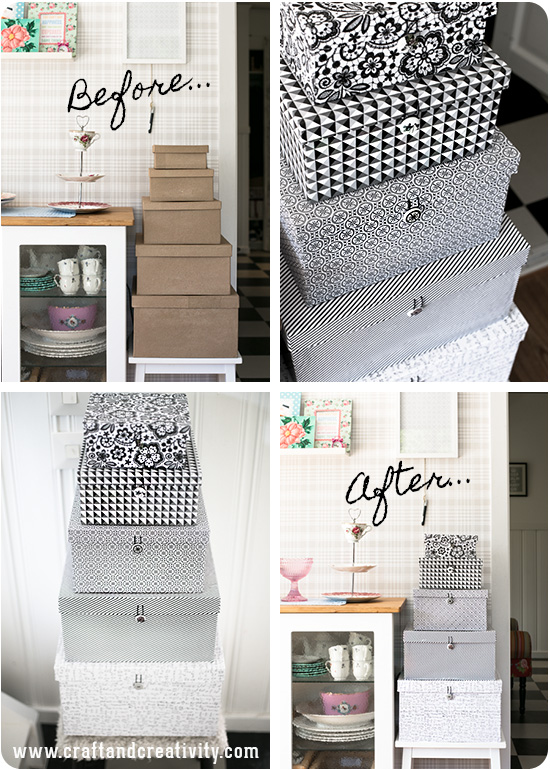
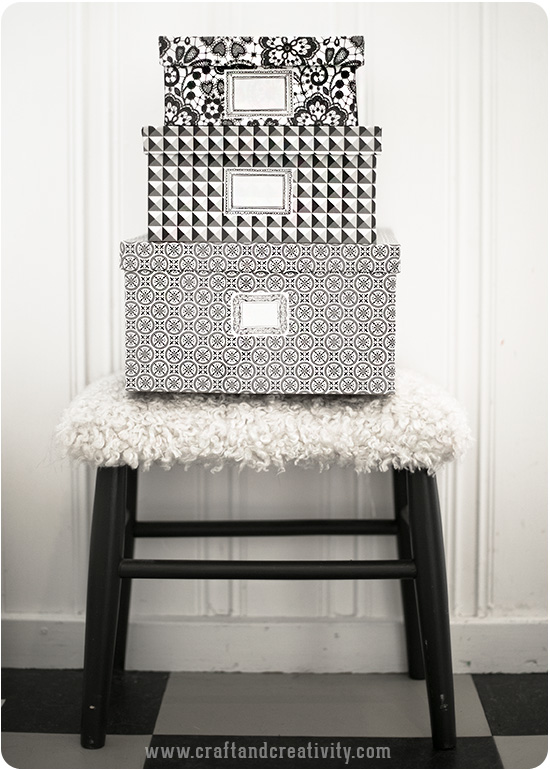
När Helena på Mormorsglamour i februari klädde om skokartonger och gjorde fina knapplås så gjorde jag en notering i min mentala vill-pyssla-lista – sådana lådor ville jag också göra! Det tog ett halvår innan jag kom igång. Så här blev resultatet.
———
In February, when Helena over at Mormorsglamour dressed shoeboxes and made pretty button clasps, I made a note in my mental crafts-to-make list. I too wanted to make boxes like that! This is the result.
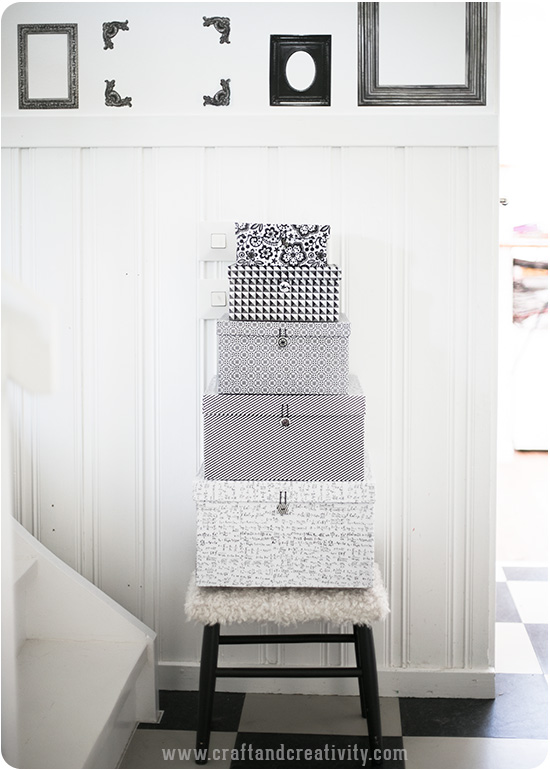
Jag valde att använda ganska stora lådor eftersom vi behövde rymlig förvaring hemma. Mina lådor fanns att köpa i 7-pack där den största lådan är 34×34 cm bred och 20 cm hög. De två största lådorna klädde jag med dubbelmönstrat omslagspapper och jag använde båda sidor för att få två olika mönster på mina lådor. De tre minsta lådorna är klädda med designpapper.
———-
I chose to use fairly large boxes because we needed spacious storage at home. These are so called hat boxes and the largest box is 34×34 cm wide and 20 cm high. I dressed the two largest boxes with double patterned wrapping paper and used both sides to get a two different looks on my boxes. The three smallest boxes are dressed with designer paper.
Du behöver: Lådor/askar eller skokartonger, mönstrat papper, lim, pensel, elastisk snodd, tjock nål, fina knappar och eventuellt en håltång eller handstans för runda hål. Du kan även göra som Mormorsglamour och använda öljetter.
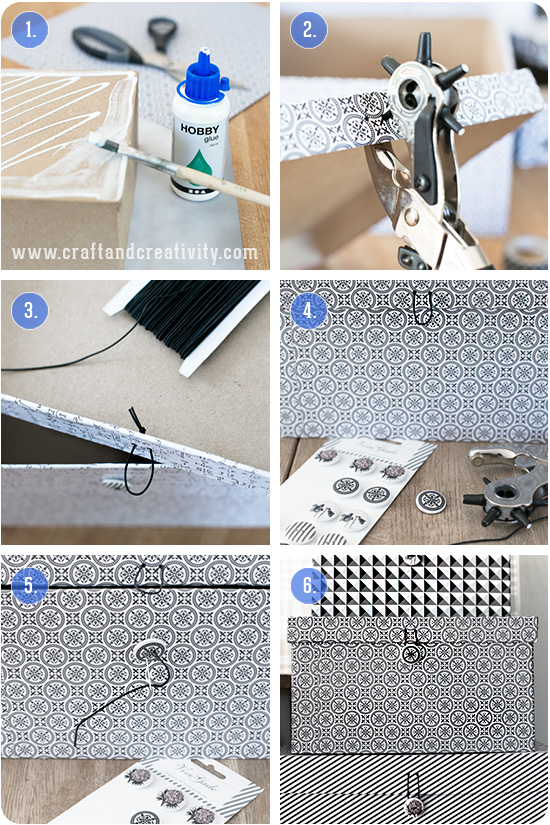
- Jag använde samma teknik som jag brukar när jag klär om lådor och mer om den kan ni läsa i blogginlägget turkosa askar med snygga hörn. Den här gången valde jag hobbylim som jag strök ut med en pensel.
- Gör två hål i locket för öglan. Använd en håltång, en handstans eller gör hålen med en tjock nål eller syl.
- Trä elastisk snodd genom hålen och knyt på insidan. Lämna ett par cm ögla beroende på hur långt ner du tänker placera din knapp.
- Måtta var du vill ha knappen och gör två hål i lådans framsida.
- Sy fast knappen på lådan med en bit elastisk snodd (eller sytråd). Knyt en dubbelknut på insidan av lådan för att fästa knappen.
- Sätt på locket, trär öglan över knappen och “lås” lådan. Mixa och matcha mönster på papper och knappar men behåll gärna en s k röd tråd. Mitt tema blev grafiska mönster i svart och vitt.
—–
You will need: Storage boxes or shoe boxes, patterned paper, glue, brush, elastic cord, a thick needle, pretty buttons and possibly a revolving punch or hand punch for round holes. You can also use eyelets, like Mormorsglamour did.
- I began by dressing my boxes in the same technique I always do, as shown in this previous blog post, Turquoise boxes with pretty corners. This time I chose craft glue which I smeared with a brush.
- Make two holes in the lid for the loop. Use a revolving punch, a hand punch or make the holes with a thick needle or awl.
- Thread elastic cord through the holes and tie a knot on the inside. Make the loop an inch or so, depending on how far down on the box you intend to place your button.
- Measure where you want the button to be and make two holes in the front of your box.
- Sew the button in place with a piece of elastic cord (or thread). Tie a knot on the inside of the box to attach the button.
- Put the lid on top of the box, thread the loop over the button and “lock” the box. Mix and match patterned papers and buttons as you wish. My boxes kept a theme – graphic patterns in black and white.
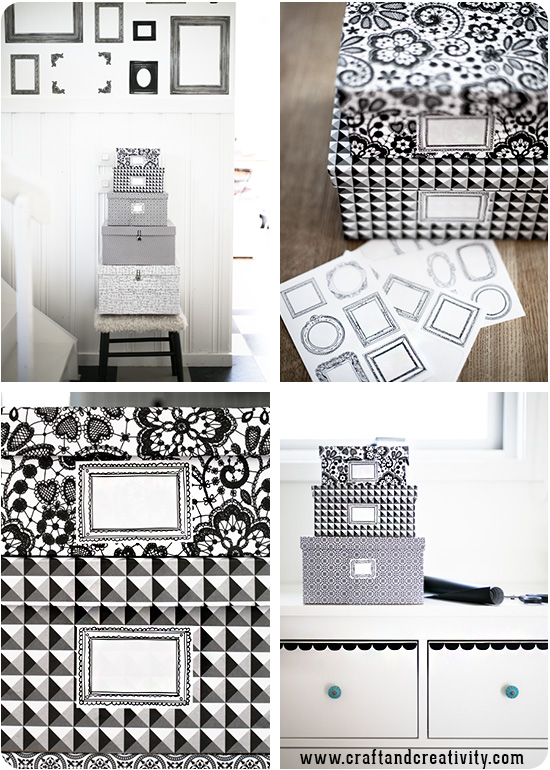
Istället för “knapplåset” kan du sätta etiketter eller stickers på lådorna. Ovan dyker även min pimpade byrå upp, den som jag skrev om härom dagen. Väggdekalerna som sitter på vår vägg i hallen och som ser ut som tomma ramar är inhandlade på Ikea för några år sedan.
———–
Instead of the button clasps, you can put labels on your boxes, like with these sticker labels in the same line of design as the paper. Above you can also spot my pimped drawers from a previous blog post. The wall decals on the wall that look like empty frames where purchased at Ikea a few years back.

