Glittrande ljushållare –
Sparkling tea light holders

Sparkling tea light holders - by Craft & Creativity

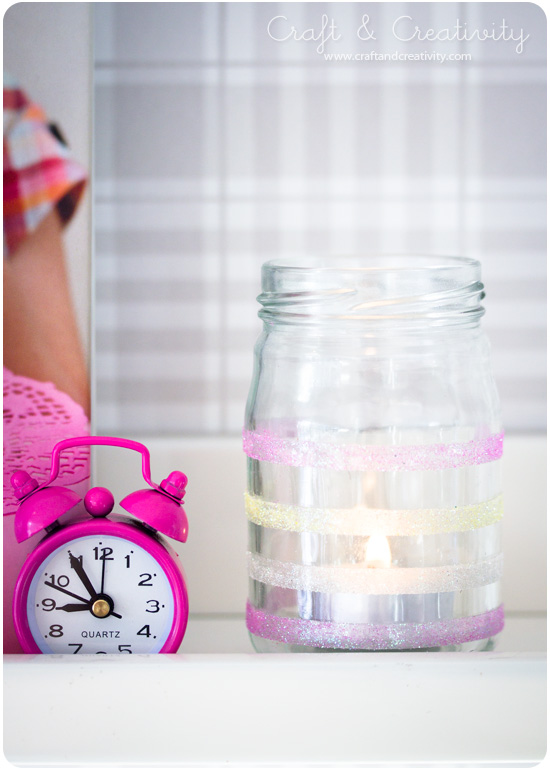
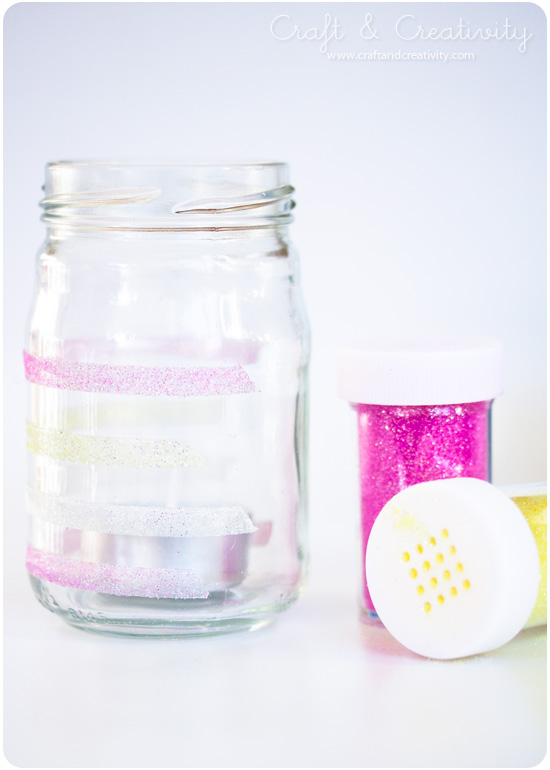
Med lite dubbelhäftande tejp och glitterströssel kan man glittra till gamla glasburkar och använda dem som ljushållare. Idén till detta pyssel fick jag via en bild på Pinterest. Jag har tyvärr inte lyckats hitta källan, trots detektivarbete från min sida.
———-
With a bit of double-sided adhesive tape and glitter sprinkles you can make old glass jars sparkle. Use them for candle holders for example. I got the inspiration for this craft from a picture on Pinterest. Unfortunately I haven’t managed to find the source, even after some detective work on my part. 

Sparkling tea light holders - by Craft & Creativity

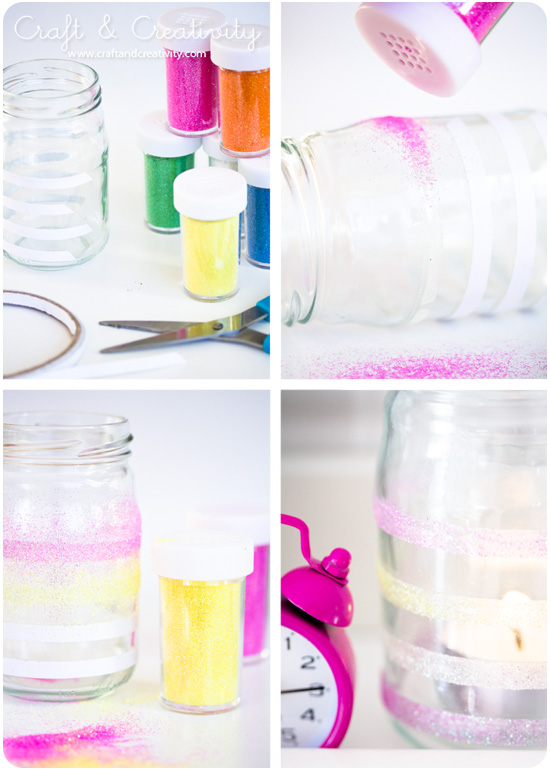
Klipp bitar av tejpen och tejpa fast den på en rendiskad glasburk. Ta bort skyddspapperet lite i taget och häll på glitter i önskad färg. Blås bort överflödigt glitter, ta bort mer skyddspapper och fortsätt med nästa färg.
———–
Cut pieces of the tape and tape it on a clean glass jar. Remove the protective paper a little at a time and add glitter in the color you like. Blow away excess glitter, remove more protective paper and continue with the next color.

Sparkling tea light holders - by Craft & Creativity

Det går att göra alla möjliga sorters mönster med tejpen och använder man ark med klisterfolie kan man även klippa ut olika former – som prickar, hjärtan eller stjärnor t ex.
——–
You can make all sorts of patterns with the tape and if you use sheets of adhesive foil you can also cut out different shapes – like dots, hearts or stars, for example.

Gnuggisar på ägg –
Rub-ons on Easter eggs

Rub-ons on Easter eggs - by Craft & Creativity

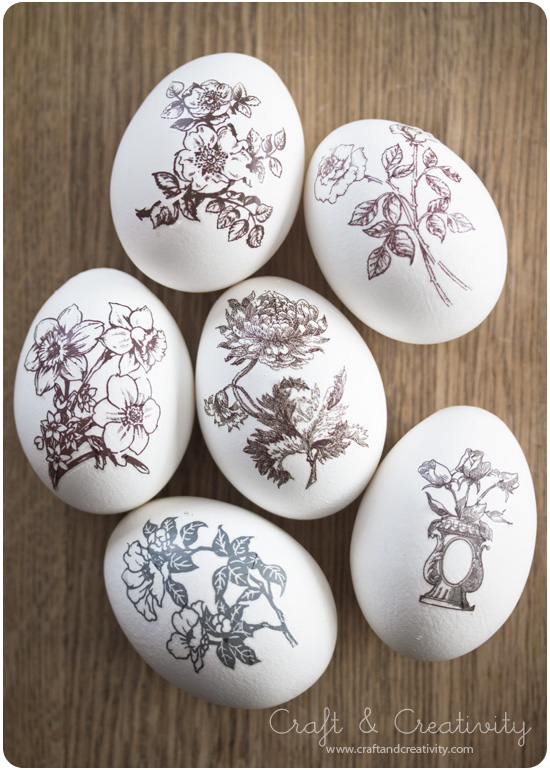
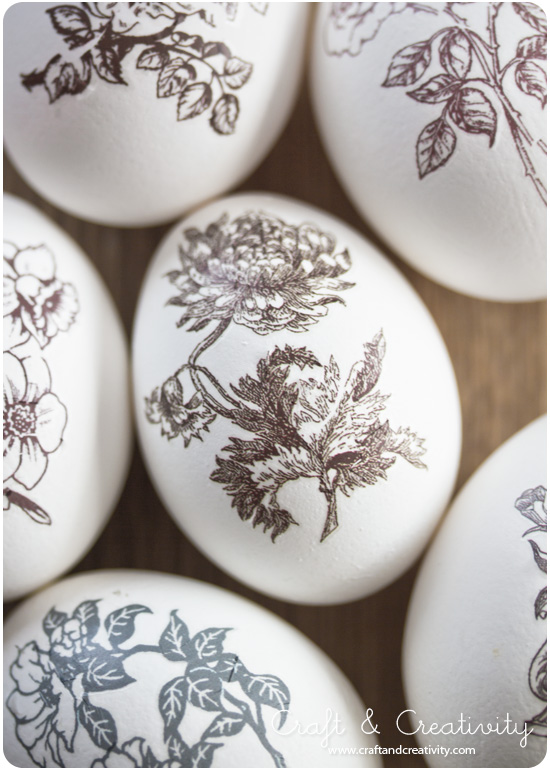
Ett sätt att dekorera ägg till påsk kan vara att använda rub-ons (s k gnuggisar /gnuggmotiv). Det är enkelt och blir effektfullt.
————-
One way to decorate Easter eggs is to use rub-on tranfers. It’s easy and looks pretty. 

Rub-ons on Easter eggs - by Craft & Creativity

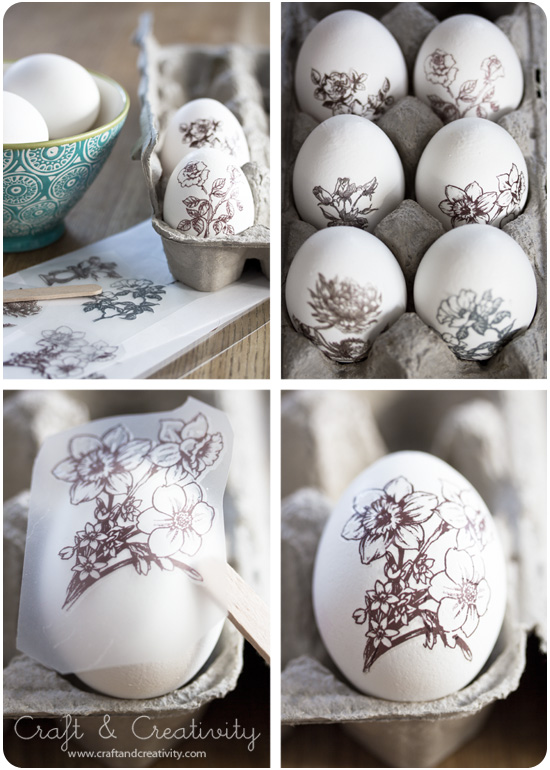
Börja med att koka äggen. Jag använde ekologiska hönsägg. Låt svalna och se till så att skalet är torrt. Klipp ut önskat motiv, lägg det ovanpå ägget och gnugga fast motivet på ägget med träpinnen som följer med i förpackningen. Idén fick jag från Country Living, via Pinterest.
——-
Start by boiling the eggs. I used organic chicken eggs. Allow the eggs to cool and make sure that they are dry. Cut out the motif of your choice, place it on top of the egg and transfer the motif to the egg by rubbing with a wooden stick (ice cream stick for example). I got this idea from Country Living via Pinterest.

Rub-ons on Easter eggs - by Craft & Creativity

Det känns nästan lite synd att knäcka skalen och äta upp äggen. Men nu är de i alla fall förevigade på bild. 🙂 Vill man använda gnuggisarna på något mer beständigt så kan man gnugga fast dem på småstenar, betonghjärtan eller askar t ex.
———-
It kind of feels likes a pity to crack the shells and eat the eggs. But now at least I have them on photo. 🙂 If you like to use rub-ons on something more durable – you can transfer them to pebbles, concrete hearts or boxes for example.

Hjärtliga kort – Valentine Cards

Valentine cards - by Craft & Creativity

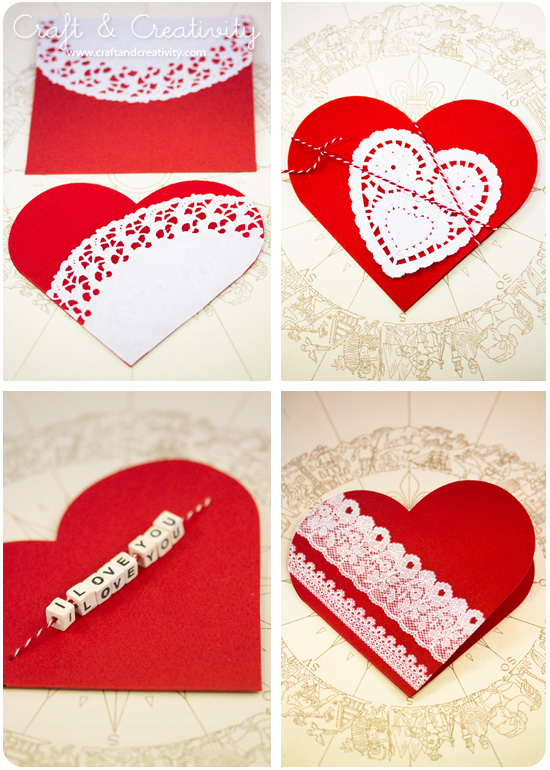
Vare sig man firar Alla Hjärtans Dag eller inte så är det förstås trevligt att visa kärlek och omtanke för dem man tycker om. Ett hjärtkort med en fin hälsning kan vara ett sådant sätt. Jag har pyntat mina kort med tårtpapper, träbokstäver på snöre och spetsmönstrade rub-ons. Dessa kort kommer hjärtformade i 10-pack med kuvert. Eller så klipper du till egna kort av papper.
————-
Whether you celebrate Valentine’s Day or not, it’s nice to show love and care for those you near and dear to you. A heart shaped card with some kind words can be such a way. I decorated my cards with paper doily, wooden bead letters on a string and lace patterned rub-ons. These heart-shaped cards came in a pack of 10, including envelopes. But you could also make your own cards.

Valentine cards - by Craft & Creativity

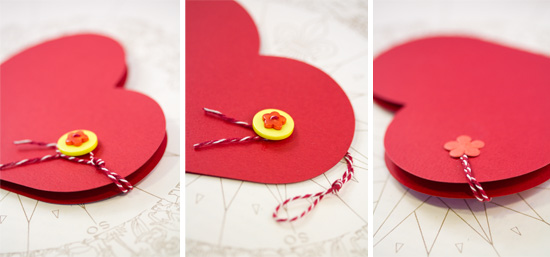
Om man vill kan man göra kort som går att “låsa”. Sy först fast en knapp på framsidan. Fäst ett snöre på baksidan med lim och en pappersblomma eller liknande. Gör en ögla av snöret och trä den över knappen för att låsa kortet.
———-
If you like you can make your cards “lockable”. First sew a button on the front of the card. Attach a string to the back and secure it with glue and perhaps a paper flower. Make a loop with the string and slip it over the button to lock the card.

Valentine cards - by Craft & Creativity  Valentine jar - by Craft & Creativity

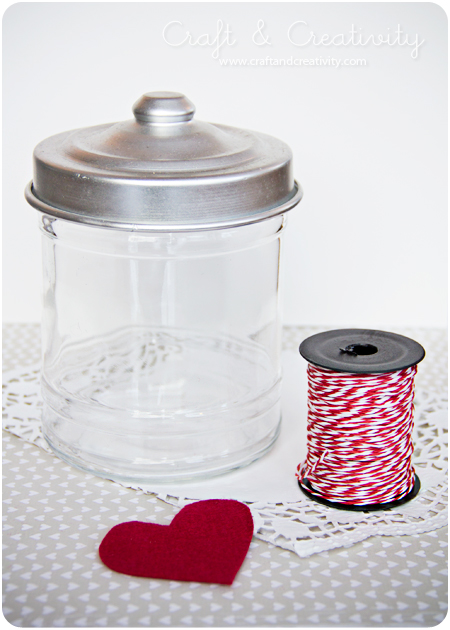
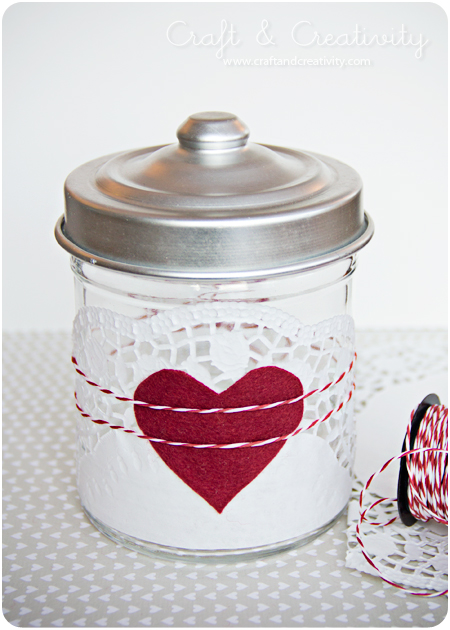
Jag avslutar med att visa er min gamla glasburk som jag pyntade för ett år sedan med lite tårtpapper, ett hjärta som jag klippte ut av filt och ett snöre. Den skulle man kunna fylla med något gott och ge bort i present. Fast min burk behöll jag. Den står alltjämt på en hylla i köket. 😉
———–
Last but not least I’d like to show you this old glass jar that I decorated a year ago. I used paper doily, a felt heart and some baker’s twine. You could fill it with something sweet and give it away as a gift. Although I kept mine for myself.  😉

Dagens pyssel, filthjärtan –
Craft of the Day, felt hearts

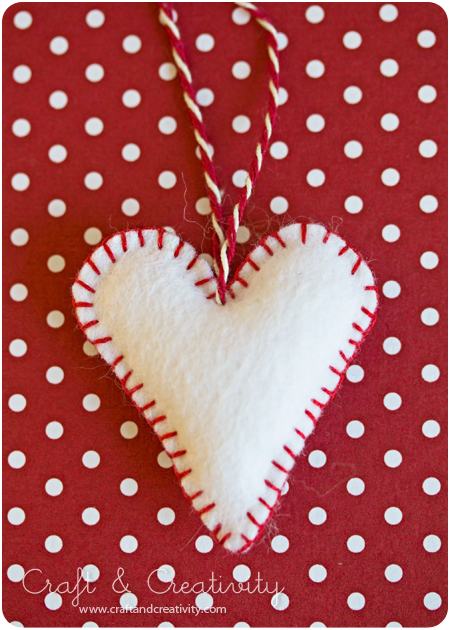
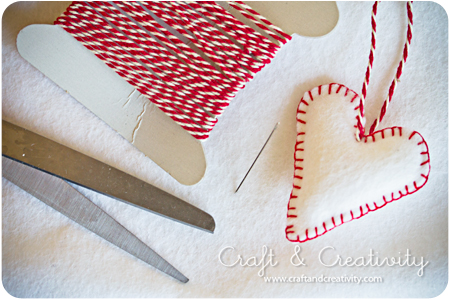
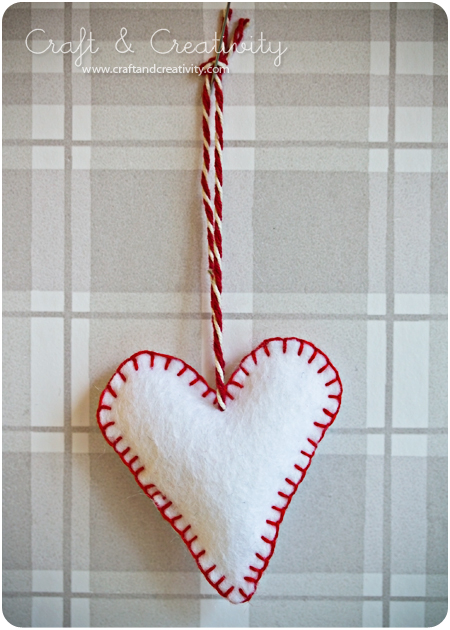
Ja då var det dags för fler hjärtan. 🙂 Jag gillar rött och vitt i granen och då kommer dessa filthjärtan förhoppningsvis passa bra. Jag hade vit filt över efter marängerna och hus-ljuslyktorna. Dessa hjärtan är enkla att göra. Du behöver vit filt, sax, sytråd (eller broderitråd), nål och ett band att hänga hjärtat i.

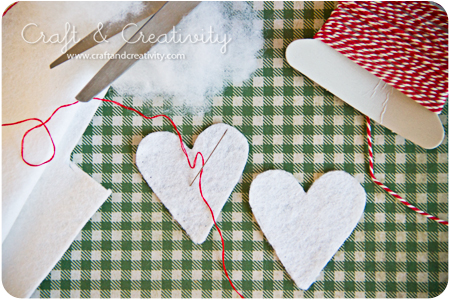
För att måtta hjärtana kan man använda en pepparkaksform till exempel, eller rita för hand. Klipp ut två hjärtan. Sy runt kanten med langettstygn men spara en liten öppning. Fyll med vadd och sy igen det sista. Fäst ett band för upphängning.

It’s about time for some new hearts. 🙂 I like the combination of red and white in the Christmas tree and these felt hearts will hopefully fit right in. I had some scraps of white felt left from the meringues and the felt house lanterns.The hearts are really easy to make. You need white felt, scissors, sewing thread (or embroidery thread), a needle and string or yarn for the hanging. 

In order to get the right heart shape, you can use a cookie cutter, or simply draw by hand. Cut out two hearts. Sew around the edge with blanket stitch, but leave a small opening. Fill the heart with cotton wool and close the gap. Attach a string for hanging. 

Dagens pyssel, tyghjärtan –
Craft of the Day, fabric hearts

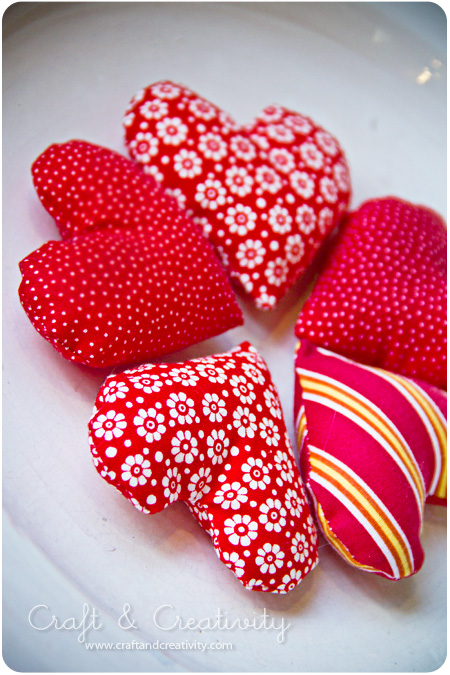
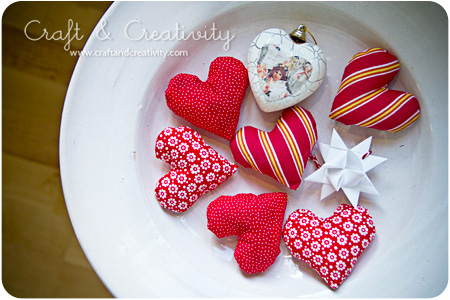
På bloggen Helby’s Hatch finns beskrivningar på hur man syr tyghjärtan. Beskrivningarna är på engelska men med hjälp av bilderna är det lätt att förstå hur man gör.
———–
At the blog Helby’s Hatch you can find descriptions of how to sew fabric hearts.