Spraymålade burklock –
Spray painted jar lids

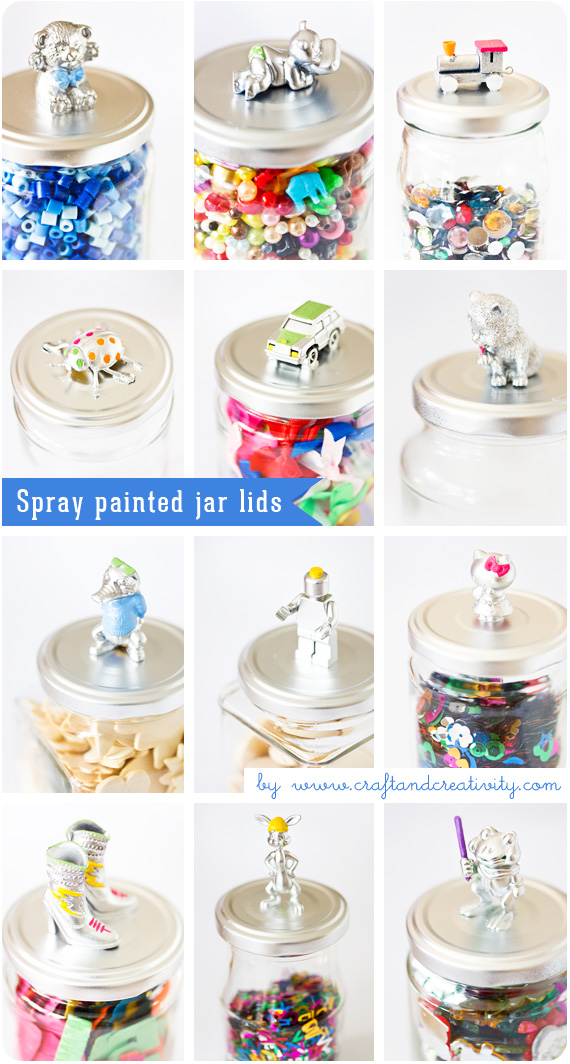
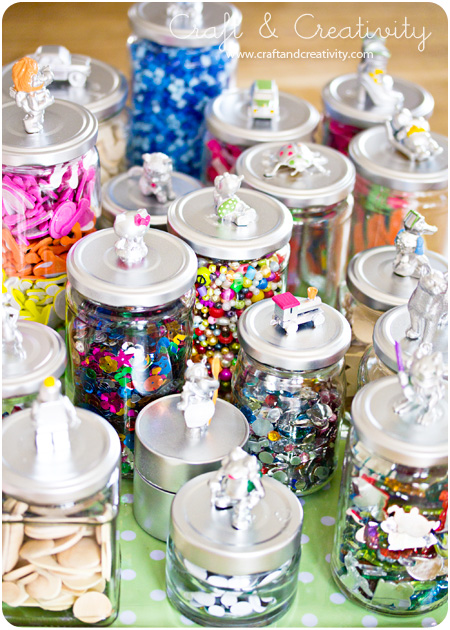
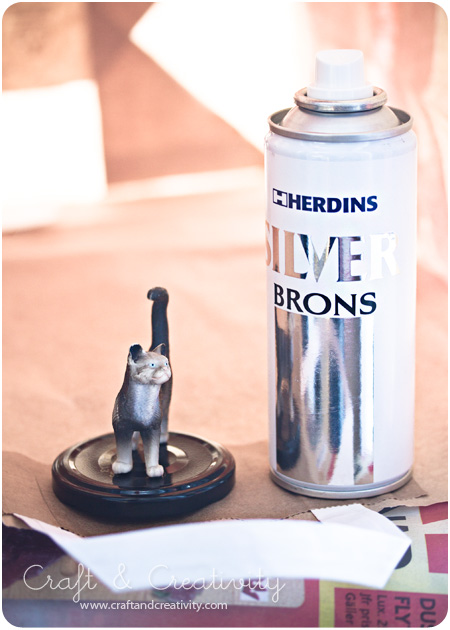
Jag behövde lite fler burkar för mitt pysselmaterial och bestämde mig för att göra några fler i samma stil som de jag gjort tidigare. Den här gången valde jag att färglägga några få detaljer i hobbyfärg efter att silverfärgen torkat. /
I needed more containers for my craft supplies and decided to make some in the same style as the ones I did before. This time I chose to color a few details with hobby paint and a brush, after the silver paint has dried.


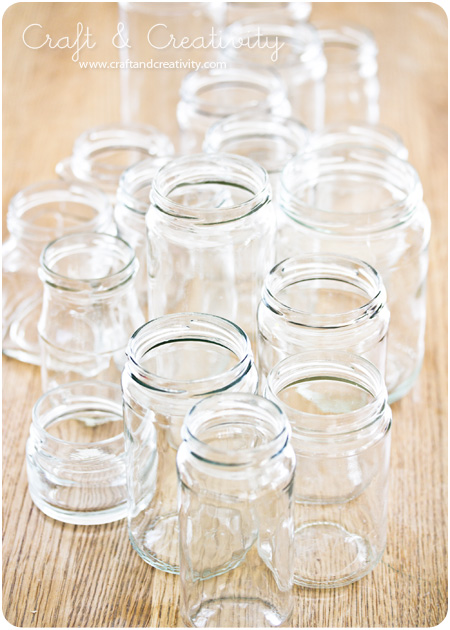
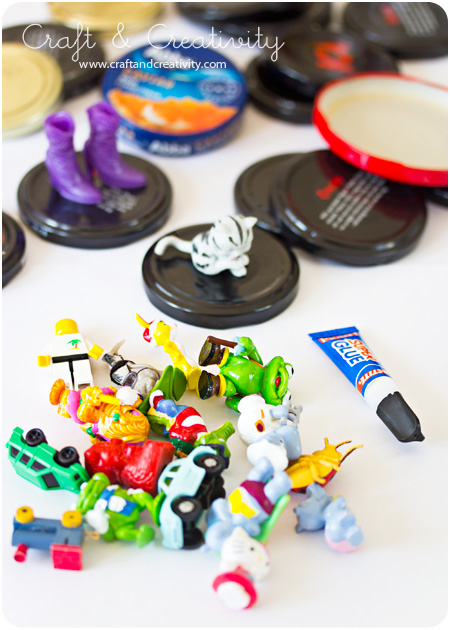
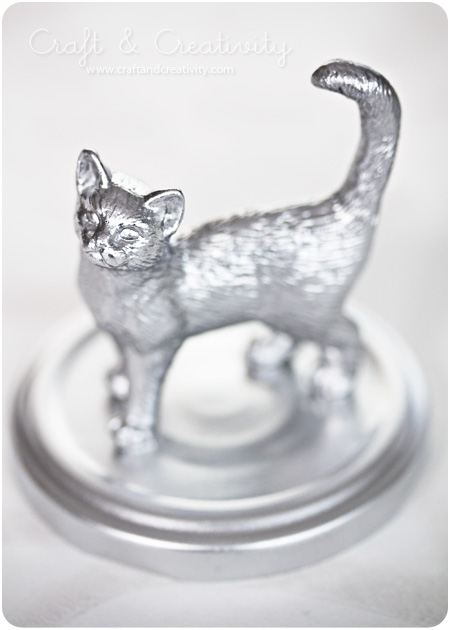
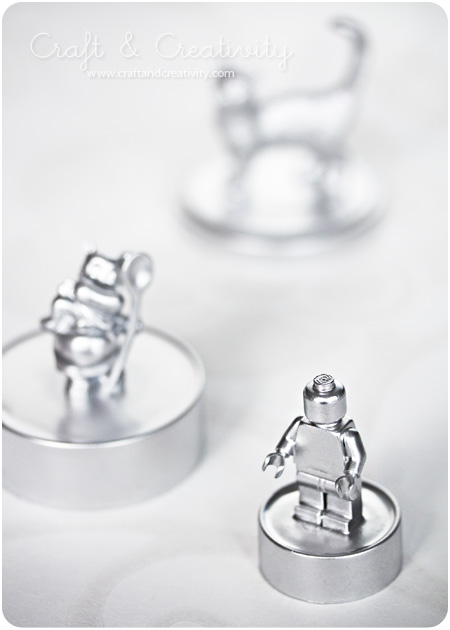
Glasburkarna har vi samlat på oss under en längre tid. De flesta av dem är gamla syltburkar. Återigen länsade jag barnens KinderEgg-samling (jag har fått tillåtelse…) och tog även med ett par Barbie-stövlar och en legogubbe. /
We’ve accumulated the glass jars over time. Most of them are old jam jars. Again, I searched through the girls’ KinderEgg collection for suitable figurines (I have been given permission …) and I also used a couple of Barbie boots and a Lego man. 


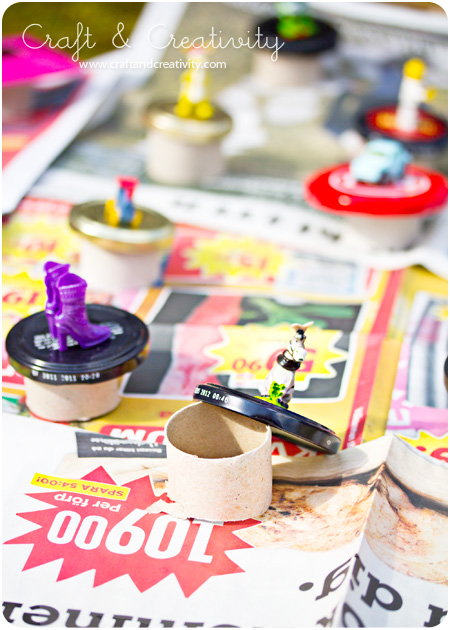
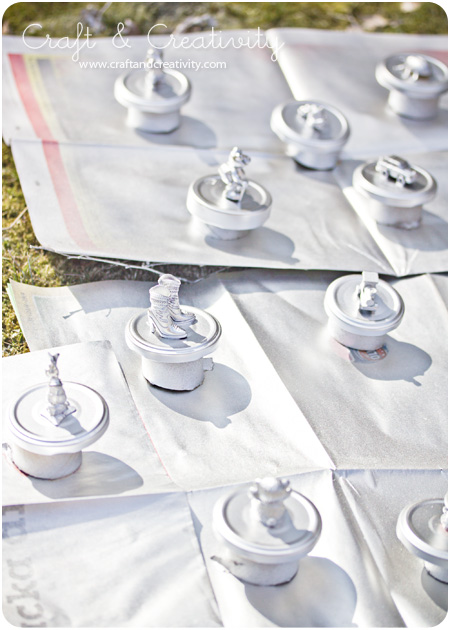
Jag sprayade locken på gräsmattan, med tidningspapper under. För att komma åt att måla runt om och få lite avstånd till underlaget klippte jag sönder toalettpappersrullar som jag placerade locken på. /
I sprayed the lids outside on the lawn and used newspaper to protect the grass. To distance the lids from the ground and get better access when spraying, I used cut up toilet paper rolls.

Närmare beskrivning på hur man gör locken finns i ett tidigare blogginlägg. /
For a detailed description on how to make these lids, please browse this previous blog post

Fåglar på en gren – Birds on a branch

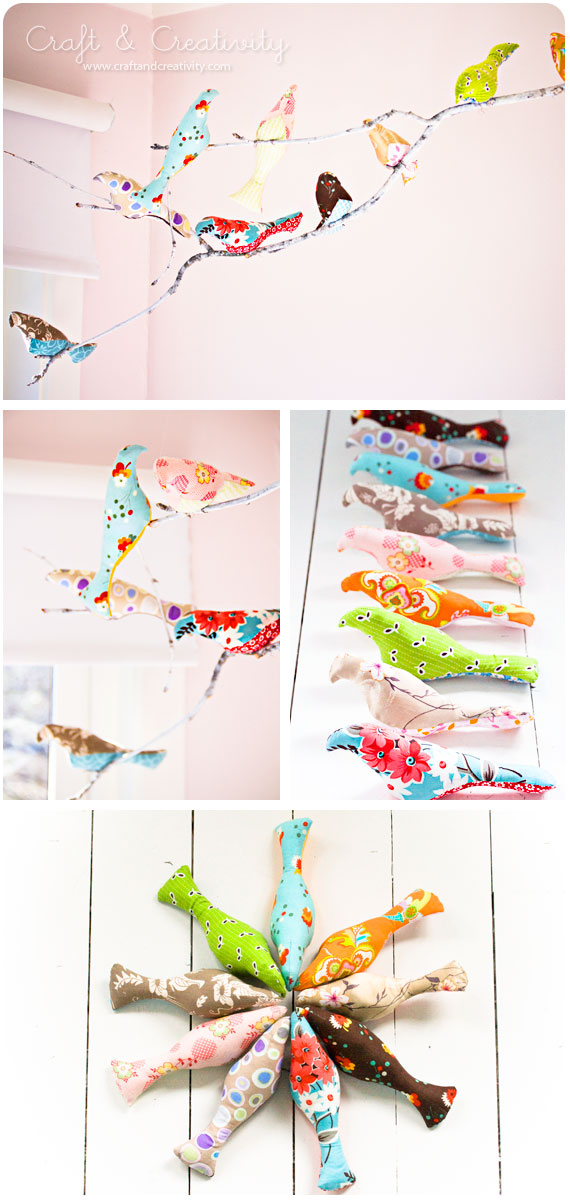
Apropå fåglar, för tre år sedan sydde jag denna fågelmobil till yngsta dotterns rum. Mönstret är gratis och kommer från Spool Sewing. Jag fäste mina fåglar med ståltråd på en trädgren som jag spraymålade vit. Som upphängning använde jag fiskelina. /
Speaking of birds, three years ago I made this bird mobile for my youngest daughter’s room. The pattern is free and comes from Spool Sewing. I attached my birds to a tree branch that I spray painted white. I used fishing line for the hanging. 

Spraymålade burkar –
Spray painted cans & jars

När Karin & Freja på Pysselbolaget skapade sin lyxiga småförvaring härom dagen fick jag inspiration att göra något fint av mina gamla smink- och syltburkar.

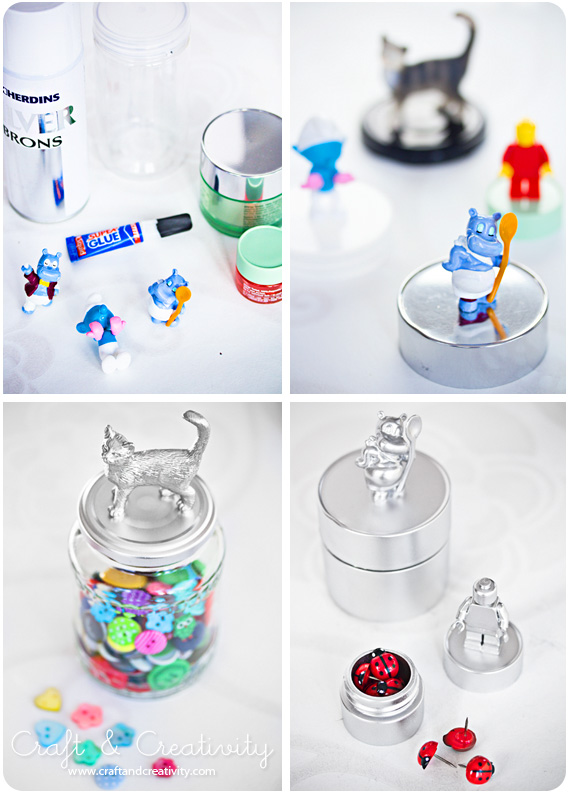
Du behöver: Gamla burkar, leksaksfigurer (t ex lego, plastdjur eller KinderEgg-prylar), superlim och sprayfärg.

Gör så här: Rengör burkarna (plast- eller glasburkar spelar ingen roll), ta bort gamla etiketter och limma fast dina figurer på locken med superlim. När limmet torkat är det bara att börja spraymåla. Läs instruktionerna på sprayburken. Vanlig torktid är ca 10 min om man sprayar ett relativt tunt lager. Man kan med fördel spraya flera lager för att få en snygg och täckande yta.

——–

When Karin & Freja at Pysselbolaget created their luxurious small storage the other day I got the inspiration to make something pretty out of my old cosmetic containers and jam jars. 

You will need: Empty cans or jars, toy figurines (such as Lego, plastic animals or KinderEgg-stuff), super glue and spray paint.

Do like this: Clean the jars (plastic or glass doesn’t matter) and remove old labels. Glue your figurines in place on top of the lids, preferably using super glue. Start spray painting when the glue has dried. Read the instructions on your spray can. It usually takes about 10 minutes for the paint to dry. It’s recommended to spray several thin layers to get a nice and smooth surface. 


Jag höll till utomhus och sprayade föremålen inuti en papperspåse för att inte färgen skulle spridas sig. /
I went outdoors for the spray painting and sprayed the objects inside a paper bag to avoid the spray paint from spreading. 

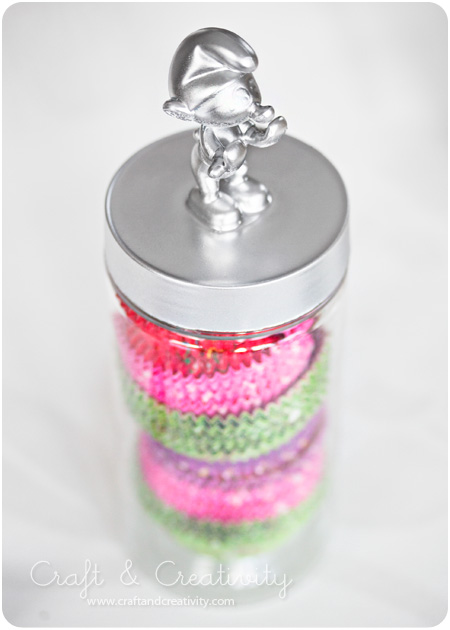
En gammal plastburk blev en muffinsformhållare med smurf-feeling. /
An old plastic container turned into a cupcake wrapper holder with Smurf feeling. 

Allt är inte silver som glimmar… /
All that glitters is not silver… 🙂

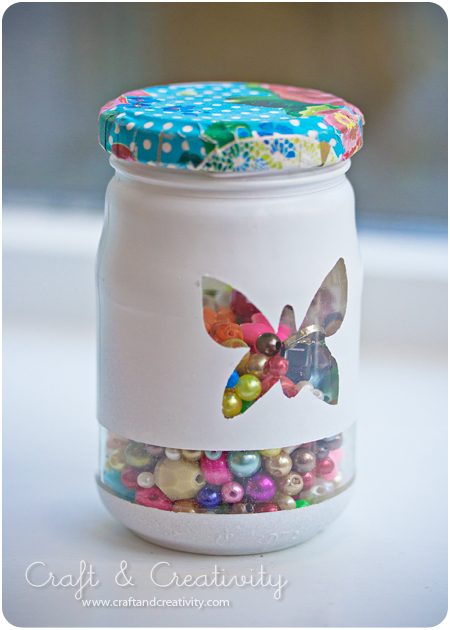
Dagens pyssel, “pimpad” burk –
Craft of the Day, “pimped” jar

Det finns många sätt att piffa till en gammal glasburk. Det här är ett sätt. Jag har testat ett par andra varianter tidigare: se här, här och här. /
There are many ways to decorate an old glass jar. This is one way. I’ve tried a couple of other variations before: take a look here, here and here


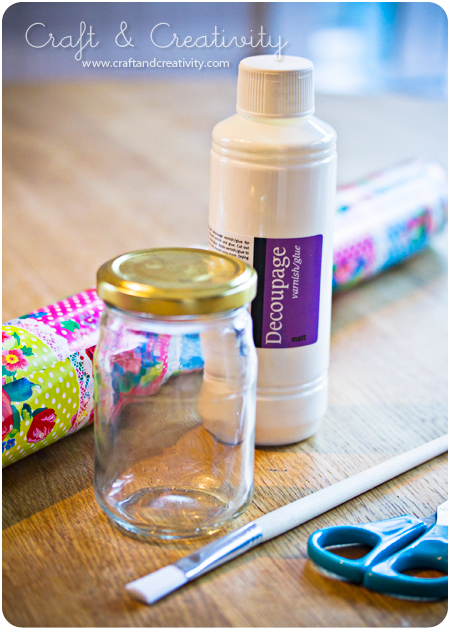
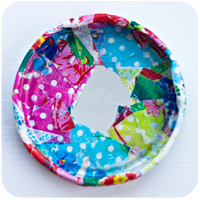
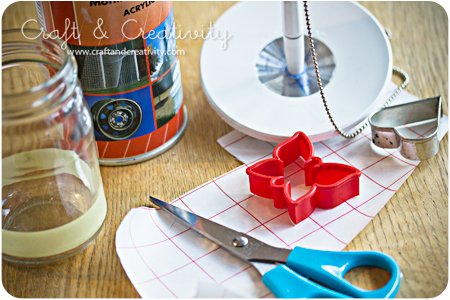
Jag började med locket. Till det använde jag presentpapper, decoupage (klister & lack i ett), sax och pensel. / I started with the lid. For this I used wrapping paper, mod podge (varnish & glue all-in-one), scissors and brush.


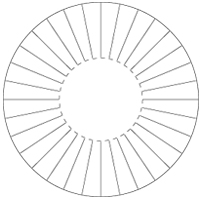
Jag måttade med locket och klippte ut en rundel som var några cm större. Sedan klippte jag remsor in mot mitten. Se skiss (den streckade inre cirkeln symboliserar lockets kant:
———-
I measured out a circle that was a couple of inches larger then the lid. Then I cut strips towards the center of the circle. See my figure below (the dashed inner circle symbolizes the edge of the lid:


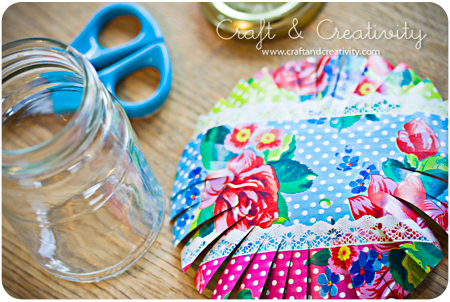
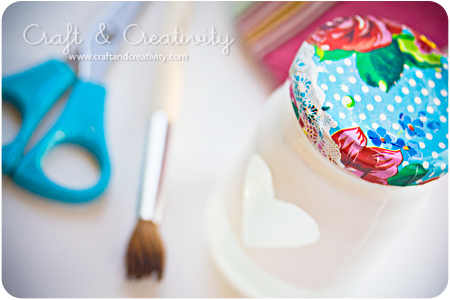
Jag penslade på decoupage runt hela locket och placerade locket i mitten av papperet. Sedan vek jag remsorna runt kanten. Se bild ovan till höger. När det torkat lite penslade jag decoupage utanpå locket också, som en lack på pappet. Jag lät torka i två timmar.
——–
I covered the lid with mod podge and placed the lid in the middle of the paper. Then I folded the strips around the edge. See the right hand picture above. When it had dried for a bit I mod podged the outside of the lid as well, coating the paper. I let it dry for about two hours.


Under tiden målade jag burken. Till den använde jag: Vit sprayfärg, kakmått, självhäftande plast, penna, sax och en gammal tidning. Jag tejpade det område jag inte ville ha spraymålat. Med kakmåtten som mall klippte jag ut figurer i självhäftande plast. Dessa dekaler fäste jag på burken. Burken ställde jag sedan upp och ned på tidningspapper och spraymålade utomhus. När färgen torkat tog jag bort tejpen och plastdekalerna.
———-
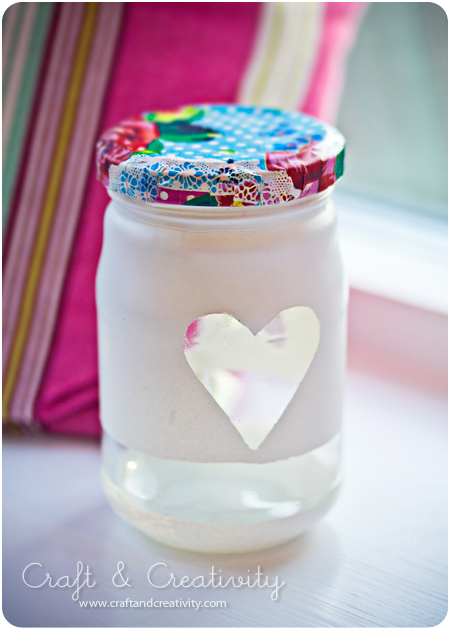
In the meantime, I painted the jar. For this I used: White spray paint, cookie-cutters, self-adhesive plastic, pencil, scissors and an old newspaper. I taped the area I didn’t want paint on. With cookie-cutters as templates I cut out a couple of shapes of the adhesive plastic. I attached the shapes on the jar. I put the jar upside down on a newspaper and spray painted it outdoors. When the paint had dried, I removed the tape and the plastic shapes. 


Ett lager lack till ovanpå locket så var jag nöjd. /
Another coating of mod podge on the top of the lid and I was satisfied.


Klar att använda. / Ready to use. 

Dagens pyssel, spraymålad spegel –
Craft of the Day, spray painted mirror

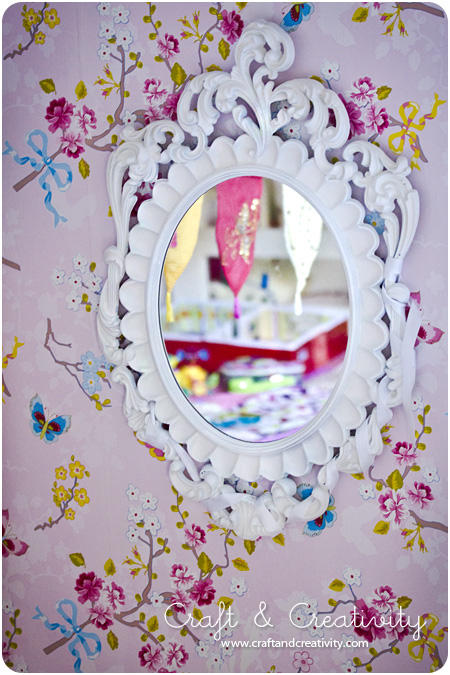
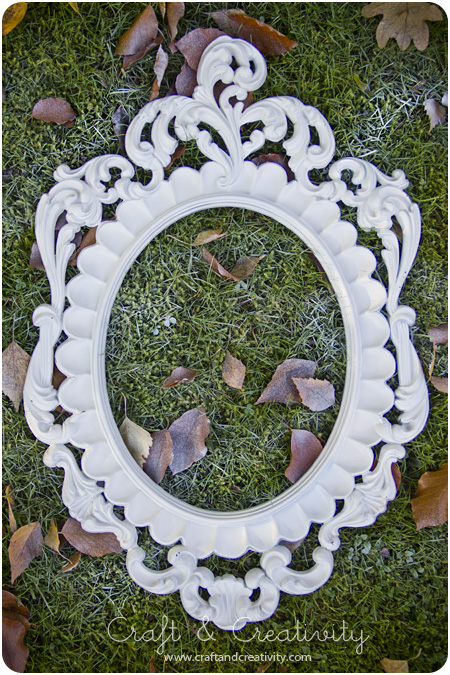
Spegeln köpte jag på loppis och spraymålade vit. Nu hänger den i äldsta dotterns rum. Tapeten kommer från Pip Studio.

Det här behöver du: 
– Tavel- eller spegelram, med fördel snirklig
– Spegel att sätta i ramen, befintlig eller se till att få en tillskuren på ett glasmästeri
Sprayfärg, vit eller annan kulör

Gör så här: 
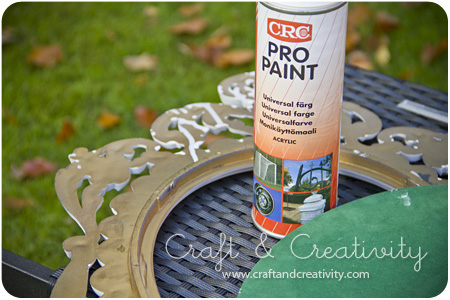
Ta loss spegel och baksida från ramen. Tvätta ramen med målarsoda eller liknande. När det är dags att måla, håll gärna till utomhus. Så slipper du lukten och att du av misstag får färg på möbler och dylikt. Skaka burken. Spraya flera tunna lager från ca 30 cm avstånd. Låt torka. Sätt i spegel och bakstycke och montera ihop från baksidan.

I bought this mirror at flea market and spray painted it white. Now it hangs on the wall in my oldest daughter’s room. The wallpaper is from Pip Studio.

What you need:
– Ornated mirror or picture frame
– Mirror to place in the frame, existing or customized from the glazier
Spray paint, white or other color

How-to:
Remove the mirror and the back from the frame. Clean the frame with paint soda or something similar. When it’s time to paint, it’s best to be outdoors. Simply to avoid the smell and/or accidentally getting paint on your furniture. Shake the can. Spray several thin layers and hold the can about 30 cm from the frame. Allow to dry. Insert the mirror and mount at the back.