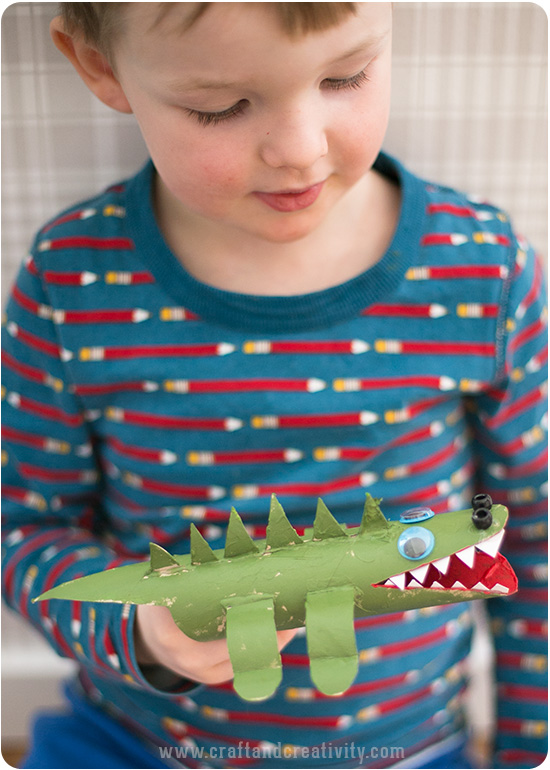
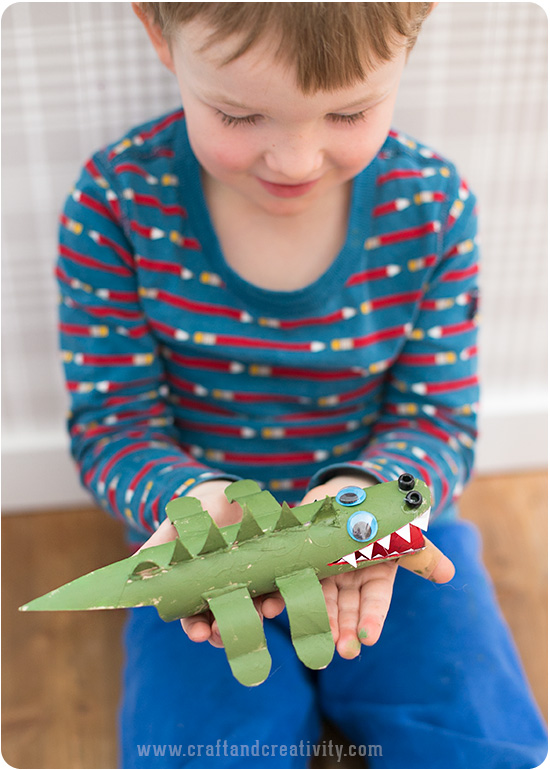
Härom dagen hade jag pysselsällskap av en kreativ liten kille som heter Henry, snart 4 år gammal. Vi bestämde oss för att göra en krokodil av en tomma hushållsrullar. Läs vidare för tips på hur du kan göra din egen papperskrokodil.
———
The other day I enjoyed the company of a creative little boy called Henry who is soon to be 4 years old. We decided to make a crocodile out of empty household paper rolls. Keep reading for tips on how to make your own paper crocodile.
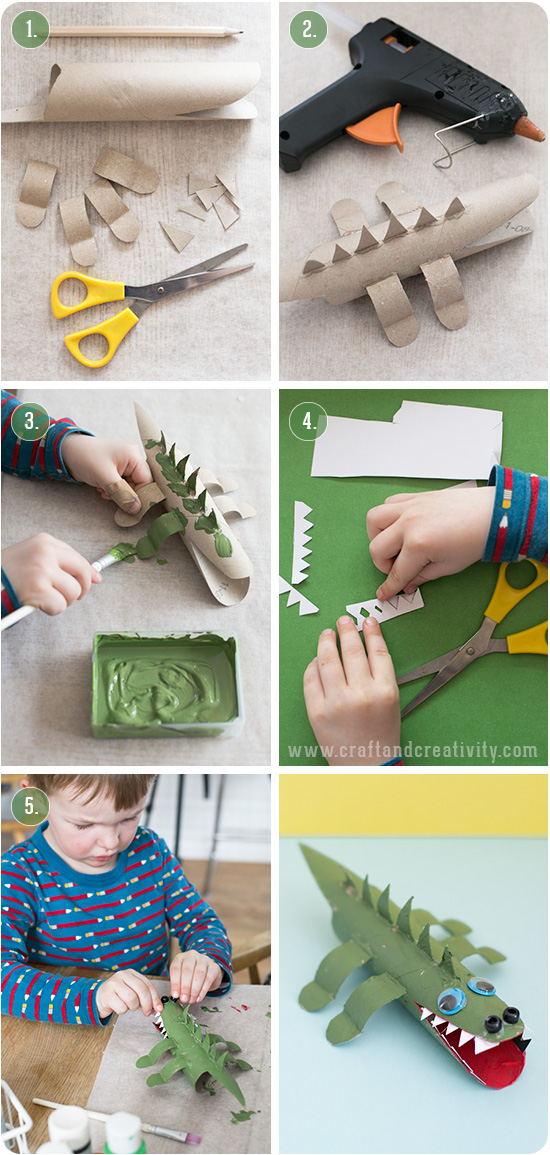
Du behöver: Ett par tomma hushållsrullar eller en hushållsrulle och en toarulle, hobbyfärg, plastögon eller ögonstickers, ett par plastpärlor (6-9 mm) till näsborrarna, ett ark vit kartong eller tjockt papper, en sax och en limpistol. Vi använde Plus Color som är en snabbtorkande och väldigt täckande CE-märkt och vattenbaserad färg.
- Så här gör du: Använd en sax och forma ena ändan av hushållsrullen som en spets (=svansen) och andra ändan som en gapande mun. Använd den andra hushållsrullen och klipp till fyra ben, vik till dem och klipp fötterna runda. Klipp ut ett antal taggar. Beroende på ålder på barnet så kan du som vuxen hjälpa till att klippa till de olika delarna.
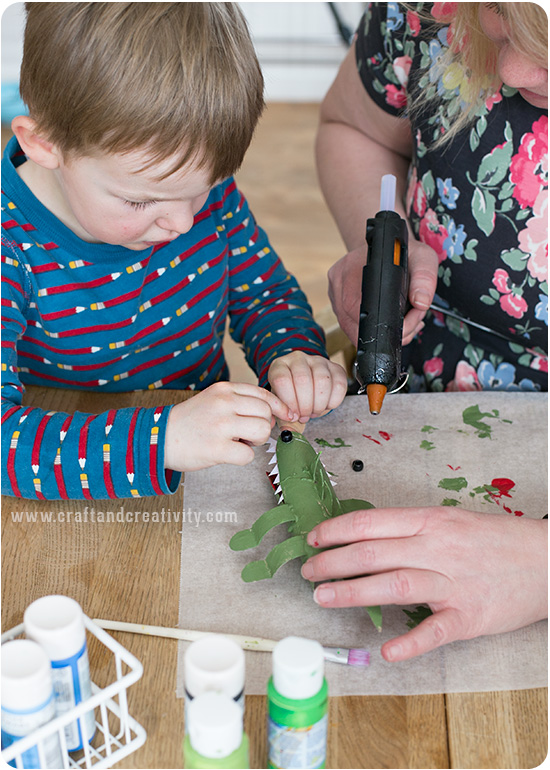
- Limma fast delarna med en limpistol. Tänk på att man lätt kan bränna sig när man använder limpistol så detta moment kan behöva en vuxens hjälpande hand. Använd ganska mycket lim så att delarna sitter fast ordentligt.
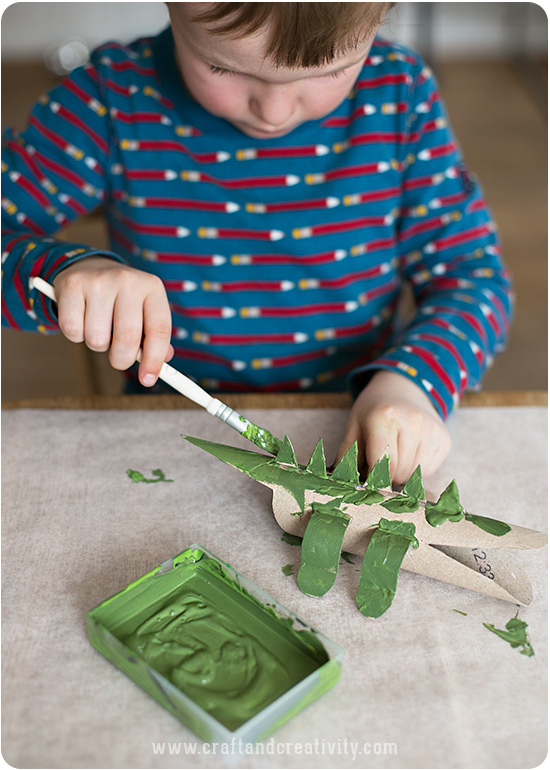
- Börja måla! Ett ark bakplåtspapper fungerar bra för att skydda bordsytan från färg och pappret kan återanvändas många gånger. En gammal tidning fungerar också utmärkt!
- Klipp ut fyra tandrader av tjockt vitt papper eller kartong under tiden som färgen torkar.
- Limma fast tänderna, ögon och näsborrar. Nu är krokodilen klar!
———-
You will need: A pair of empty household kitchen paper rolls, hobby paint, plastic eyes or eye stickers, a pair of plastic beads (6-9 mm) for the nostrils, a sheet of white cardstock, a pair of scissors and a glue gun. We used Plus Color hobby paint which is a quick drying and opaque water based paint, suitable for kids.
- Do like this: Use a pair of scissors and trim one end of the roll as a tip (= the tail) and the other end as a mouth. Use another paper roll and cut out the legs, fold them and cut the feet round. Cut out a number of tags. Depending on the age of your child you can help him or her with the cutting.
- Glue the parts together with a glue gun. Keep in mind that you can easily get burned when using the glue gun and this exercise might need an adult’s helping hand. Use lots of glue to make the parts stick properly.
- Start painting! A sheet of parchment paper protects your table top from paint and can be reused many times. An old newspaper also works great!
- While the paint dries, cut for rows of teeth from white cardstock.
- Clue the teeth, eyes and nostrils in place. Voilà, your crocodile is done!
För att få exakt den gröna färg du vill ha så kan du blanda grön färg med ett par droppar svart eller vit färg för att få en mörkare eller ljusare grön nyans.
———-
To get exactly the green color you want, mix green paint with a few drops of black or white paint to get a darker or lighter shade of green.
Här hjälper jag Henry med limpistolen men han får själv bestämma var de olika delarna ska sitta.
———
Here I’m helping Henry with the glue gun while he decides where the different parts should be placed.
Någon är väldigt nöjd med sin papperskrokodil! /
Someone is very pleased with his paper crocodile!
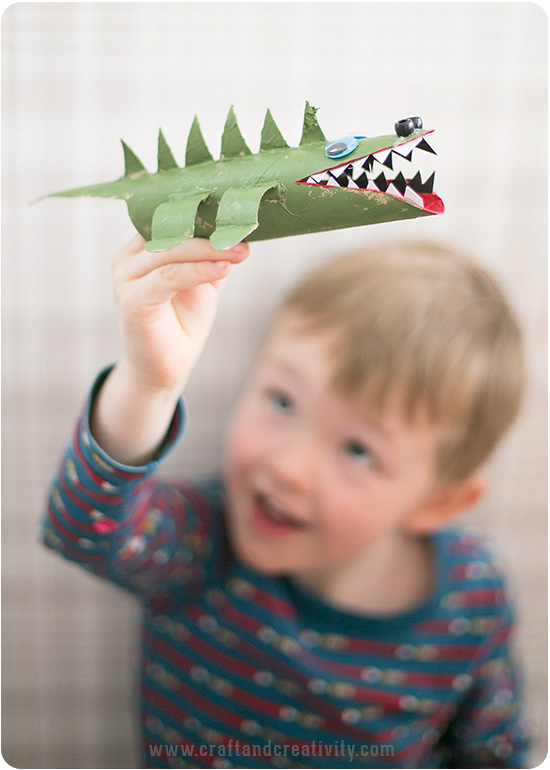
Tro det eller ej men krokodiler kan faktiskt flyga! /
Believe it or not, but crocodiles can actually fly!

