Till skillnad mot grönsakstryck på tyg (vilket vi testade härom dagen och som var väldigt roligt) så kan man med stämpelgummi göra mer detaljerade stämplar som ingen annan har och använda dem för att trycka på tyg, inbjudningskort eller visitkort. Plus att de håller längre! Eller varför inte stämpla på enfärgat presentpapper och göra egna mönster? Har du ett eget företag så kan du göra din logotyp eller om du ska gifta dig så kan du testa göra din och din make/makas initialer och trycka på inbjudningskort/servetter m m till bröllopet.
—————-
Unlike vegetable prints on fabric (which we had lots of fun making the other day), you can make rubber stamps much more detailed and you can use them for printing on fabric, invitations or business cards etc. Plus they last longer! Or why not stamp on plain gift paper and make your own patterns? If you have your own business you can make a stamp with your logo, or if your getting married, you can stamp your and your spouse’s initials and print on invitations, napkins etc for the wedding.
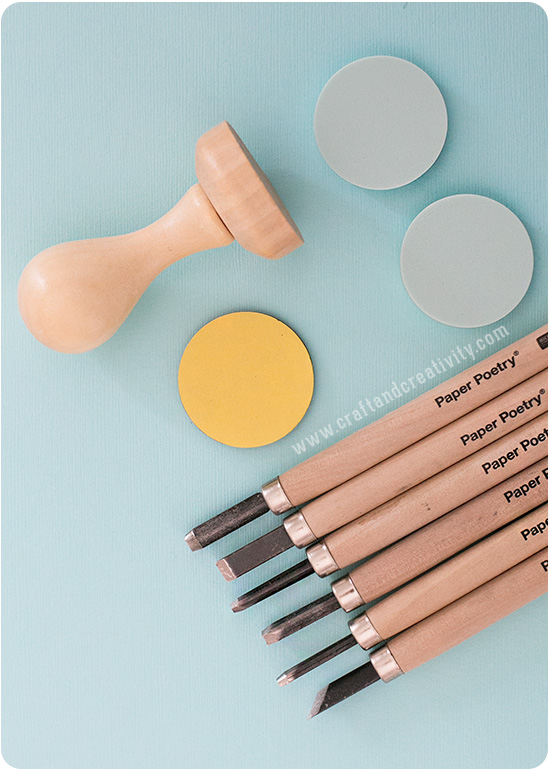
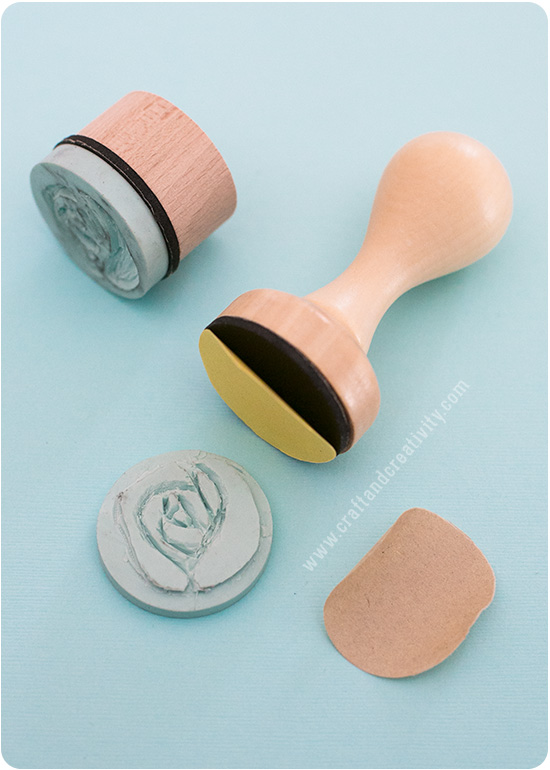
För att göra egna stämplar behöver du: Stämpelgummi, trähandtag eller enklare träblock med tillhörande dubbelhäftande skumgummi för att fästa stämpelgummit, stämpelverktyg som man karvar med och en blyertspenna. Det finns runda, kvadratiska eller rektangulära stämpelgummin som även kan delas i flera delar för att göra mindre stämplar om man vill.
————-
To make you own stamps you will need: Stamp rubber, wooden handles or wooden blocks, carving tools and a pencil. You can get round, square or rectangular stamp rubbers which can also be divided in order to make smaller stamps if you want.
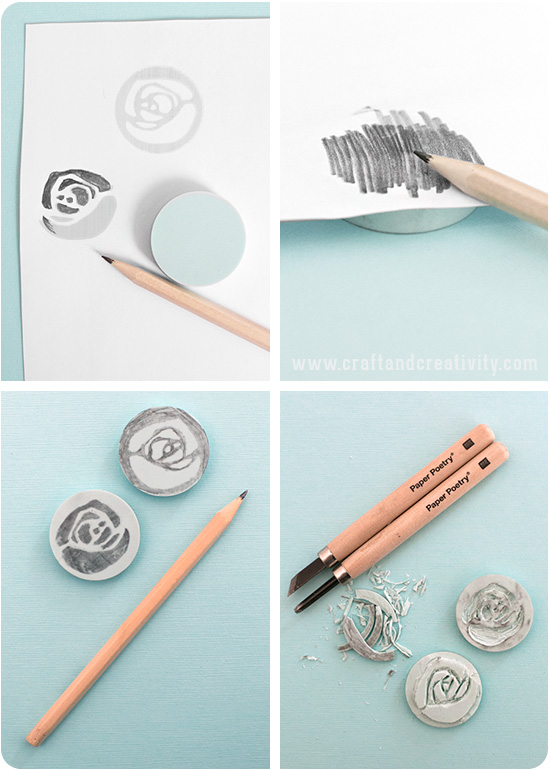
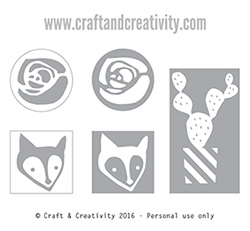 Gör så här: Designa ditt eget mönster på ett vitt papper eller skriv ut vår pdf-mall med en ros, en räv och en kaktus. Fyll i de fält som du vill karva bort med en blyertspenna = lämna de fält som ska bli själva stämpeln blanka. Du kan även skissa direkt på stämpelgummit. Vänd pappret upp och ned och lägg det över stämpelgummit. Rita med blyertspenna på baksidan av pappret för att överföra mönstret till stämpelgummit. Det är de ifyllda fälten som du nu ska karva bort. Testa dig fram med de olika verktygen. Det skalpell-liknande platta bladet passar bra till att skära ut konturerna innan du karvar bort allt överflödigt gummi med de andra verktygen. Karva dig ner ca 2-3 mm för att trycket ska bli tydligt. Verktygen finns i olika former och storlekar beroende på hur detaljerat ditt motiv är. Tänk på att det inte behöver bli perfekt – det är bara fint att det syns att stämpeln är hemmagjord! Vår ros och räv kan du för övrigt välja att göra på två olika sätt. Antingen så karvar du ut själva motivet eller så karvar du ut det som är runt om (längre ner ser du skillnaden på hur trycket blir). Obs! Tänk på att siffror och text måste göras spegelvända.
————-
Do like this: Design your own patterns on a sheet of paper or print out our template with a rose, a fox and a cactus. Fill in the fields that you want to carve away = leave the fields that will make the actual stamp face. Position the drawn image facedown on the rubber. Rub the image with a pencil and use pressure to transfer the image to the stamp rubber. Carve out the image and gradually expose. Use small gouges to work out fine lines and details. The scalpel-like knife is used for cutting edges and outlines. Keep carving till the stamp face is embossed 2-3 mm. Remember that small irregularities only makes the stamp individual and gives it a nice DIY look. Our rose and fox can be made in reverse. You can see examples of a reversed rose print further down. Note: Letters or numbers needs to be in reverse.
Nu är det dags att fästa stämpelgummit på själva handtaget eller träblocket. Det medföljande skumgummit ska fästas mellan handtaget och stämpelgummit vilket ger stämpeln lite flexibilitet. Skumgummit har skyddspapper på båda sidor som tas bort för blotta den självhäftande ytan.
————
Now it’s time to assemble the different pieces. Fix the carved rubber with the help of the self-adhesive foam plate onto the wooden stamp handle or wooden block. The soft foam is used as a buffer and improves the stamp result. The foam plate has protective paper on both sides that must be removed to reveal the self-adhesive surface.
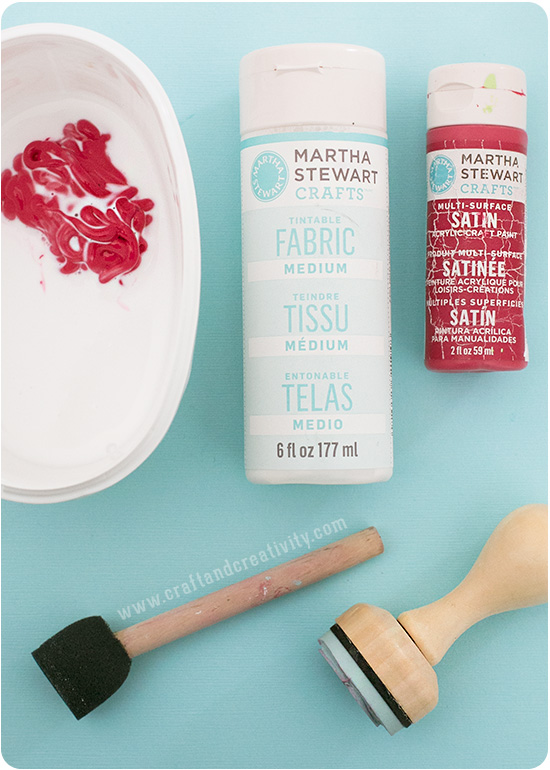
Dags att börja trycka! Det finns speciell textilfärg som man kan använda (som vi gjorde med våra grönsakstryck) men den här gången valde vi att använda färg från Martha Stewart Crafts och blanda den med Tintable Fabric Medium (1 del medium till 2 delar färg) för att få en mjukare och mer flexibel yta när man målar på tyg. Blanda färgen i en gammal plastbytta eller liknande. Vi använde en skumstencilpensel för att överföra lagom mängd färg till stämplarna.
————
Time to start printing! You can use special fabric paint (like we did with our vegetable prints) but this time we used Martha Stewart Crafts paint and mixed it with Tintable Fabric Medium (1 part Medium with 2 parts paint) to get a softer and more flexible surface when printing on fabric. Mix the paint in an old plastic jar or similar. We used a foam brush to apply the paint to the stamps.
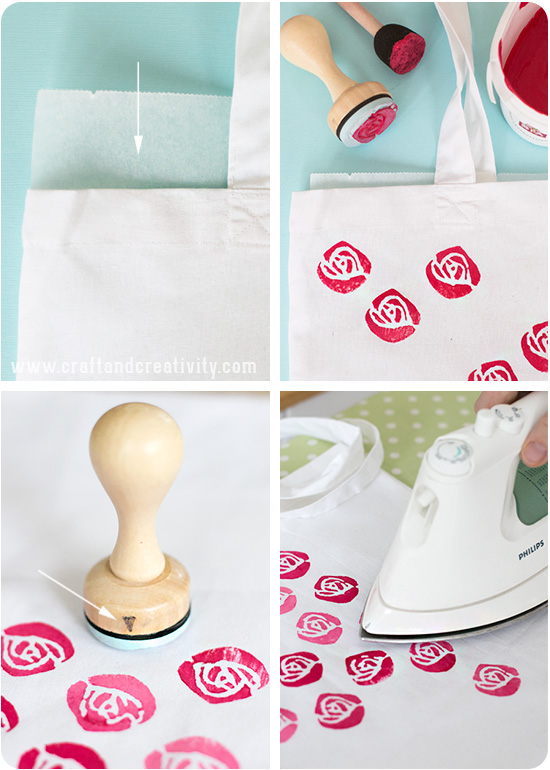
Här stämplar vi rosor på en tygväska. Tänk på att lägga ett ark bakplåtspapper eller liknande inuti väskan ifall färgen skulle blöda igenom. Tips: Rita en liten pil på stämpeln med en blyertspenna för att veta vilken del av motivet som är uppåt. Vi använde olika nyanser av rosa/cerise för att ge rosorna mer liv. När du har stämplat klart, låt färgen torka i 24 timmar och slutligen fixera färgen med ett strykjärn för att den ska tåla tvätt.
—————
Here we’re stamping roses on a tote bag. Consider adding a sheet of wax paper inside the bag in case the paint bleeds through the fabric. Tip: Mark the stamp handle with an arrow at the bottom or top center, this will help you find the correct position when stamping. We used different shades of pink/fuchsia to give the roses more life. Once you done stamping, let the paint dry for 24 hours and then heat set the print with an iron to make the fabric washable.

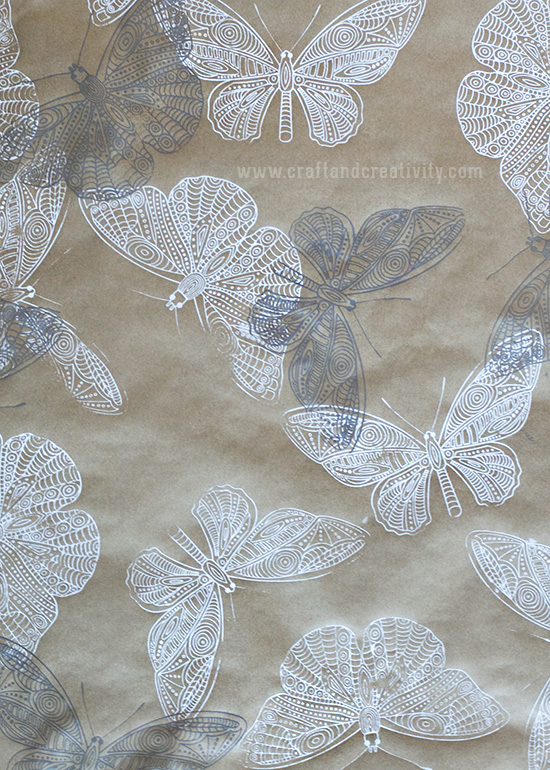
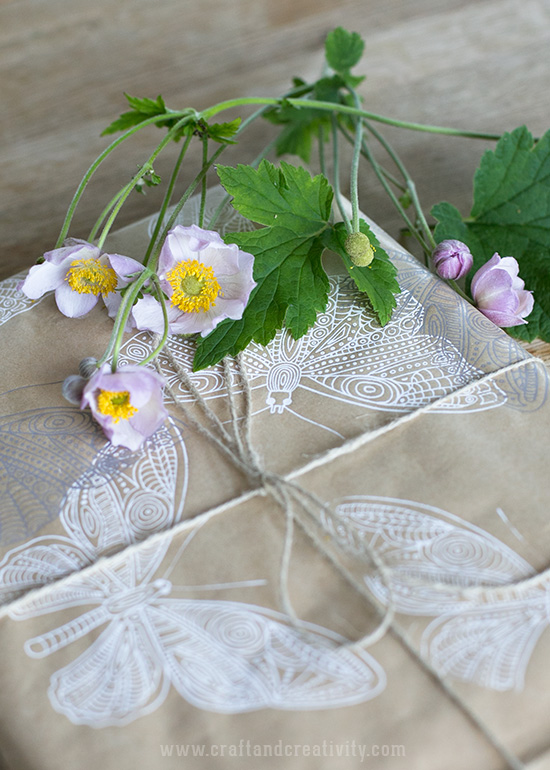
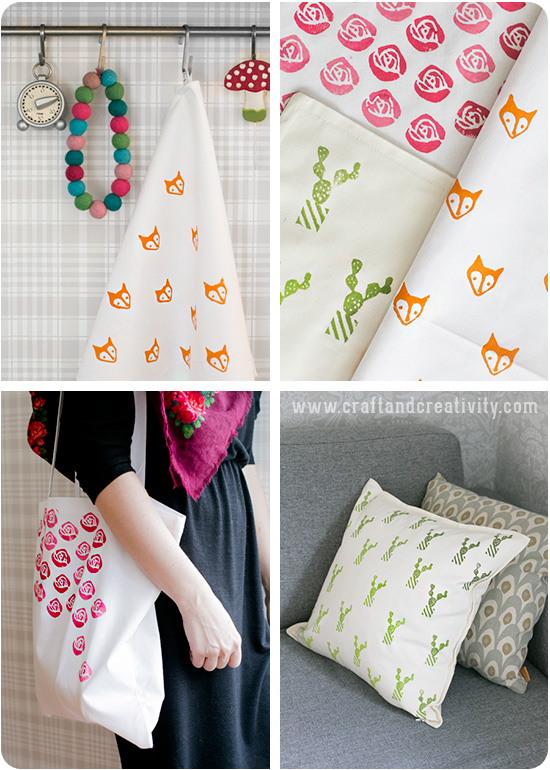
Så här blev våra stämplar och de färdigstämplade motiven. Det går lika bra att stämpla på tyg som på papper! Om du stämplar på papper så använder du vanliga stämpeldynor.
————
This is how our stamps and prints turned out. It’s just as easy to stamp on fabric as on paper! If you stamp on paper, you can use ordinary ink pads.
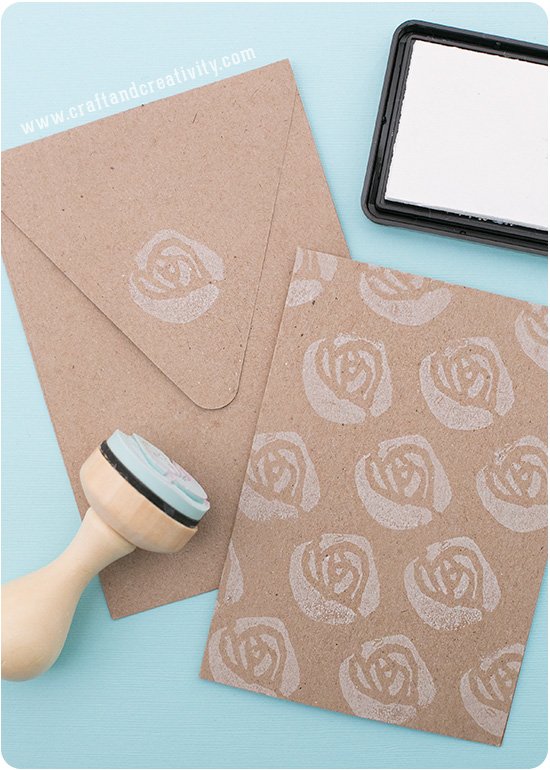
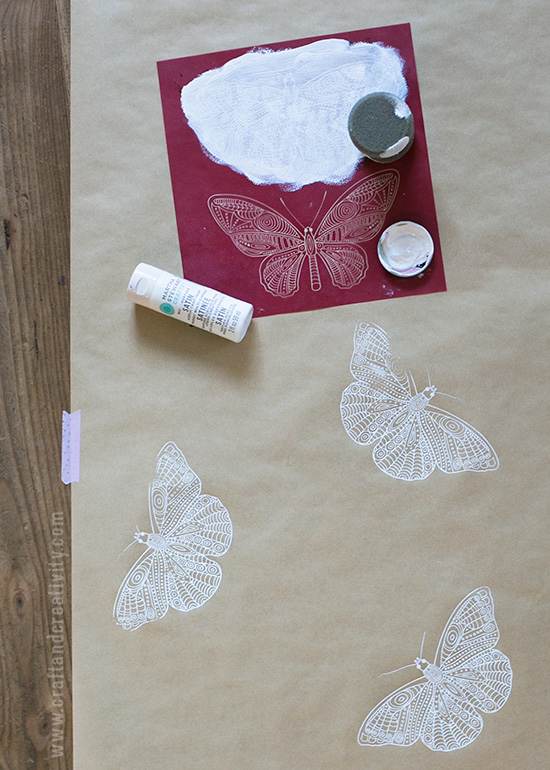
Vi testade även att stämpla vita rosor på kort och kuvert i kvistkvalitet. / We also tried stamping white roses on kraft paper cards and envelopes.