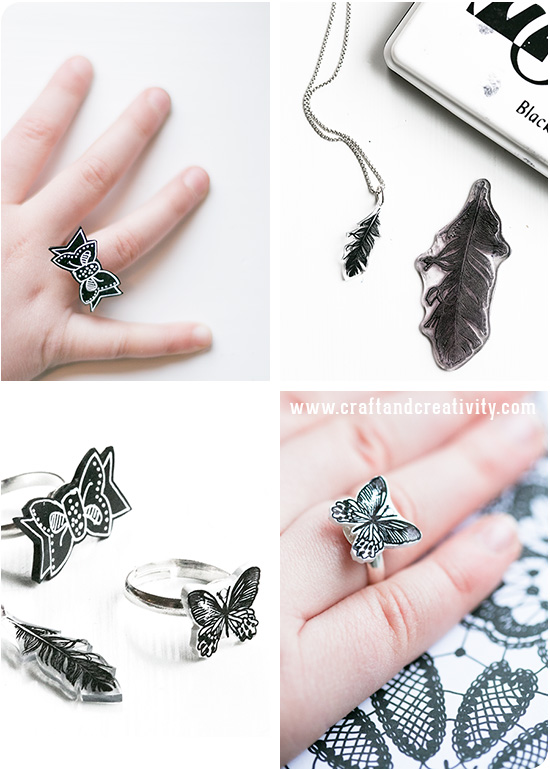
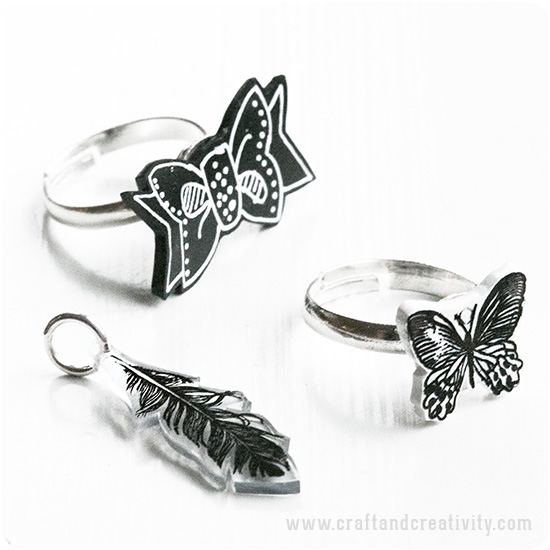
Jag har experimenterat med att använda stämplar på krympplast och det funkade över förväntan. Jag använde silikonstämplar, s k clear stamps som man köper i ark med många olika motiv. Du tar loss just det motiv du vill använda och sätter den på ett genomskinligt akrylblock och sedan är det bara att stämpla på krympplasten (den blanka sidan). Stämpeldynan Memories Dye fungerar bra, bläcket fäster på krympplasten och torkar under krympningen. Var dock försiktig med att peta på bläcket innan du stoppar in ditt stämplade motiv i ugnen. Rosetten är inte stämplad utan den ritade jag för hand med vit permanent tusch på svart krympplast. Fjärilen och fjädern är stämplade och högst upp till höger ser du storleken på själva silikonstämpeln jämfört med det krympta resultatet.
————–
I’ve experimented with using stamps on shrink plastic (shrinky dinks) and it worked beyond my expectations. I used silicone stamps, i e clear stamps that you place on an acrylic block and then start stamping on the shrink plastic (the glossy side). Be sure to use a stamp pad with waterproof ink. The ink will dry while shrinking in the oven. However, be careful not to touch the ink before you put your stamped plastic in the oven. The bow is not stamped, I drew it by hand with a white permanent marker on black shrink plastic. The butterfly and the feather are stamped and on the top right, you can compare the size of the stamp to the shrunken plastic.
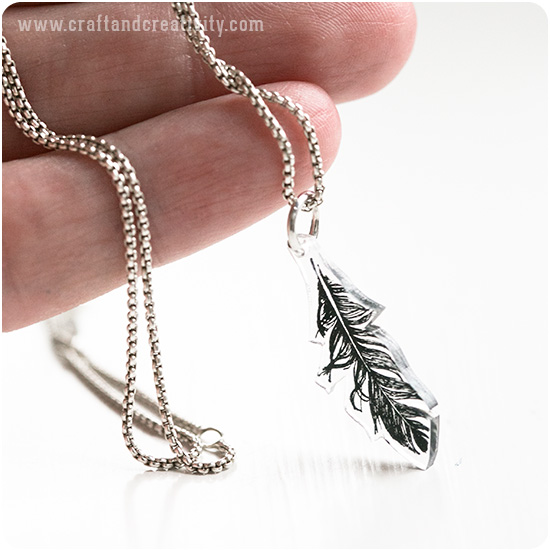
Vill du göra ett berlock så kom ihåg att göra hål i plasten innan du krymper smycket. Hålet krymper också till 1/3 och behöver därför vara ganska stort. Krymp plasten i ugnen (160-170°C), låt svalna, trä en o-ring genom hålet och nyp ihop den med en tång. Nu kan du hänga din berlock i ett halsband, armband eller örhänge.
———-
If you want to make a charm, remember to make holes in the plastic before shrinking. The hole will also shrink to 1/3 and therefore it needs to be quite big. Shrink the plastic in the oven (320°F /160°C), allow to cool, thread a jump ring through the hole and close it with a pair of pliers. Now you can hang your charm in a necklace, a bracelet or earring.
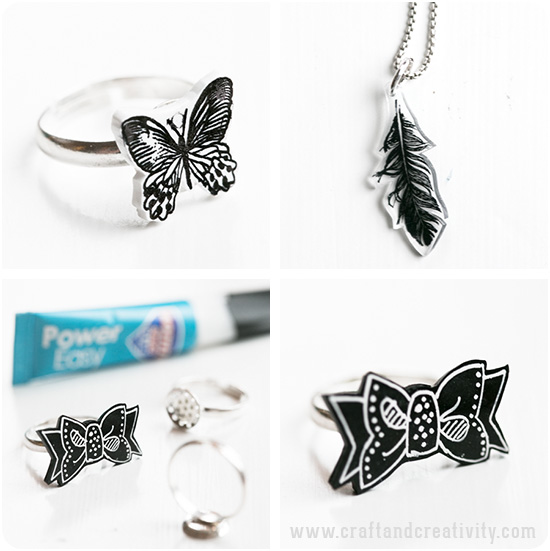
Fjärilen och rosetten limmade jag fast på ringar med hjälp av sekundlim. Du behöver bara en liten droppe lim på ringens platta, placera motivet ovanpå och låt torka. Det kan ta en stund om du råkat ta lite för mycket lim men har man bara tålamod så sitter det som berget sedan. Var försiktig så du inte får lim på fingrarna. Dessa ringar är justeringsbara och passar alla fingrar.
—————-
I glued my butterfly and my bow to sieve rings using super glue. You only need a small drop of glue on the plate of the ring. Place the object on top and let dry. It can take a while if you used too much glue, but be patient. Be careful not to get glue on your fingers. These rings are adjustable to fit all fingers.
I ugnen funkar det så att krympplasten först krullar ihop sig och sedan krymper. Först när plasten blir platt igen är det dags att ta ut den ur ugnen. Är den fortfarande lite böjd kan du vända på den med en pincett eller liknande och pressa försiktigt med t ex undersidan på ett platt glas medan plasten fortfarande är varm. Vill du läsa mer om krympplast så klicka dig till vidare till mina tidigare krympplastprojekt.
———
The shrink plastic will curl in the oven and then shrink and only when the plastic becomes flat again it’s time to take it out of the oven. If it’s still a bit curved, turn it around with a pair of tweezers and squeeze gently with eg the bottom of a flat glass while the plastic is still warm. If you want to read more about shrink plastic, please proceed to my previous shrink plastic crafts.


