Washitejpat Duplo –
LEGO Duplo with washi tape

Washitejpat Duplo - av Craft & Creativity

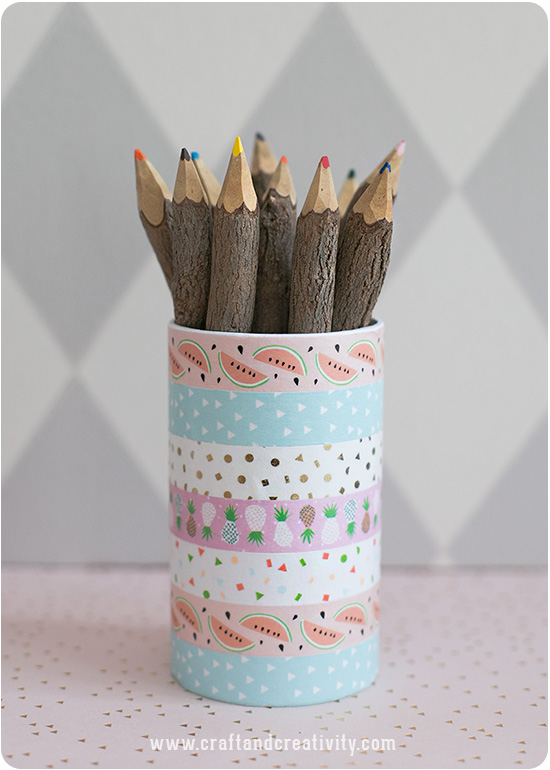
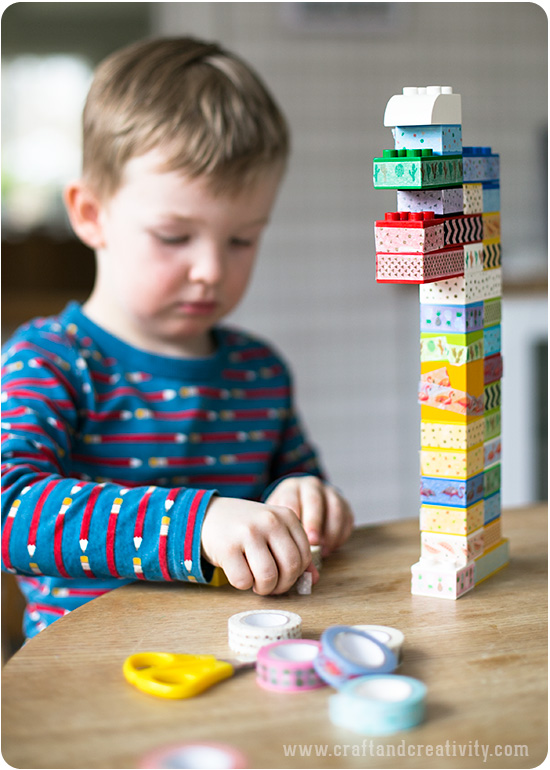
Gammalt Duplo-lego blir som nytt med lite mönstrad washitejp! Tejpen går att flytta eller ta bort och lämnar inte spår av klister efter sig. Washitejp är oftast 1,5 cm hög och passar därför bäst till stora legobitar, d v s Duplo.
————
Give your LEGO Duplo a new look with patterned washi tape! The tape can easily be removed or repositioned, leaving no traces of glue. Washi tape is usually 1,5 cm high and is therefore best suited for LEGO Duplo and not small LEGO. 

Washitejpat Duplo - av Craft & Creativity

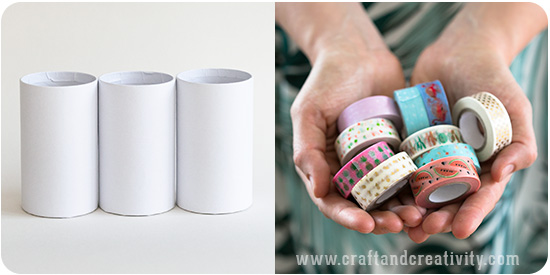
Idén med att sätta washitejp på Duplo fick jag från bloggen No time for flash cards och jag kunde inte motstå frestelsen att testa själv! Allt du behöver är Duplo, washitejp och eventuellt en sax.
———–
I got the idea of putting washi tape on Duplo from the blog No time for flash cards and I couldn’t resist the temptation to try it out! All you need is LEGO Duplo, washi tape and a pair of scissors.

Washitejpat Duplo - av Craft & Creativity

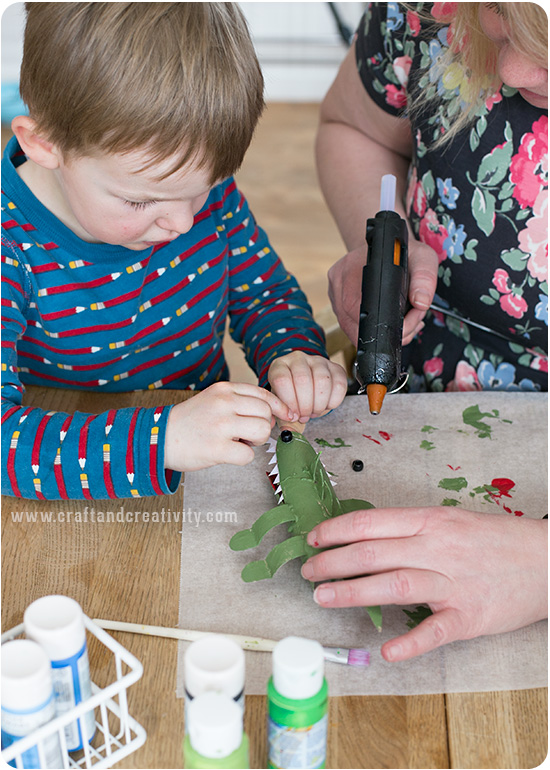
Min inlånade pysselkompis Henry tejpade ivrigt och under stor koncentration. Han gjorde ett toppenjobb!
———-
Henry, my crafting companion for the day did the taping willingly and with great concentration. He did a great job!

Washitejpat Duplo - av Craft & Creativity

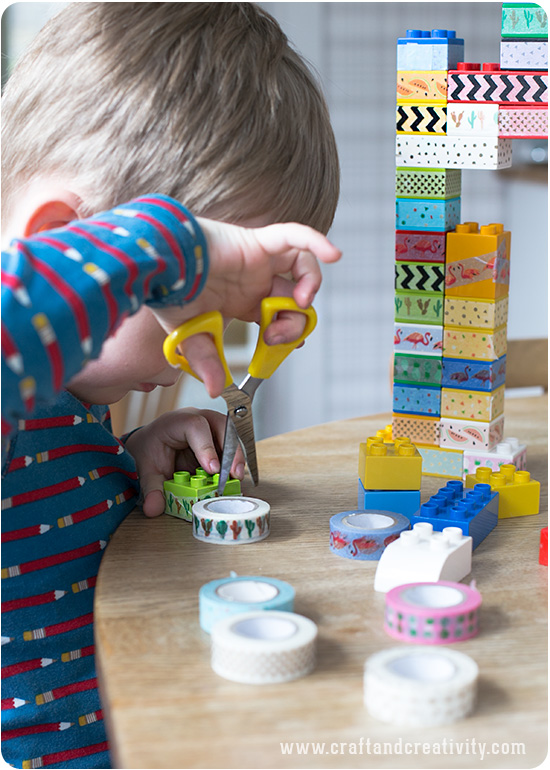
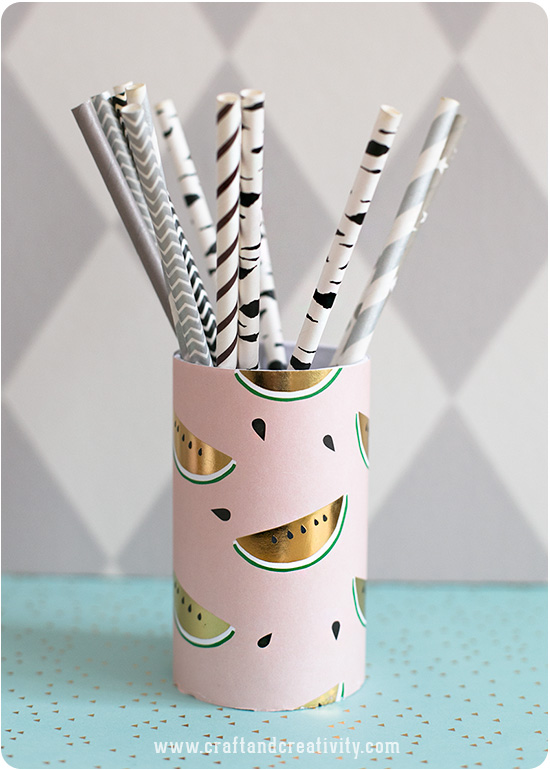
Washitejpen går bra att riva av för hand men vill man få raka snitt så kan man använda en sax.
———
You can tear the washi tape by hand but if you want straight cuts you can use a pair of scissors.

Washitejpat Duplo - av Craft & Creativity

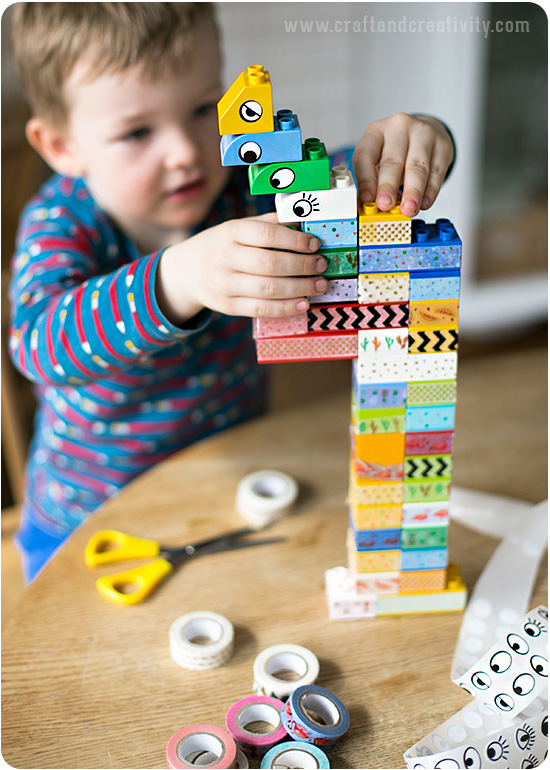
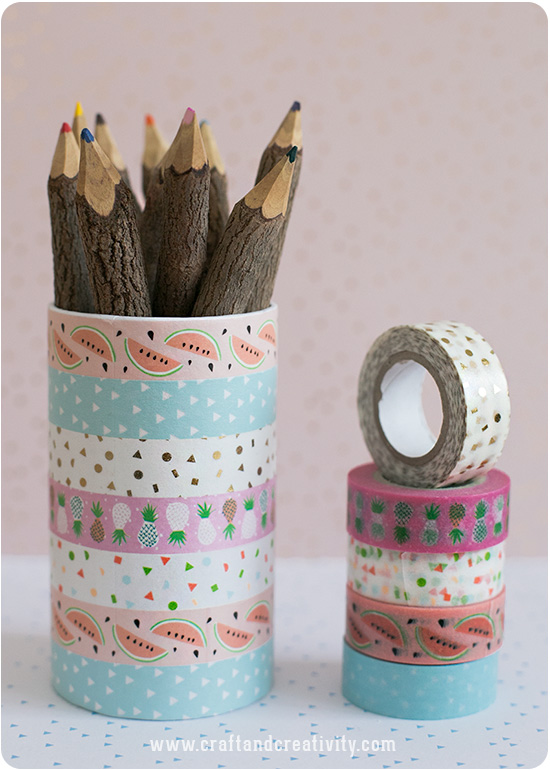
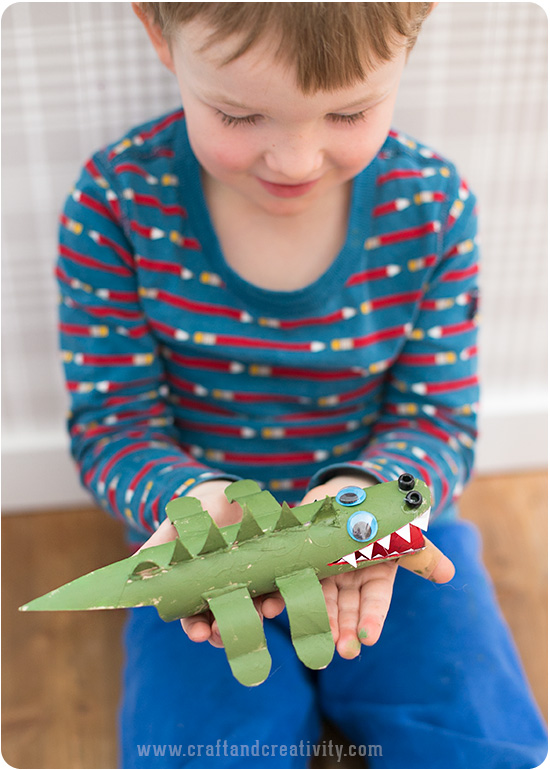
Henry låter hälsa att det är väldigt roligt att bygga med det mönstrade Duplot! Några av bitarna fick ögon istället för tejp. Notera att ögonen fäster hårdare än tejpen och kan vara lite svårare att ta bort men de ger en väldigt rolig effekt!
———-
Henry loves building with his patterned Duplo! Some of the pieces got eyes instead of tape. Please note that the eyes are more difficult to remove than the tape, but they do add a fun effect! 

Washitejpat Duplo - av Craft & Creativity

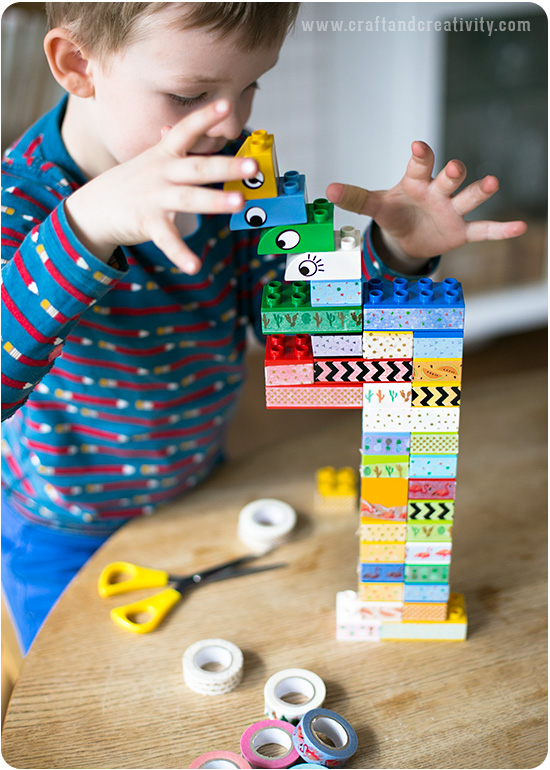
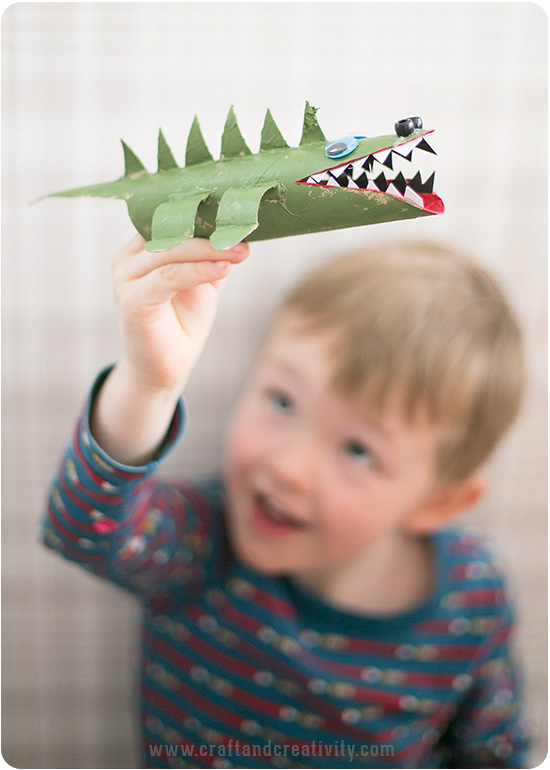
Hur högt kan man bygga tro? / How high can you build? 😀

Pennställ i pastell – Pastel pen holders

Pennställ i pastell av Craft & Creativity

Här kommer ett tips på ett otroligt enkelt och snabbt pyssel. Dekorera färdiga pennställ i papp med mönstrad washitejp! Pysslet passar även för barn och kan t ex vara en rolig aktivitet på ett barnkalas med pysseltema.
———–
Let me present a really quick and easy DIY. Decorate pre-made paper pen holders with patterned washi tape! This craft is also suitable for small children and can be a fun activity for the kids at a birthday party for example. 

Pennställ i pastell av Craft & Creativity

Allt du behöver är: Pennställ av papp, washitejp och en sax.
———-
All you need is: Pen holders (these are made of paper), washi tape and a pair of scissors.

Pennställ i pastell av Craft & Creativity

Gör så här: Tejpa runt pennburken och se till så att du får alla skarvar på ungefär samma ställe för snyggast resultat. Klipp med en sax för att få raka snitt eller riv av tejpen om du vill att det ska gå undan. Mixa och matcha mönster efter eget tycke och smak. Förutom att förvara pennor i pennburkarna kan man även förvara fina papperssugrör.
———
Do like this: Tape around the pen holders and make sure you get all the seams in the same place for the best looking result. Use scissors to get a straight cut or tear the tape if you’re in a hurry. Mix and match patterns any way you like. Besides storing pens in the pen holder you can store pretty paper straws. 

Pennställ i pastell av Craft & Creativity

Det här pennstället täckte vi med ett ark mönstrat papper med metallic-effekt. Klipp till en bit papper som är ca 10,5×21 cm (passar våra pennställ som är 10 cm höga) och fäst det runt pennburken med dubbelhäftande tejp eller ett limstift. Trimma pappret med en sax om det sticker upp över kanten.
———–
We decorated this pen holder with a sheet of cardstock from a paper pad. For 10 cm high pen holders cut a piece of paper that is 10,5×21 cm and cover the pen holder using double-sided tape or a glue stick as an adhesive. Trim the paper with a pair of scissors if necessary. 

Pennställ i pastell av Craft & Creativity

Dessa fina pennor köpte jag på en marknad i Thailand för flera år sedan. De är lite kluriga att vässa men jag gillar verkligen utseendet på dem!
———–
I bought these cute pens at a market in Thailand a few years back. They are a bit tricky to sharpen, but I really like the look of them! 

Pennställ i pastell av Craft & Creativity

Se även ett av mina tidigare blogginlägg med söta prestenaskar som du kan göra själv.
———-
Take a look at this previous blog post with candy shaped gift boxes that you can make yourself.

Lampsladd med träkulor –
Beaded electrical cord

Lampsladd med garnlindade träkulor - av Craft & Creativity

Att dekorera lampsladdar med stora träkulor har varit populärt sedan en tid tillbaka. Det är ett roligt sätt att göra en lampa unik, även med en enkel lampskärm eller kanske ingen skärm alls. Vissa målar kulorna medan andra låter dem förbli omålade. Ett annat alternativ kan vara att virka runt träpälorna (som vi gjorde med våra halsband) men om du inte är så duktig på att virka kan du linda garn runt träkulorna istället. Det går dessutom mycket fortare! Här kommer en beskrivning på hur vi gick tillväga.
———–
It’s quite popular to decorate electrical cords with wooden beads now days and it’s a fun and simple way to make a lamp unique, even with a plain lamp shade or no lamp shade at all. Some paint the wooden beads while others leave them unfinished. Another way is to crochet around the wooden beads (like we did with our necklace) but if you’re not good at crocheting you can simply wrap yarn around the beads instead. It’s also much quicker! Here’s a quick how-to. 

Lampsladd med garnlindade träkulor - av Craft & Creativity

Du behöver: Garn (t ex ullgarn eller bomullsgarn), dubbelhäftande tejp (eller limpistol) och stora träkulor. Viktigt att tänka på är att träkulorna måste ha tillräckligt stora hål för att kunna träs på just din lampsladd. Vi använde 50 mm träkulor som har en hålstorlek på 8 mm. Ju tjockare garn desto enklare är det att linda garnet runt träkulorna. Med tunt garn behöver du linda många varv för att det ska täcka. Vill du måla en eller flera av kulorna så behöver du även färg och då rekommenderar vi t ex Plus Color hobbyfärg eller färg från Martha Stewart Crafts.
———
You will need: Yarn (eg wool or cotton), double-sided adhesive tape (or a glue gun) and big wooden beads. Important to remember is that the wooden beads must have holes big enough to fit your electrical cord. We used 50 mm (2″) wooden beads with a hole size of 8 mm (0.3″). The thicker the yarn, the easier it is to wrap the yarn around the wooden beads. With thin yarn you need to wrap a lot more turns for the yarn to cover the wood. If you choose to paint one or several of the beads you also need hobby paint, for example Plus Color or paint from Martha Stewart Crafts.

Lampsladd med garnlindade träkulor - av Craft & Creativity

Gör så här: Sätt dubbelhäftande tejp runt träkulan och ta bort skyddspappret. Börja linda runt det ena hålet och fortsätt över hela kulan tills du når motsatt hål. Om garnet inte fäster så använder du mer tejp eller testar med limpistol istället. Garnet behöver inte fästa särskilt hårt eftersom kulorna inte utsätts för slitage när de väl sitter på lampsladden.
———–
Do like this: Put double-sided adhesive tape around the wooden beads and remove the backing paper. Start wrapping around one hole and continue over the bead until you reach the opposite hole. If the yarn does not stick, add more tape or try a glue gun instead. The yarn doesn’t have to stick too hard, since you won’t be handling them once they sitting on the cord. 

Lampsladd med garnlindade träkulor - av Craft & Creativity

När du är klar så trär du kulorna på lampsladden och hänger upp din lampa!
——
Once your done you simply thread the beads on the electrical cord and your done!

Krokodil av hushållsrullar –
Paper roll crocodile

Krokodil av hushållsrulle - Craft & Creativity

Härom dagen hade jag pysselsällskap av en kreativ liten kille som heter Henry, snart 4 år gammal. Vi bestämde oss för att göra en krokodil av en tomma hushållsrullar. Läs vidare för tips på hur du kan göra din egen papperskrokodil.
———
The other day I enjoyed the company of a creative little boy called Henry who is soon to be 4 years old. We decided to make a crocodile out of empty household paper rolls. Keep reading for tips on how to make your own paper crocodile.

Krokodil av hushållsrulle - Craft & Creativity

Du behöver: Ett par tomma hushållsrullar eller en hushållsrulle och en toarulle, hobbyfärg, plastögon eller ögonstickers, ett par plastpärlor (6-9 mm) till näsborrarna, ett ark vit kartong eller tjockt papper, en sax och en limpistol. Vi använde Plus Color som är en snabbtorkande och väldigt täckande CE-märkt och vattenbaserad färg.

  1. Så här gör du: Använd en sax och forma ena ändan av hushållsrullen som en spets (=svansen) och andra ändan som en gapande mun. Använd den andra hushållsrullen och klipp till fyra ben, vik till dem och klipp fötterna runda. Klipp ut ett antal taggar. Beroende på ålder på barnet så kan du som vuxen hjälpa till att klippa till de olika delarna.
  2. Limma fast delarna med en limpistol. Tänk på att man lätt kan bränna sig när man använder limpistol så detta moment kan behöva en vuxens hjälpande hand. Använd ganska mycket lim så att delarna sitter fast ordentligt.
  3. Börja måla! Ett ark bakplåtspapper fungerar bra för att skydda bordsytan från färg och pappret kan återanvändas många gånger. En gammal tidning fungerar också utmärkt!
  4. Klipp ut fyra tandrader av tjockt vitt papper eller kartong under tiden som färgen torkar.
  5. Limma fast tänderna, ögon och näsborrar. Nu är krokodilen klar!

———-

You will need: A pair of empty household kitchen paper rolls, hobby paint, plastic eyes or eye stickers, a pair of plastic beads (6-9 mm) for the nostrils, a sheet of white cardstock, a pair of scissors and a glue gun. We used Plus Color hobby paint which is a quick drying and opaque water based paint, suitable for kids.

  1. Do like this: Use a pair of scissors and trim one end of the roll as a tip (= the tail) and the other end as a mouth. Use another paper roll and cut out the legs, fold them and cut the feet round. Cut out a number of tags. Depending on the age of your child you can help him or her with the cutting.
  2. Glue the parts together with a glue gun. Keep in mind that you can easily get burned when using the glue gun and this exercise might need an adult’s helping hand. Use lots of glue to make the parts stick properly.
  3. Start painting! A sheet of parchment paper protects your table top from paint and can be reused many times. An old newspaper also works great!
  4. While the paint dries, cut for rows of teeth from white cardstock.
  5. Clue the teeth, eyes and nostrils in place. Voilà, your crocodile is done!

Krokodil av hushållsrulle - Craft & Creativity

För att få exakt den gröna färg du vill ha så kan du blanda grön färg med ett par droppar svart eller vit färg för att få en mörkare eller ljusare grön nyans.
———-
To get exactly the green color you want, mix green paint with a few drops of black or white paint to get a darker or lighter shade of green.

Krokodil av hushållsrulle - Craft & Creativity

Här hjälper jag Henry med limpistolen men han får själv bestämma var de olika delarna ska sitta.
———
Here I’m helping Henry with the glue gun while he decides where the different parts should be placed.

Krokodil av hushållsrulle - Craft & Creativity

Någon är väldigt nöjd med sin papperskrokodil! /
Someone is very pleased with his paper crocodile!

Krokodil av hushållsrulle - Craft & Creativity

Tro det eller ej men krokodiler kan faktiskt flyga! /
Believe it or not, but crocodiles can actually fly!

Söta presentaskar –
Cute treat boxes

Söta presentaskar av Craft & Creativity

Istället för påsar till fiskdammen kan man göra söta karamellformade askar och fylla med små gåvor eller godis på barnkalaset. Eller varför inte placera en liten godbits-fylld ask intill varje tallrik vid en middagsbjudning och överraska dina gäster!
————
These cute candy shaped boxes can be used as treat boxes and be filled with small gifts or candy at a birthday party. Or why not place the candy boxes next to each plate at a dinner party and surprise your guests! 

Söta presentaskar av Craft & Creativity

Askarna går enkelt att göra med en stansmall från We R Memory Keepers och allt du behöver är: En Candy box punch board (d v s stansmallen), valfritt papper/kartong (gärna med en ytvikt på minst 180 g), tvinnat bomullssnöre eller andra snören/band och dubbelhäftande tejp.
——-
The boxes are easily made with a punch board from We R Memory Keepers and all you need is: A Candy box punch board, any cardstock you like, Baker’s twine or any other string and double sided adhesive tape.

Söta presentaskar av Craft & Creativity

Jag har gjort askar med hjälp av denna stansmall förut och använde dem då som alternativ till påskägg. Klicka dig vidare för att se det blogginlägget. Askarna blir 4×4 cm tjocka och du kan göra dem hur långa du vill, beroende på storleken på ditt papper.
———–
I’ve made boxes using this punch board before and used them as an alternative to Easter eggs. Click here if you want to have a look at my previous blog post. The boxes are 4×4 cm (1.6″x1,6″) thick and you can make them as long as you like, depending on the size of your paper.


Vill du se hur stansmallen fungerar så finns här en kort instruktionsfilm (på engelska).
———–
Here’s a short tutorial (in English) for those of you who want to know how the punch board works.

Söta presentaskar av Craft & Creativity