Jag vet. Det här är lite galet… Men om man har lite tråkigt en dag och känner för ett litet enkelt pyssel, så kan det vara en kul grej. Mina barn gillar plåster (tror att det är många föräldrar som känner igen det fenomenet). Det spelar liksom ingen roll om det blöder eller ej, har man gjort illa sig så behöver man ett plåster. Det gör mindre ont då, helt klart. 😉
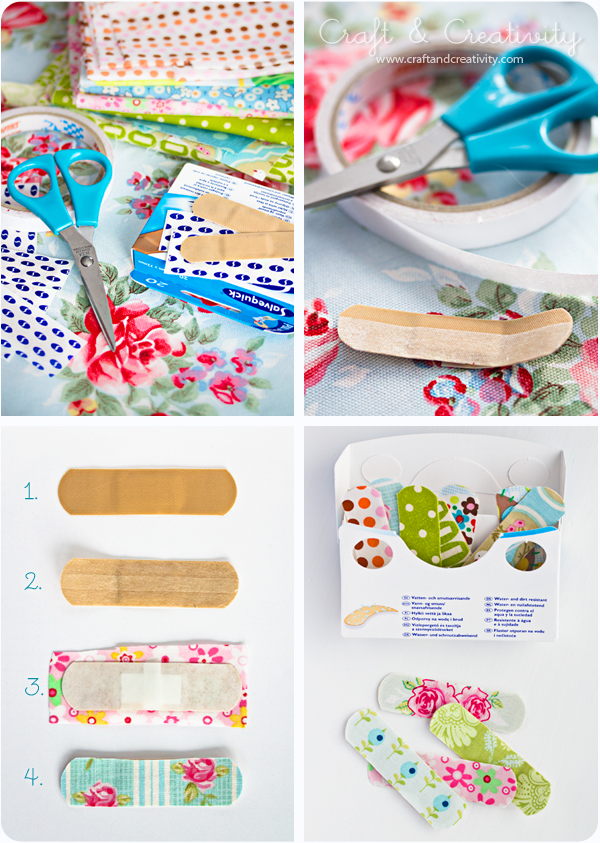
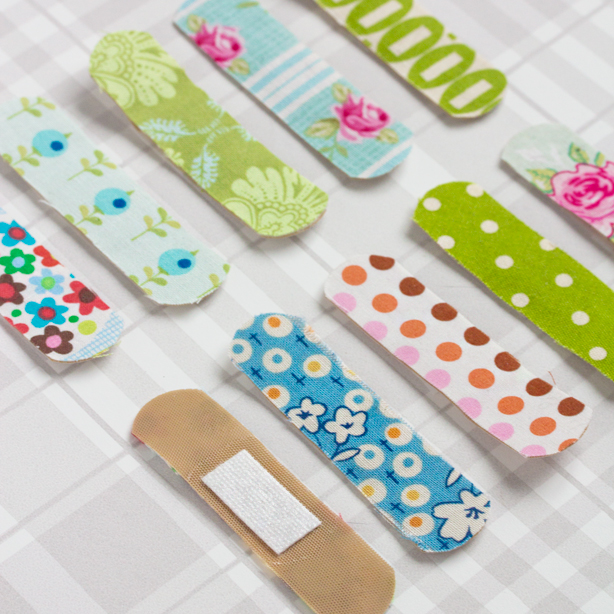
Du behöver: Textilplåster, dubbelhäftande tejp, tygbitar och en sax.
———-
I know. This is a little bit crazy … But if you got some time on your hands and feel like making a quick and simple craft, well then this could be fun. My kids are big fans of patches/Band-Aids (I think perhaps many parents can recognize this phenomenon). It really doesn’t matter if there’s any blood involved or not, if you got hurt you need a patch. It kind of makes the pain all better. 😉
You will need: Fabric Band-Aids, double sided adhesive tape, pieces of cloth and a pair of scissors.
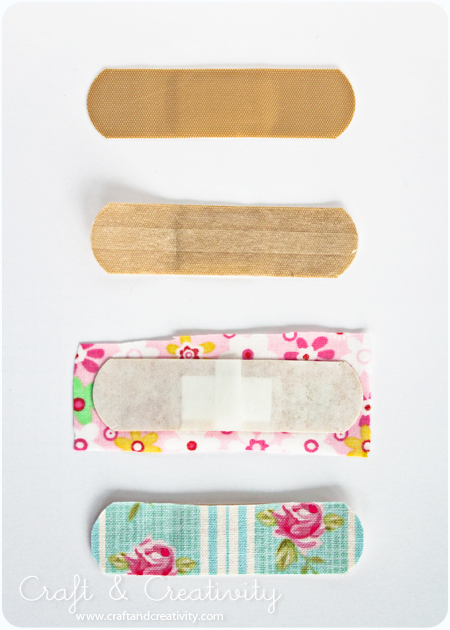
Täck plåstrets framsida med dubbelhäftande tejp. Lägg din tygbit på. Klipp runt. Klart! /
Cover the front of the Band-Aid with double sided adhesive tape. Place your fabric scrap on top. Cut around the edges. Your done!
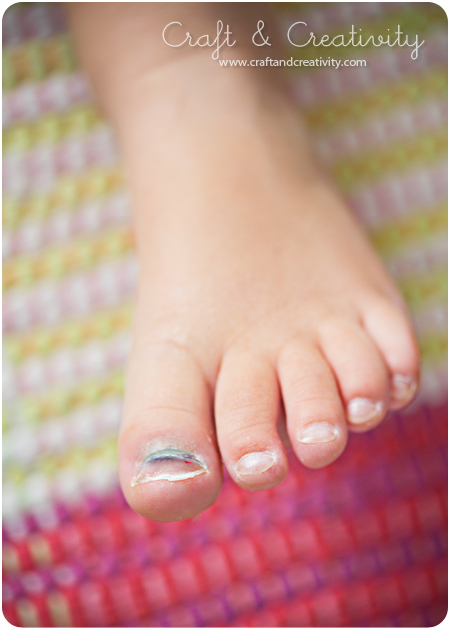
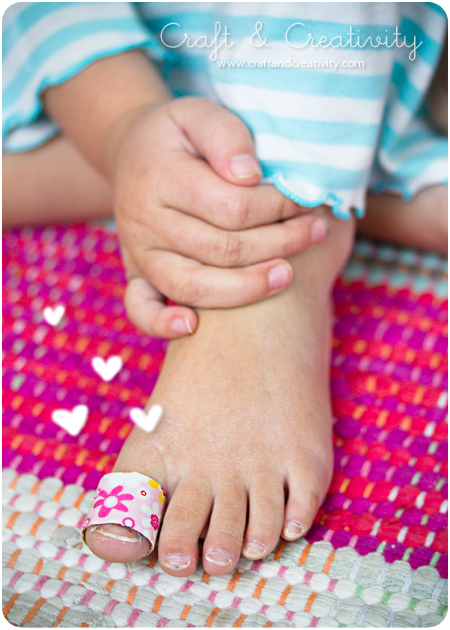
Ps. Jag misstänker att dessa plåster är mest lämpade för mindre småsår eller skador som inte blöder (typ blånaglar ;-)) eftersom de antagligen inte “andas” så bra med tanke på den dubbelhäftande tejpen. /
Note: I suspect that these patches are best suited for small cuts or injuries that do not bleed (like a bruised nail ;-)) since the probably don’t “breathe” as well considering the adhesive tape.
Inspiration till detta pyssel hittade jag på The Pink Couch. /
I found inspiration for this craft at The Pink Couch.

Anna: Thank you! 🙂
They are so colorful. What a great idea! I love it. 🙂
Heather: Thank you, I’m glad you like it! 🙂
Pingback: STIL ALLÜRE » Design-Pflaster als Reste-Zweitverwertung
hi! thank you so much for this nice idea…nico
Sorani: Thank you! 🙂
What a nice idea, i have to try it, right now, thank you for sharing!
Manuela: Thanks! I’m glad you like it, good luck with your bandaids!
My daughter and I found this on Pinterest, and are going to use the idea for one of her fundraisers for the Miss Wisconsin Teen pageant. So we were scrolling through and looking at the pictures and saw your little ones toes! We had a good laugh, because they look exactly like my 6 year olds little feet! Thanks for the great idea!
Jennifer: Thank you! I’m glad you liked the idea. My girls love these bandaids and they are perfect for bruised nails… 😀
Lite galet men helt UNDERBARA =) Måste oxå göra sådana =)
KRAM och tack för titten hos mig
Karoline: Tack, kul att jag kunde inspirera! 😀 Kram
Pingback: Des pansements customisés | My Diy
Like very much this idea, think will try at home!
Great idea. We love patches. We hapilly greet each scratch and cut and sometimes make some on purpose, because patches are so cool.. ;o) Gonna make some with robots! Thanks for sharing!
What a lovely idea. I’ll soon be retiring soon and thinking that this will be a simple thing for me to start with to do for my grandchildren. Such joy could be created from little boo-boos.
Pingback: {amelie a prueba} herida pero divina | el diario de amelie
So fun! My toddler loves her patches (funny – she called them that without me ever using the term – smart cookie) These would be much less expensive than the Hello Kitty & Cars ones she insists we purchase! I bet she would love these!
Pingback: Belle Bébés - Band aids and plasters… just more adorable!
Thank you for this delightful tutorial! It was featured on belle bébés this week 🙂 http://bit.ly/V7czds
Pingback: Pleisters pimpen | Gespot voor jou!
Pingback: {Peque-DIY} Customiza tus tiritas (apto para adultos también) | El blog de las cosas molonas
Pingback: DIY: Band-Aid Estampado | Blog | Kandis Design
Pingback: Fabric Scrap Love | Winnie and Clem
Pingback: Cerotti ColoratiEstroo | Estroo
Pingback: Cerotti Colorati | Love DIY | Love DIY
Pingback: WASHI TAPE para decorar | Simple&chic
Pingback: Maria Tuiu – Faça você mesmo: Band-aids do seu jeito! :)
Great idea for kids, and recycling!!!
I’ve picked your idea for my post “Diy Scrap”.
I hope your visit my blog.
Thanks
Xx
Pingback: DIY Projects With a Piece of Cloth | Design & DIY Magazine
Pingback: 23 Fun & Creative Ways to Use Washi Tape
Pingback: 100+ Scrap Fabric Projects - The Sewing Loft
Pingback: Tildaで作る可愛いバンドエード | Tilda's Blog
Wonderful for children BUT it saved my appearance for my sons wedding!! The day before the big day I took a stumble and scraped elbow, hand, wrist and knee. Quick adjustment to outfit with scarf added hid some areas, but the beautiful covered band aides blended with my outfit and were much less noticeable than plain band aides!!!
Thank you for sharing this Dianne! It makes me so happy to read. 🙂 I hope your wounds heal quickly. All the best, /Helena
These band aids are so cute. How do you keep the fabric from fraying?
Thank you Nancy! The fabric didn’t fray because of the tape holding the fabric together. But if you wear the band aids several days I suspect that they might fray. 🙂 All the best /Helena
Pingback: Tiritas tuneadas! | General Store
Oh these would be perfect for quilt swaps! Thank you for sharing!
Ann 🙂