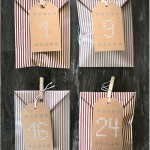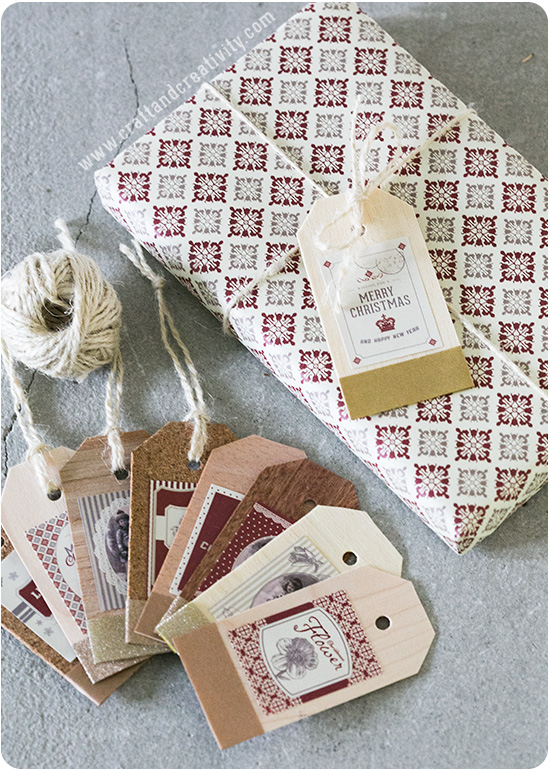
Härom dagen visade jag en variant av adventskalender med påsar som förvandlas till renar. Här kommer en till hemmapysslad paketkander och denna består av små naturfärgade pappersaskar med lock som jag dekorerat i färgerna rött och vitt. De kan fyllas med allt från en chokladbit till en liten slant eller om mottagaren gillar att pyssla så kan du fylla askarna med pärlor, paljetter, washitejp, rhinstenar och andra dekorationer.
————
The other day I showed you a way to make an advent calendar using paper bags and making them look like reindeers. Here is another alternative and this time I used small kraft paper boxes that I decorated in red and white. The boxes can be filled with anything from a piece of chocolate to a coin. Or if the recipient likes to craft you can fill the boxes with pearls, sequins, washi tape, rhinestones or other craft supplies.

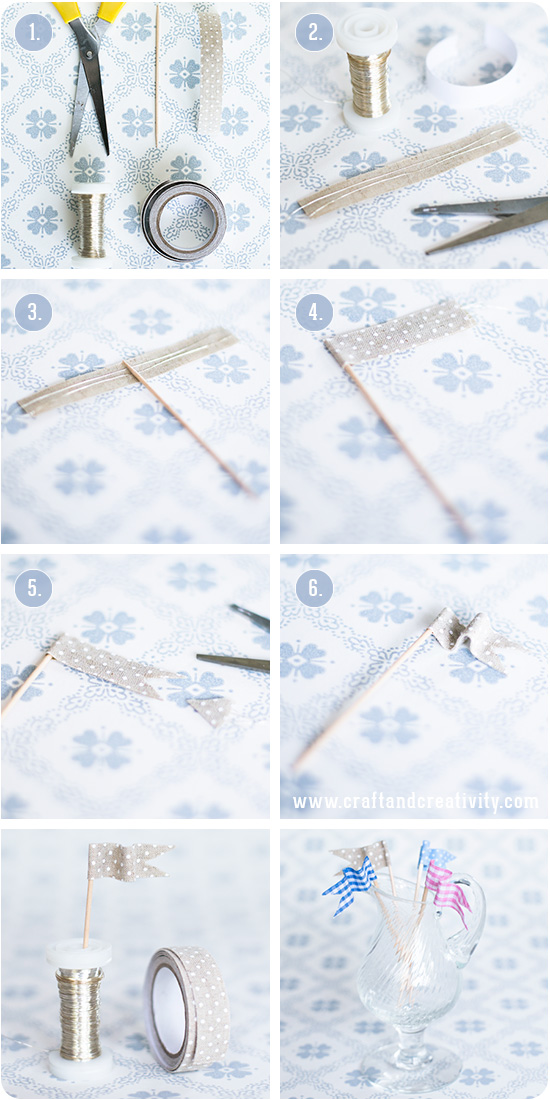
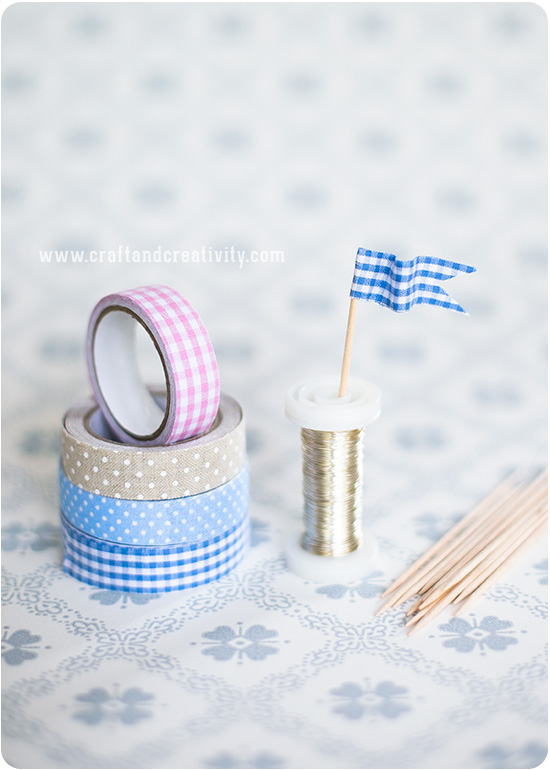
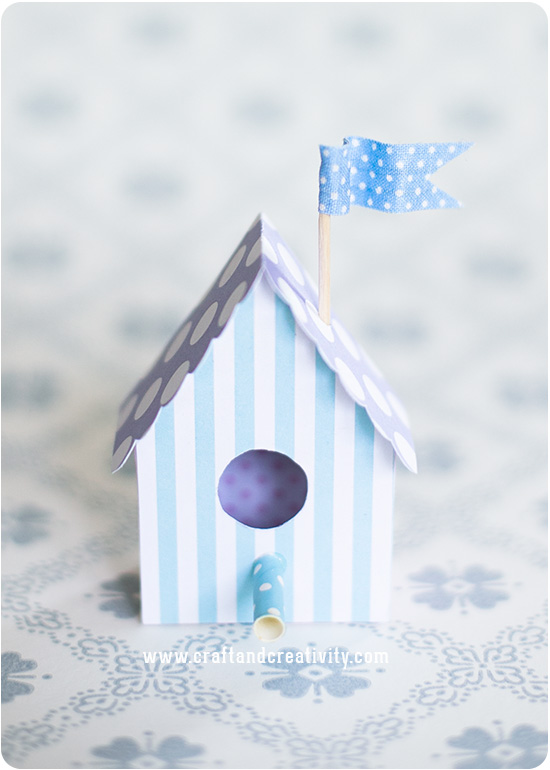
Utseendet på askarna går att variera i det oändliga så låt fantasin flöda! Jag använde mig av saker jag hade hemma, som: nabbipärlor, ett rutigt band, en vit fjäder, en spraymålad grankvist, färgat papper, hobbyfilt, permanent tusch, ullpärlor, knappar, tårtpapper, piprensare, tvinnat bomullssnöre, spetstejp, garn, en klädnypa, en liten trådrulle och washitejp. En paketkalender som den här kan återanvändas fler jular.
———–
Let your imagination run wild while decorating the boxes, the look can be varied endlessly! I used things I had at home, like: Ironing beads, a checkered ribbon, a white feather, a spray-painted spruce twig, colored paper, felt, permanent markers, wool beads, buttons, doileys, pipe cleaners, baker’s twine, lace tape, yarn, a clothespin, a small spool and washi tape. This type of advent calendar can be use for many Christmases to come.


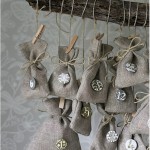
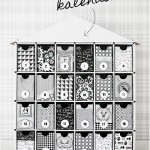
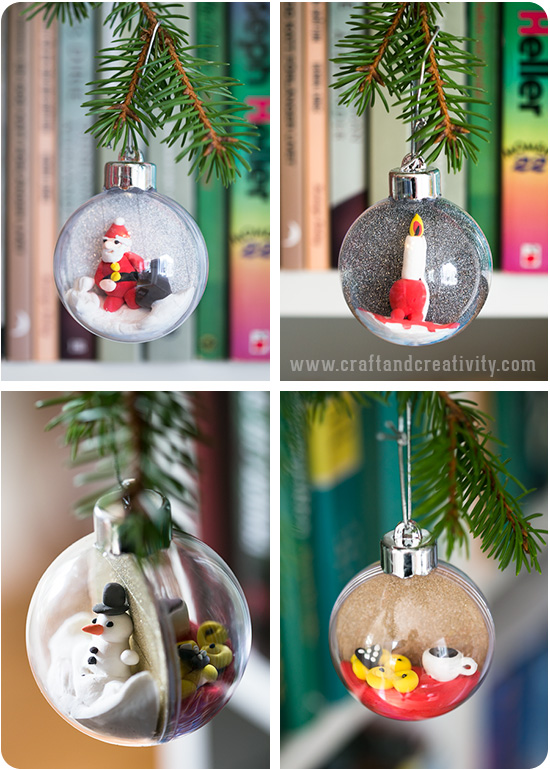
För mer inspiration gällande paketkalendrar, ta en titt på mina tidigare varianter:
————-
For more advent calendar inspiration, take a look at my previous ones: