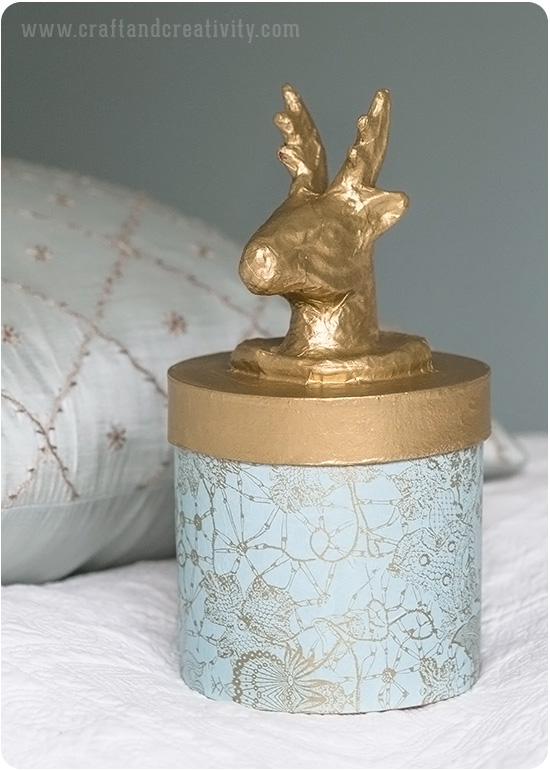
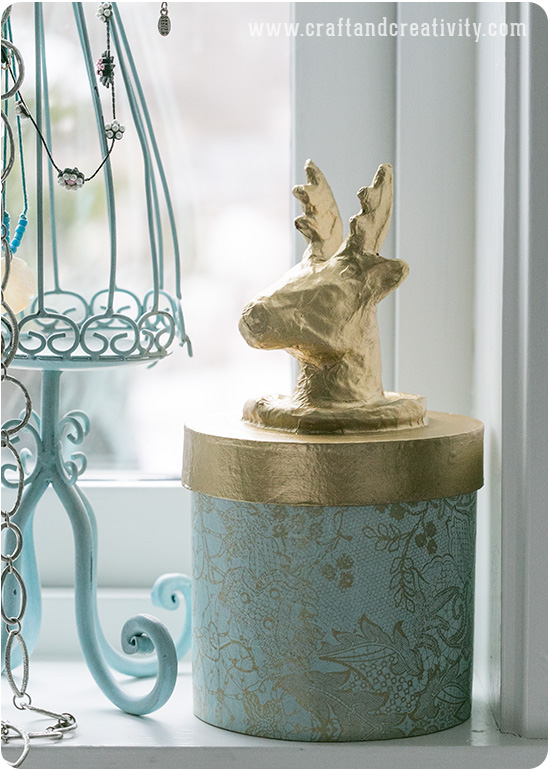
Att dekorera askar är roligt och den här gången har jag täckt en rund ask av papier-maché med decoupagepapper och målat locket med guldfärg.
————
Decorating boxes is fun and this time I’ve covered a round papier-maché box with decoupage paper and painted the lid with metallic gold paint.
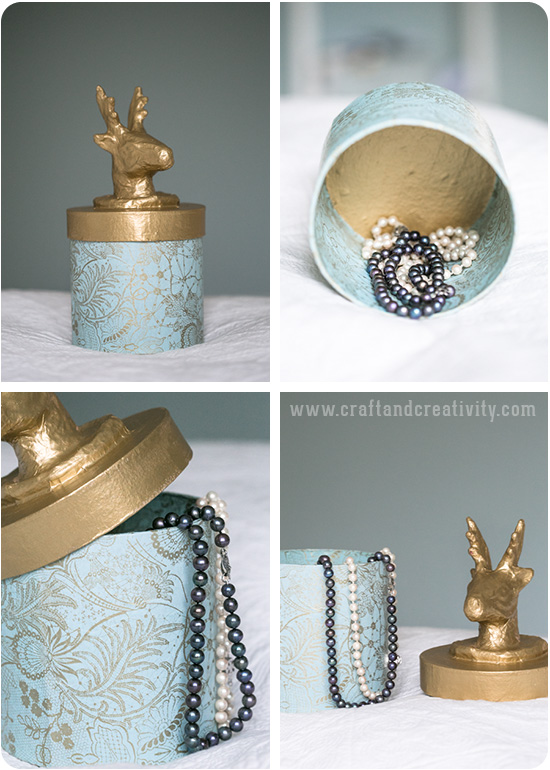
För att få en mer exklusiv känsla täckte jag även insidan av asken med decoupagepapper och målade botten med samma guldfärg som locket.
———
To get an even more elegant look and feel I covered the inside with paper as well and painted the bottom with the same gold paint as used on the lid.
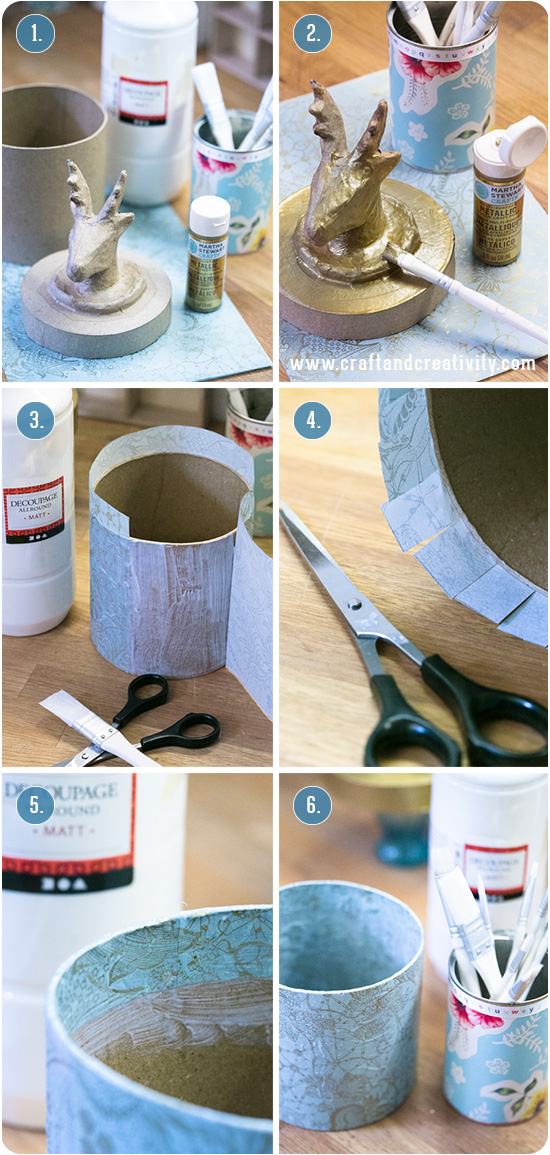
- Du behöver: Troféask, decoupagepapper, decoupagelack, metallicfärg, sax och en pensel.
- Gör så här: Börja med att måla locket. Jag målade ett lager med guldfärg. Färgen torkar på ca 1 timme.
- Klipp en remsa av ditt decoupagepapper (tjockare papper går också bra) som är lite högre än höjden på asken. Pensla decoupagelack på utsidan av asken svep papperet runt asken. Stryk det slätt med fingrarna eller borsta försiktigt med en pensel.
- Klipp jack i papperet som sticker upp och vik det över kanten till insidan av asken och fäst flikarna med decopagelack.
- Pensla decoupagelack på insidan av asken.
- Klipp ännu en remsa av decoupagepapper som är lika hög som insidan av asken och täck insidan med det. Pensla decoupagelack över hela asken. När det torkat kan du måla botten med färg om du vill.
———-
- You will need: A papier-maché box, decoupage paper, decoupage lacquer, metallic paint, a pair of scissors and a brush.
- Here’s how: Start by painting the outside of the box. I painted one coat of metallic gold paint. The paint dries in about 1 hour.
- Cut a strip of your decoupage paper (you can also use heavier paper) a bit wider than the height of the box. Brush decoupage lacquer on the outside of the box and wrap the paper around. Carefully smooth any wrinkles with your fingers or a brush.
- Cut notches in the excess paper and fold it over the edge to the inside of the box and glue the tabs down with decoupage lacquer.
- Brush decoupage lacquer on the inside of the box.
- Cut another strip of paper that is as high as the inside of the box and the cover inside with it. Apply a coat of decoupage lacquer on top of everything. When dried, you can paint the bottom of the box if you like.


Hvor er den fin! Det må prøves 🙂
men så fint de där måste jag verkligen pröva!! fina askar kan man aldrig få förmånga utav!
Beautiful DIY! I love the colour combos!
Hur många ark decoupagepapper behövs till en ask?
Hej! Ett ark räcker till en ask som denna. 🙂 /Helena
I like your posts, your DIYs, your ideas!
I’d lile to buy products from Make & Create but I live in Italy… is it possible?
Thank you for your answer and your creativity.
Dear Antonella, we will start shipping to Italy among other countries really soon. I will keep your e-mail and let you know when this is possible. 🙂 Kind regards /Helena
Pingback: Romantiskt julpynt – Whimsical ornaments | Craft & Creativity – Pyssel & DIY