Glasunderlägg är funktionella men är inte alltid så dekorativa. Du kan dock enkelt dekorera dina egna och göra dem precis som du vill ha dem. Läs vidare för vår steg-för-steg beskrivning.
———–
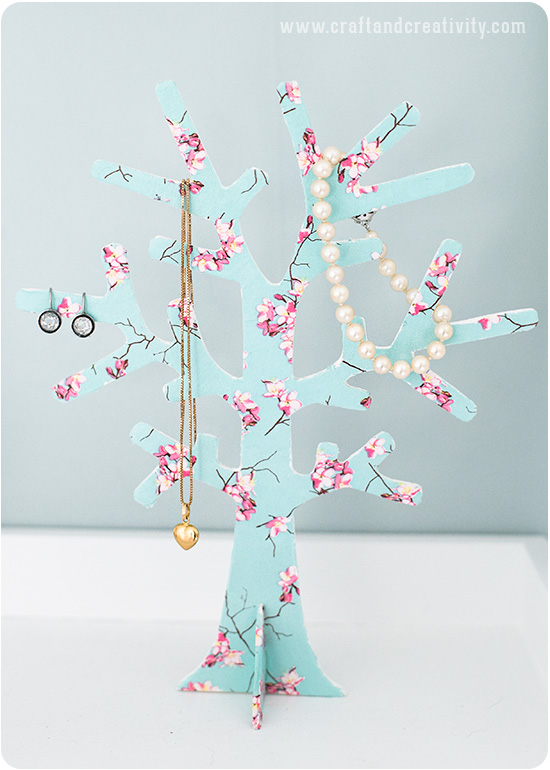
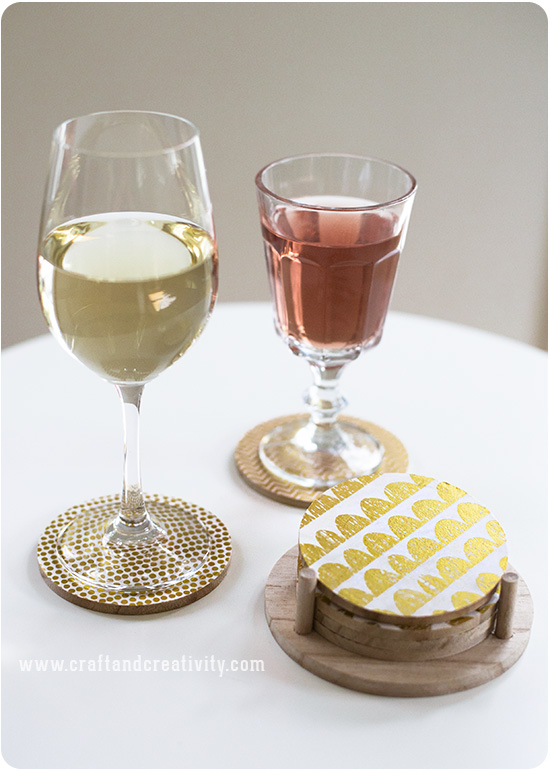
Coasters are very functional but they’re not always stylish. You can easily decorate your own and make them just the way you want. Keep reading for our step-by-step tutorial.
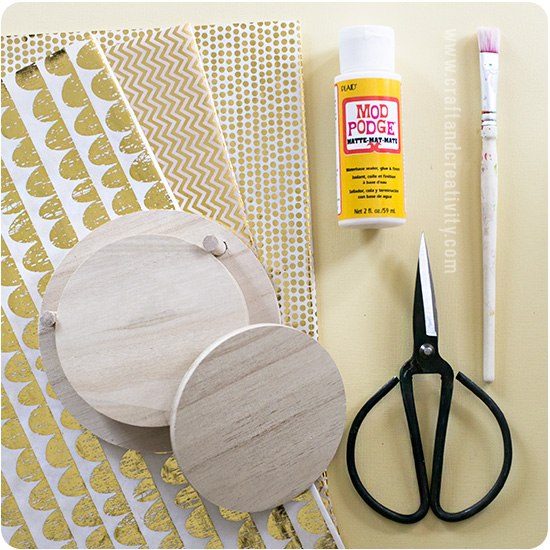
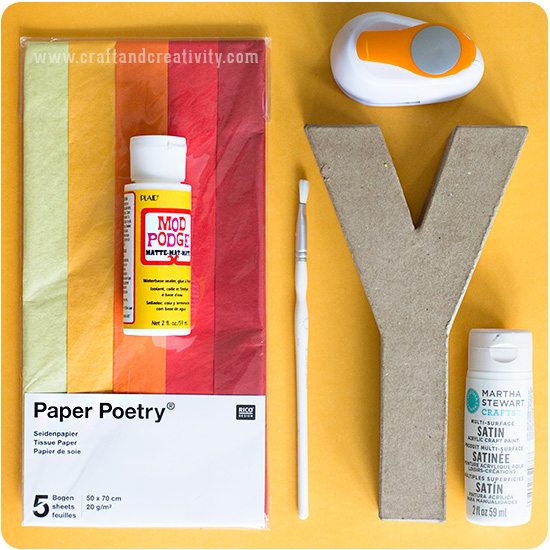
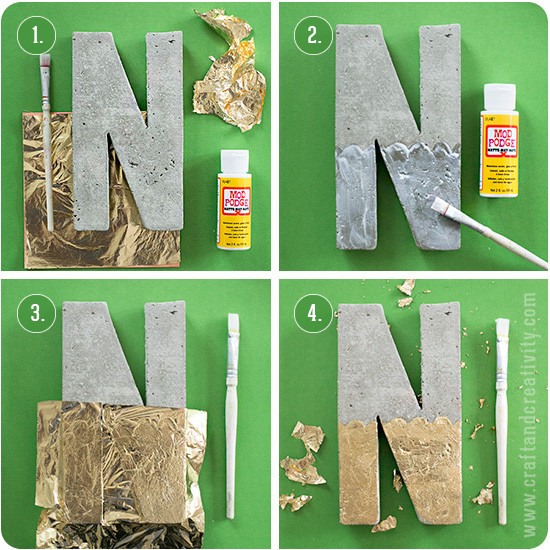
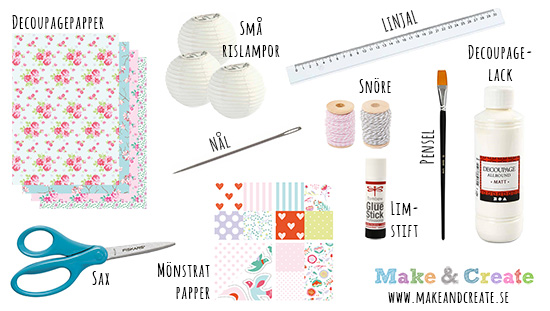
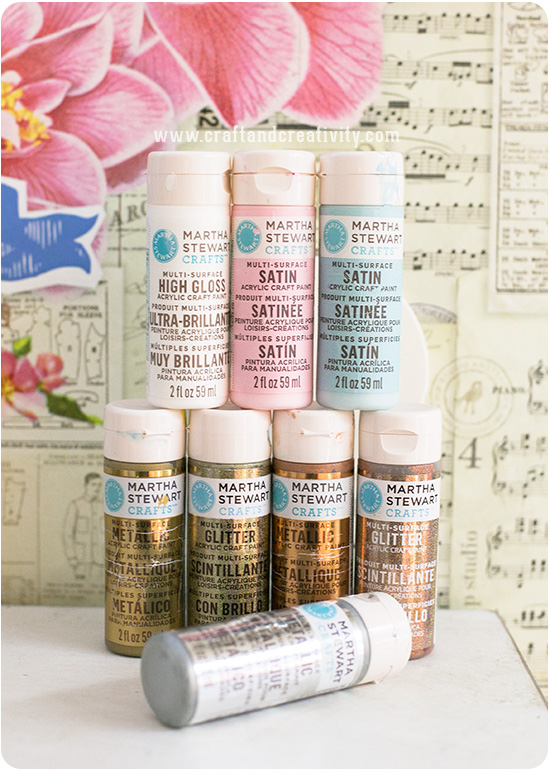
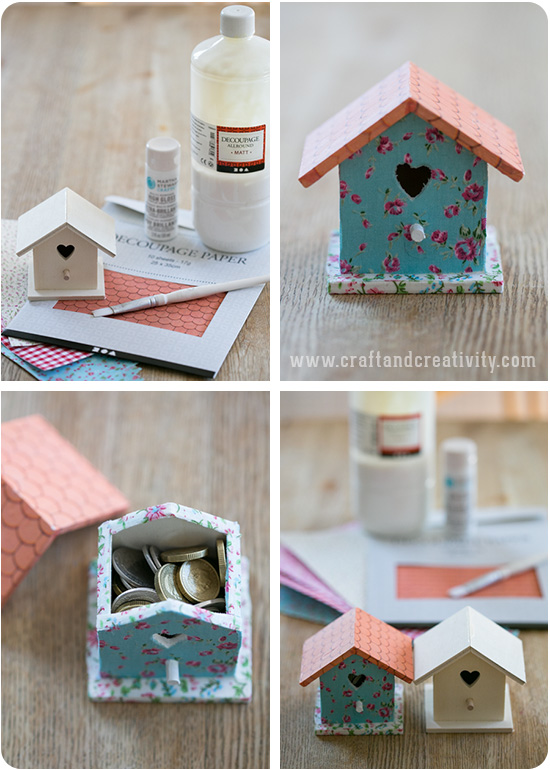
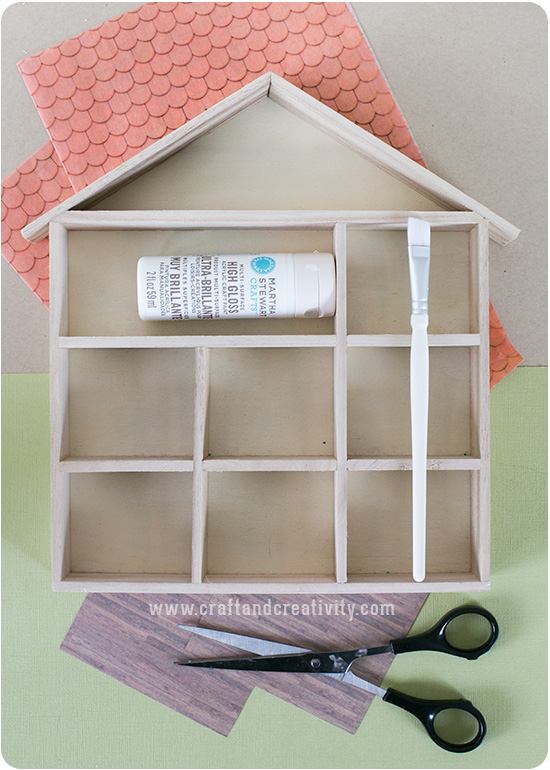
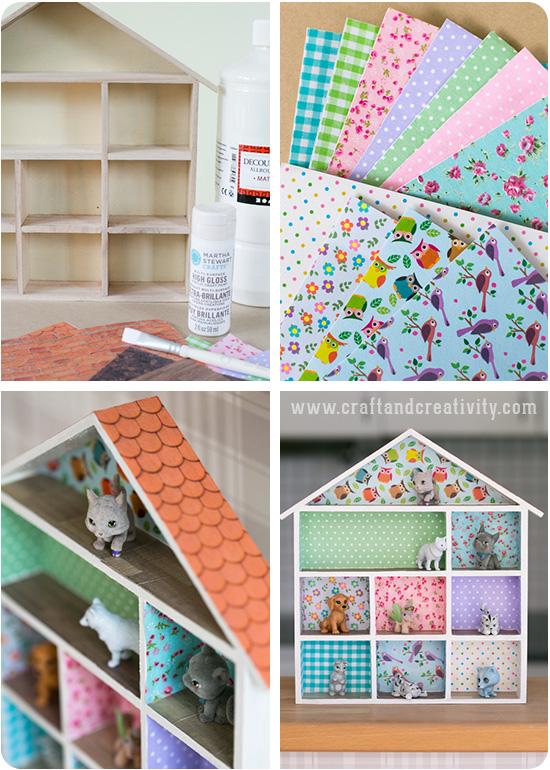
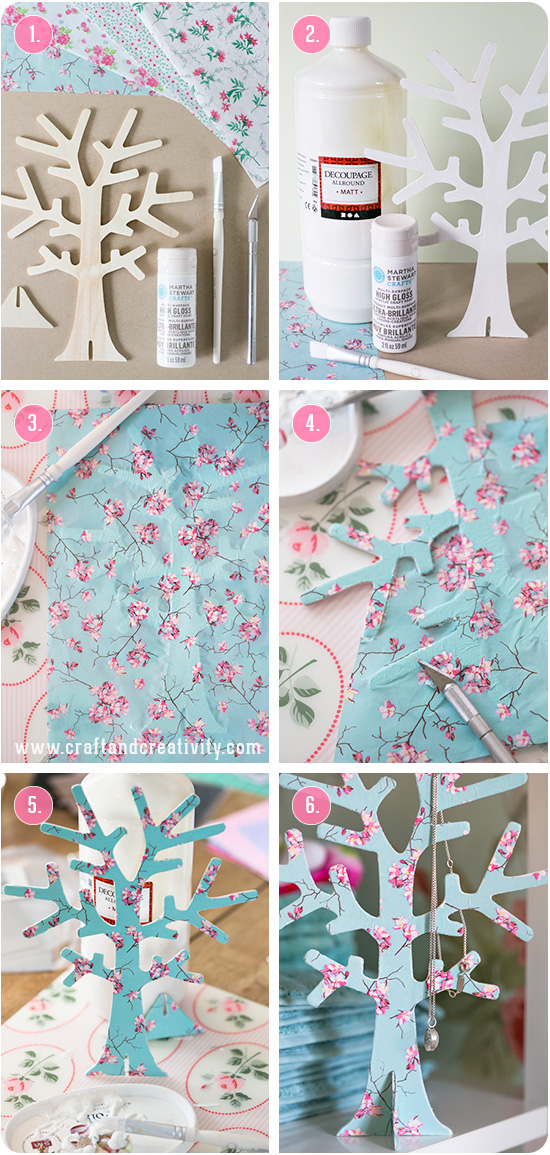
Du behöver: Glasunderlägg i trä (våra kommer i en praktisk trähållare), folierat decoupagepapper, Mod Podge (eller decoupagelack), en sax och en pensel.
———–
You will need: A set of wooden coasters (ours came with a wooden stand), gold foiled decoupage paper, Mod Podge (or decoupage lacquer), a pair of scissors and a brush.
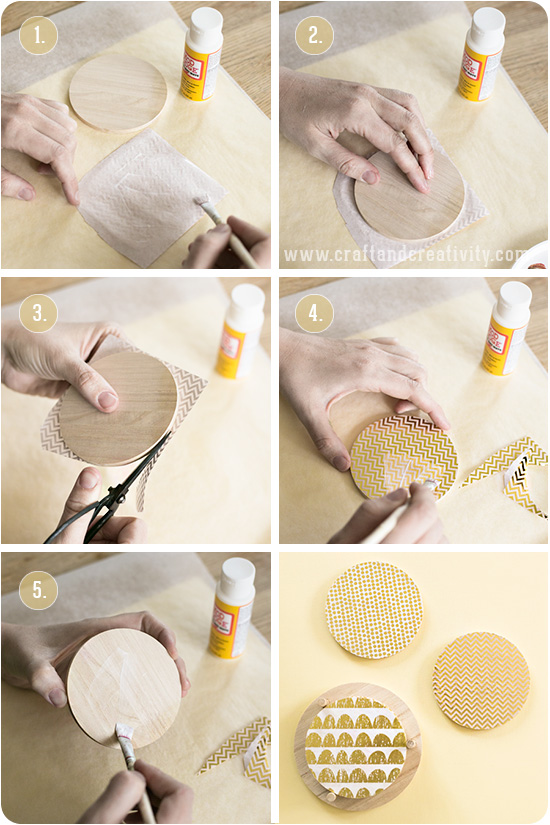
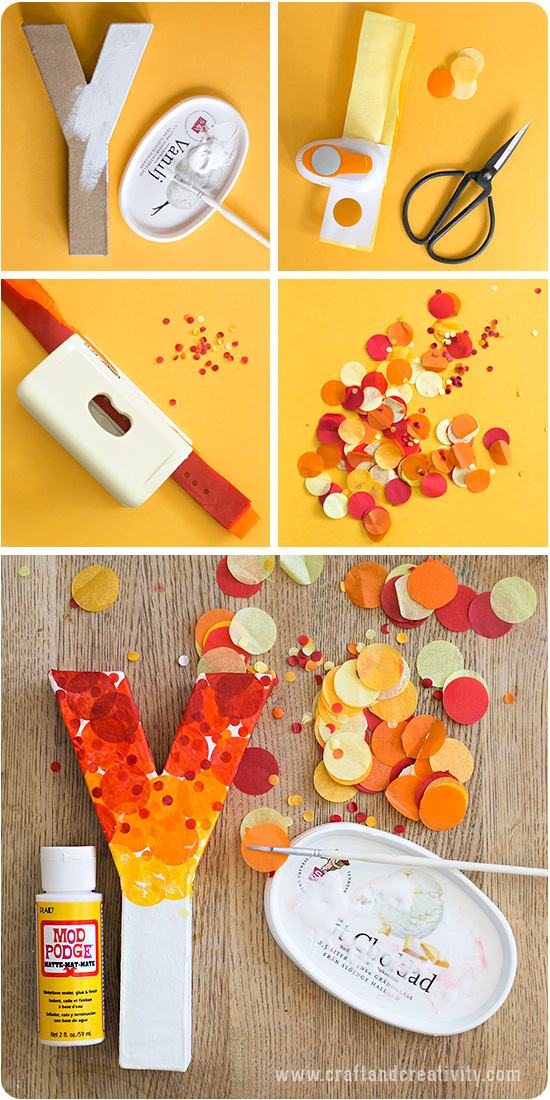
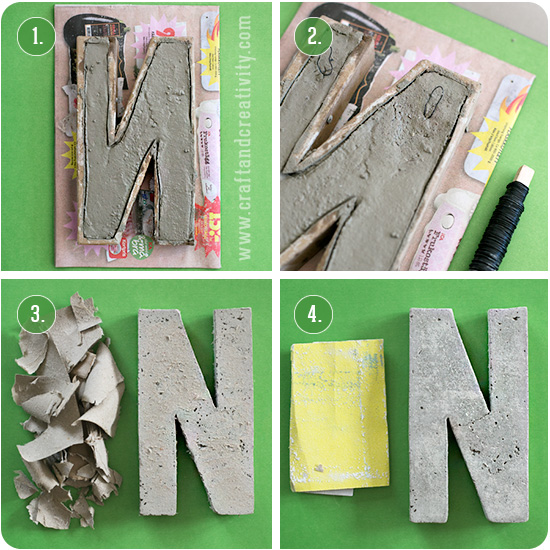
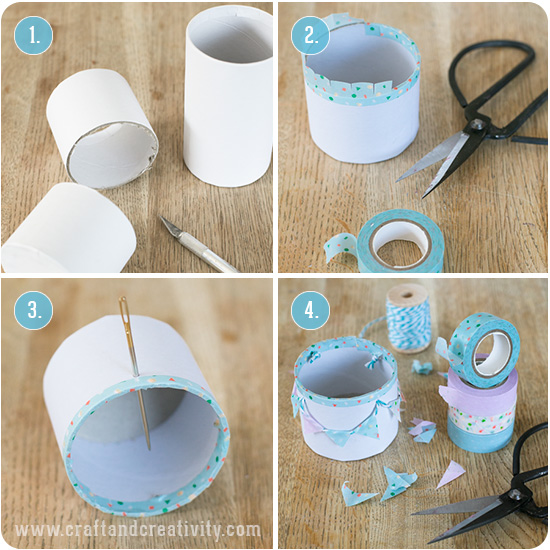
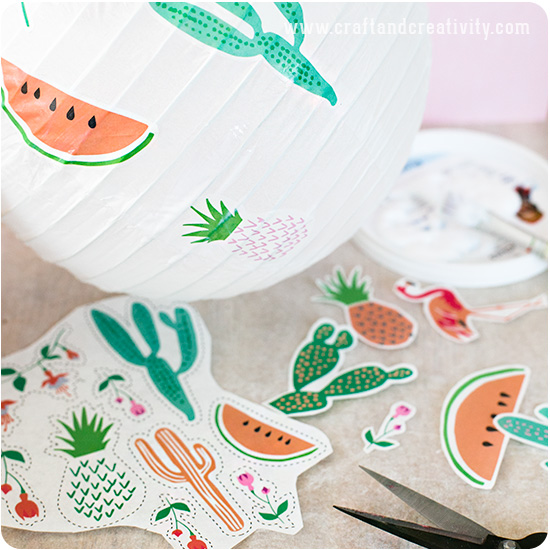
Gör så här: Klipp ut en fyrkant av ditt decoupagepapper. Det ska vara lite större än glasunderlägget som du ska göra decoupage på. Pensla Mod Podge (eller decoupagelack) på baksidan av ditt papper. Placera glasunderlägget ovanpå det limmade pappret. Låt torka några minuter. Trimma bort överflödigt papper med en vass sax. Försegla ytan med ett lager Mod Podge. Låt torka och lacka även runt om och under glasunderlägget för bättre fuktmotstånd. Eller gör decoupage på båda sidor.
—————
Do like this: Cut out a square of your decoupage paper. It should be a bit bigger then the coaster. Add Mod Podge (or decoupage laqcuer) to the back of the paper, using your brush. Place the coaster on top of the glued paper. Let dry for a few minutes. Trim the paper with a sharp pair of scissors. Seal the surface with a layer of Mod Podge. Let dry and paint Mod Podge on the sides and back also. Or do decoupage on both sides.
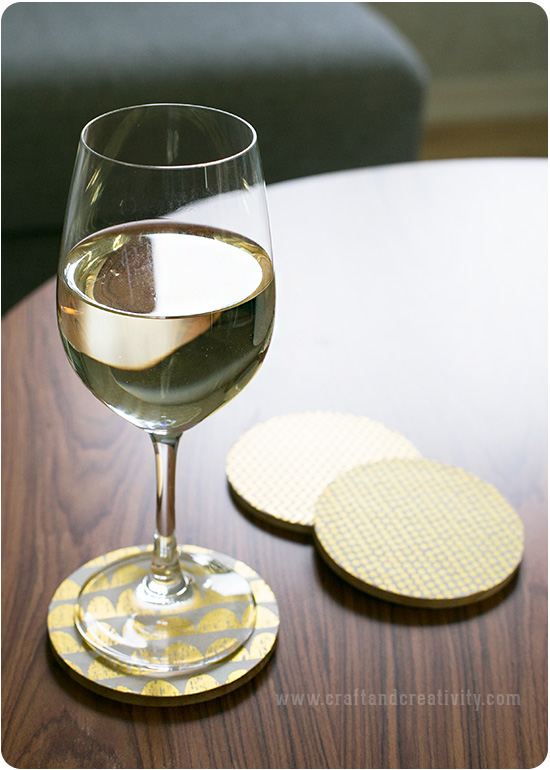
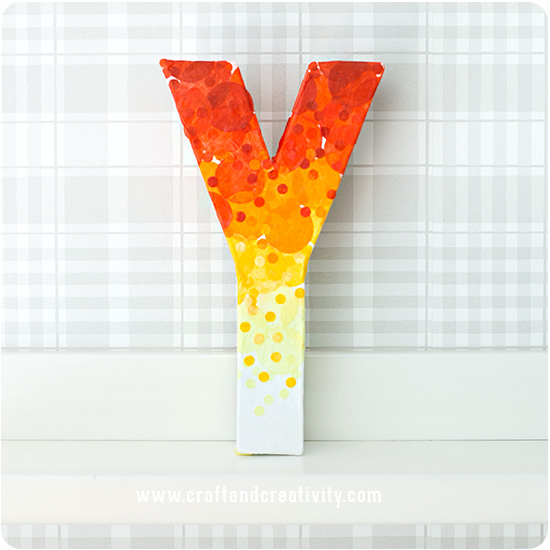
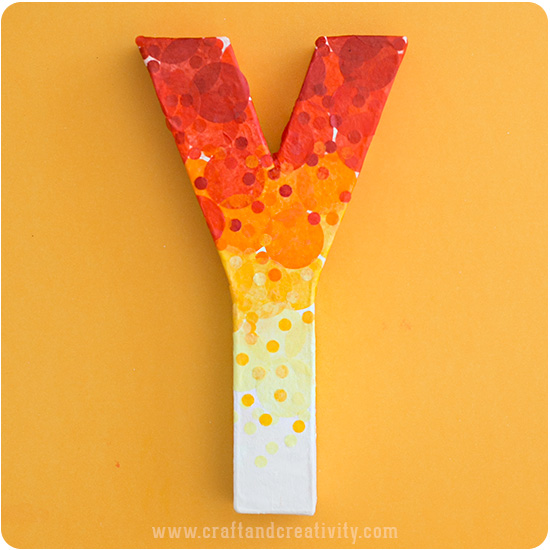
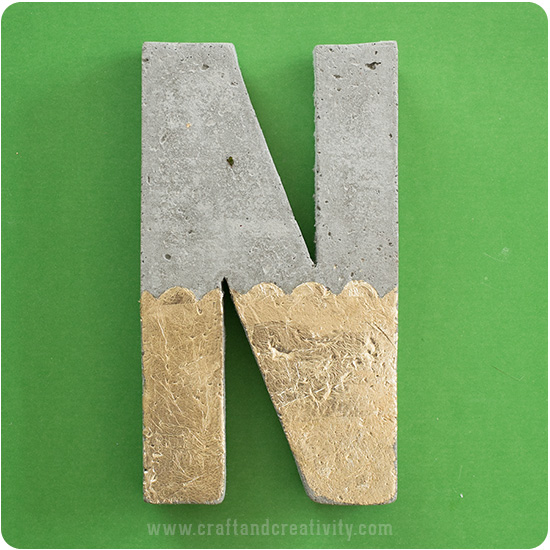
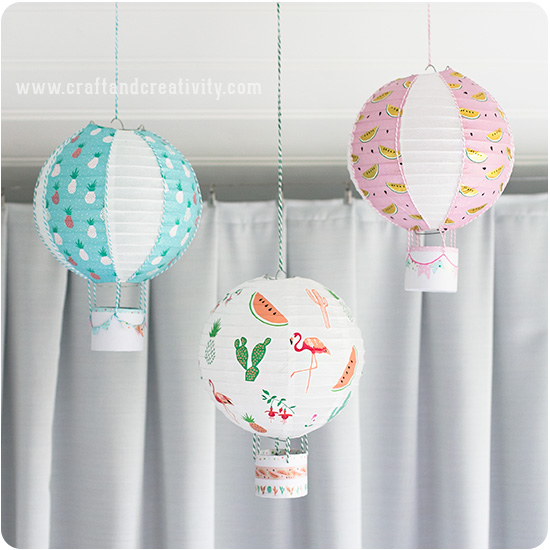
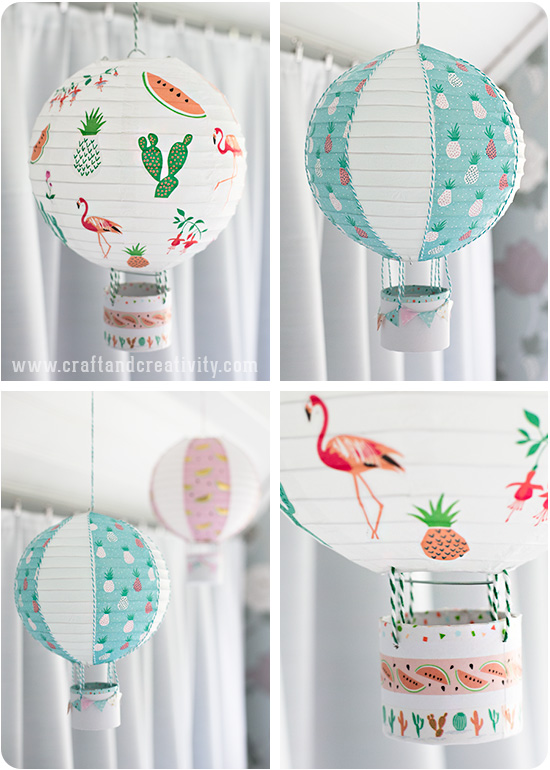
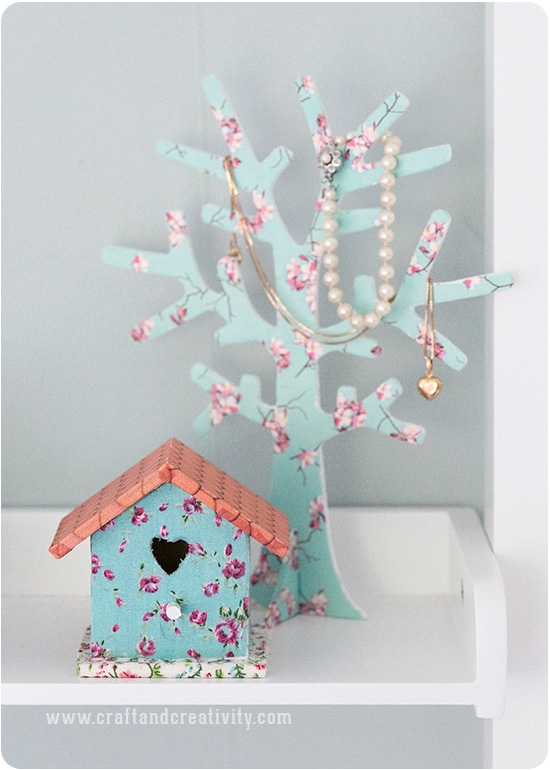
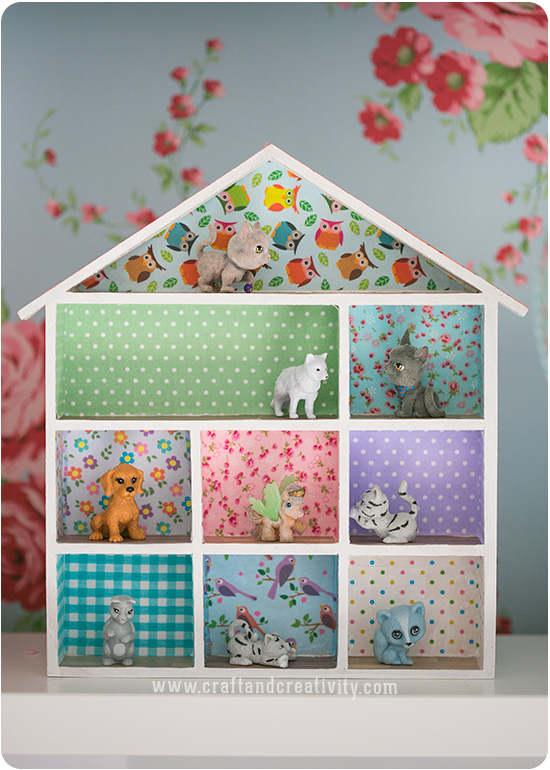
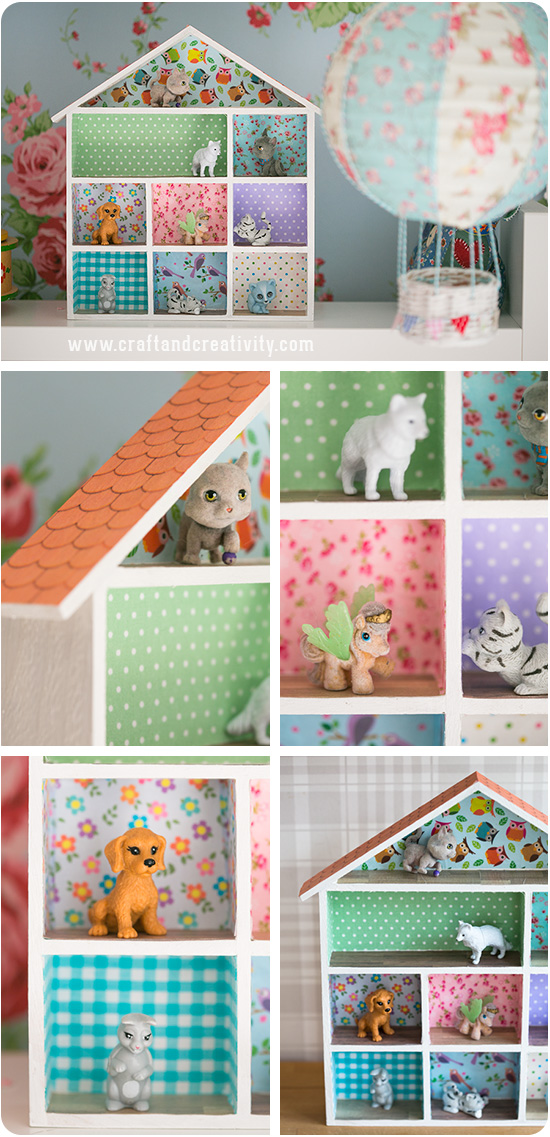
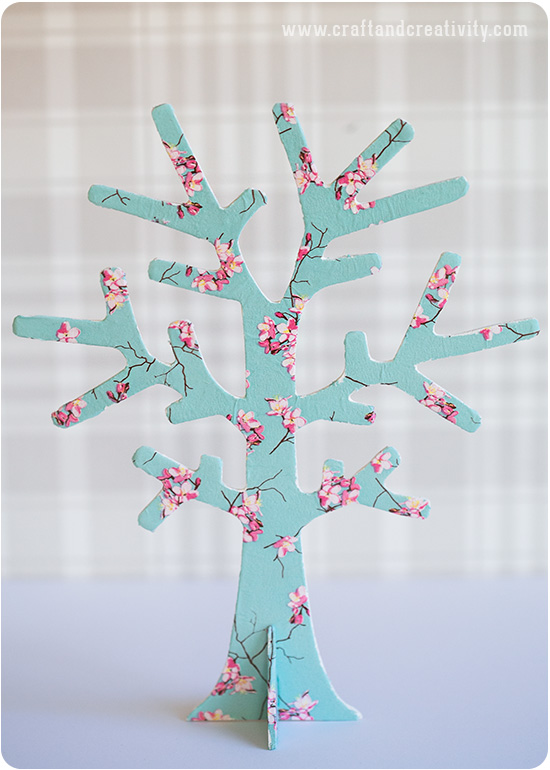
Nu har du snygga glasunderlägg som både ser dekorativa ut och som skyddar ditt bord mot fuktfläckar. Glasunderläggen är fina att ge bort till någon som fyller år, i julklapp eller som gå-bort-present.
————
Now you have stylish coasters that look decorative and protects your table from stains. The coasters are a great birthday gift, Christmas present or going-away gift.