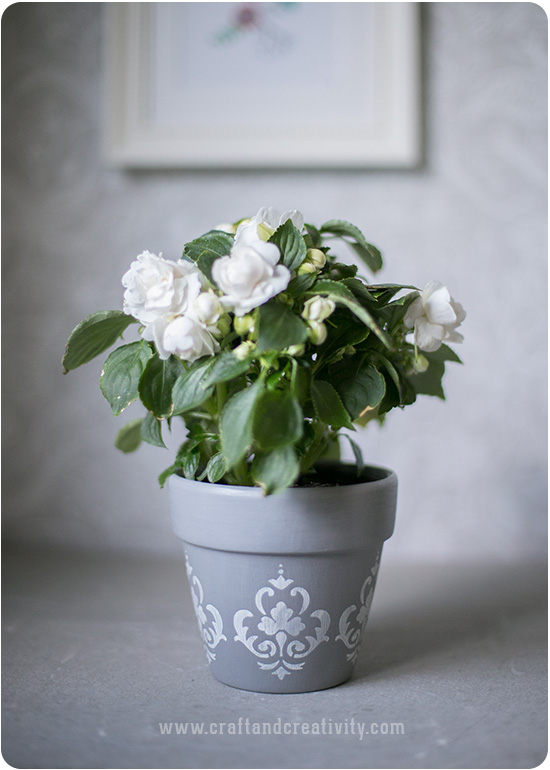
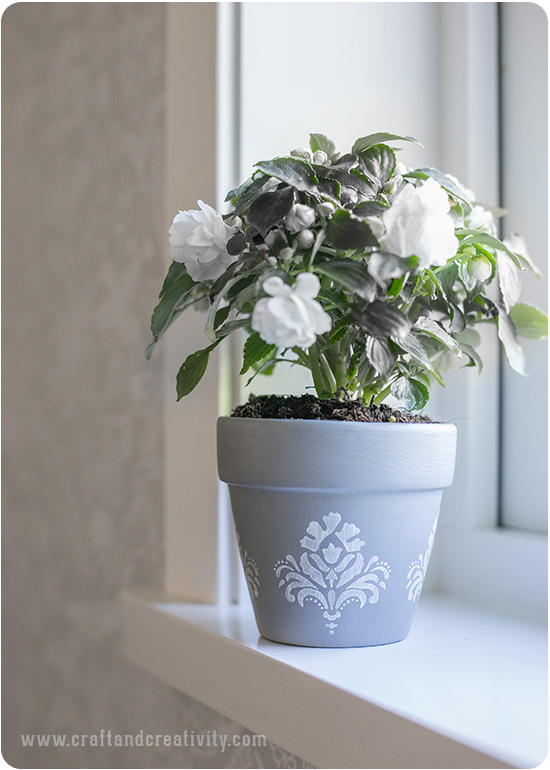
Vanliga, billiga terrakottakrukor kan få ett helt nytt utseende med lite kalkfärg och stencilmålning. Färgen heter Chalky Vintage-Look och den får en matt, fin yta när den torkat.
————
Ordinary, cheap terracotta pots can get a whole new look with a little chalk paint and stencils. The paint is called Chalky Vintage-Look and turns matte when dried.
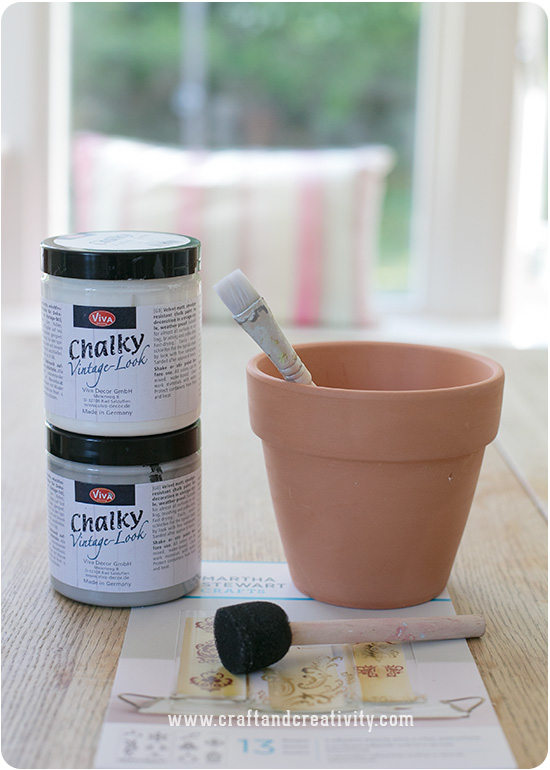
Du behöver: Terrakottakrukor (mina är 12×11 cm), Chalky Vintage-Look kalkfärg (här i nyans 801 grå och 100 vit) eller annan kalkfärg, självhäftande stenciler, en vanlig pensel och en skumstencilpensel. För att den målade ytan ska tåla fukt bättre så vaxar du den med transparent Chalky Vintage vax. Dessa stenciler från Martha Stewart Crafts är självhäftande vilket gör att de håller sig på plats under tiden du målar och de passar utmärkt till böjda ytor, som krukor eller vaser.
————–
You will need: Terracotta pots (mine are 12×11 cm), Chalky Vintage-Look paint (here in 801 grey and 100 white) or another chalk paint, adhesive stencils, a regular brush and a foam pouncer. Add Chalky Vintage wax at the end for a more water-resistant surface. These stencils from Martha Stewart Crafts are self-adhesive, which means that they stay in place while you paint, and they are ideal for curved surfaces such as pots or vases.
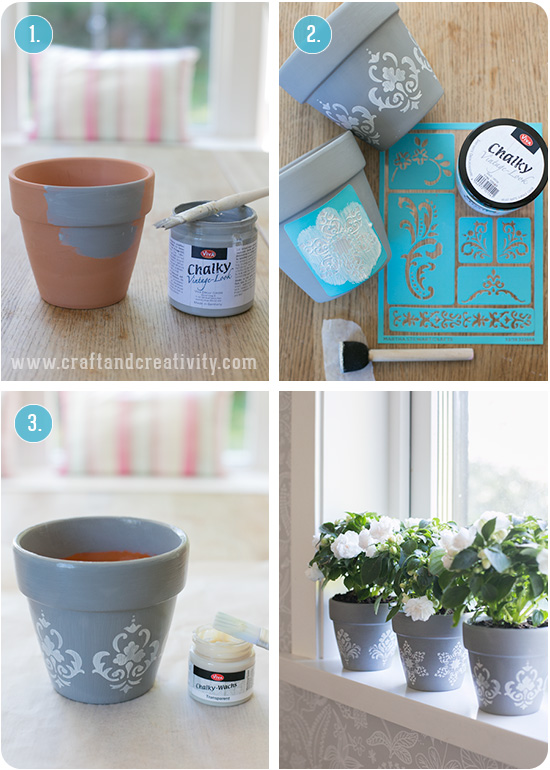
Gör så här: Måla krukan med två lager färg. Färgen torkar normalt på 1 timme men på terrakottan gick det ännu snabbare, på under 30 min var den torr och kunde målas igen. Välj valfritt mönster, sätt den självhäftande stencilen på krukan och måla över med en kontrasterande färg. Använd sparsamt med färg. En skumstencilpensel fungerar bäst för schablonmålning. Flytta stencilen runt krukan och gör mönster runt om. Låt torka 30-60 min och pensla ytan med Chalky Vintage vax. Vaxet torkar på en timme. Skölj stencilerna i ljummet vatten eller gör rent dem med stencilrengöring. På så sätt kan du återanvända dem om och om igen.
————-
Do like this: Paint the pot with two coats. The paint normally dries in 1 hour but it was even quicker on the terracotta. It was dry in less then 30 minutes. Choose a pattern, place the self-adhesive stencil on the pot and paint with a contrasting color. Use a moderate amount of paint, a foam pouncers works best for stencil painting. Move the stencil around the pot and make patters all around. Let dry for 30-60 minutes and brush the surface with Chalky Vintage wax. The wax dries in 1 hour. Rinse the stencils in lukewarm water or clean them with stencil cleaner. This way, you can reuse them over and over again.
Eftersom terrakottakrukor ofta har ett hål i botten behöver du antingen ställa dem på ett fat eller göra som jag och sätta t ex en urdiskad crème fraiche-förpackning mellan innerkrukan och ytterkrukan för att samla upp vattnet, precis som med amplarna från mitt tidigare blogginlägg.
—————
Since the terracotta pots often have a hole in the bottom, you need to either keep them on a plate or do like me and add a plastic cup between the inner and outer pot to catch excess water. Just like I did with the plant hangers from my previous blog post.


