Regntavla – Rain painting

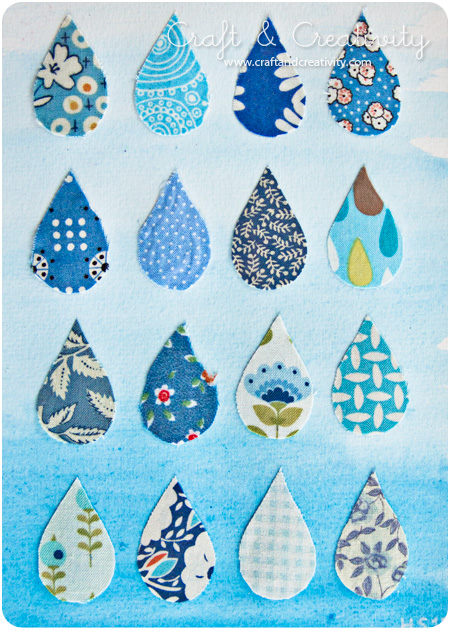
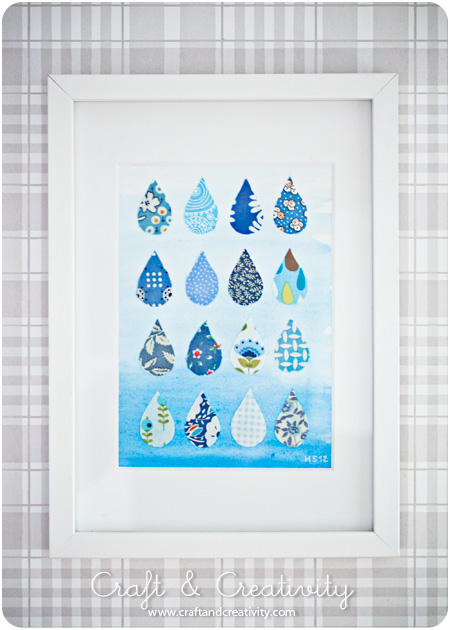
Jag är en samlare. Av pysselmaterial. Det kanske ni redan har märkt… 🙂 Bland annat har jag en hel del tyger i olika mönster som jag samlat på mig genom åren. Härom dagen fick jag en idé om att göra en regntavla med droppar av tyg i olika blåa nyanser. Nu är den klar och jag tror faktiskt den ska bli en present till en fin vän (hoppas hon inte ser det här).

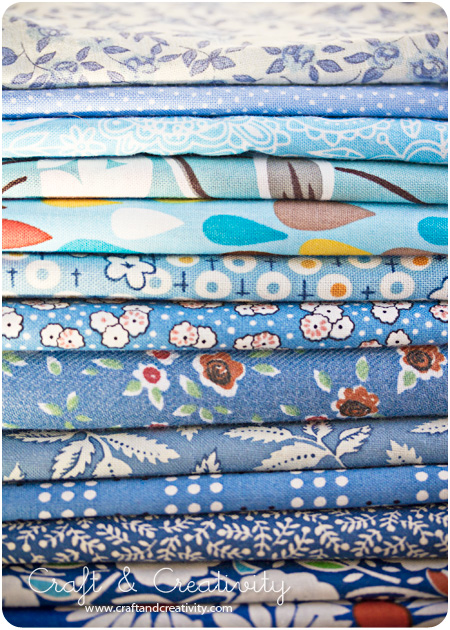
Om du vill göra en liknande tavla så behöver du: Ram, (passepartout), akvarellpapper, pensel, akvarellfärg, tyger i olika mönster och nyanser, sax och klister.

Man kan ju även tänka göra ett kollage med röda hjärtan t ex. Eller fjärilar och då kan man använda massor med olika färger. Det är bara fantasin som sätter gränser, som vanligt.
———-
I’m a collector. Of craft materials. Perhaps you’ve already noticed … 🙂 For example, I’ve got a bunch of fabrics in different patterns that I’ve collected over the years. I got an idea the other day to make a rain painting with drops of fabrics in various shades of blue. Now it’s ready and I think it’s gonna be a gift for a good friend of mine (hope she doesn’t see this). 

If you want to make a similar painting, you will need: A frame, (a mat/mount), watercolor paper, a brush, watercolor paint, fabrics in various patterns and shades, scissors and glue.

One can also imagine making a collage with red hearts for example. Or butterflies, and then you can use lots of different colors. It’s all up to your imagination. 
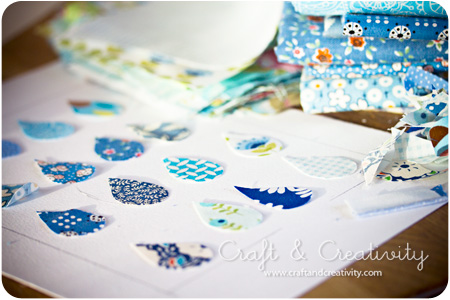

Börja med att klippa ut en mall av en droppe som du känner dig nöjd med. Måtta hur många droppar som får plats på ditt papper (jag ritade ut en stödlinje för att se var passepartouten skulle hamna). Använd mallen och klipp ut önskat antal droppar från dina utvalda tyger. /
Start by cutting out a template of a drop form you like. Measure how many drops will fit on to your paper (I sketched a fine line to see the edges of the mat/mount). Use the template to cut out the desired number of drops from your chosen fabrics.  
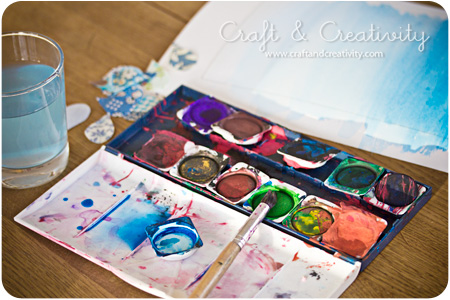

Måla en bakgrund på ditt akvarellpapper. Jag gjorde min lite tonad, större andel vatten högst upp på papperet och större andel färg längst ner. Låt papperet torka. /
Paint a background on your watercolor paper. I did mine a bit toned, using a larger proportion of water at the top of the paper and more color at the bottom. Allow the paper to dry.
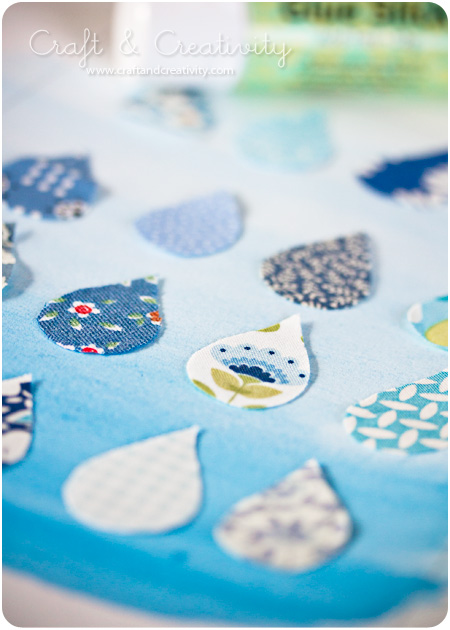

Använd limstift eller annat lämpligt lim och klistra fast dina droppar, jämnt fördelade på papperet. /
Use a glue stick or another suitable adhesive to distribute your drops evenly on the paper.  
  
Från ax till limpa på ett kick. Nu är det bara att rama in. /
From start to finish in a snap. The only thing left is the framing.

Mini-tavlor av tändsticksaskar –
Matchbox miniature art

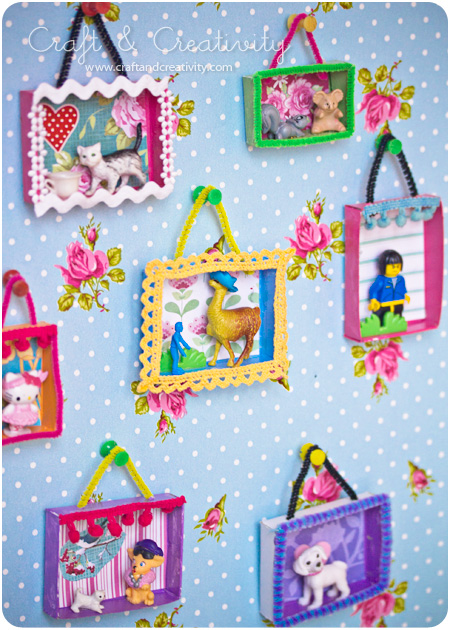
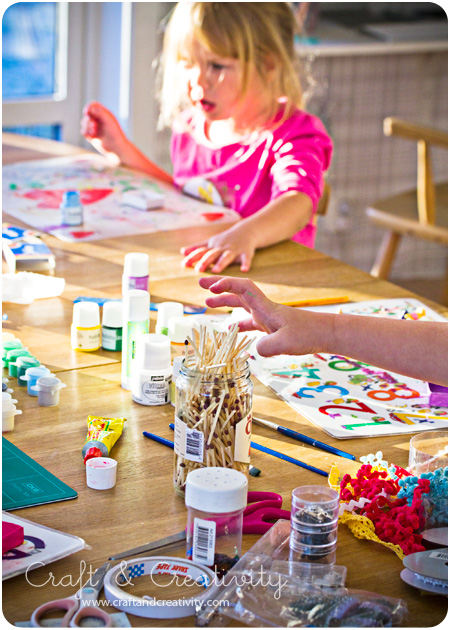
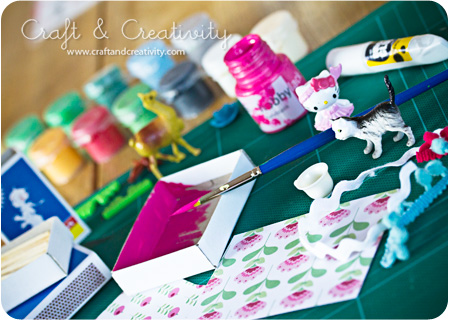
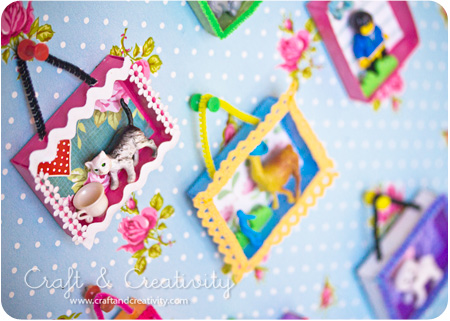
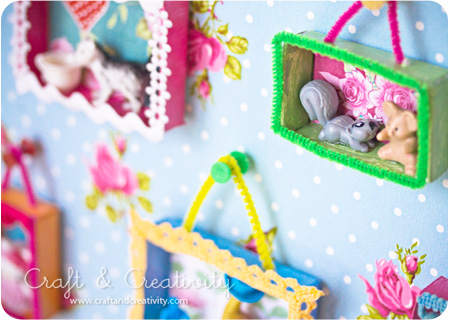
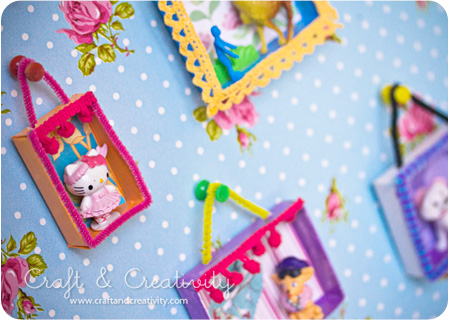
Igår fick jag och barnen för oss att vi skulle göra miniatyrtavlor. Vi plockade fram lite allt möjligt som vi hade hemma och satte igång. Vi målade, klippte, klistrade och hade väldigt roligt under tiden. Välkomna till vår lilla vernissage!
——-
Yesterday me and the kids got the idea to make some miniature art. We used a collection of material we had at home and set in motion. We painted, cut, pasted and had a great time crafting. Welcome to our little exhibition! 


Koncentrerade små pysslare. / Concentrated little crafters. 


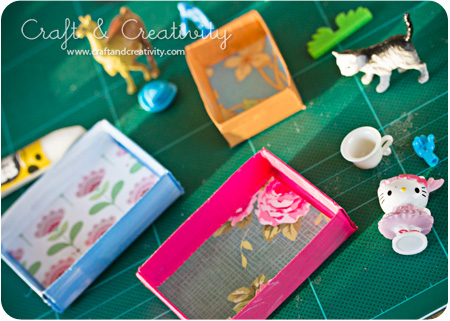
Vi använde oss av: Tändsticksaskar, mönstrade papper, hobbyfärg, penslar, miniatyrfigurer, lim, tygband och piprensare. Man tar det man har, helt enkelt. 🙂
Först målade vi tändsticksaskarna, både invändigt och utvändigt.
——-
We used: matchboxes, patterned paper, hobby paint, brushes, miniature figures, glue, fabric trim and pipe cleaners. You take what you have, basically. 🙂
First we painted the matchboxes, inside and outside.


Vi klippte till mönstrade papper som vi klistrade i botten på askarna, som tapeter. /
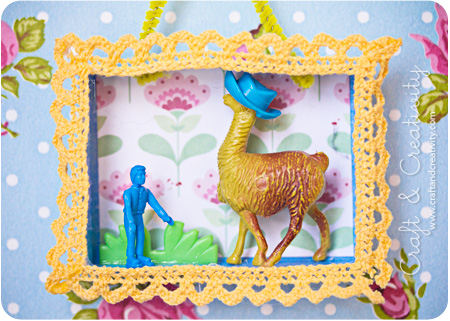
We cut pieces of patterned paper and glued it to the bottom of the boxes, as wallpaper. 


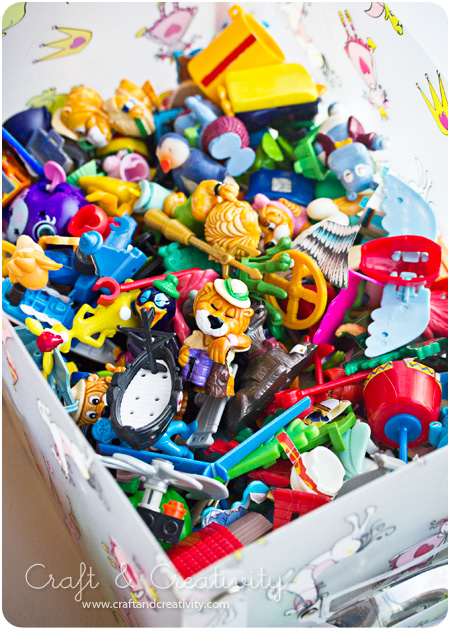
Figurerna valde vi mestadels från barnens gedigna Kinder Ägg leksakssamling… /
The figurines were mostly chosen from the children’s large Kinder Egg toy collection…  


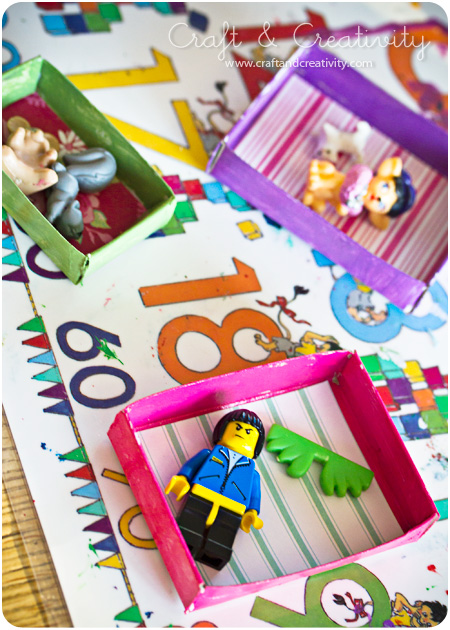
En lego-gubbe fick också vara med. Figurerna klistrade vi fast med snabbtorkande lim. /
A Lego man was also included. We pasted the figurines to the box, using quick drying glue.  


Slutligen klistrade vi tygband och piprensare runt kanterna, som en “ram”. /
Finally we glued fabric trim and pipe cleaners around the edges, as a “frame”.  

Sött innehåll – Sweet content

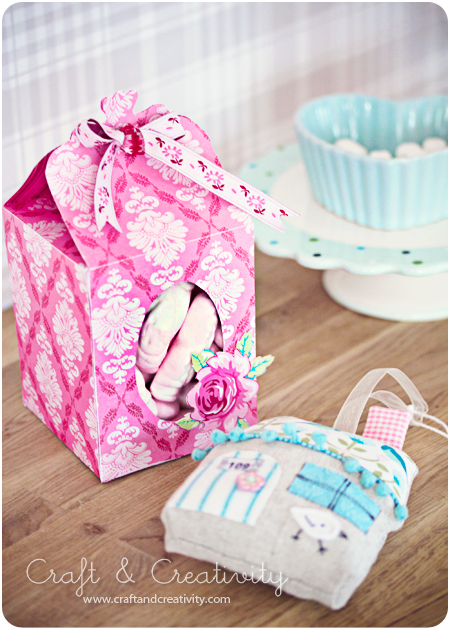
Apropå presentasken jag pysslade ihop härom dagen så fick jag flera förslag på vad jag skulle fylla den med. Bland annat Hanna som tipsade om julgodis och Finurliga fröken som kläckte idén med skumtomtar. Självklart! Varför tänkte jag inte på det? Tack för tipsen tjejer. 🙂

Asken får följa med tyghuset till sina nya ägare, goda vännerna A & N. Huset sydde jag med hjälp av mönster från Retro Mama, jag har bloggat om det här.

——–

About that gift box I made the other day, I got several suggestions on what to fill it with. For example Hanna who suggested Christmas candy and Finurliga fröken who suggested JuleSkum (kind of like marshmallow shaped Santas). It’s perfect! Why didn’t I think of that? Thanks for the tips girls. 🙂

The box will accompany the fabric house to their new owners, our good friends A & N. I made the house using a template from Retro Mama, as blogged about here

Dagens pyssel, filthus –
Craft of the Day, felt houses

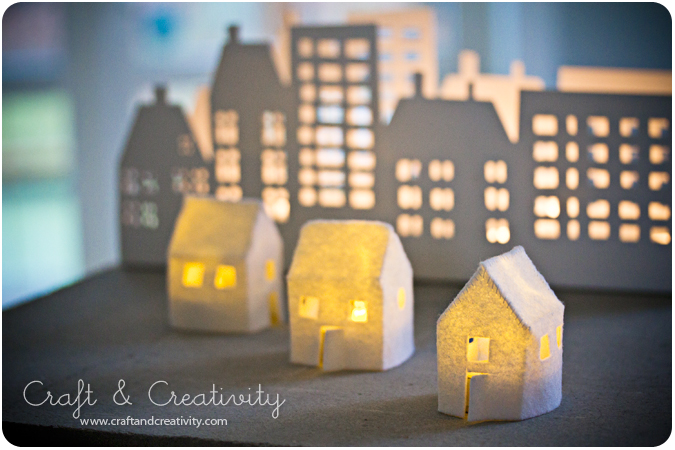
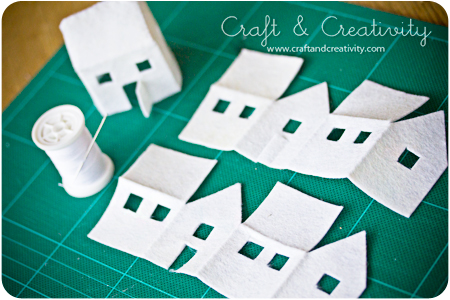
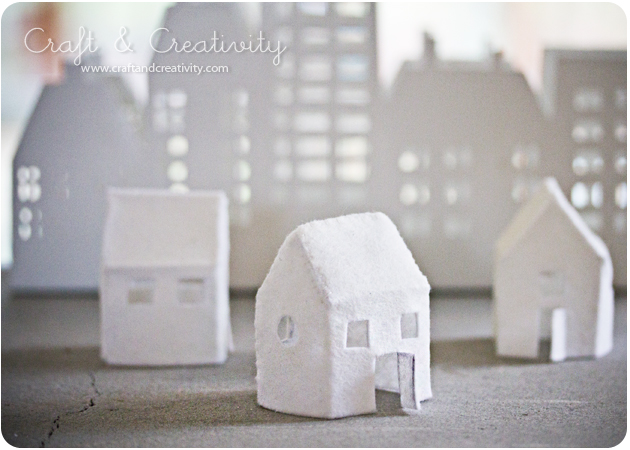
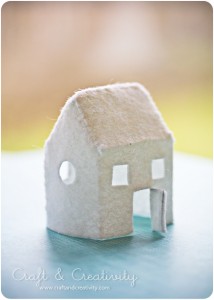
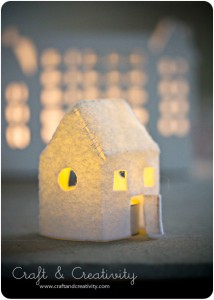
Jag tror det var via Pinterest eller Craftgawker som jag hamnade på pysselbloggen Poopscape Projecets och fastnade direkt för Claires små fina filthus. Det är något speciellt med hus. Materialet till filthusen hade jag redan hemma så härom kvällen satte jag fart.

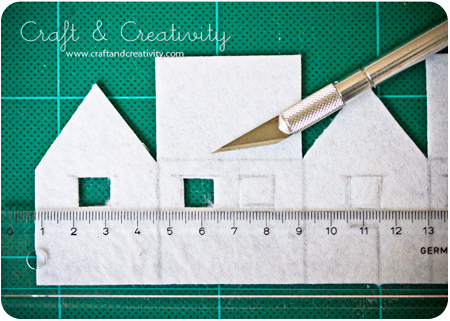
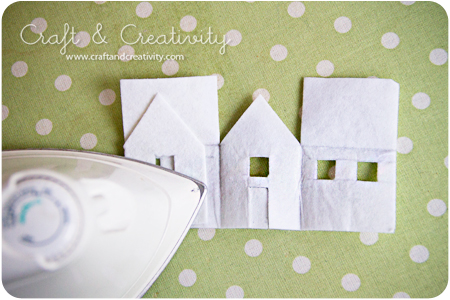
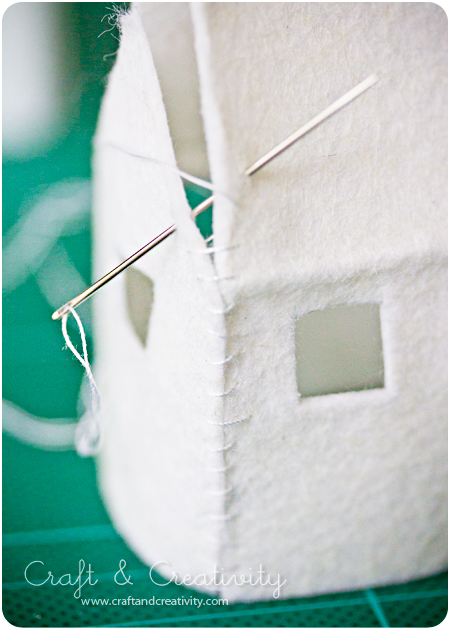
Inspiration, beskrivning och mall kommer som sagt från Poopscape Projects men istället för att pensla på tygstärkelse på de färdiga husen så strök jag på vliseline (min nya favorit, det är så roligt att jobba med!) innan jag ens skar ut husformerna. Fungerade perfekt, husen blev hur stabila som helst.

Det enda man behöver är alltså: Vit filt, vliseline (eller tygstärkelse + pensel), hobbykniv, skärmatta eller annat bra underlag, linjal, vit sytråd, nål och strykjärn. Och elektriska värmeljus om man vill kunna “tända” dem. Använd absolut inte vanliga värmeljus (det behöver jag inte ens skriva va?).

I think it was through Pinterest or Craft Rest or Craftgawker that I ended up on the craft blog Poopscape Projects, and immediately got hooked on Claire’s neat felt houses. There’s something special about houses. I had all the necessary material available to make the felt houses at home and got started the other evening. 

As mentioned, the inspiration for this craft comes from Poopscape Projects and there you can find a great tutorial and a template. Instead of applying fabric stiffener I used fusible interfacing (my new favorite, it’s so fun and easy to work with!) before even cutting out the house shapes. Worked perfectly, the houses became very stabile. 

All you need is this: White felt, fusible interfacing (or fabric stiffener + brush), exacto knife, cutting mat, ruler, white sewing thread, a needle and an iron. And electric tea lights if you want to “light” your houses. Please never use ordinary tea lights (I don’t even have to point that out to you, do I?). 


Ljushållaren med stadsmotiv som står i bakgrunden kommer från butiken Village, men den har ett par år på nacken.

Man kan ju också tänka sig sy ett litet golv på dem, trä i ett snöre och hänga dem i julgranen…

The “city” candle holder in the background comes from a chain of stores called Village here in Sweden, and I’ve had it for a couple of years. 

Another idea could be to add a floor to the house, attach a string and hang it the Christmas tree … 

Dagens pyssel, tyghjärtan –
Craft of the Day, fabric hearts

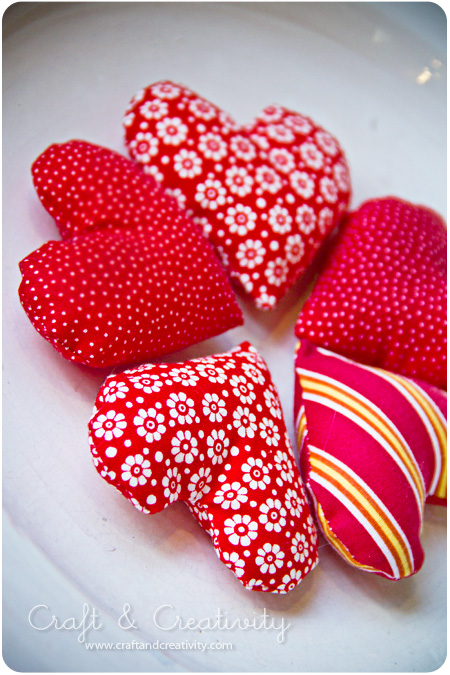
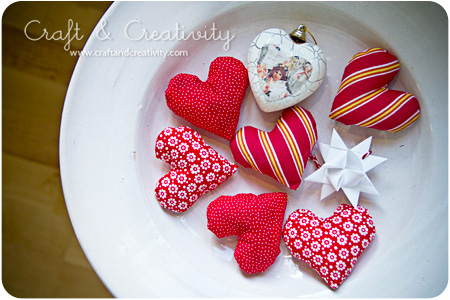
På bloggen Helby’s Hatch finns beskrivningar på hur man syr tyghjärtan. Beskrivningarna är på engelska men med hjälp av bilderna är det lätt att förstå hur man gör.
———–
At the blog Helby’s Hatch you can find descriptions of how to sew fabric hearts.