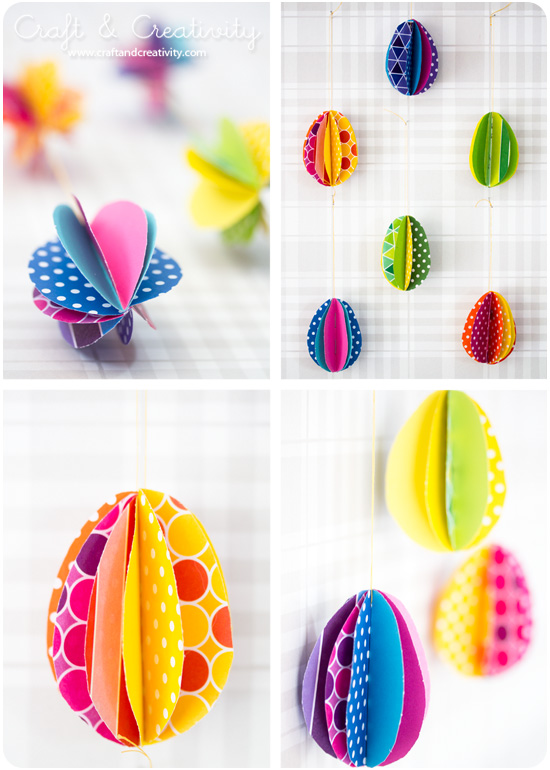
Nej, nu har det varit på tok för lite färg i bloggen på sistone! Det här duger inte. 😉 Idag tänkte jag tipsa om världens enklaste pappersägg. Det enda man behöver är mönstrade eller enfärgade papper, sax, häftapparat, nål & tråd.
———
We’ve had far too little color here at Craft & Creativity this past week! This will not do. 😉 Today I’m going to show you the world’s easiest paper eggs. All you need is patterned or plain paper, scissors, a stapler, a needle & some thread.
 Gör så här:
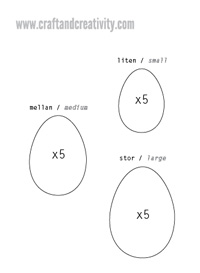
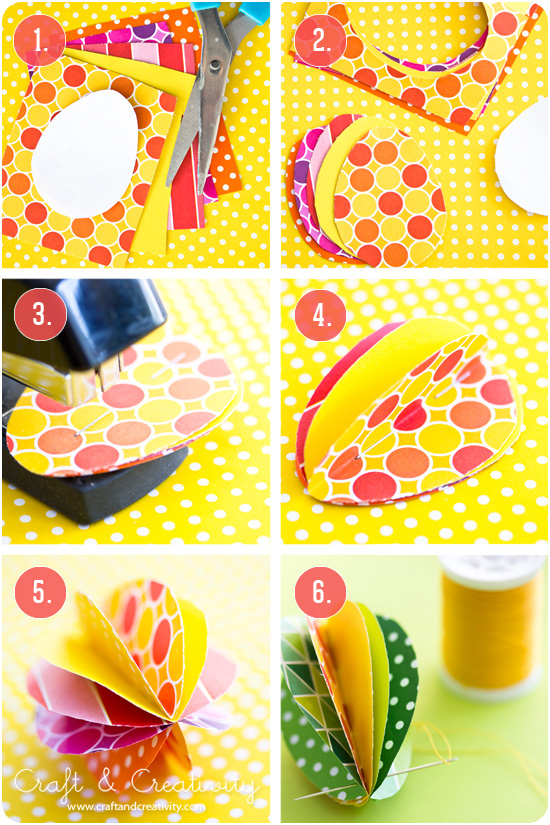
1. Ladda hem och skriv ut ägg-mallen till vänster (eller rita en egen mall). Klipp ut önskad storlek. Välj ut 4-5 mönstrade eller enfärgade papper som du tycker passar ihop. Lägg dem ovanpå varandra med mallen överst.
2. Klipp runt mallen, genom alla lager med papper.
3. Lägg samman dina ägg och häfta ihop dem i mitten. Jag måttade inte, det är inte så noga att det blir exakt i mitten tycker jag.
4 & 5. Veckla ut ägget.
6. Gör ett hål högst upp med en synål och fäst en tråd för upphängning.
Do like this:
1. Start by downloading and printing the egg template above to your left. Cut out the size you want. Select 4-5 sheets of patterned or plain paper that you like. Stack them together with the template on top.
2. Cut around the template, through all layers of paper.
3. Stack your eggs and staple them together in the middle. I didn’t measure, it’s not important that it’s the exact middle.
4 & 5. Unfold your egg.
6. Make a hole at the top with a sewing needle and attach a piece of thread for hanging.
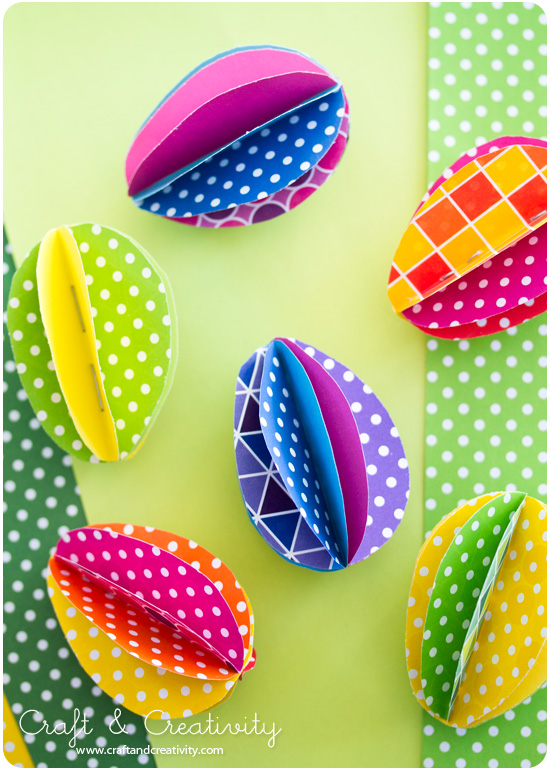
En riktig färginjektion, tycker ni inte? 🙂 Vill man inte göra dem äggformade så gör man dem runda istället. Då skulle man t ex kunna fästa dem på en lång tråd och göra en girland som passar året om!
———–
A proper color explosion, don’t you think? 🙂 If you don’t wish to make them egg-shaped, make them round instead. Then you could attach them to a long thread and make a garland that would fit all year round!


