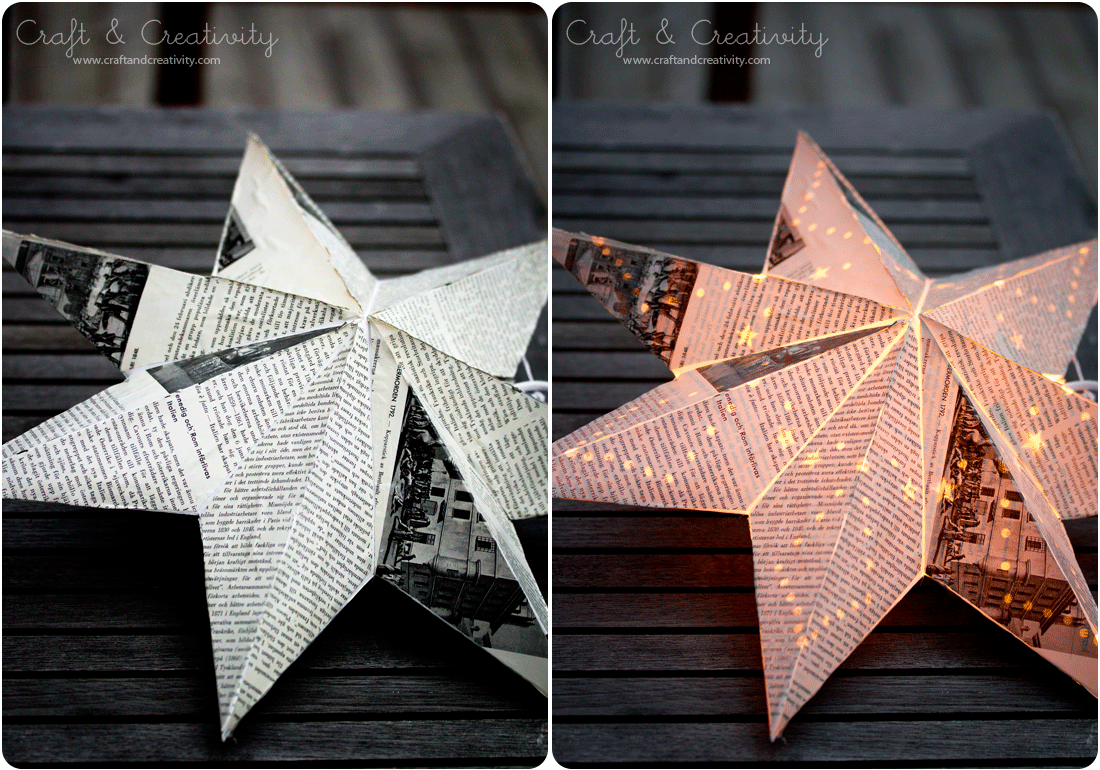
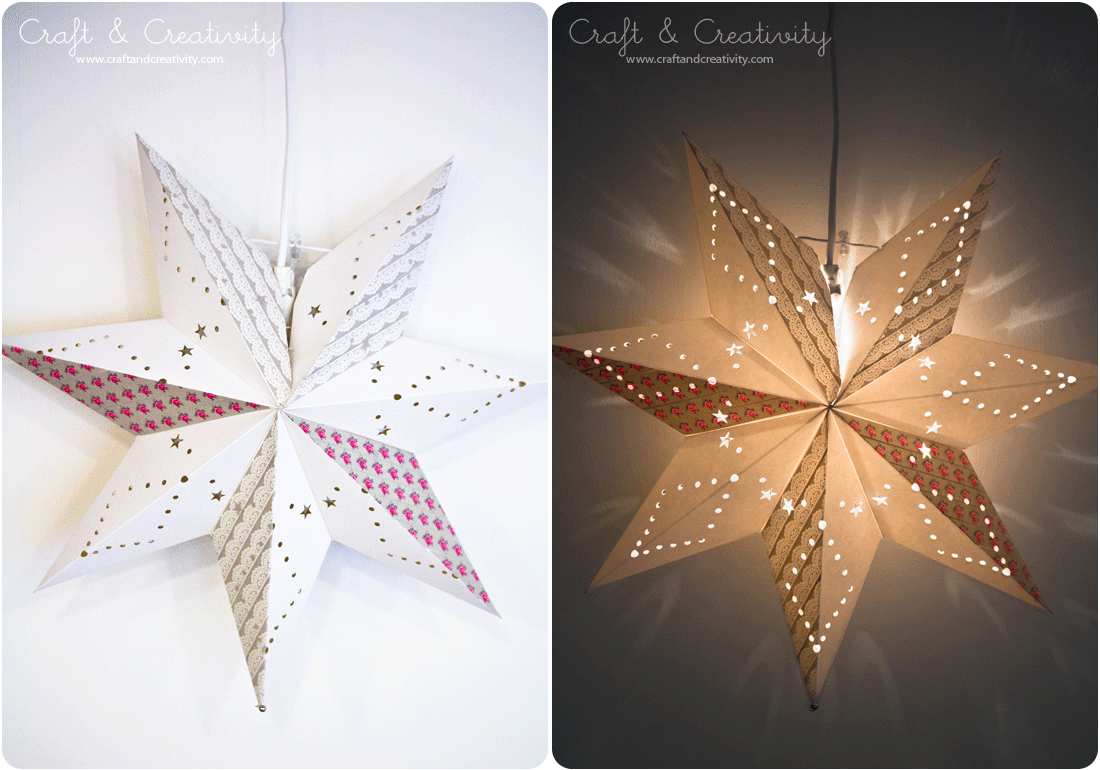
Förra fredagen fick vi fint besök av Karin och hennes dotter Freja från Pysselbolaget. Vi pysslade och bollade idéer tillsammans en hel eftermiddag och kreativiteten sprutade, både bland vuxna & barn. Så roligt! Dessa omgjorda adventsstjärnor är ett av många resultat av denna dag. Idén var att pynta färdiga adventsstjärnor på olika sätt. Antingen köper man nya eller så gör man om gamla som man har hemma.
—–
Last Friday we got a nice visit from Karin and her daughter Freja from Pysselbolaget. We crafted together and exchanged ideas an entire afternoon. There was a flow of creativity in the air, both among us adults and the children. We had so much fun! These pimped Advent stars are one of many result of this day. The idea was to decorate pre-made Advent stars in different ways. You could either buy new ones or use old ones from your stash.
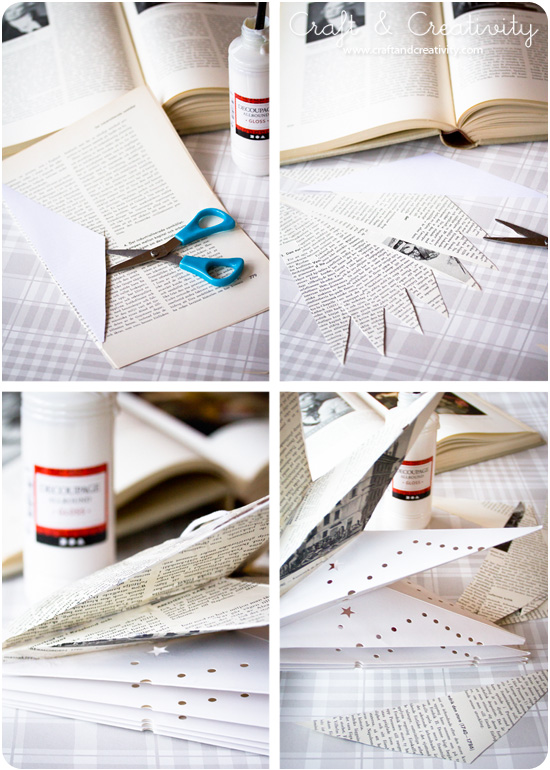
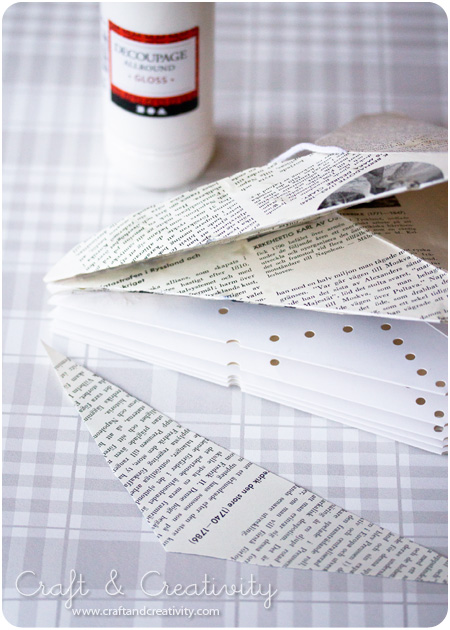
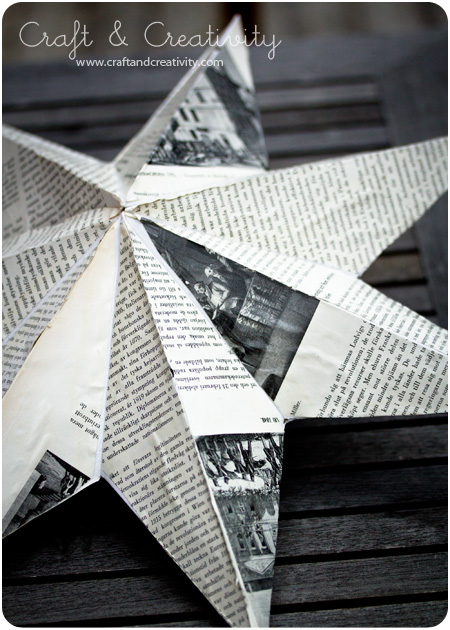
Jag valde att täckte en stjärna med boksidor från en gammal uppslagsbok och limmade och lackade med decoupagelack. Enklast är att börja med att klippa ut en trekantig mall som passar formen av stjärnans udd. Använd sedan mallen för att få rätt form på papperet. Se bilderna ovan. Pensla limmet på stjärnan, lägg papperet på plats och släta ut eventuella ojämnheter med fingrarna. Täck en udd i taget och vänd sedan på stjärnan och ta andra sidan. Blir kanterna ojämna kan du putsa dem med en sax. När stjärnan är helt täckt, lacka ytan med samma decaupagelack som du använde för att limma med. Jag använde blank lack men så här i efterhand hade jag hellre använt den matta varianten. Men det är ju en smaksak.
—–
I chose to cover one star with book pages from an old encyclopedia and used decoupage lacquer (i.e. Mod Podge) for glue and finish. I found that the easiest way is to start by cutting out a triangular template that fit the shape of the points of the star. Then use the template to get the correct shape when cutting the book pages. See the pictures for guidance. Brush decoupage laquer on the star, put the paper in place and smooth out any irregularities with your fingers. Cover one point at a time and then turn the star around and do the other side. If the edges get uneven, you can trim them with a pair of scissors. When the star is completely covered, paint the surface with the same decoupage laquer you used to glue with. I chose the glossy kind, but in retrospect, I would rather have used the matte one. But that’s just a matter of taste.
A comment for you non-Swedish readers: In Sweden it’s very common to hang these Advent stars in the windows on the first Advent before Christmas.
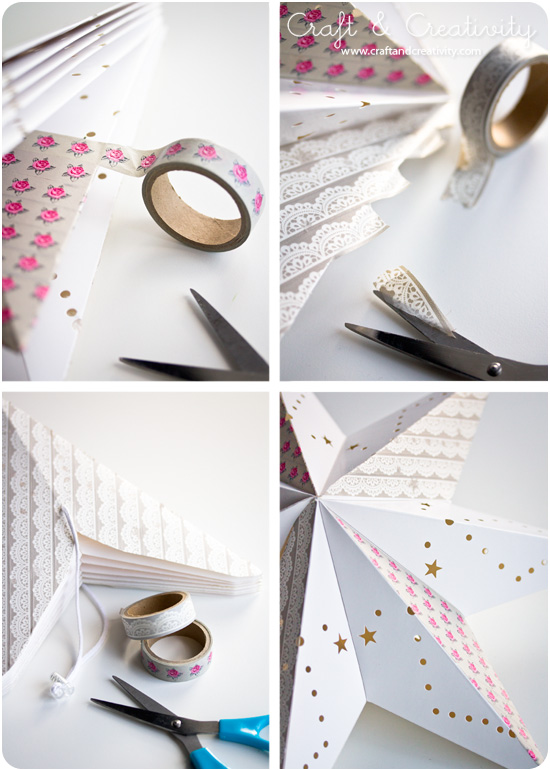
Blinka lilla stjärna. Vår andra stjärna tejpade vi med papperstejp, s k washitejp. Ganska effektfullt det också och mindre kladdigt att jobba med än lim/lack. /
Twinkle twinkle little star. We decorated our second star with paper tape, so called washi tape. Pretty effect-full, and less messy to work with compared to glue/laquer.
Tejpa hela eller delar av stjärnan. Trimma bort överflödig tejp med en sax och du är klar! Tips: Ta även en titt hos Pysselbolaget och se vad Karin & Freja gjorde med sina stjärnor!
——
Tape the whole or parts of the star. Trim off excess tape with scissors and you’re done! Tip: Take a look at Pysselbolaget and see what Karin & Freya made with their stars!

