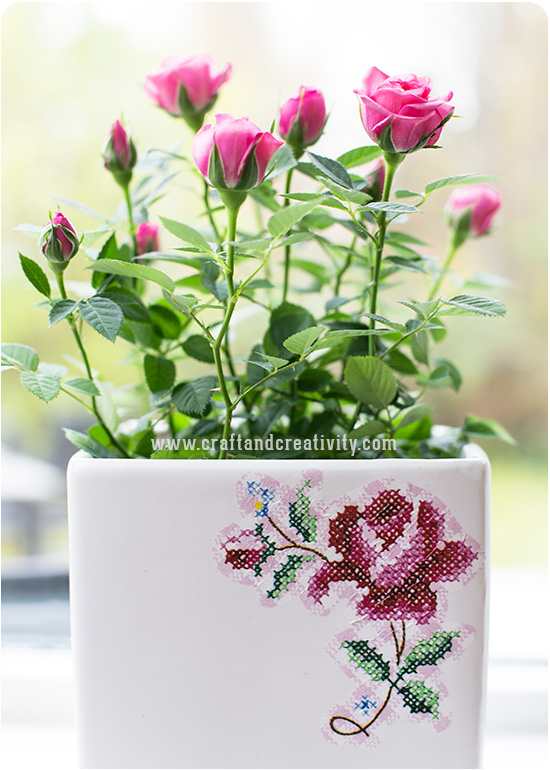
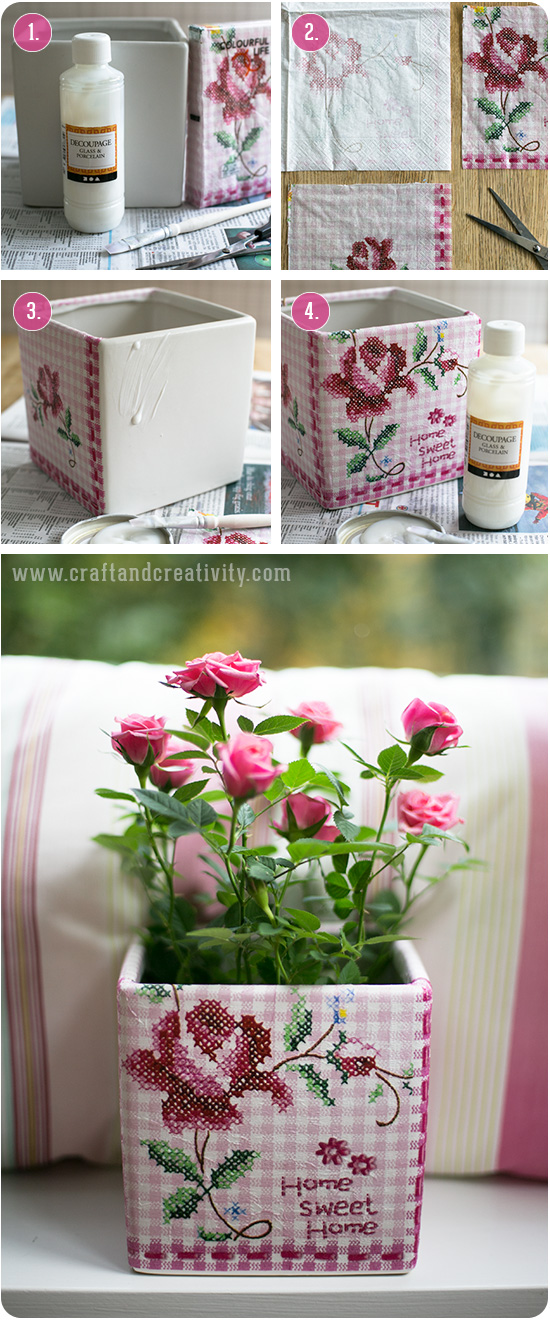
Jag har länge velat testa decoupage på porslin och eftersom jag hade två gamla porslinskrukor från Ikea hemma fick de bli försöksobjekt. Sidorna på krukorna matchande nästan precis storleken på servetterna. Himla praktiskt!
———–
I have long wanted to try decoupage on porcelain and since I had two old porcelain pots from Ikea lying around in the house, I decided to use them. The sides of the pots matched almost perfectly the size of the napkins. My lucky day!
För att göra decoupage på krukor behöver du: En eller flera krukor, servetter, decoupagelack för glas och porslin, en pensel och en sax.
Gör så här: Servetter har ofta flera lager och du behöver bara det översta lagret där själva trycket sitter. Dra bort övriga lager. Klipp servetten i ungefär rätt storlek för att passa krukan. Pensla ett jämnt lager decoupagelack på krukan, lägg på servetten och pensla ett lager decoupagelack ovanpå. Stryk/pressa försiktigt med penseln för att få ut eventuella skrynklor och luftbubblor. Låt torka och stryk på ett lager lack till om du önskar extra hållbarhet. Jag vet att en del hellre limmar på servetten än på underlaget men jag föredrar detta sätt. Decoupagelack för glas och porslin kan man härda i ugnen (30 min, 160ºC) och då tål den mild maskindisk. Om det är prydnadssaker i glas och porslin som man vill göra decoupage på så behöver man inte härda och det går bra med vanlig decoupagelack.
—————
For decoupage on pots you will need: One or several pots, napkins, decoupage lacquer for glass and porcelain, a brush and a pair of scissors.
Do like this: Napkins are often multi-layered and you only need the printed top layer. Remove the other layer/layers. Cut the napkin in about the right size to fit the pot. Brush an even coat of decoupage lacquer around the pot, place the napkin on top and brush a layer of decoupage over the napkin. Stroke and press gently with the brush to remove any wrinkles or air bubbles. Let the lacquer dry and apply another coat of lacquer for extra durability. I know that some prefer to apply the lacquer on the napkin instead of on the surface of the object, but I prefer it this way. Cure in the oven (at 160ºC for 30 minutes) and then you can wash it in the dishwasher. If you are decorating ornaments or objects that doesn’t need to be cured and water proof you can use ordinary decoupage lacquer instead.
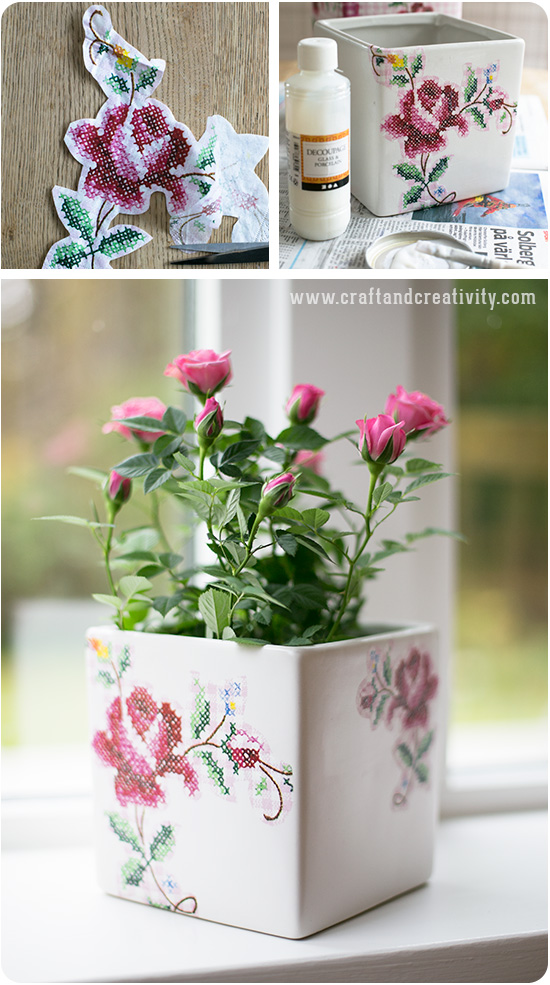
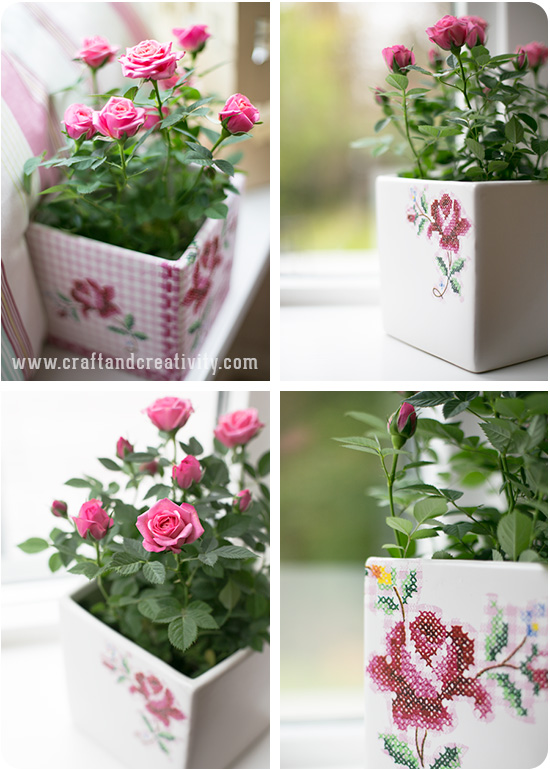
Här ser ni en annan variant där jag klippt ut och använt bara rosen. Jag har tidigare mest gjort decoupage med speciellt decoupagepapper och det var roligt att testa servettdecoupage. Det är lättare att få ett jämnt resultat med decoupagepapper men jag gillar verkligen mina nya krukor, trots att resultatet inte är 100% perfekt.
———-
Here’s another version where I cut and used only a piece of the napkin. Previous to this project I had mainly done decoupage using special decoupage paper but it was fun to try it with napkins too. It’s easier to get at smooth result with decoupage paper but I really like my new pots, even though the result isn’t 100% perfect.
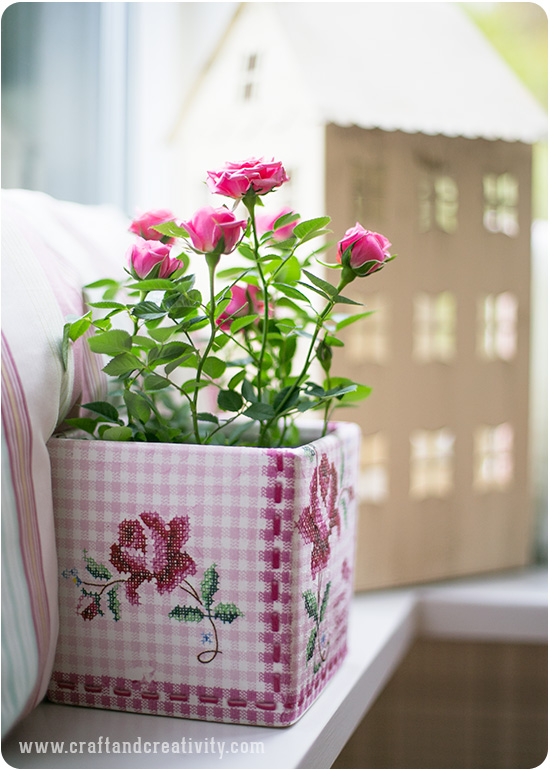
Gröna växter är inte min starka sida men nu har jag införskaffat två minirosor som jag ska göra mitt bästa för att hålla liv i… Jag behöver ju något att fylla mina krukor med.
———-
Getting plants to grow and thrive isn’t my forte, but I’m now the proud owner of two mini roses and I will do my best to keep them alive … I need something pretty to fill my pots with.
Min fäbless för kombinationen rosor och korsstygn har även resulterat i dessa projekt: /
My fondness for roses and cross stitching has also resulted in these DIY-projects:
