Återbruk av flaskor & burkar –
Upcycled glass bottles & jars

Upcycled glass bottles & jars - by Craft & Creativity

Det är roligt att återanvända gamla glasflaskor och burkar, istället för att bara slänga dem i glasåtervinningen. Här har jag virat naturfärgat linsnöre runt småflaskor och burkar för att skapa vaser och ljushållare. Fördelen med denna variant är att om du täcker hela flaskan/burken med snöre så behöver du inte ens ta bort etiketten först.
———–
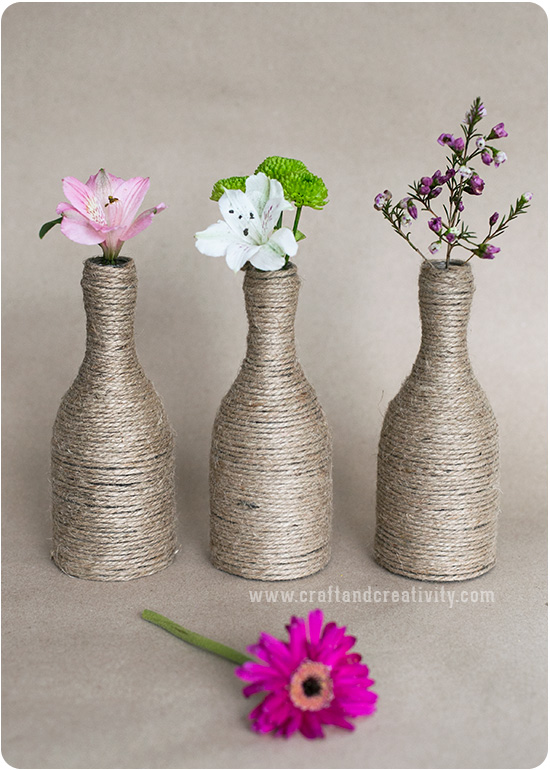
It’s fun to upcycle old glass bottles and jars, instead of just throwing them in the glass recycling. Here I wrapped flax twine around bottles and jars to create small vases and candle holders. What’s great is that if you cover the whole bottle with twine, you don’t even have to remove the label first. 

Upcycled glass bottles & jars - by Craft & Creativity

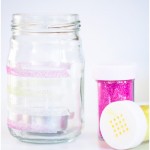
Du behöver: Diskade glasflaskor och burkar, linsnöre (jag använde 3 mm tjockt snöre), dubbelhäftande tejp och/eller dubbelhäftande klisterark och en sax.
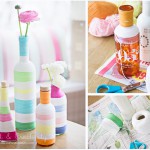
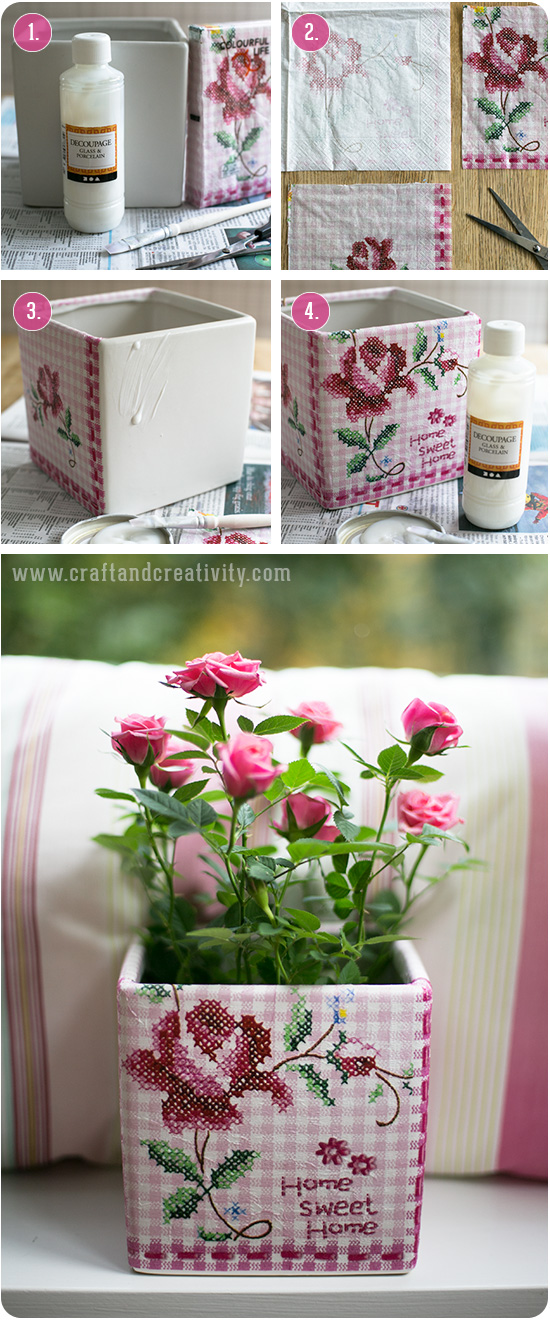
Gör så här: Klipp till klisterfolien i en lagom bit som täcker den raka delen av din flaska eller burk. De förtryckta stödlinjerna gör det enkelt att klippa rakt. Dubbelhäftande klisterfolie har skyddspapper på båda sidorna. Tag bort pappret från den ena sidan och fäst folien runt flaskan eller burken. För välvda eller sluttande partier är det enklare att använda bitar av dubbelhäftande tejp, se bild ovan. Du kan även använda tejp på hela partiet och utesluta klisterfolien helt men jag tyckte det gick snabbast på det här sättet och linsnöret fäste ännu bättre. Dra bort skyddspappret från klisterfolien och den dubbelhäftande tejpen och börja vira linsnöret runt flaskan eller burken, så tätt eller glest som du önskar. Det går på ett kick! Ett alternativ för tejp är att använda lim (vilket jag testat förut), vilket också fungerar men blir betydligt kladdigare.
————
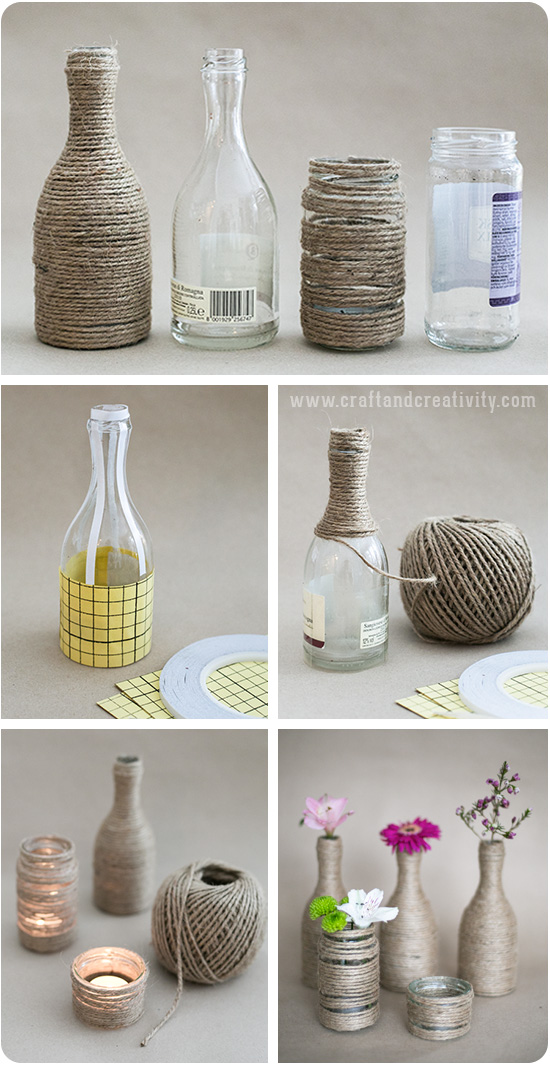
You will need: Clean glass bottles and jars, flax twine, double-sided adhesive tape and/or sticky tape sheets and a pair of scissors.
Do like this: Cut the sticky tape sheets into a piece or pieces big enough to cover the straight part of your bottle or jar. The sheets have protective paper on both sides. Remove the backing paper from one side and press the sticky tape around the bottle or jar. For curved or sloping parts it’s easier to use pieces of double-sided adhesive tape, as shown in the picture above. Remove the backing paper from the sheets and the tape and start wrapping the twine around the bottle, as tight or sparsely as you wish. You will be done in a few minutes! As an alternative to tape you can use glue (I’ve tried that too), which also works but is a lot messier. 

Upcycled glass bottles & jars - by Craft & Creativity

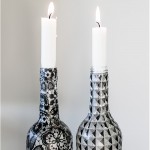
Burkarna valde jag att vira natursnöret ganska glest för att släppa igenom strimmor av ljus från de brinnande värmeljusen. Eftersom snöret sitter på utsidan av glasburkarna blir det ingen ökad brandrisk men tänk på att aldrig lämna brinnande ljus utan uppsikt.
———
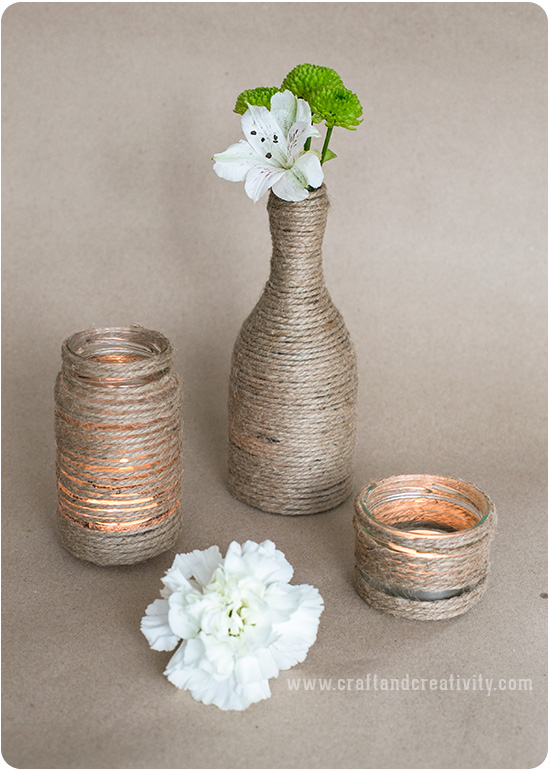
I chose to wrap the jars somewhat sparsely to allow the light from the candles shine through the twine. Because the twine is on the outside of the glass there will be no increased fire risk, but please remember never to leave burning candles unattended. 

Upcycled glass bottles & jars - by Craft & Creativity

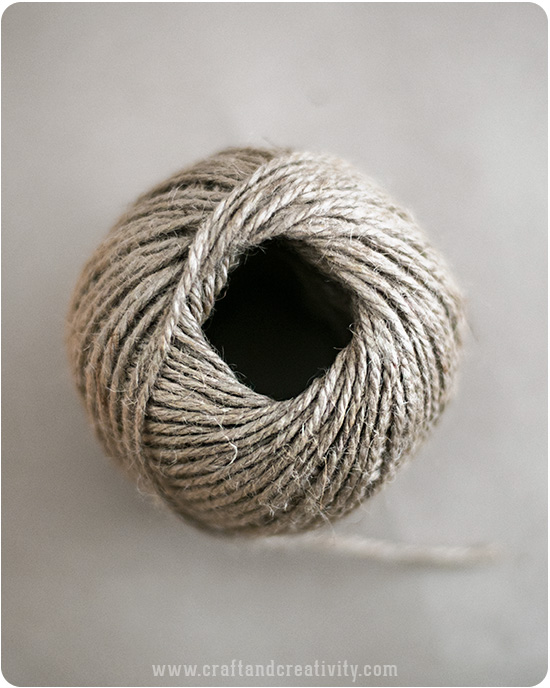
Natursnören är vackra material som inte kostar mycket. Jag brukar använda natursnöre till presentinslagning bland annat.
———–
Natural twine is a beautiful and affordable material. I use twine for gift wrapping among other things.

Upcycled glass bottles & jars - by Craft & Creativity

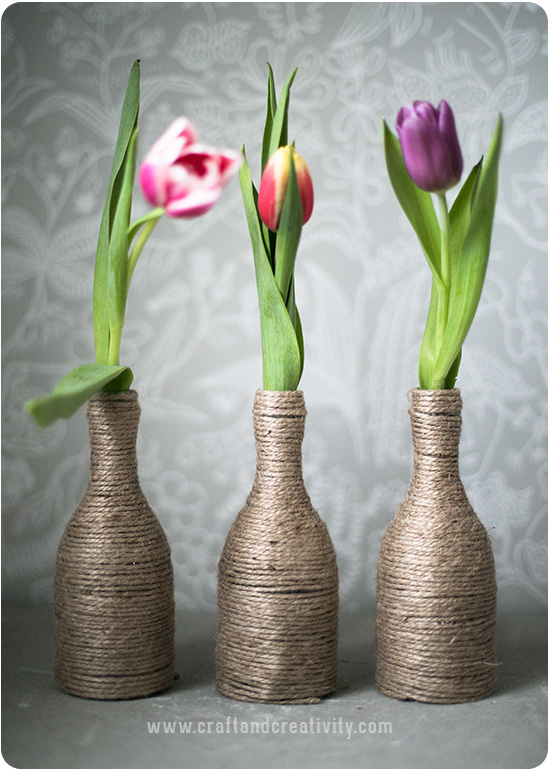
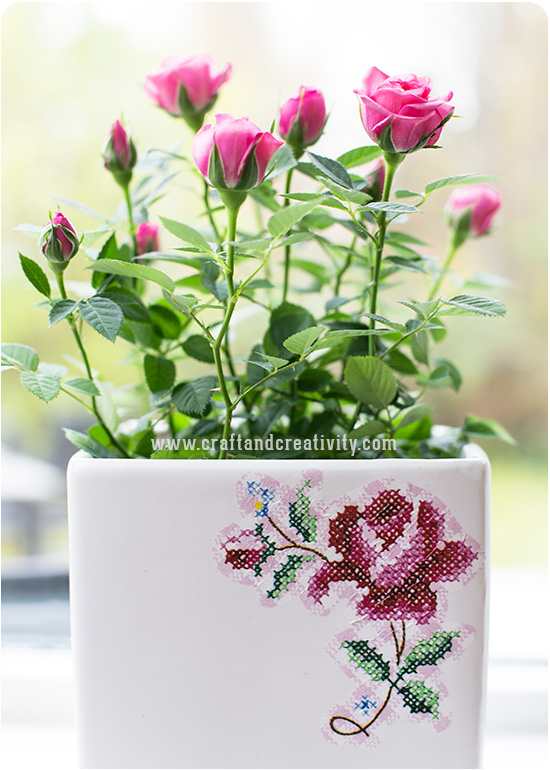
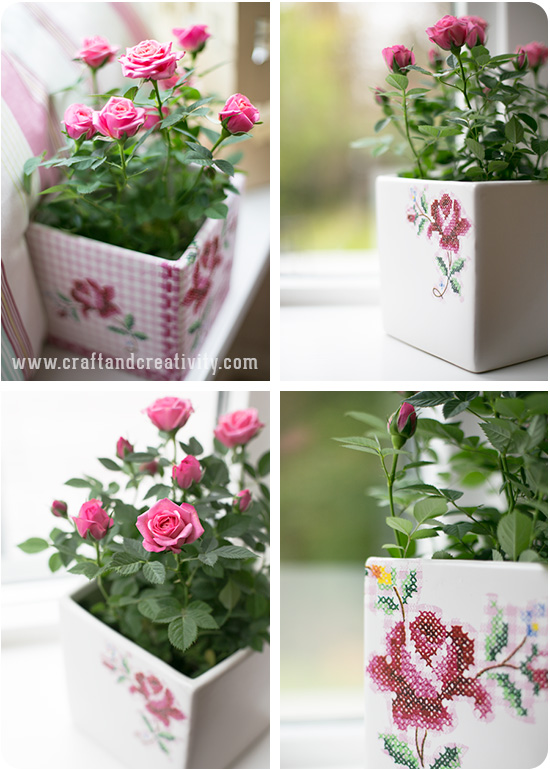
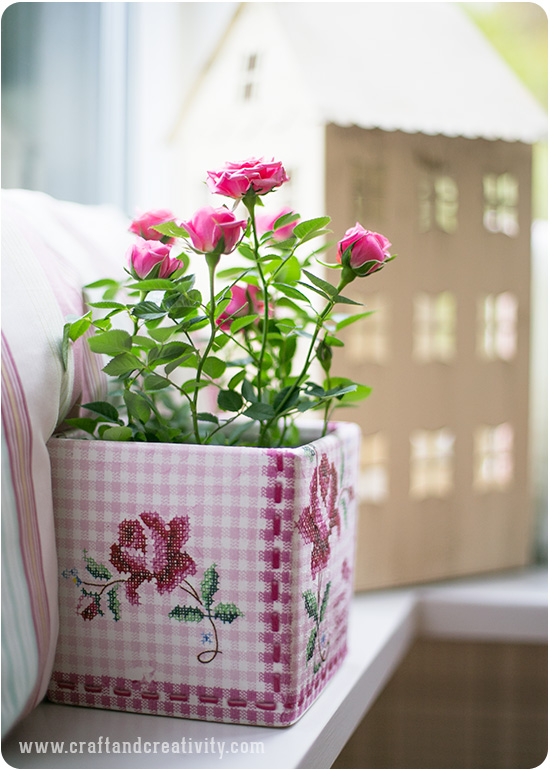
Tack vare att vaserna blev så enkla och stilrena så tycker jag att de framhäver själva blomman. / I think the vases highlight the flowers, thanks to their simplicity.

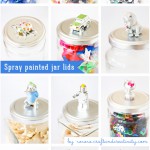
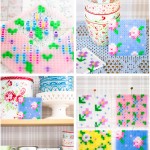
Fler av mina återbrukspyssel med glasflaskor och glasburkar: /
More of my upcycling ideas using glass bottles and jars:
Upcycled glass bottles - by Craft & Creativity  Yarn wrapped bottles - by Craft & Creativity  Christmas glass jars - by Craft & Creativity

Spray painted jar lids - by Craft & Creativity  Sparkling candle holders - by Craft & Creativity  Washi taped glass - by Craft & Creativity

Servettdecoupage på krukor –
Napkin decoupage on flower pots

Napkin decoupage on flower pot - by Craft & Creativity

Jag har länge velat testa decoupage på porslin och eftersom jag hade två gamla porslinskrukor från Ikea hemma fick de bli försöksobjekt. Sidorna på krukorna matchande nästan precis storleken på servetterna. Himla praktiskt!
———–
I have long wanted to try decoupage on porcelain and since I had two old porcelain pots from Ikea lying around in the house, I decided to use them. The sides of the pots matched almost perfectly the size of the napkins. My lucky day! 

Napkin decoupage on flower pot - by Craft & Creativity

För att göra decoupage på krukor behöver du: En eller flera krukor, servetter, decoupagelack för glas och porslin, en pensel och en sax.
Gör så här: Servetter har ofta flera lager och du behöver bara det översta lagret där själva trycket sitter. Dra bort övriga lager. Klipp servetten i ungefär rätt storlek för att passa krukan. Pensla ett jämnt lager decoupagelack på krukan, lägg på servetten och pensla ett lager decoupagelack ovanpå. Stryk/pressa försiktigt med penseln för att få ut eventuella skrynklor och luftbubblor. Låt torka och stryk på ett lager lack till om du önskar extra hållbarhet. Jag vet att en del hellre limmar på servetten än på underlaget men jag föredrar detta sätt. Decoupagelack för glas och porslin kan man härda i ugnen (30 min, 160ºC) och då tål den mild maskindisk. Om det är prydnadssaker i glas och porslin som man vill göra decoupage på så behöver man inte härda och det går bra med vanlig decoupagelack.
—————
For decoupage on pots you will need: One or several pots, napkins, decoupage lacquer for glass and porcelain, a brush and a pair of scissors.
Do like this: Napkins are often multi-layered and you only need the printed top layer. Remove the other layer/layers. Cut the napkin in about the right size to fit the pot. Brush an even coat of decoupage lacquer around the pot, place the napkin on top and brush a layer of decoupage over the napkin. Stroke and press gently with the brush to remove any wrinkles or air bubbles. Let the lacquer dry and apply another coat of lacquer for extra durability. I know that some prefer to apply the lacquer on the napkin instead of on the surface of the object, but I prefer it this way. Cure in the oven (at 160ºC for 30 minutes) and then you can wash it in the dishwasher. If you are decorating ornaments or objects that doesn’t need to be cured and water proof you can use ordinary decoupage lacquer instead.

Napkin decoupage on flower pot - by Craft & Creativity

Här ser ni en annan variant där jag klippt ut och använt bara rosen. Jag har tidigare mest gjort decoupage med speciellt decoupagepapper och det var roligt att testa servettdecoupage. Det är lättare att få ett jämnt resultat med decoupagepapper men jag gillar verkligen mina nya krukor, trots att resultatet inte är 100% perfekt.
———-
Here’s another version where I cut and used only a piece of the napkin. Previous to this project I had mainly done decoupage using special decoupage paper but it was fun to try it with napkins too. It’s easier to get at smooth result with decoupage paper but I really like my new pots, even though the result isn’t 100% perfect. 

Napkin decoupage on flower pot - by Craft & Creativity

Gröna växter är inte min starka sida men nu har jag införskaffat två minirosor som jag ska göra mitt bästa för att hålla liv i… Jag behöver ju något att fylla mina krukor med.
———-
Getting plants to grow and thrive isn’t my forte, but I’m now the proud owner of two mini roses and I will do my best to keep them alive … I need something pretty to fill my pots with. 

Napkin decoupage on flower pot - by Craft & Creativity

Min fäbless för kombinationen rosor och korsstygn har även resulterat i dessa projekt: /
My fondness for roses and cross stitching has also resulted in these DIY-projects:
Beaded tin can - by Craft & Creativity  How I built and painted my pegboard - by Craft & Creativity  crossstitchbeads1