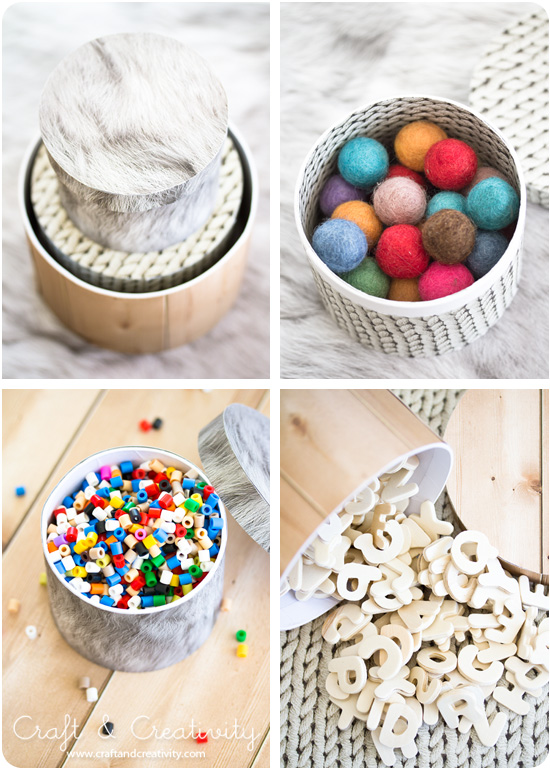
En av de många fördelarna med att ha en pysselbutik är att jag får möjlighet att testa en massa nytt roligt pysselmaterial 🙂 men det gäller att förvara det på ett bra sätt också. Jag gillar ordning och att snabbt kunna hitta materialet jag behöver när inspirationen faller på. Bra förvaring är A och O och till det använder jag gärna både glasburkar, askar, hyllor och lådor. Jag märker upp dem för att veta vad som är i, mer om det i ett annat blogginlägg.
———–
One of the many great advantages of having a craft shop is that I get to test a lot of new fun craft supplies 🙂 , but it also requieres good storage. I’m a fan of structure and want to be able to quickly find the material I need when inspiration strikes. I use both jars, boxes, shelves and drawers to organize my supplies in a neat way. I tag my boxes to know what’s in them, more about that in another blog post.
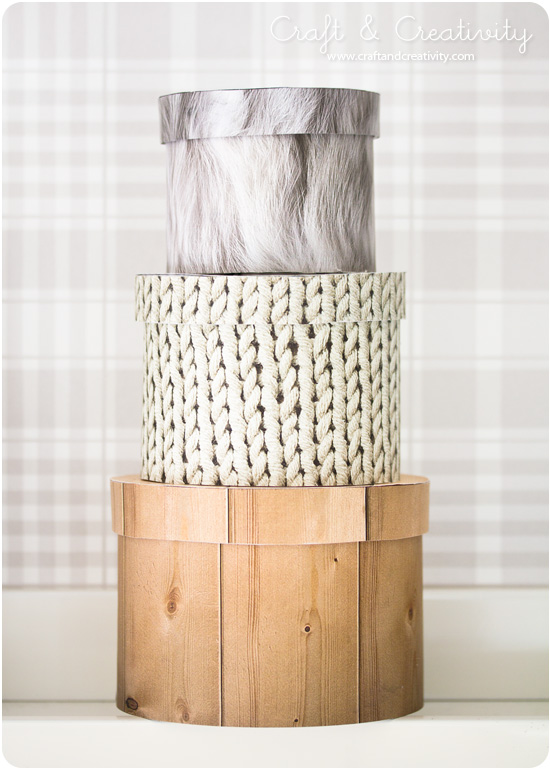
Att klä om askar är något jag aldrig tröttnar på. Det går snabbt och jag kan själv välja precis hur de ska se ut. Jag tycker verkligen om den naturliga look som dessa fick. Det passar fint till den runda formen på askarna.
———–
I never get tired of dressing boxes. It’s quick and I can create whatever look I want. I really like the natural look of these ones. The patterns looks nice in combination with the round shapes of the boxes.
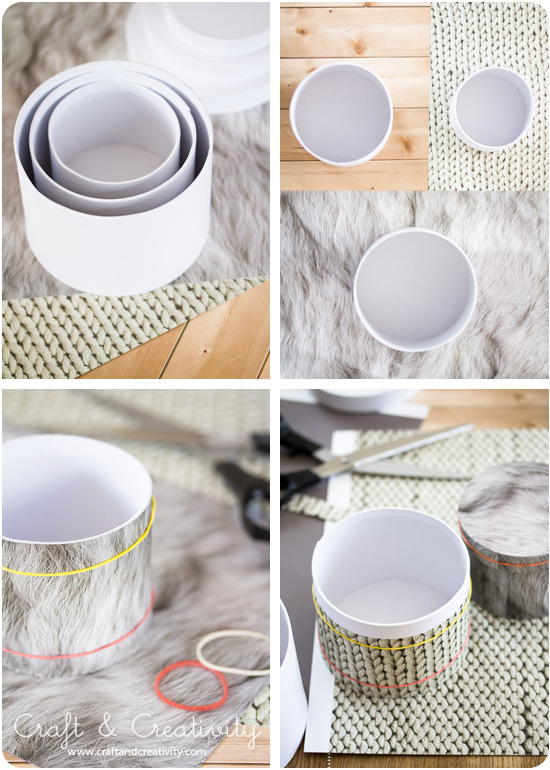
AskFörst klippte jag till papperet i ungefär rätt bredd och längd för att passa runt asken. Jag limmade med universsallim (går säkert lika bra med limstift eller papperslim), satte gummiband runt och lät torka. Sedan trimmade jag kanterna snygga genom att klippa bort överflödigt papper med en sax. Om man vill att locket ska vara enkelt att ta av och på kan det vara smart att inte låta papperet gå ända upp till kanten, upptäckte jag efter två askar…
————
I started by cutting the paper in roughly the right width and length, to fit around the sides of the box. I used All Purpose Glue (glue stick or paper glue surely works as well) to glue the paper around the box, put a rubber band around and allowed to dry. I then trimmed the edges by cutting off excess paper with a pair of scissors.
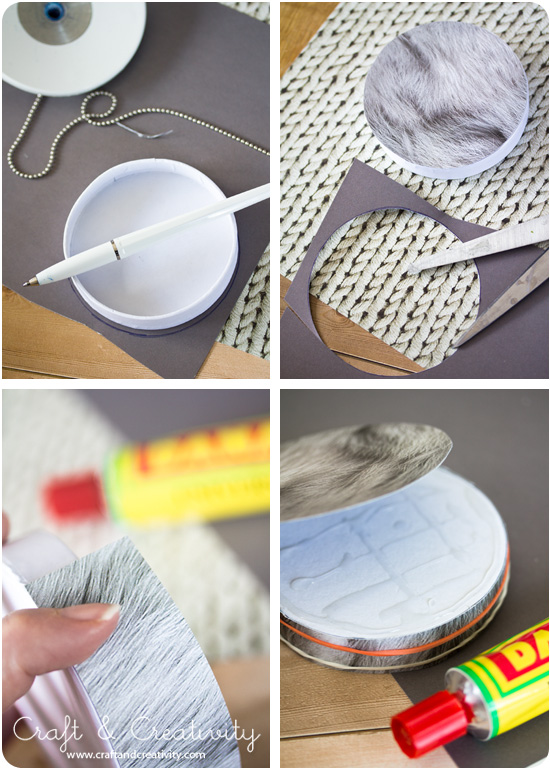
Sedan var det lockens tur. Jag använde locken som mall, ritade runt på baksidan av papperet och klippte ut. Sidorna på locket gjorde jag på samma sätt som när jag täckte asken. Även här satte jag gummiband runt medan det torkade. Slutligen limmade jag fast toppen på locket.
———
Then it was time for the lids. I used each lid as a template, drew around the lids on the back of the paper and cut. For the sides of the lid, I went about in the same way as when covering the box. Again, I put rubber bands around while drying. I finished off by gluing the top of the lid in place.
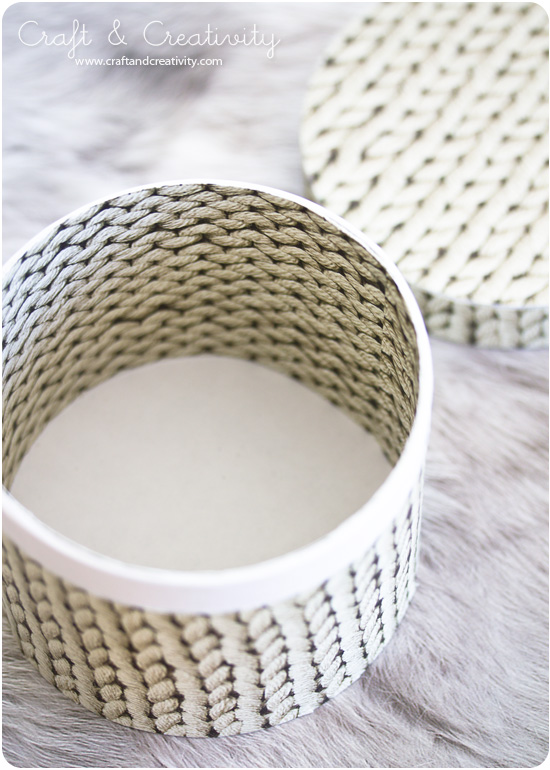
Här utnyttjade jag det faktum att papperet är dubbelsidigt och valde att täcka både utsidan och insidan. Notera att insidan består av aviga maskor och utsidan av räta maskor… Lite skoj! 🙂
————
Here I took advantage of the fact that the paper is printed on both sides and chose to cover both outside and inside. Note that the inside shows purl stitches and outside knit stitches … Kind of fun! 🙂

