Stora designade trähängare är snygga att hänga på väggen men den designade varianten kan man få betala ett par hundra kronor för. Då känns det kanske roligare och mer prisvärt att dekorera sina egna till en bråkdel av priset. Jag målade ett gäng till barnens rum som vi precis gjort om och fick då möjlighet att matcha dem med väggfärgen.
———–
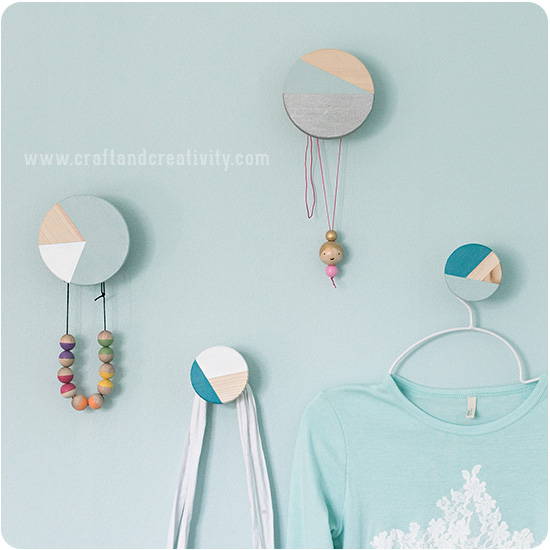
Designed wooden knobs can be quite expensive. So why not style your own for a fraction of the price? I painted mine to match the wall color in my daughters’ newly re-decorated room.

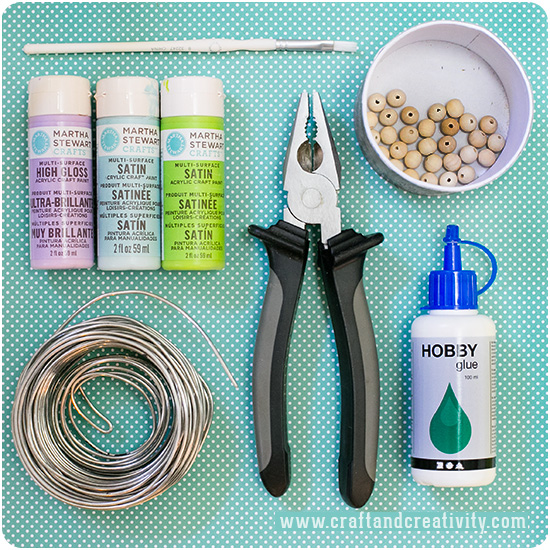
Du behöver: Stora träknoppar med tillhörande väggskruvar, maskeringstejp, en pensel och hobbyfärg. Jag använde färg från Martha Stewart Crafts och Plus Color hobbyfärg.
———
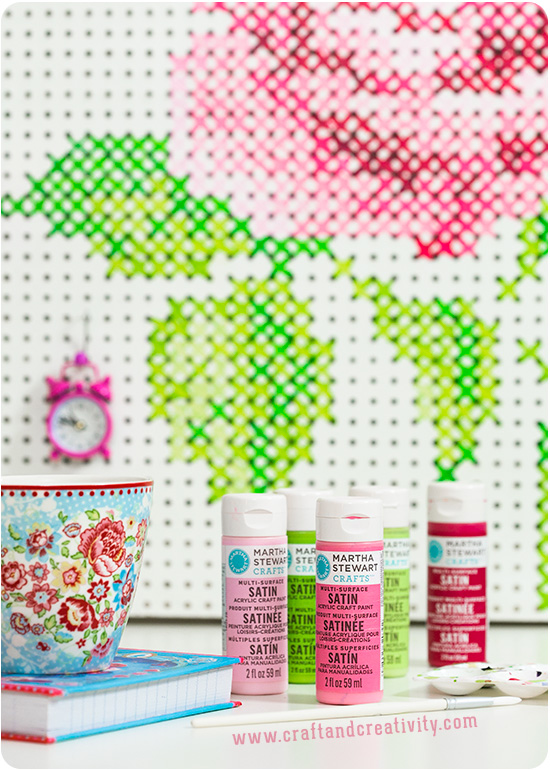
You will need: Large wooden knobs with matching wall screws, masking tape, a brush and acrylic paint. I used paint from Martha Stewart Crafts and Plus Color hobby paint.
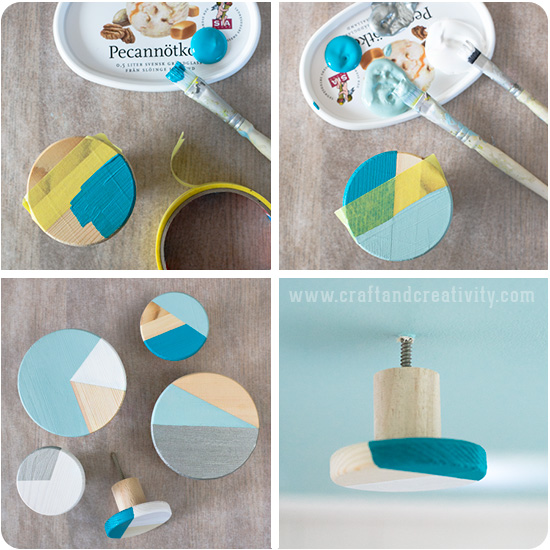
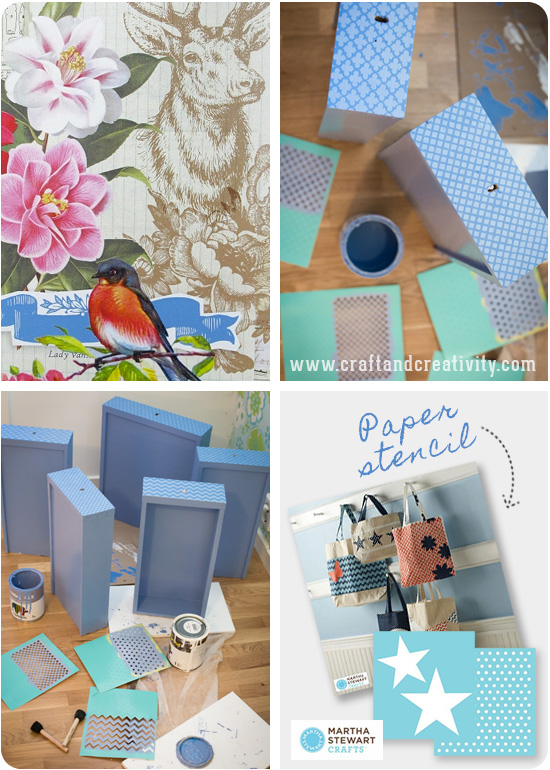
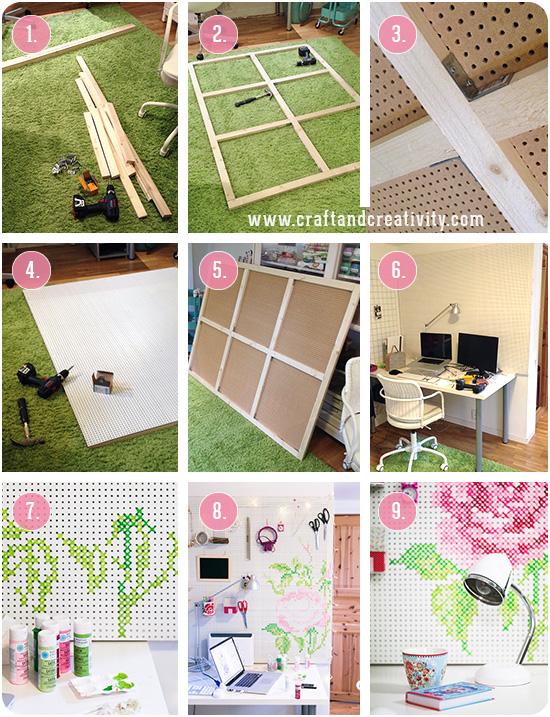
Gör så här: Måla knopparna enfärgade eller använd maskeringstejp för att göra olika grafiska mönster. Jag tejpade, målade, lät torka i ca 30-60 min, tog bort den första tejpen, tejpade på nytt och målade en överlappande färg. Lätt som en plätt! Delar av knopparna lät jag förbli omålade för att jag tycker att det är snyggt. När färgen torkat så skruvar du i de medföljande skruvarna. Knopparna skruvar du sedan in i väggen. Du kan behöva förborra med en smal borr och eventuellt plugga hålet, beroende på vad du har för vägg.
———-
Do like this: Paint the knobs in one solid color or use masking tape to make different graphic designs. I taped, painted, left to dry for about 30-60 min, removed the first tape, taped again and painted in an overlapping color. Easy peasy! I left parts of the knobs unpainted because I think it looks nice. When mounting the knobs in the wall you may need to start by drilling a small hole and/or use plugs, depending on what kind of wall you have.
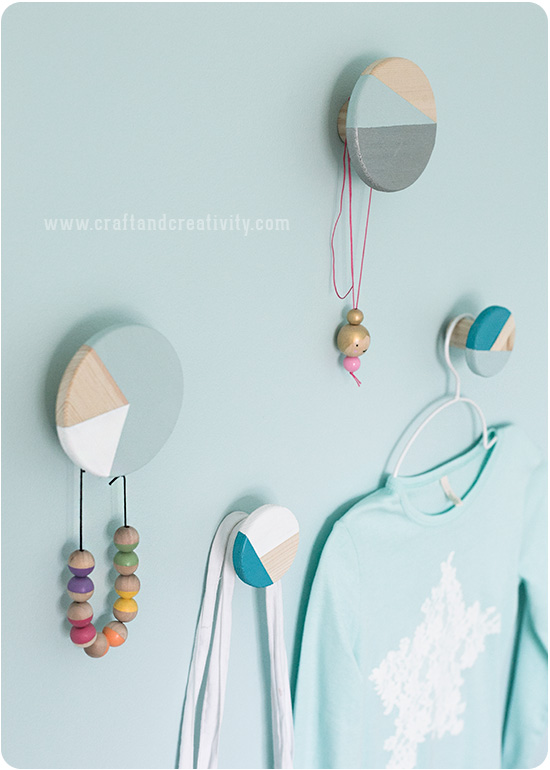
Nu kan barnen hänga sina kläder, väskor och smycken på knopparna! Halsbanden ovan är dels ett som jag målat och dels ett som vi fått av Karin & Freja på Pysselbolaget. Beskrivning finns på deras blogg.
———-
Now my daughters can use the knobs to hang their clothes, bags and jewelry! One of the necklaces above I made myself a couple of years back and the doll-like one was given to us by Karin and Freja at Pysselbolaget. You can find the tutorial on their blog.
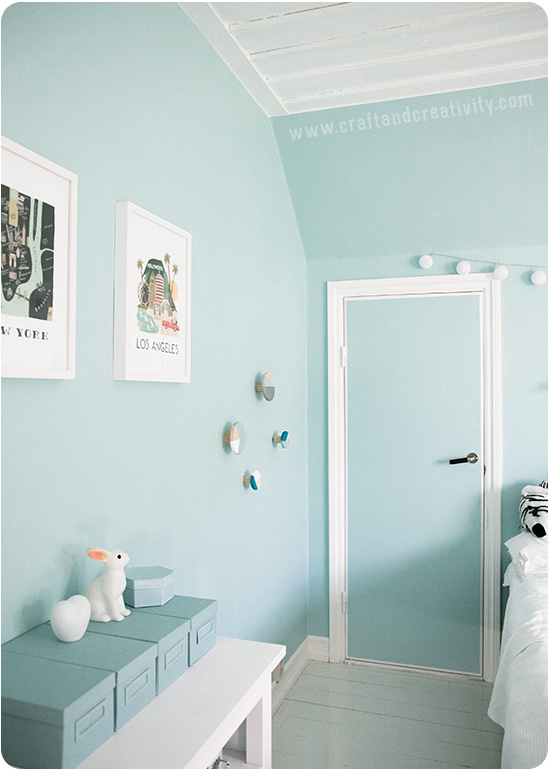
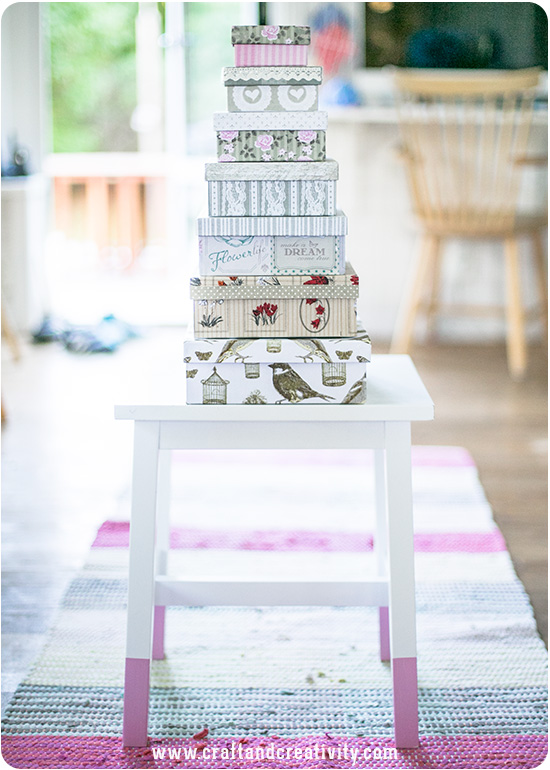
Här ser ni mer av barnens nyrenoverade rum. Mina tjejer har valt att sova i samma rum och tycker än så länge att det är mysigt, i alla fall än så länge. Väggfärgen valde de själva. Trycken på väggen kommer ifrån Rifle Paper Co och de ljusturkosa rektangulära askarna kommer från Ikea.
————
Here you can see more from the kids newly re-decorated room. The girls have chosen to sleep in the same room because they think it’s cozy, at least for now. They chose the wall color themselves. The prints on the wall are from Rifle Paper Co and the rectangular boxes are from Ikea.
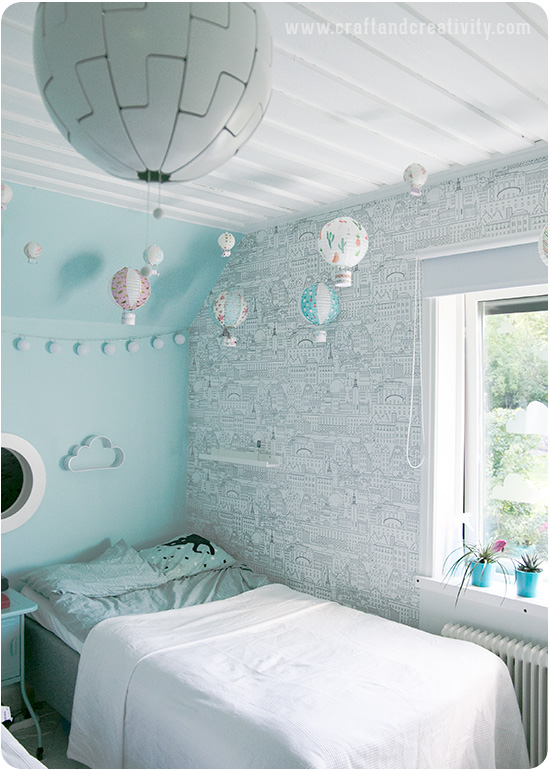
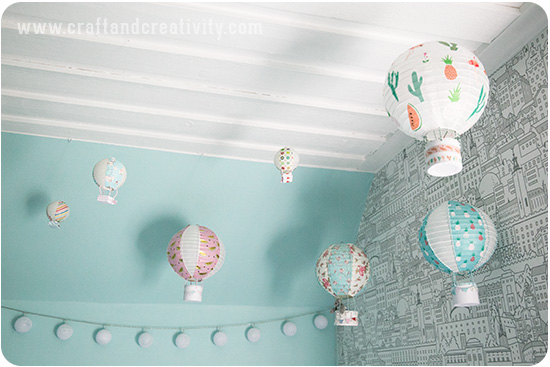
Barnen valde en fondvägg med Stockholmsmotiv från Duro (kollektion Aveny) och i taket hängde jag alla mina rislampor som förvandlats till luftballonger. Tanken är att luftballongerna svävar över Stockholm. Som de ofta gör på sommaren. Molnhyllan kommer från TGR och taklampan från Ikea.
———-
For one of the walls they chose a wall paper from Duro (Aveny/”Stockholm”) with a stylistic city skyline. From the ceiling I hung all of my paper lanterns turned into hot air balloons. The idea is that hot air balloons are flying over our capital city, Stockholm. Like they often do in the summertime. The cloud shelf comes from TGR/Tiger and the lamp is from Ikea.