Julkulor i ny skrud –
Christmas bauble makeover

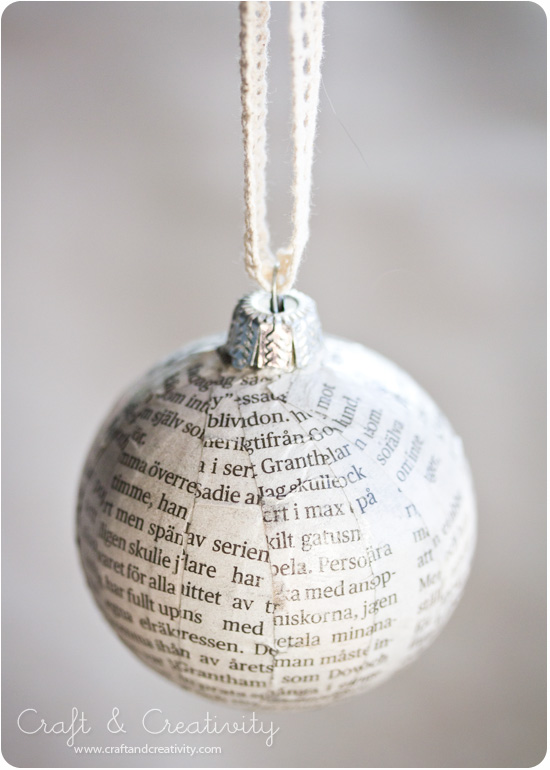
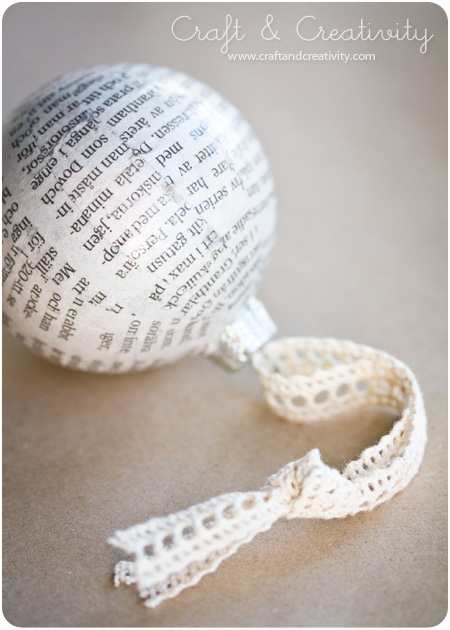
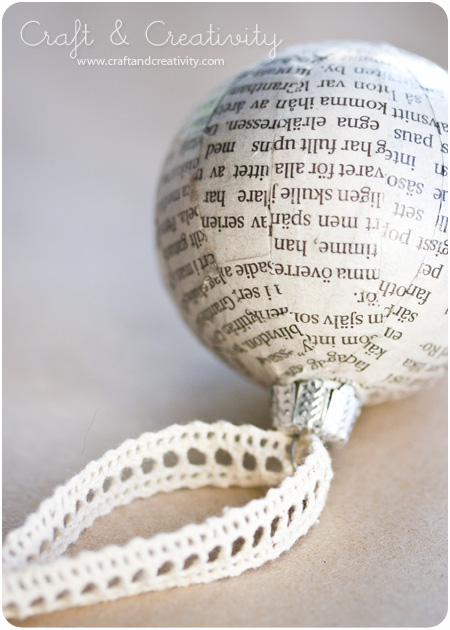
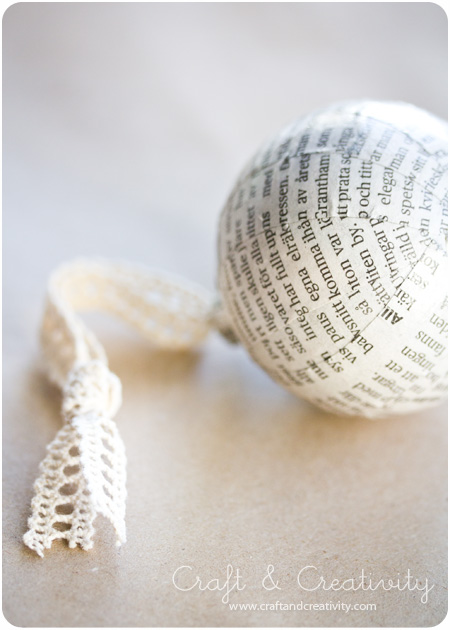
Vem har inte ett gäng gamla och lite halvtråkiga julgranskulor liggande i en låda? Täck dem med remsor av tidningspapper och de får ett helt nytt utseende! 🙂
—-
Who doesn’t have a bunch of old and boring christmas baubles lying around? Cover them with newspaper strips and give them a whole new look! 🙂


Börja med att klippa ca 1 cm breda remsor av tidningspapper. Pensla på decoupagelack på en pappersremsa i taget och täck julgranskulan från toppen till botten. När kulan är helt täckt penslar du på ett extra lager lack ovanpå alltsammans. Jag använde blank decoupagelack. Fäst ett fint band i kulan och häng för att torka.
—-
Start by cutting strips of newspaper, approximately 1 cm (0.4 inch) wide. Brush decoupage lacquer (or Mod Podge) on a strip of paper at a time and cover your Christmas bauble from top to bottom. When the ball is completely covered, apply an extra layer of decoupage lacquer on top. I used glossy decoupage lacquer. Attach a pretty ribbon and hang to dry.


Blyertspennor i ny skrud –
Decoupage pencils

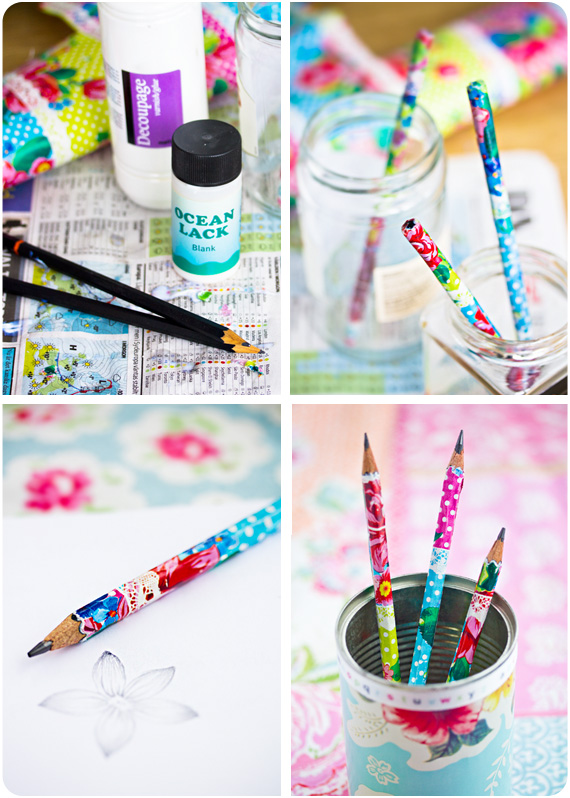
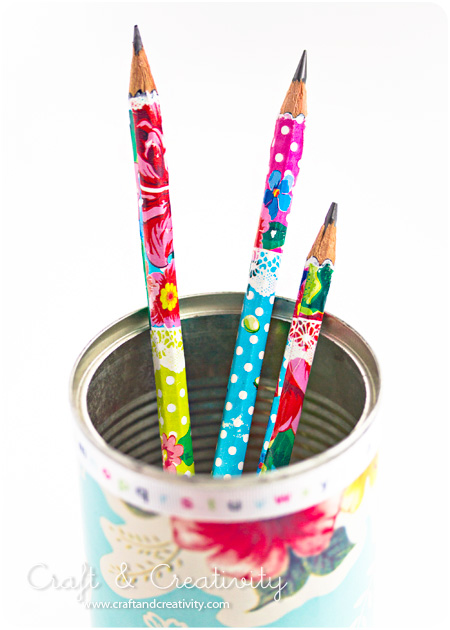
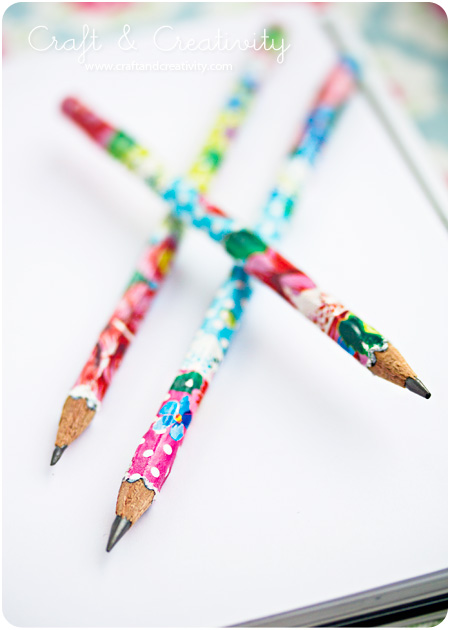
Mina tråkiga gamla svarta blyertspennor har fått sig ett lyft med hjälp av en bit omslagspapper, decoupagelim och lite lack. Ännu ett pyssel som jag sett på en mängd olika ställen och som verkade så lätt att jag var tvungen att testa. Det var mycket riktigt enkelt också. Och jag tycker det blev lite fint. Jag blir glad av dem!
———-
My dull old black pencils has received a make-over with the help of a piece of wrapping paper, decoupage glue and a little bit of varnish. Yet another craft that I’ve seen in a variety of places and that seemed so simple that I had to give it a try. It turned out be just as easy as I thought. And I think they look pretty good. They make me happy! 

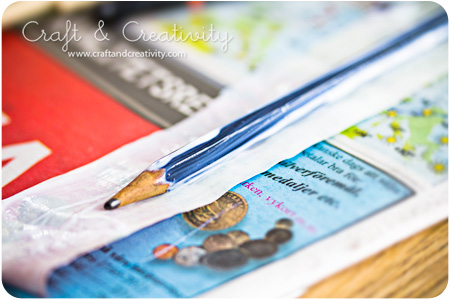
Omslagspapper fungerar bra eftersom det ofta är ganska tunt. Jag klippte ut en bit, kladdade på med decoupagelim och rullade papperet runt pennan. När pennan var helt täckt med papper (det gör inget om papperet täcker själva pennspetsen) penslade jag på ett lager lack över alltsammans. Jag lät pennorna torka några timmar, stående i glasburkar. Jag vässade dem när de var helt torra för att få bort överflödet av papper som täckte spetsen.
——–
Wrapping paper works well because it’s pretty light weight. I cut out a piece of paper, covered it (and the pencil) with decoupage glue and rolled the paper around the pencil. When fully covered with paper (it doesn’t matter if the paper covers the tip), I brushed a layer of varnish over the hole thing. I let the pencils dry for a couple of hours, standing by them selfs in glass jars. When completely dry I sharpened them to remove the excess paper.

Pennburken är en omgjord konservburk som jag piffade till för ett tag sedan. /
The pen holder is an old tin can that I upcycled up a while back.  

Garnlindad skolåda –
Yarn wrapped shoe box

Om man kan klä gamla glasflaskor med garn så borde man kunna göra detsamma med gamla skokartonger, eller hur? /
If you can dress up old glass bottles with yarn you should be able to do the same thing with old shoe boxes, right? 

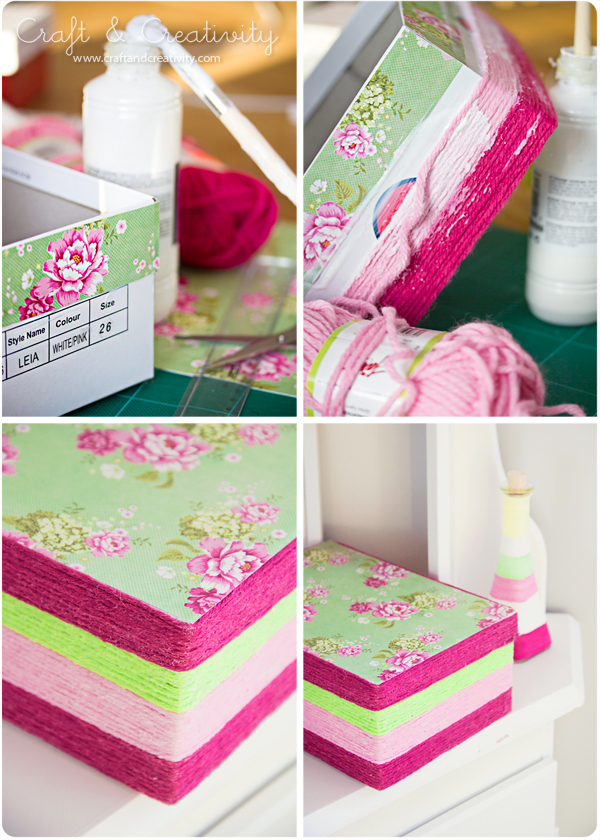
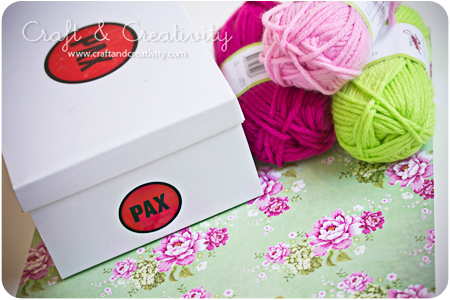
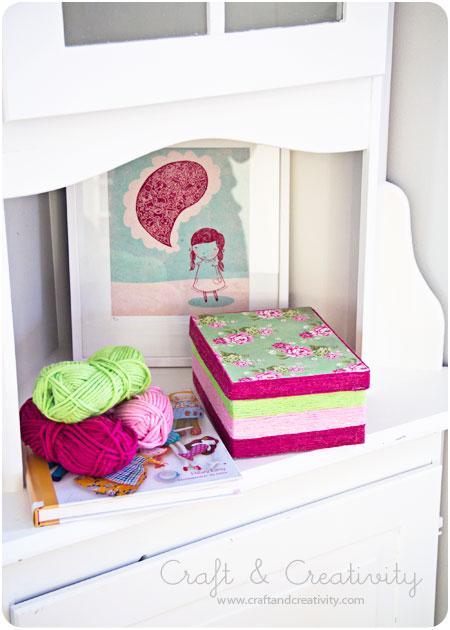
Den här gången använde jag betydligt tjockare garn (för stickor nr 8 ) och det gick snabbt att täcka lådan. I övrigt använde jag en skokartong, decoupage-lim, en pensel och lite mönstrat papper. Vira inte garnet ända upp till kanten för då går det inte att sätta på locket längre. Jag täckte den översta kanten med papper i stället, som ni ser på bilden högst upp.
——
This time I used the much heavier yarn (for knitting needles No. 8) and covering the box went quickly. Besides the yarn, I used a shoe box, decoupage glue (or you can use Mod Podge), a brush and some patterned paper. Do not wrap the yarn all the way to the top because then you won’t be able to fit the lid on. I covered the top edge with paper instead, as you can see in the pictures.

Lockets kanter täckte jag också med garn och avslutade det hela med att täcka ovansidan av locket med mönstrat papper som jag klistrade fast med samma lim som garnet. /
I also covered the edges of the lid with yarn and finished off the hole thing with a piece of patterned paper that I glued on top, using the same glue as with the yarn. 

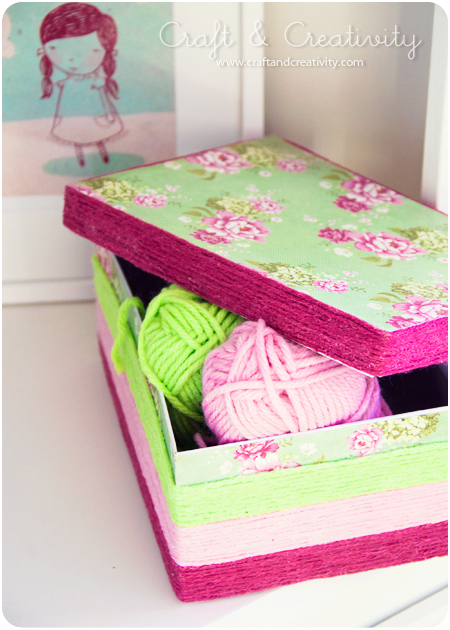
Just nu innehåller lådan… garn. Ganska passande, va? Tavlan i bakgrunden kommer från Multiple Personality, Etsy. /
At the moment the box contains … yarn. Pretty fitting, huh? The print in the background is from MultiplePersonality, Etsy

Garnlindade flaskor –
Yarn wrapped recycled bottles

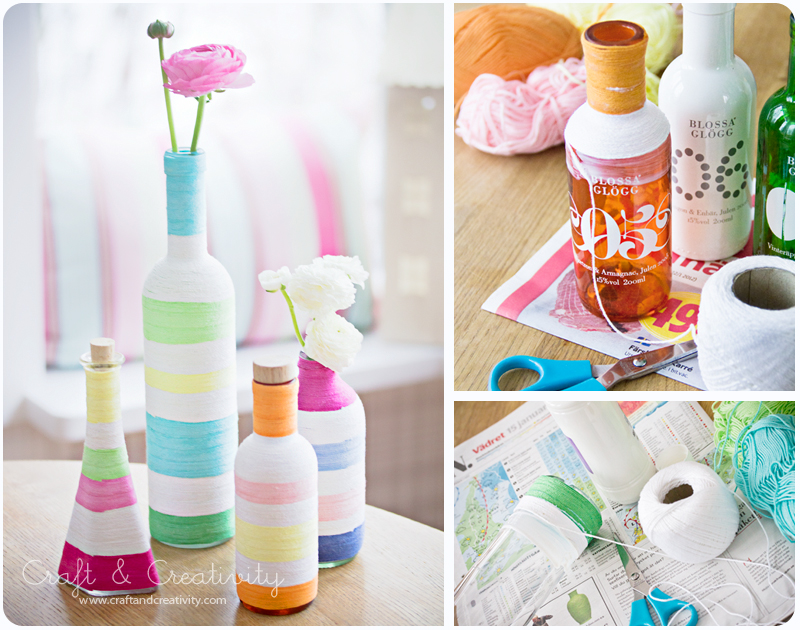
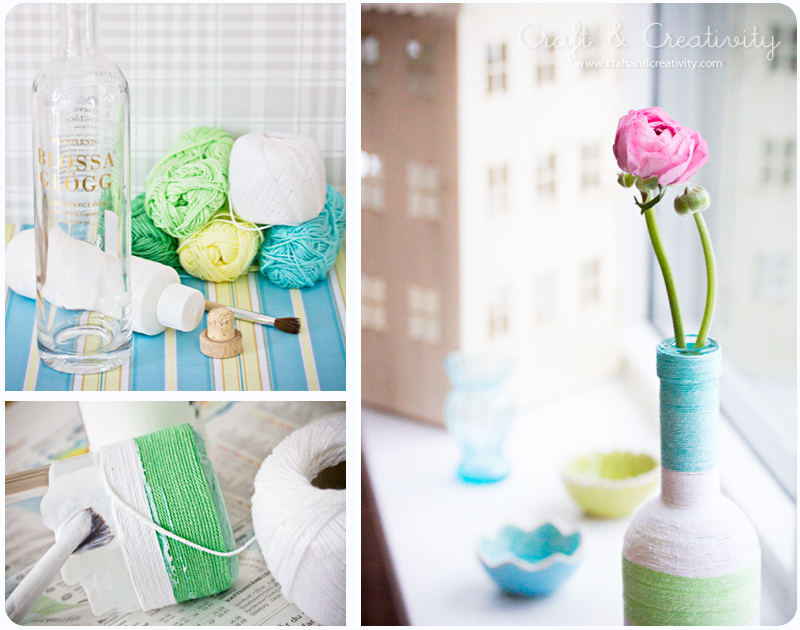
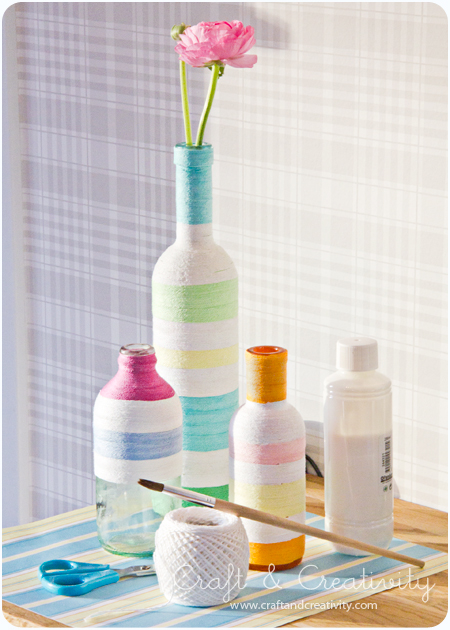
Allt du behöver är flaskor (gamla glöggflaskor är t ex perfekta!), garn, klister (t ex decoupagelim eller Mod Podge) och en sax. Det blir lite kladdigt men det är det värt!

Idén har jag inte hittat på själv utan jag fann inspiration på några olika ställen, t ex Style Me Pretty. Sedan gjorde jag lite som jag själv tyckte, som vanligt. 🙂 Detta pyssel gav mersmak och jag kunde nästan inte sluta. Började fundera på om man kan göra likadant med skokartonger, gamla konservburkar, krukor… Varför inte?

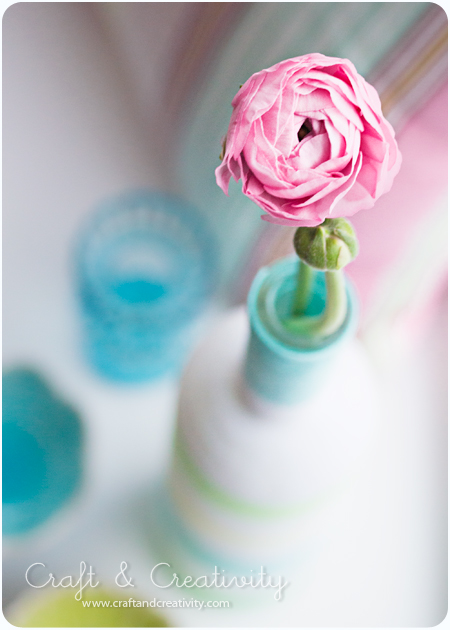
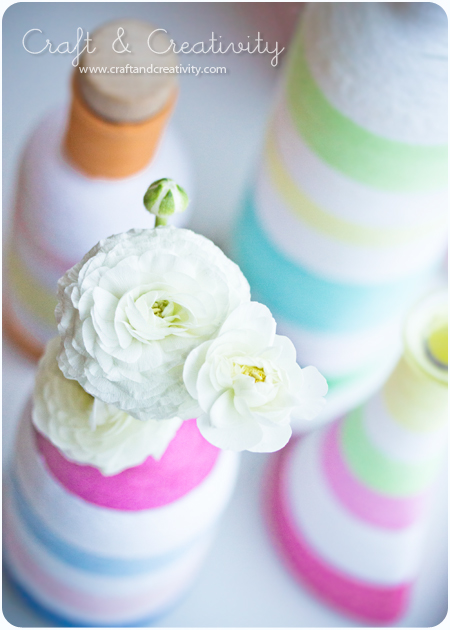
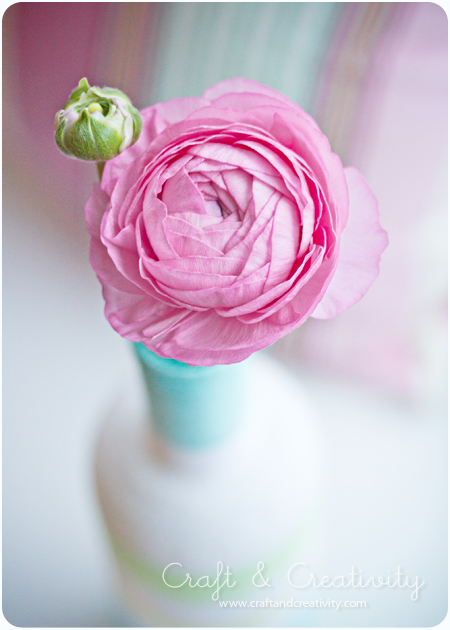
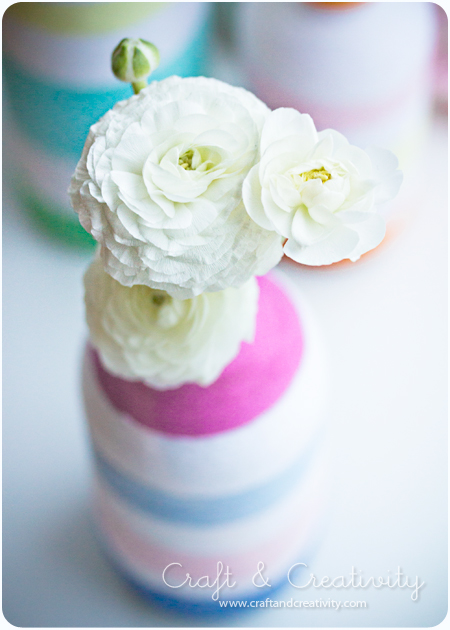
Och visst är det vackert med ranunkler? Den mest vårliga blomman av dem alla, i min mening. Faktum är att det känns som lite vår inne nu, trots snön som faller ute.
——-
All you need is some old bottles, yarn, glue (for example Mod Podge or decoupage glue) and a pair of scissors. It’s gets a bit messy, but it’s worth it! 

I didn’t come up with this idea all by myself. The inspiration comes Style me Pretty. I also improvised a bit, as usual. 🙂 I had so much fun making these, I could hardly stop. I began to wonder if it would work to do the same thing with shoe boxes, old tin cans, pots … Why not? 

And aren’t ranunculuses beautiful? It’s the most spring like flower of them all, in my opinion. In fact, it now feels a little bit like spring in the house, despite the snow falling outside.


Några användbara tips: 

  • Börja från toppen av flaskan och arbeta dig neråt, från den smalare delen till den tjockare. Det är enklast, märkte jag efter mitt första försök då jag gjorde tvärtom.
  • Vid byte av färg på garnet, se till att byta på samma ställe hela tiden och använd den sidan som “baksida”.
  • Pensla på lite klister i taget, det torkar ganska snabbt. Plus att du slipper bli kladdig i onödan.
  • Ju tjockare garn desto snabbare går det att täcka flaskorna. Men jag tycker samtidigt att det gav en fin effekt med mitt ganska tunna garn (för stickor nr 3). En smaksak, helt enkelt.
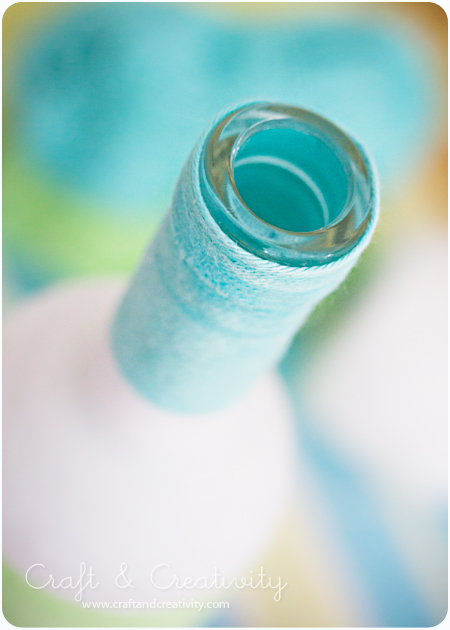
  • Om du vill använda flaskorna som vaser kan det vara en god idé att pensla lite genomskinlig lack eller vattenbeständigt klister högst upp på flaskhalsen när du virat klart, så att inte garnet lossnar när det kommer vatten på.

Some useful advice: 

  • Start from the top of the bottle and work your way down to the bottom. It the easiest way, I discovered after my first bottle when I did it the “hard” way. 
  • When changing the color of the yarn, make sure to change it in the same place all the time and use that side as the “back” of the vase.
  • Put on a little bit of glue at a time, it dries fairly quickly. Plus you won’t get your fingers too sticky. 
  • The thicker the yarn, the faster you will cover the bottles. But at the same time, I think my thin yarn turned out to give a pretty nice effect. It’s just a matter of taste, which ever you prefer. 
  • If you want to use the bottles as vases it can be a good idea to brush a little bit of transparent lacquer or water-resistant adhesive on top of the bottle neck when you finished wrapping, so that the yarn doesn’t comes off when exposed to water.


Dagens pyssel, “pimpad” burk –
Craft of the Day, “pimped” jar

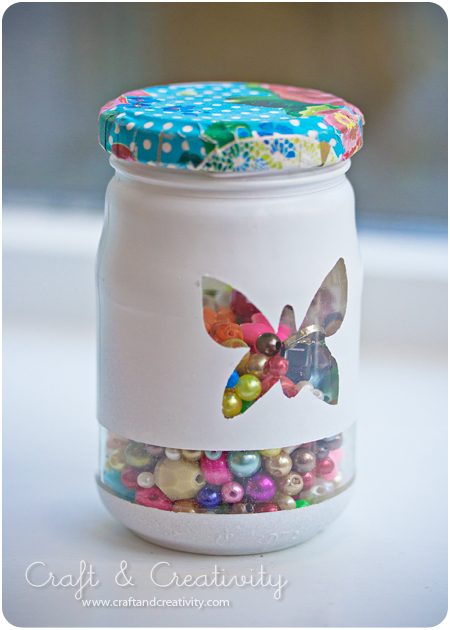
Det finns många sätt att piffa till en gammal glasburk. Det här är ett sätt. Jag har testat ett par andra varianter tidigare: se här, här och här. /
There are many ways to decorate an old glass jar. This is one way. I’ve tried a couple of other variations before: take a look here, here and here


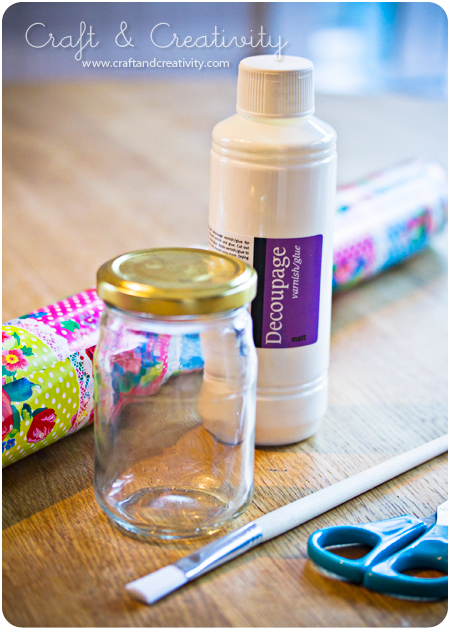
Jag började med locket. Till det använde jag presentpapper, decoupage (klister & lack i ett), sax och pensel. / I started with the lid. For this I used wrapping paper, mod podge (varnish & glue all-in-one), scissors and brush.

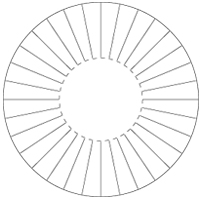
Jag måttade med locket och klippte ut en rundel som var några cm större. Sedan klippte jag remsor in mot mitten. Se skiss (den streckade inre cirkeln symboliserar lockets kant:
———-
I measured out a circle that was a couple of inches larger then the lid. Then I cut strips towards the center of the circle. See my figure below (the dashed inner circle symbolizes the edge of the lid:
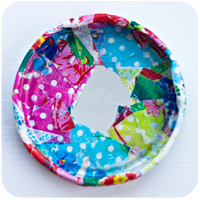
  

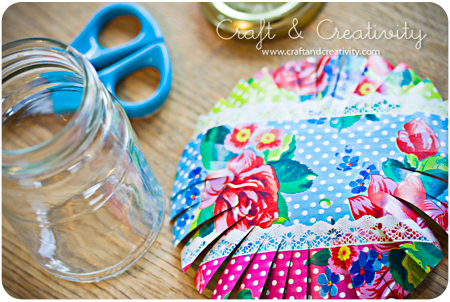
Jag penslade på decoupage runt hela locket och placerade locket i mitten av papperet. Sedan vek jag remsorna runt kanten. Se bild ovan till höger. När det torkat lite penslade jag decoupage utanpå locket också, som en lack på pappet. Jag lät torka i två timmar.
——–
I covered the lid with mod podge and placed the lid in the middle of the paper. Then I folded the strips around the edge. See the right hand picture above. When it had dried for a bit I mod podged the outside of the lid as well, coating the paper. I let it dry for about two hours.
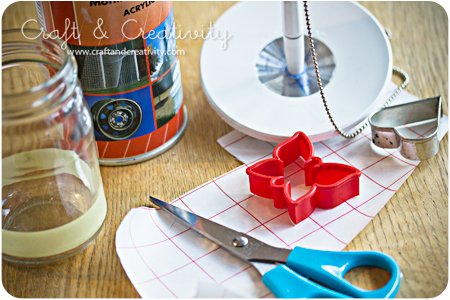

Under tiden målade jag burken. Till den använde jag: Vit sprayfärg, kakmått, självhäftande plast, penna, sax och en gammal tidning. Jag tejpade det område jag inte ville ha spraymålat. Med kakmåtten som mall klippte jag ut figurer i självhäftande plast. Dessa dekaler fäste jag på burken. Burken ställde jag sedan upp och ned på tidningspapper och spraymålade utomhus. När färgen torkat tog jag bort tejpen och plastdekalerna.
———-
In the meantime, I painted the jar. For this I used: White spray paint, cookie-cutters, self-adhesive plastic, pencil, scissors and an old newspaper. I taped the area I didn’t want paint on. With cookie-cutters as templates I cut out a couple of shapes of the adhesive plastic. I attached the shapes on the jar. I put the jar upside down on a newspaper and spray painted it outdoors. When the paint had dried, I removed the tape and the plastic shapes. 
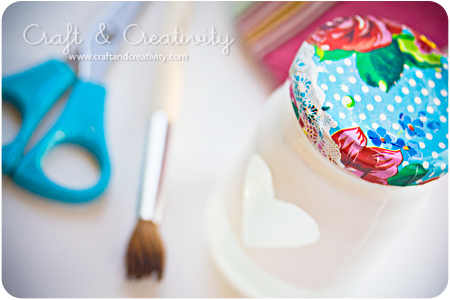

Ett lager lack till ovanpå locket så var jag nöjd. /
Another coating of mod podge on the top of the lid and I was satisfied.
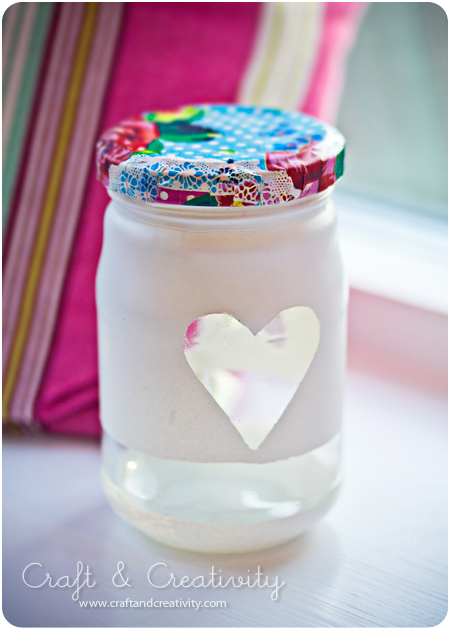

Klar att använda. / Ready to use.