Ladda hem min mall och gör dina egna fågelhus av tjockt mönstrat papper eller kartong! Fågelhusen är fina att hänga på väggen och eftersom de väger så lite räcker det med en knappnål som krok. Knappnålar är enkla att flytta och ger minimala hål i väggen.
———–
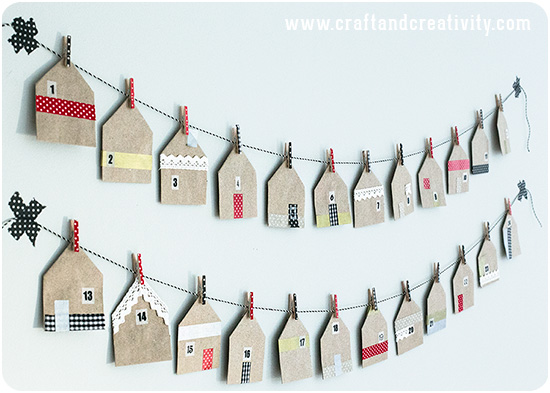
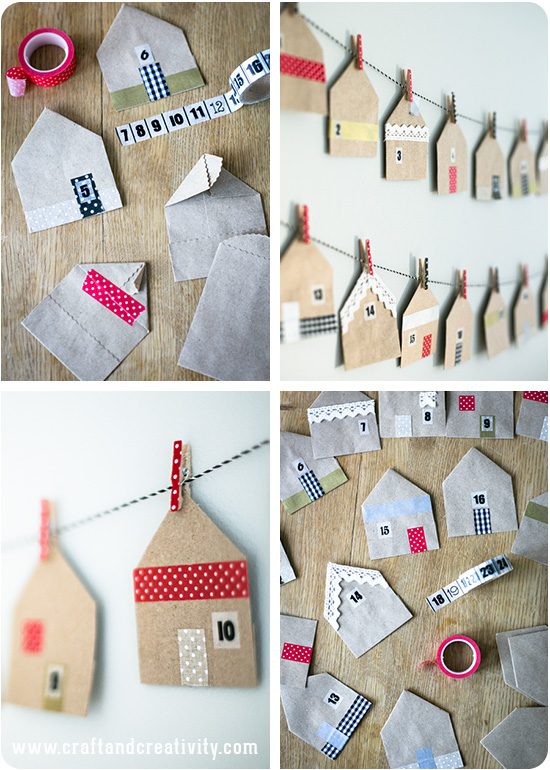
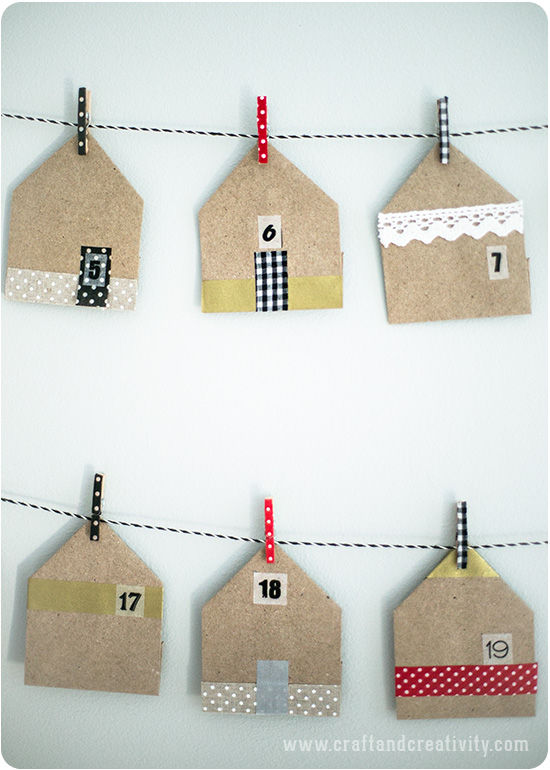
Download my template and make your own birdhouses out of patterned cardstock! The birdhouses look pretty as wall decorations and since they weigh so little you can use pins for hooks. Pins are easy to move and cause very little damage to your walls.
© Craft & Creativity 2015
For personal use only
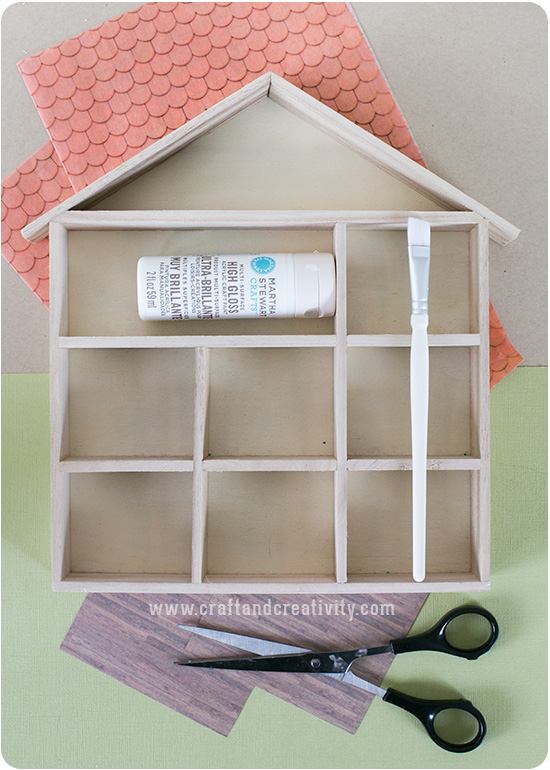
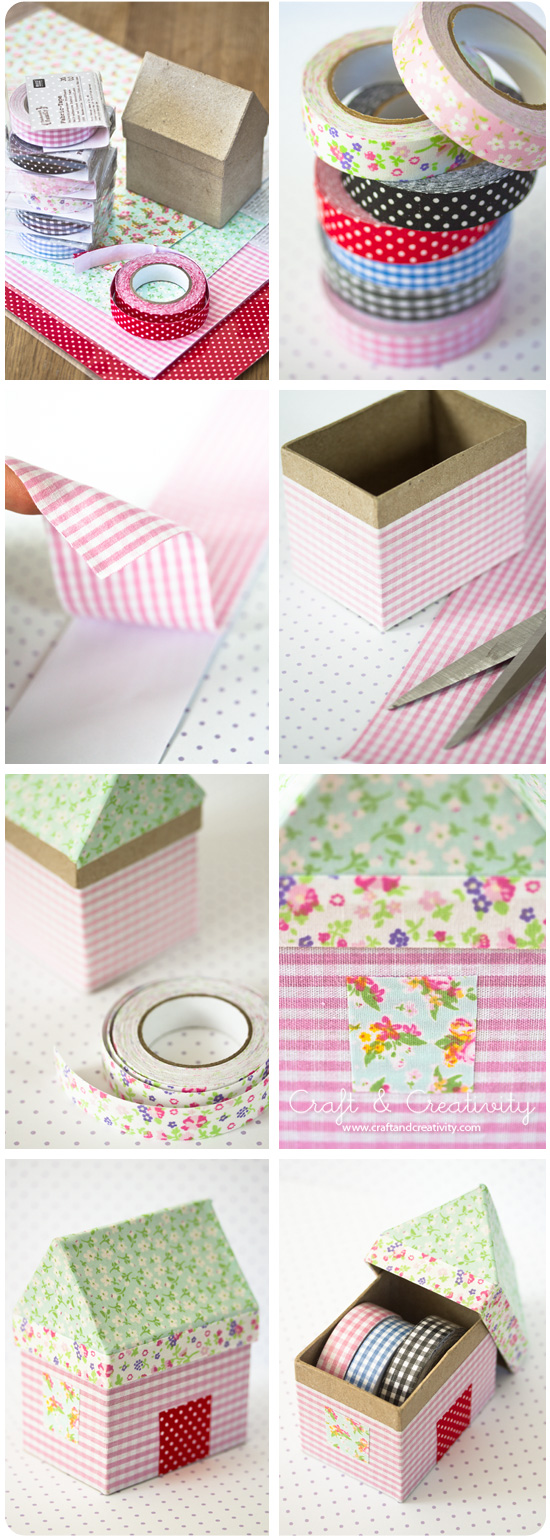
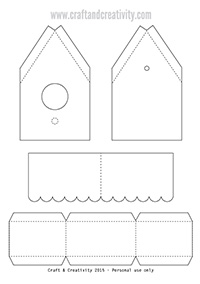
- Du behöver: Mall (klicka för att ladda ner), en skrivare, skrivarpapper i A4-format, mönstrat tjockt papper eller kartong (ytvikt: 180-270 g), sax, dubbelhäftande tejp, linjal och en blyertspenna. En håltång och ett falsben underlättar arbetet men det går även bra att göra hål med en nål och falsa med baksidan på en bordskniv. Till fågelhusets pinne behöver du mönstrade papperssugrör och lim.
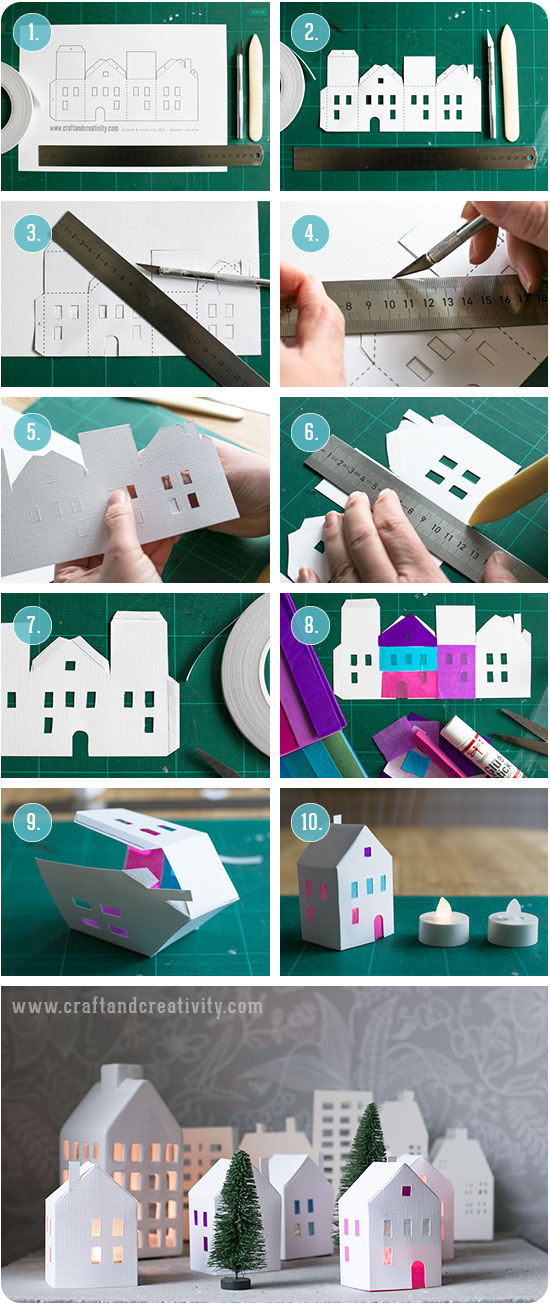
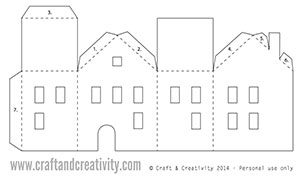
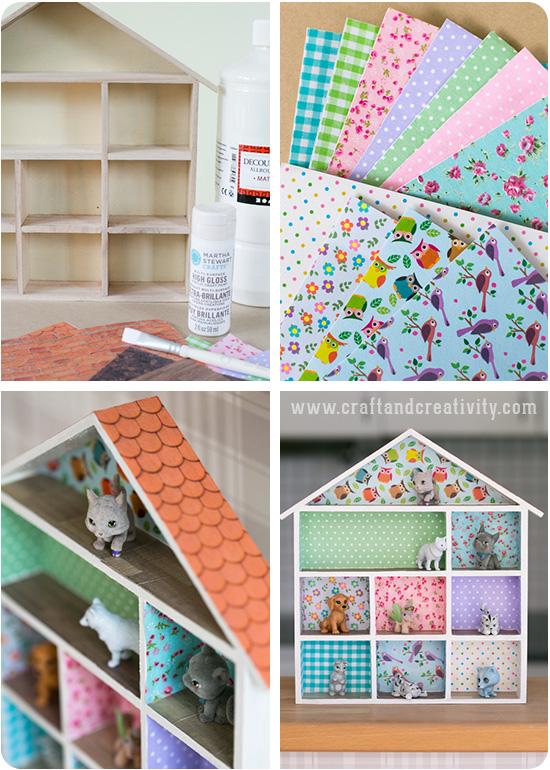
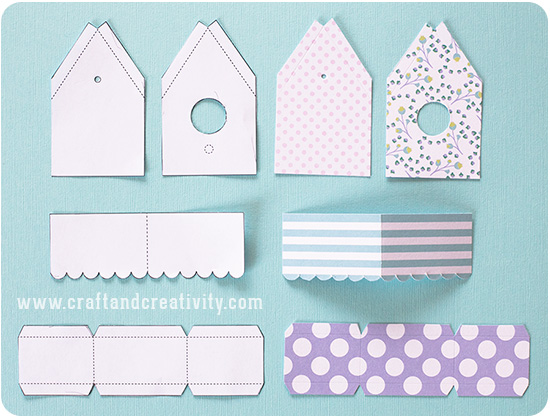
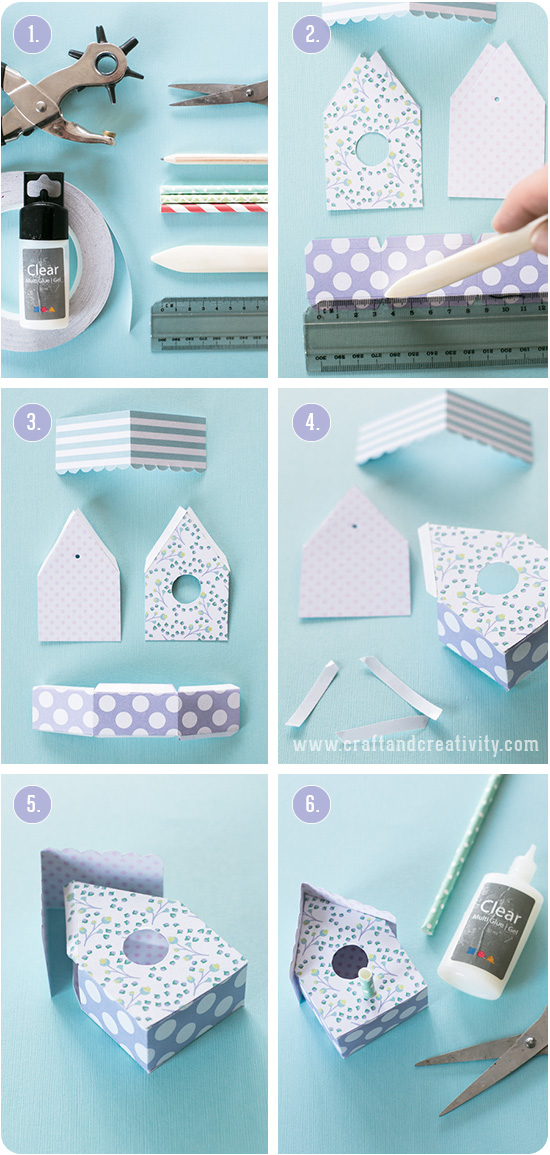
- Gör så här: Skriv ut och klipp ut mallen. Lägg mallens delar på den kartong du har valt, rita runt med blyertspennan och klipp ut. Skåra längst de streckade linjerna med ett falsben för att få snygga vik. Gör ett litet hål i bakstycket med en håltång.
- Vik längst med alla skårade linjer och fäst dubbelhäftande tejp på alla tio flikar.
- Tag bort skyddspappret från den dubbelhäftande tejpen och montera ihop ditt fågelhus. Börja med att fästa framstycket och bakstycket mot den långa biten som utgör sidor och botten.
- Avsluta med att sätta taket på plats.
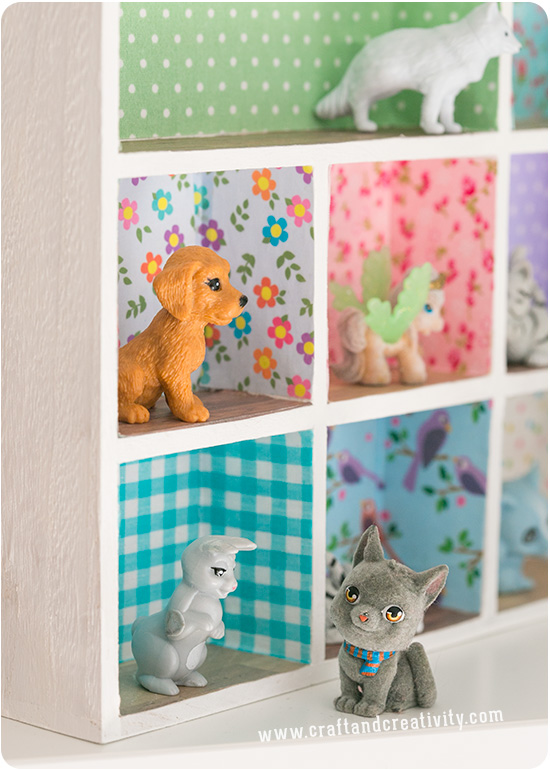
- Klipp en ca 2 cm lång bit av ett papperssugrör och fäst det med lim under fågelhusets runda öppning. Låt torka.
—————
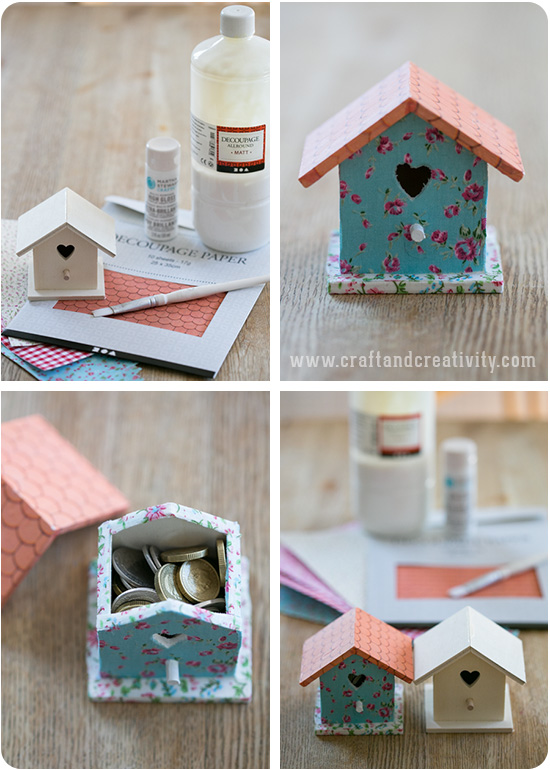
- You will need: Template (click to download), a printer, printer paper, patterned cardstock, scissors, double sided adhesive tape, a ruler and a pencil. A hole punch and a bone folder will simplify your work but you can also make holes with a needle and score the folding lines with the back of a table knife. For the birdhouse perch you need paper straws and glue.
- Do like this: Print and cut out the template. Place the template parts on the cardstock of you choice, trace around the template with a pencil and cut out all the parts. Score along the dotted lines with a bone folder for a pretty fold. Make a small hole in the back with a hole punch.
- Fold along the scored lines and add double sided adhesive tape to all ten tabs.
- Remove the backing paper from the tape and start assembling your birdhouse. Start by attaching the back and front panels to the long piece that forms the sides and bottom.
- Finish by taping the roof in place.
- Cut a piece of paper straw and secure it with glue below the birdhouse opening. Allow to dry.
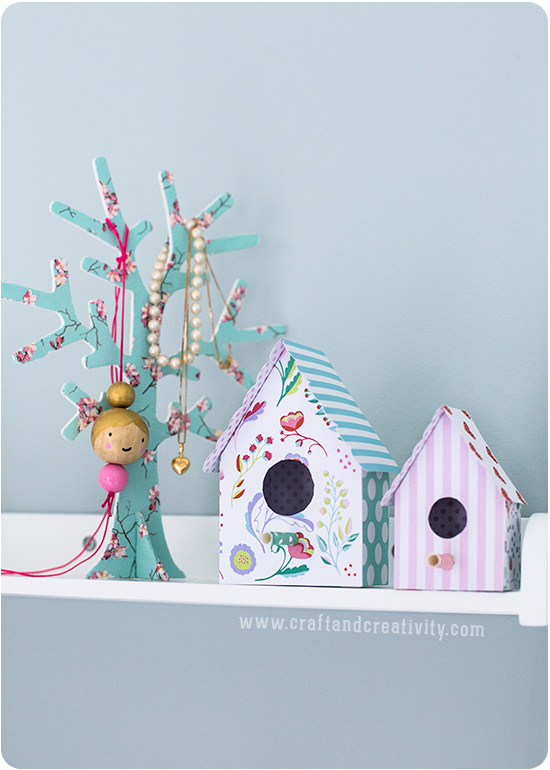
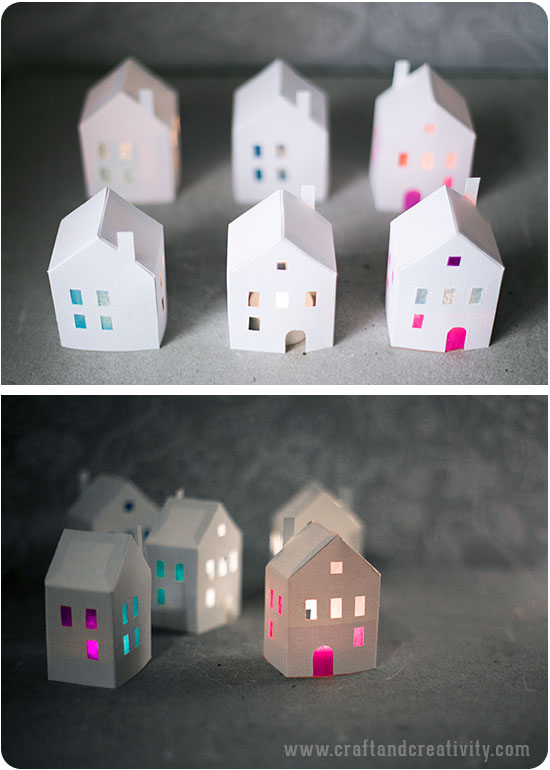
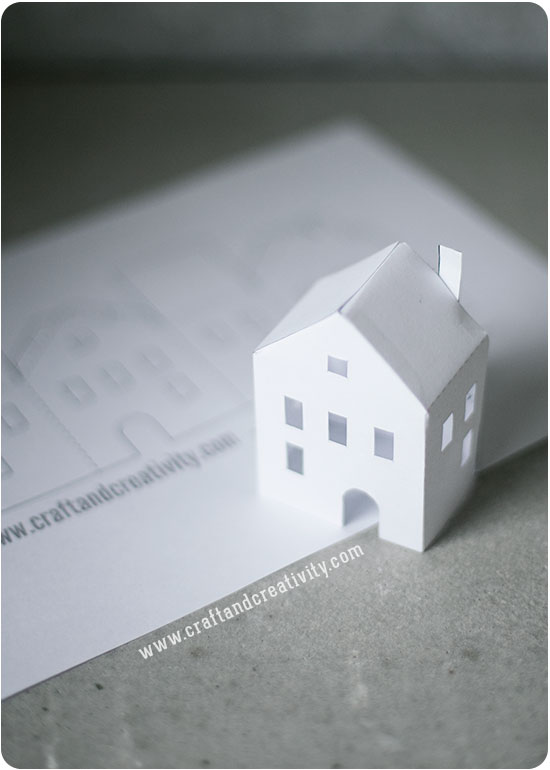
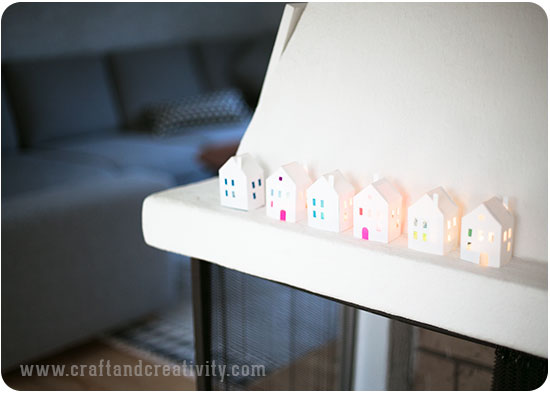
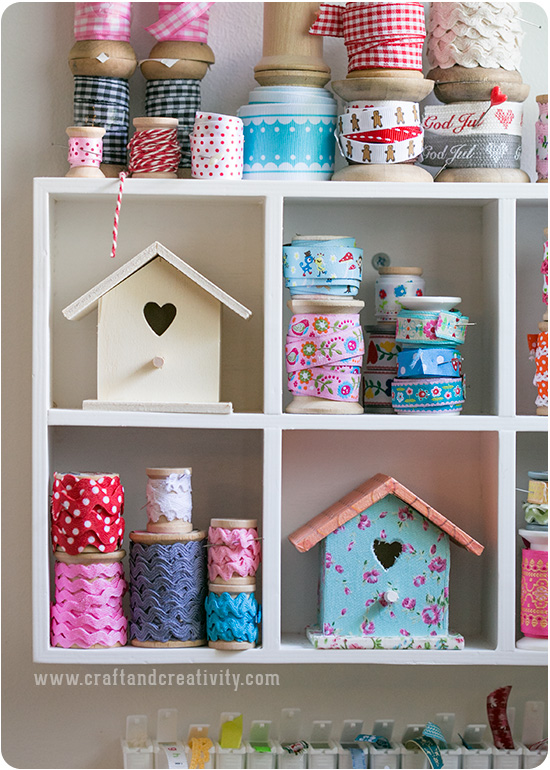
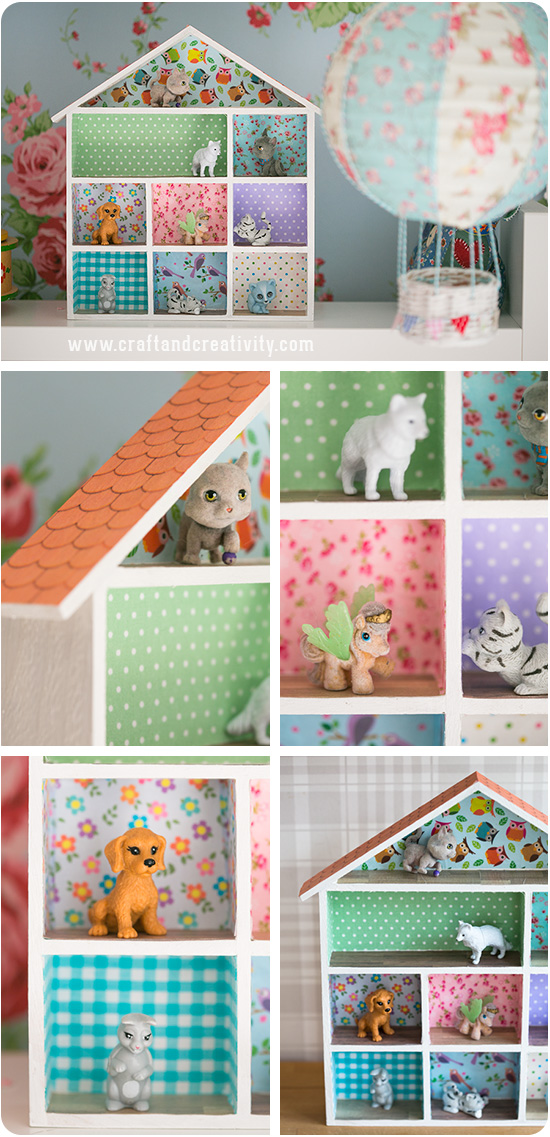
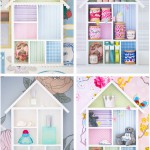
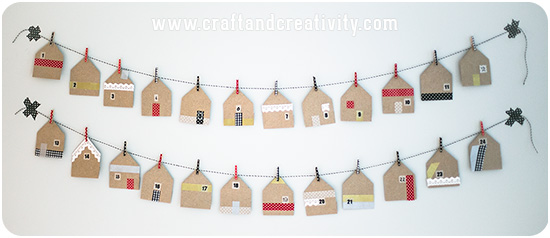
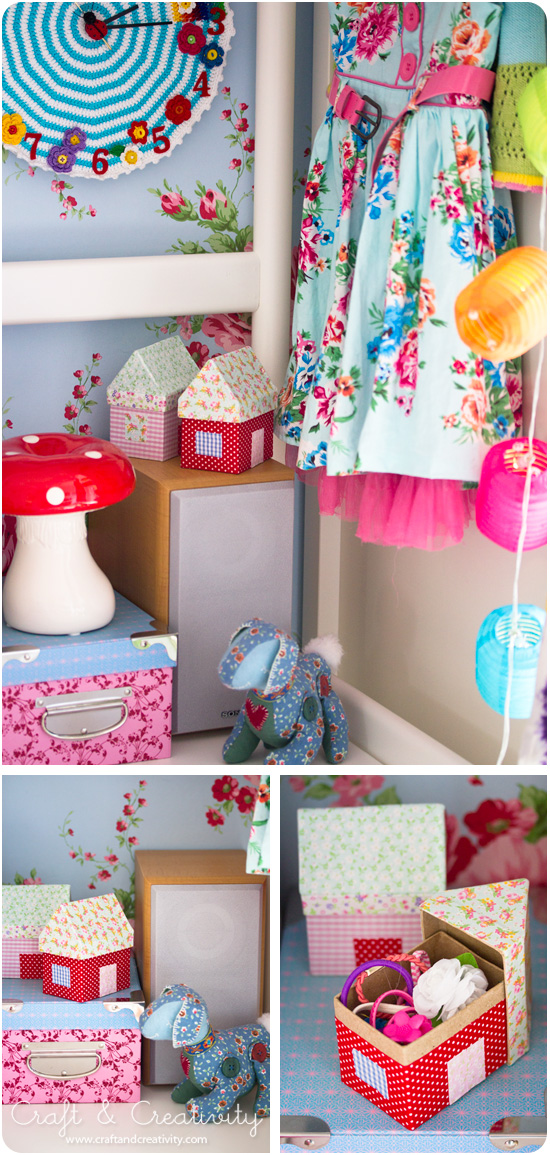
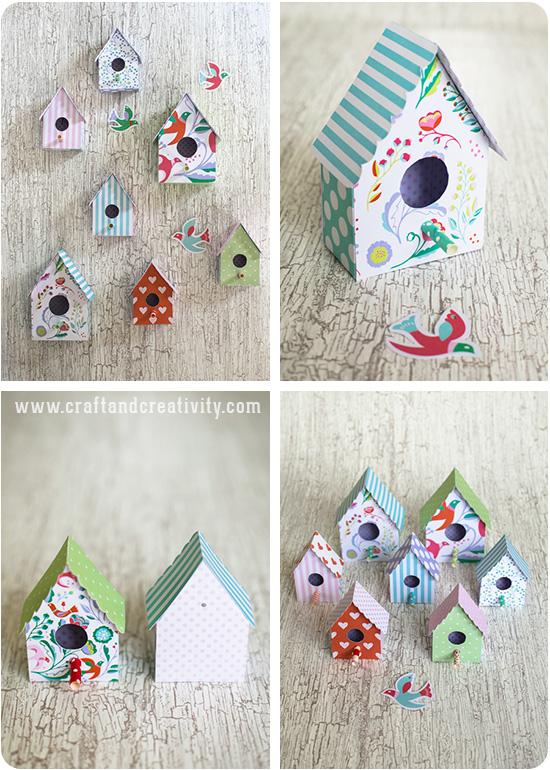
Om du skriver ut mallen i fullstorlek så blir fågelhuset ca 10,5 cm högt, 4,5 cm djupt och 7 cm brett. Jag skalade ner mallen och gjorde några mindre också. Längst till vänster i bilden ovan ser ni även mitt smyckesträd som jag bloggat om tidigare och ett dockhalsband som jag fått av Karin & Freja på Pysselbolaget (länk till deras beskrivning).
————-
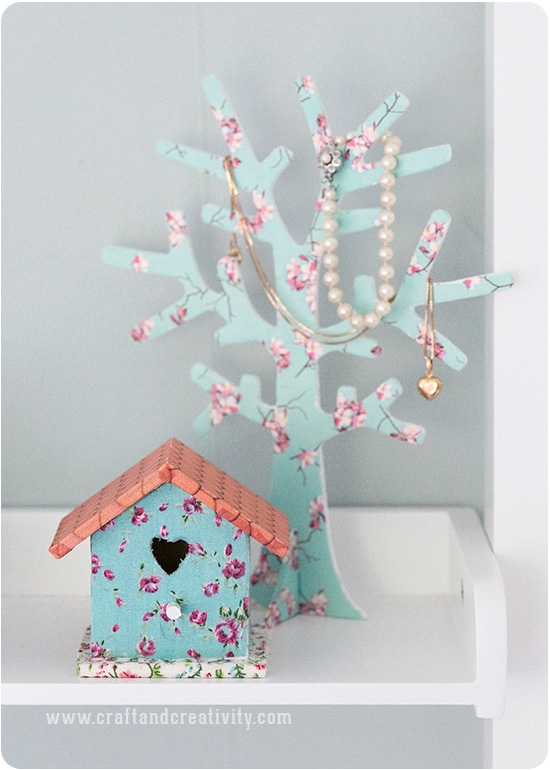
If you print the template in full size the birdhouse will become about 10.5 cm high (4″), 4.5 cm deep (2″) and 10.5 cm wide (3″). I scaled down the template and made some smaller ones too. On the far left in the picture you can see a jewelry tree from a previous blog post and a doll necklace given to my by Karin & Freja from Pysselbolaget (link to their tutorial).
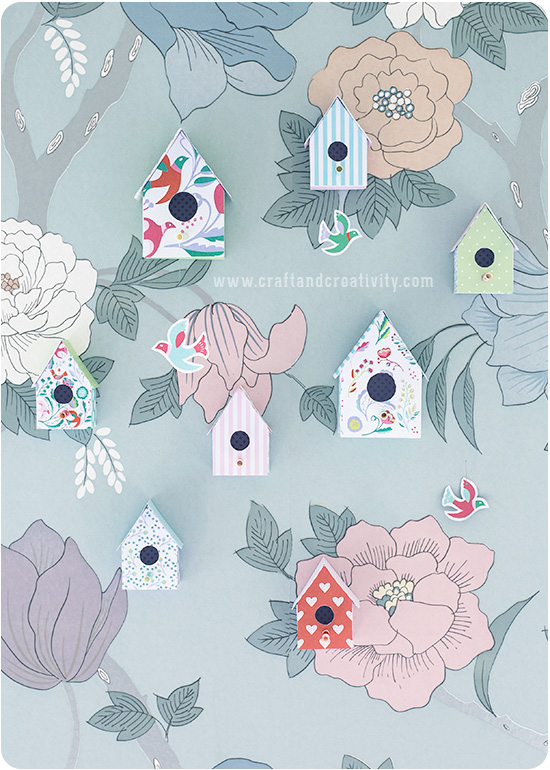
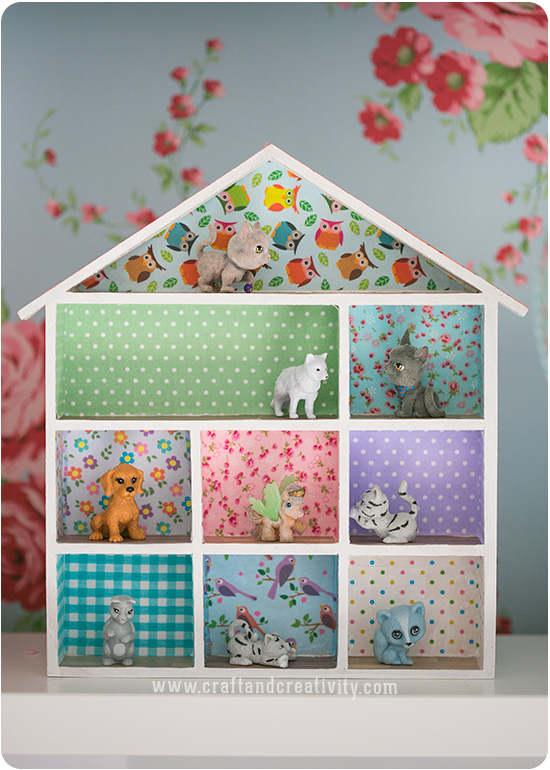
Jag beslutade mig för att hänga fågelhusen på väggen i vårt sovrum. Tapeten heter Tulip Tree och kommer från Cole & Son men har tyvärr slutat tillverkas.
———–
I decided to hang the birdhouses on our bedroom wall. The wallpaper is Tulip Tree from Cole & Son, but unfortunately it’s no longer part of their collection.
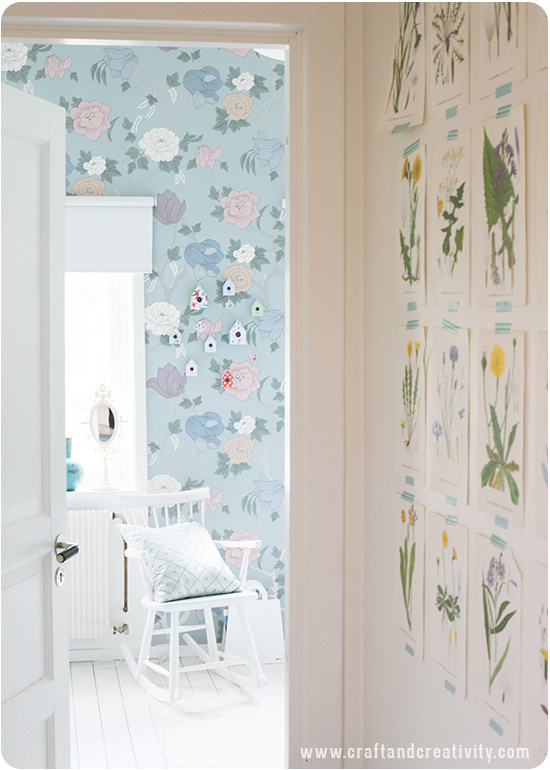
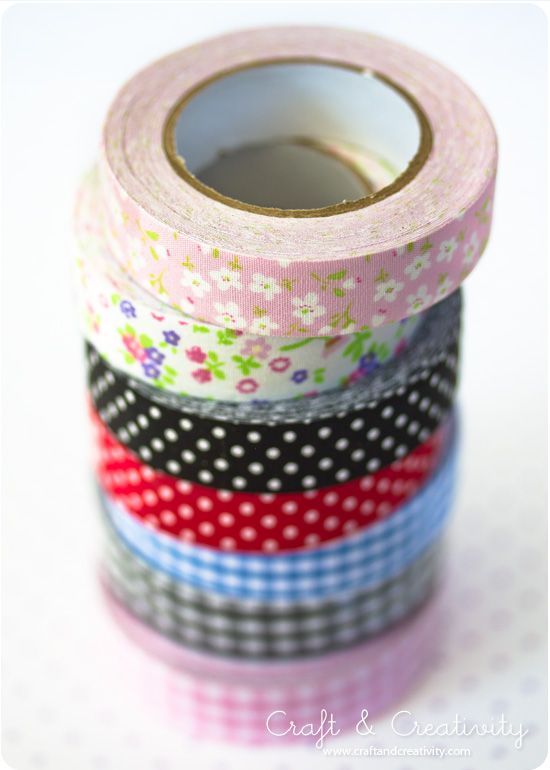
I hallen utanför sovrummet har jag fäst florabilder på väggen med hjälp av washitejp. Mer om det i ett tidigare inlägg.
———–
I used washi tape to hang botanical pictures on the wall outside our bedroom. More on that in a previous post.