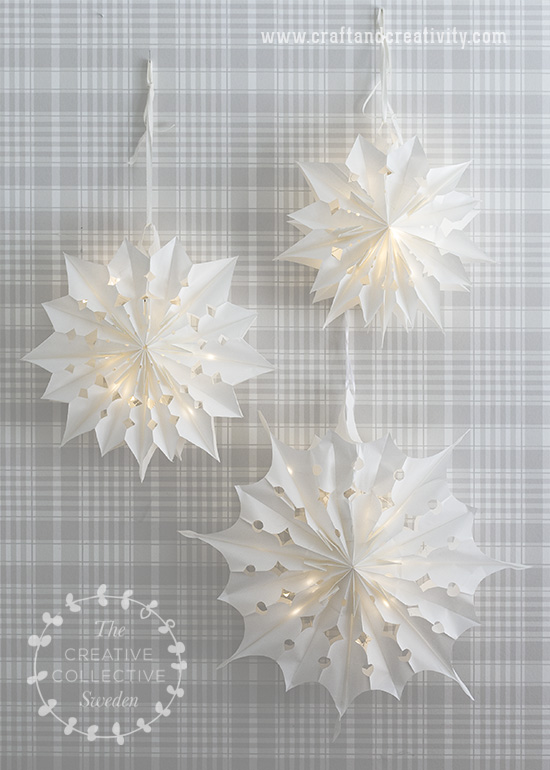
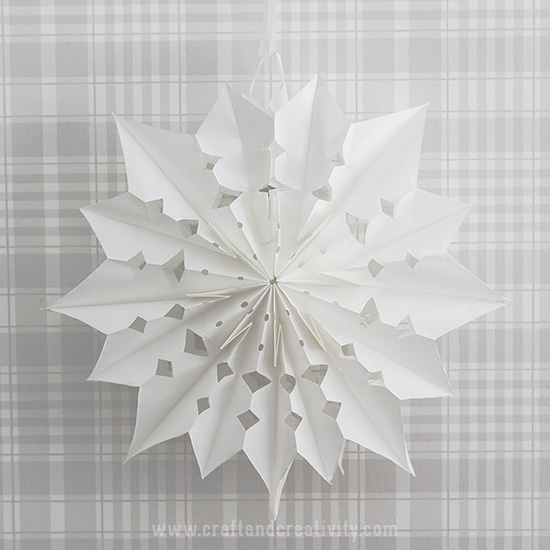
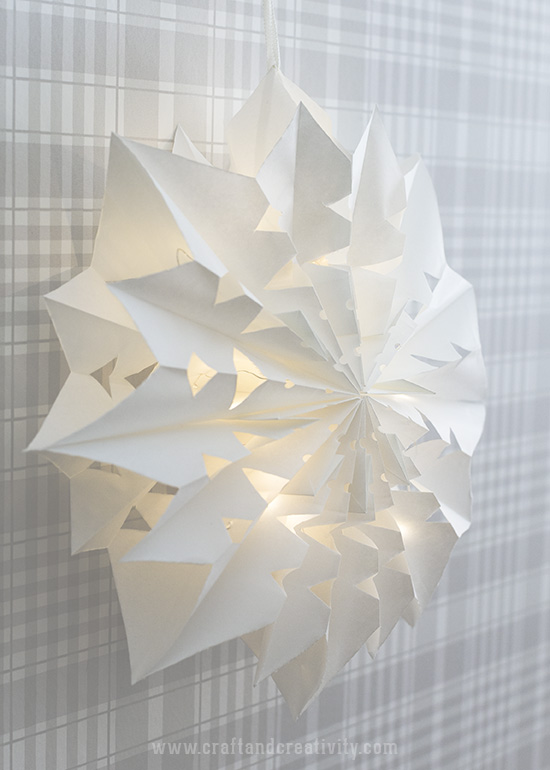
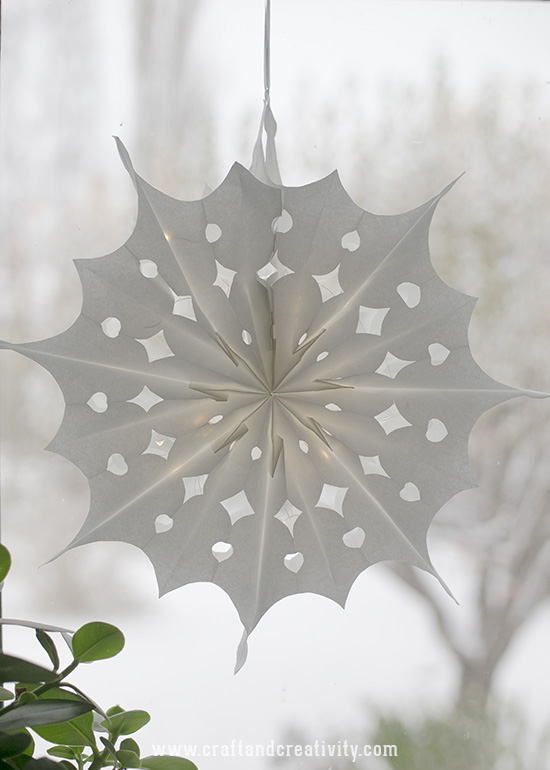
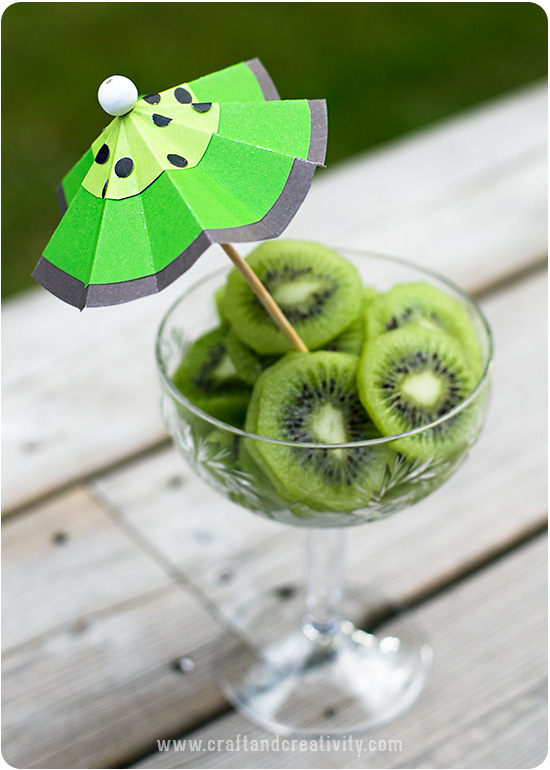
Tro det eller ej men dessa adventsstjärnor är tillverkade av papperspåsar. Du kan själv göra likadana och det är enklare än du tror! Med en ljusslinga inuti så lyser de upp fint i vintermörkret. Detta är mitt bidrag till årets kreativa kalender tillsammans med The Creative Collective Sweden. Igår visade Lina (Lina by the Bay) hur hon gjorde sin fina granformade lampa och imorgon är det Helena N:s (Mormorsglamour) tur att ta över stafettpinnen i vår julkalender.
————
Believe it or not but these advent stars are made out of paper bags. You can make them yourself and it’s easier than you might think! A string of lights inside the paper stars will brighten up those dark winter evenings. This is my contribution to this year’s creative calendar together with The Creative Collective Sweden. Yesterday Lina (Lina by the Bay) showed us how to make a beautiful and unique Christmas lamp and tomorrow it’s Helena N’s (Mormorsglamour) turn to share something creative for day 7 of our Christmas calendar.
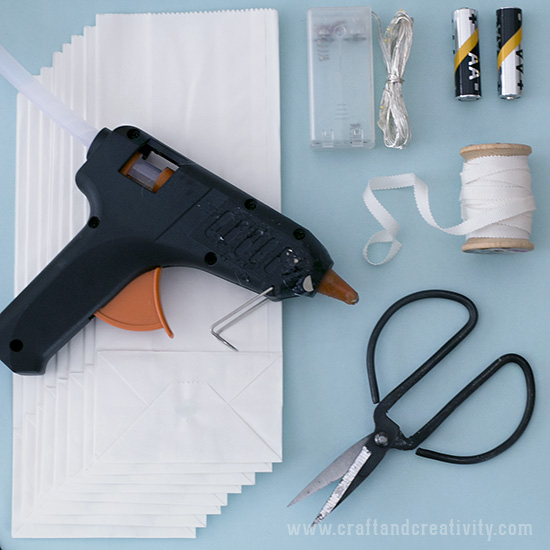
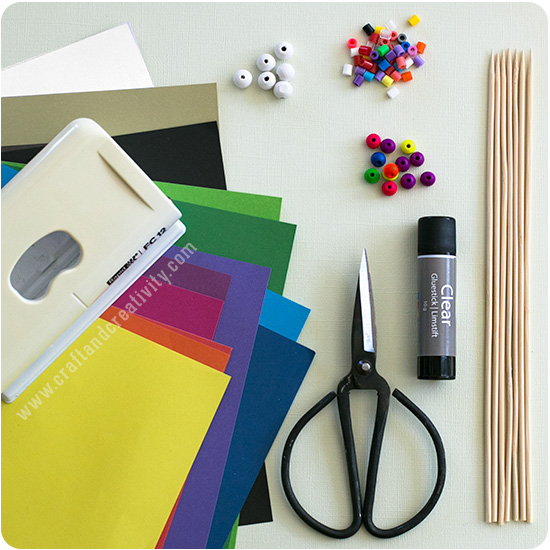
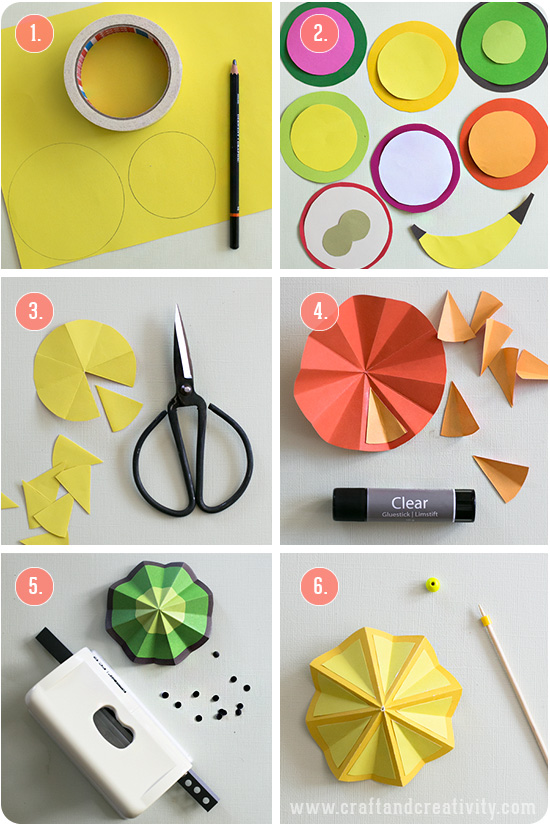
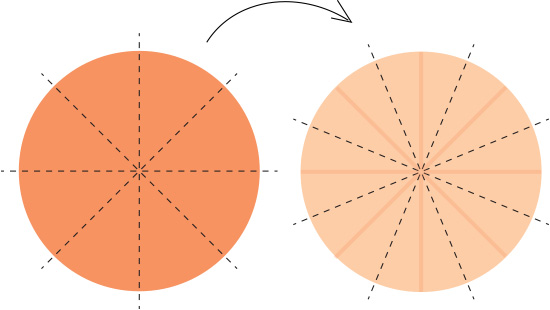
Till en papperstjärna behöver du: 8 st papperspåsar, en limpistol, en sax, en blyertspenna, ett vitt band (t ex bomull eller satin) plus en tunn ljusslinga med små dioder och batterier förstås. Mina papperspåsar är 9 cm breda och 6,5 cm djupa med klossbotten. Höjden spelar ingen roll eftersom du ändå ska klippa ner dem.
———–
For one paper star you will need: 8 paper bags, a glue gun, a pair of scissors, a pencil, a white ribbon, a thin string of lights and batteries of course. My paper bags are 9 cm wide and 6.5 cm deep and has a block bottom. The height doesn’t matter since you will trim the bags.
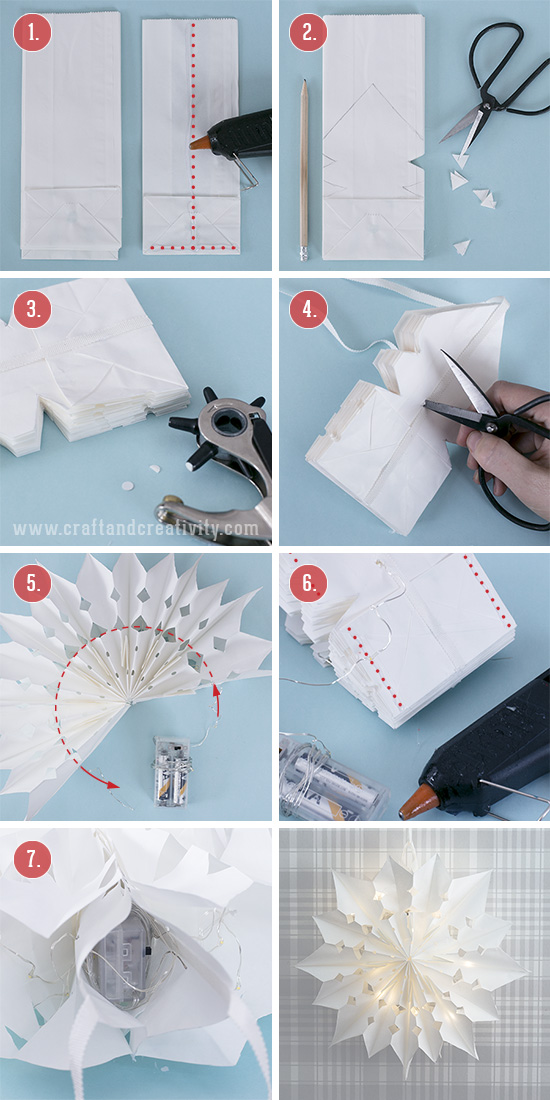
- Gör så här: Värm limpistolen och placera en limsträng längst botten och mitten av den första påsen, som illustrerat med den röda prickade linjen ovan i bild nr 1. Lägg nästa påse ovanpå den första, se till så att påsarna ligger åt samma håll och i linje med varandra. Limma denna påse på samma sätt och fortsätt med övriga påsar tills du limmat ihop samliga åtta påsar.
- Skissa med en blyertspenna på översta påsen för att skapa just din design. Klipp sedan genom alla påsarna för att forma spetsen och hålen på sidorna. Experimentera gärna med olika former och storlekar på jacken.
- Om du vill kan du använda en håltång och göra små hål i sidorna. Stansa i så fall ut halvmånar vilka kommer att bilda runda hål när stjärnan vecklas ut.
- Limma fast en vitt band längst mitten av ovansidan och undersidan av traven med papperspåsar. Dessa är till för att knyta ihop och hänga upp stjärnan när du är klar. Tag en spetsig sax eller syl och gör ett hål rakt igenom mitten av den ihopfällda stjärnan, som jag visar på bild nr 4 ovan.
- Veckla ut stjärnan och trä ljusslingan genom hålet och alla lager av papperspåsar. Fördela ljusdioderna jämnt genom hela stjärnan.
- Fäll ihop stjärnan och limma längst båda sidorna av botten som illustrerat av den röda prickade linjen på bild nr 6, fäll upp stjärnan igen så att bottenpåsen möter toppenpåsen och stjärnan limmas ihop.
- I det lilla facket som bildas högst upp på stjärnan kan du gömma ljusslingans batteridel. Knyt ihop stjärnan med båda ändar av snöret och häng upp den.
- Do like this: Heat the glue gun and apply a string of glue along the bottom and middle of the first paper bag, as illustrated by the red dotted line in picture no 1. Place the next bag on top of the first one and make sure that the bags are in the same direction and aligned. Glue this bag the same way as the first one and continue with the following bags until you glued all of the eight bags together.
- Use a pencil and make a sketch on the top bag to create your own unique design. Then cut through all layers of bags to form the tip and holes on the sides. Feel free to experiment with different shapes and sizes of holes.
- If you want you can use a hole punch to make small holes to the sides. Punch semicircles, they will form round holes once the star is unfolded.
- Glue a white ribbon to the middle line of the top and bottom of the stack. The ribbons are there to hang your star when your done. Use a sharp scissor or awl to make a hole right through the middle of the star, as illustrated in picture no 4.
- Unfold the star and thread the string of lights through the hole and all layers of the paper bags. Distrubute the LEDs evenly throughout the star.
- Fold the star again and glue at both sides of the base as illustrated by the red dotted line in picture no 6. Unfold the star and glue the back to the front of the stack.
- Hide the batteri section in the small compartment now formed at the top of the star. Tie the two ribbons together and you are ready to hang your star.
Jag ser väldigt mycket fram emot resten av julkalendern. Det ska bli spännande att se vad mina bloggkollegor och årets inbjudna gäster hittar på! Du följer väl vår kreativa kalender på Facebook och på Instagram? Vi taggar våra bilder med #tccsxmas2016.
———–
I look very much forward to the rest of the advent calendar. It’s going to be fun to see what my fellow bloggers and this year’s guests will inspire me with. Make sure to follow our creative calendar on Facebook and Instagram! We tag our pictures with #tccsxmas2016.
The Creative Collective Calendar 2016:
Dec 1: Gina | Willowday
Dec 2: Brittany | House that Lars Built
Dec 3: Karin | Pysselbolaget
Dec 4: Mina | Minipiccolini
Dec 5: Lina | Lina by the bay
Dec 6: Helena S (me) | Craft and Creativity
Dec 7: Helena N | Mormorsglamour
Dec 8: Ulrica | Kriis Kitchen
Dec 9: Helena L | Hemma med Helena
Dec 10: Paul | Sweet Paul Magazine
Dec 11: Gina | Willowday
Dec 12: Sophia | Mokkasin
Dec 13: Karin | Pysselbolaget
Dec 14: Karoline | Gröna Skafferiet
Dec 15: Sofia / Hildas.se
Dec 16: Matilda + Nathalie | Babes in Boyland
Dec 17: Helena L | Hemma med Helena
Dec 18: Karin | Kreativa Karin
Dec 19: Malin | Pastill.nu
Dec 20: Helena N | Mormorsglamour
Dec 21: Marie / Musqot
Dec 22: Mina | Mini Piccolini
Dec 23: Åsa | @mycasa
Dec 24: Sofia / Hildas.se

