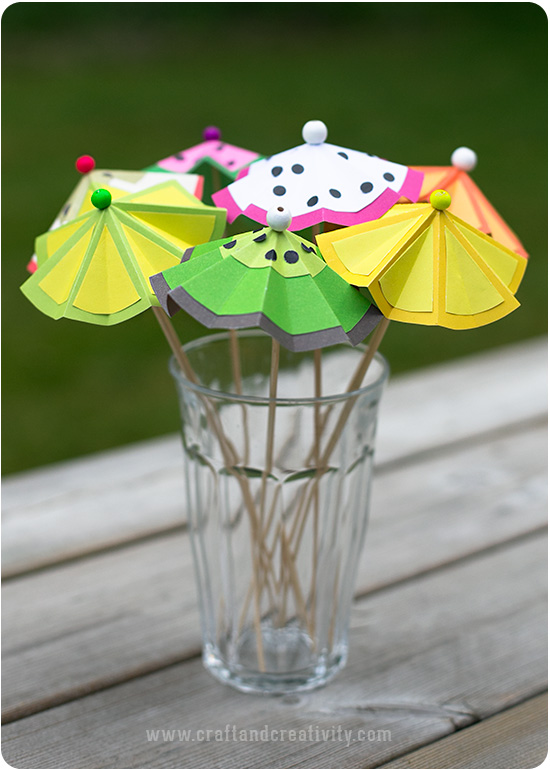
Påsken närmar sig och vi i nätverket The Creative Collective fyller våra respektive bloggar med pyssel, pynt och bak. Idag är temat godis och mitt bidrag blir dessa minikorgar av toarullar som jag fyllt med påskgodis! Vill du vara med och inspirera andra? Lägg upp dina egna godispyssel på Instagram, märk bilden #tccspåsk och låt andra se vad du kan hitta på. Vi ses i flödet! På torsdag den 2/4 är temat ägg och då pysslar vi vidare.
————
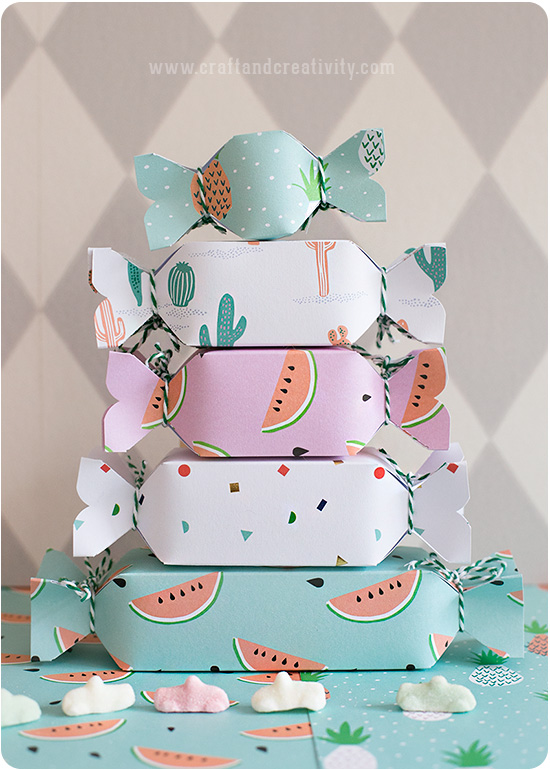
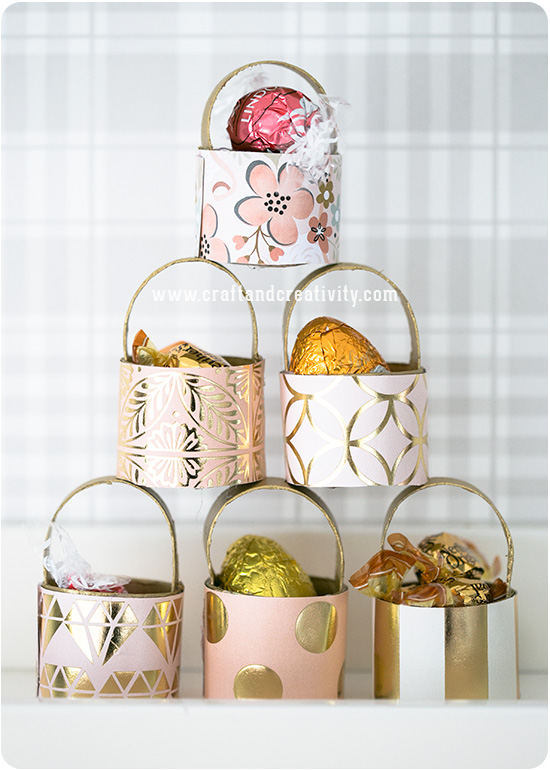
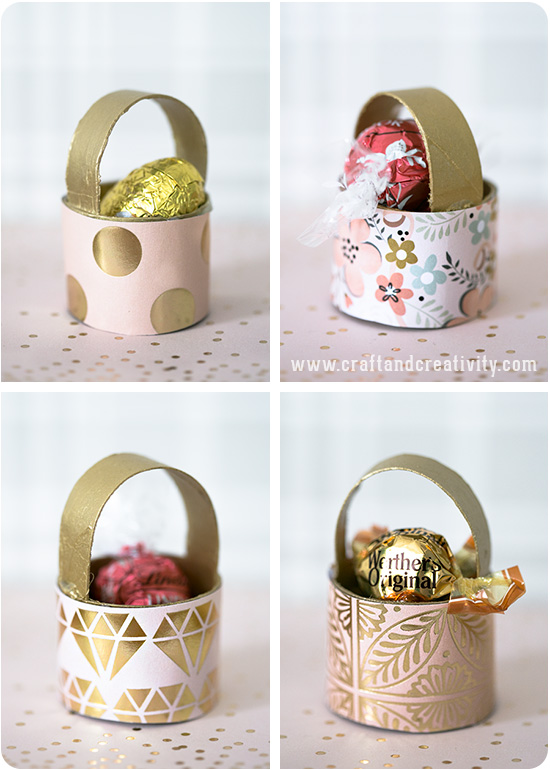
Easter is coming up and me and my fellow bloggers in The Creative Collective Sweden are collectively filling our feeds with crafts, decorations and baking. Today’s theme is candy and I’m contributing with these mini baskets made out of toilet rolls that you can fill with Easter treats! Thursday’s theme is eggs and we’ll continue crafting then.
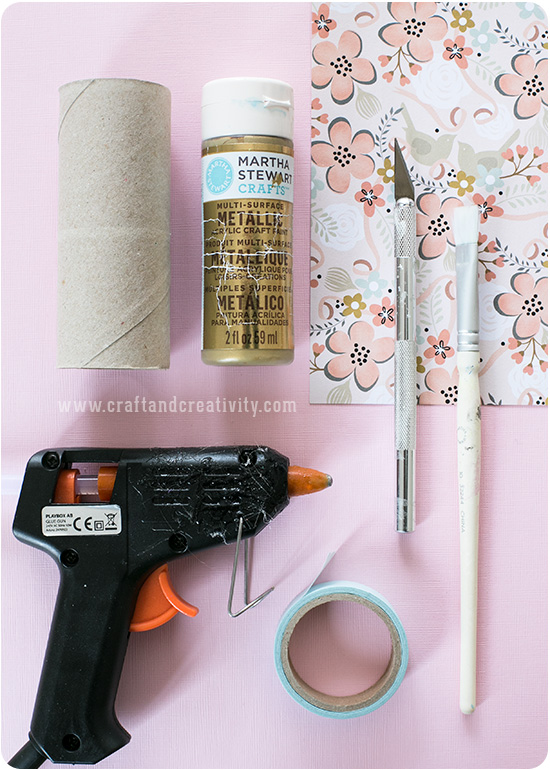
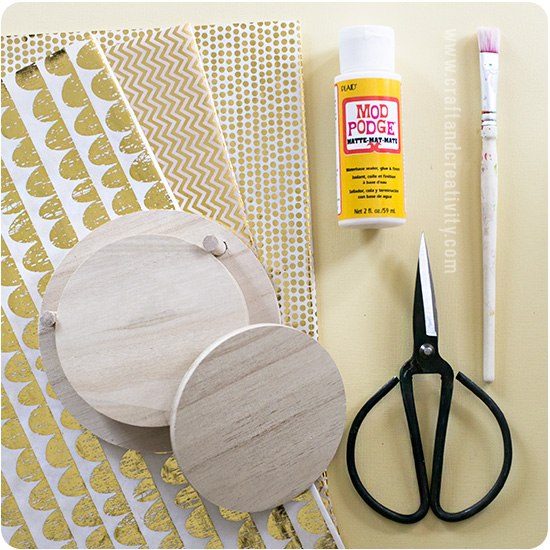
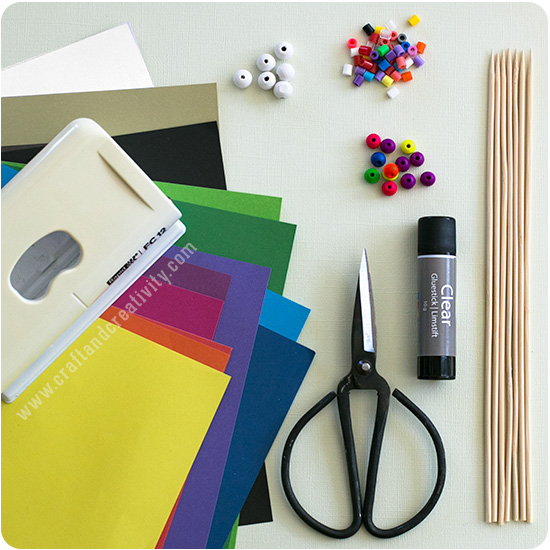
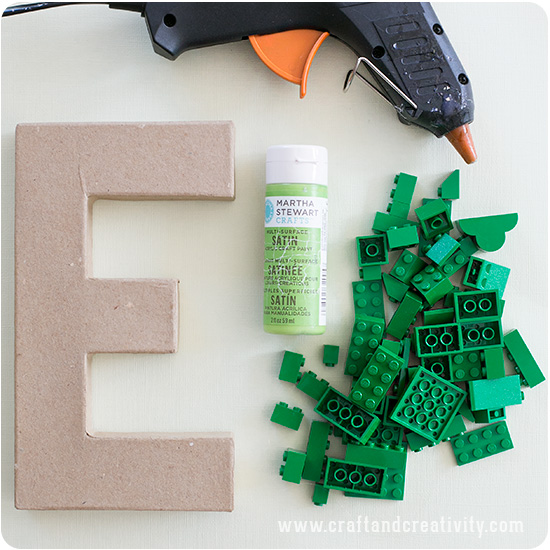
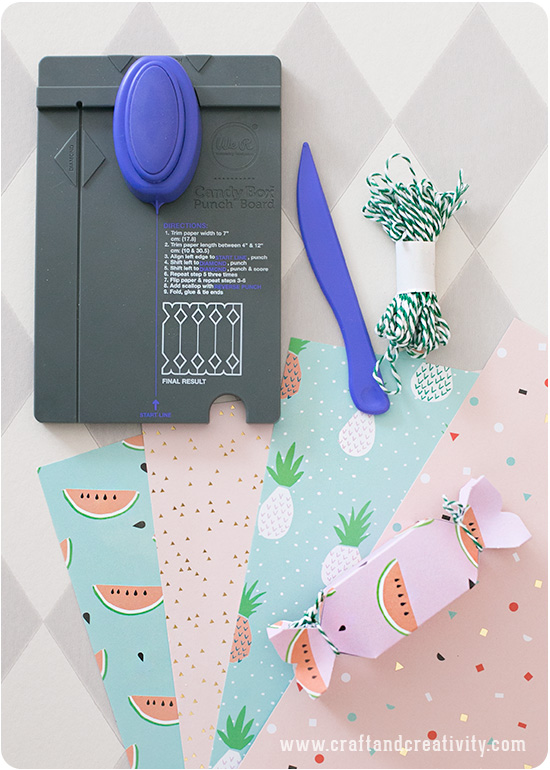
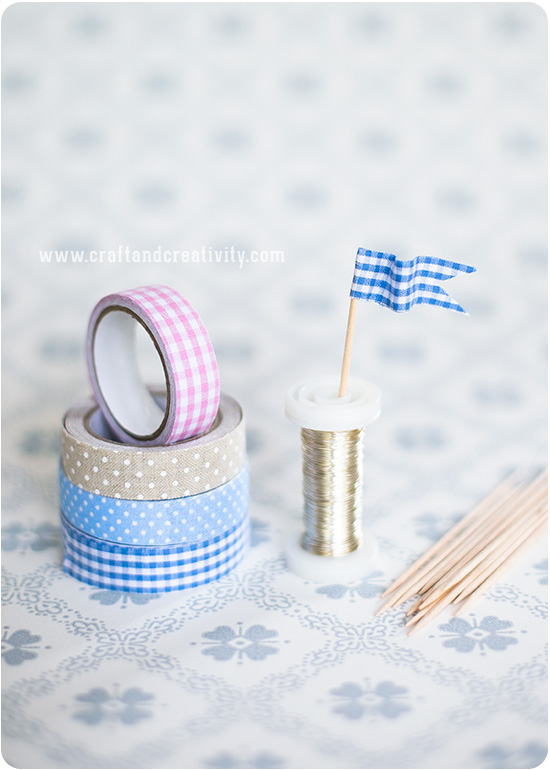
Korgarnas kanter, bottnar och handtag är till 100% tillverkade av toarullar. Ett praktiskt pysselmaterial som de flesta av oss har överflöd av hemma. Två toapappersrullar räcker till två små påskkorgar. Du behöver också: Limpistol, färg, pensel, skalpell/hobbykniv, washitejp (eller linjal), blyertspenna, sax och mönstrat papper att dekorera korgarna med.
———–
The baskets are 100% made of toilet rolls. A great craft material that most of us have plenty of at home. Two toilet paper rolls are enough for two small Easter baskets.
You also need: A glue gun, hobby paint, a paint brush, a hobby knife, washi tape (or a ruler), a pencil, a pair of scissors and patterned paper to decorate the baskets with.
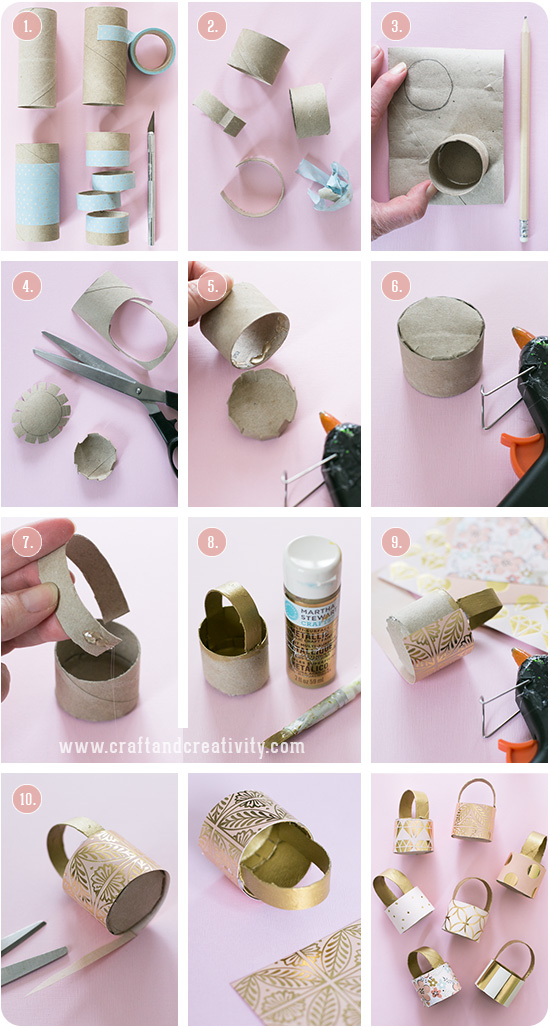
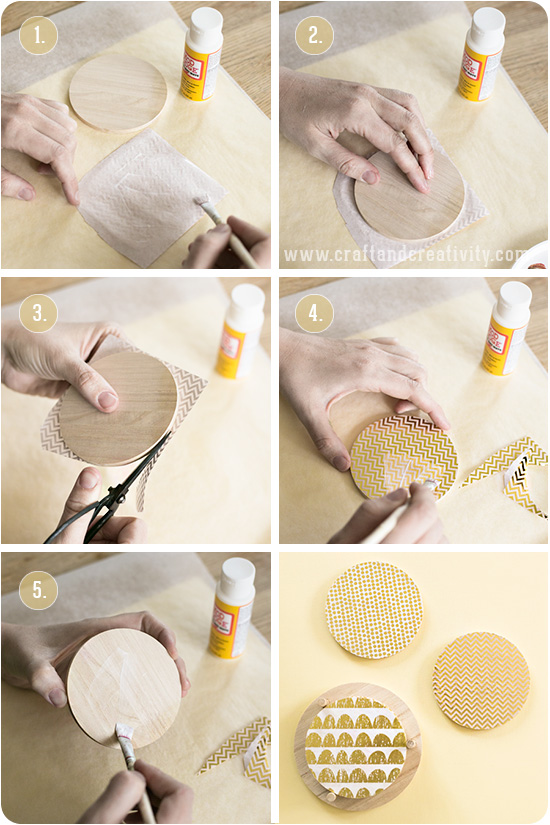
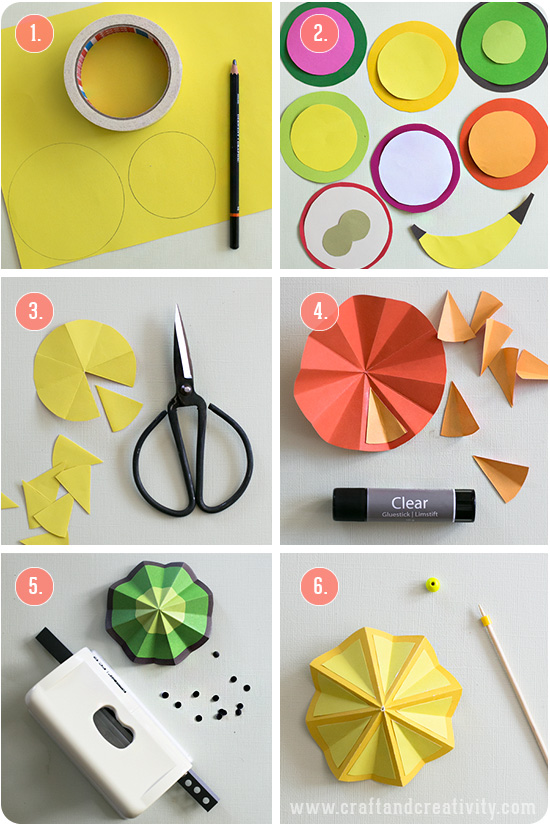
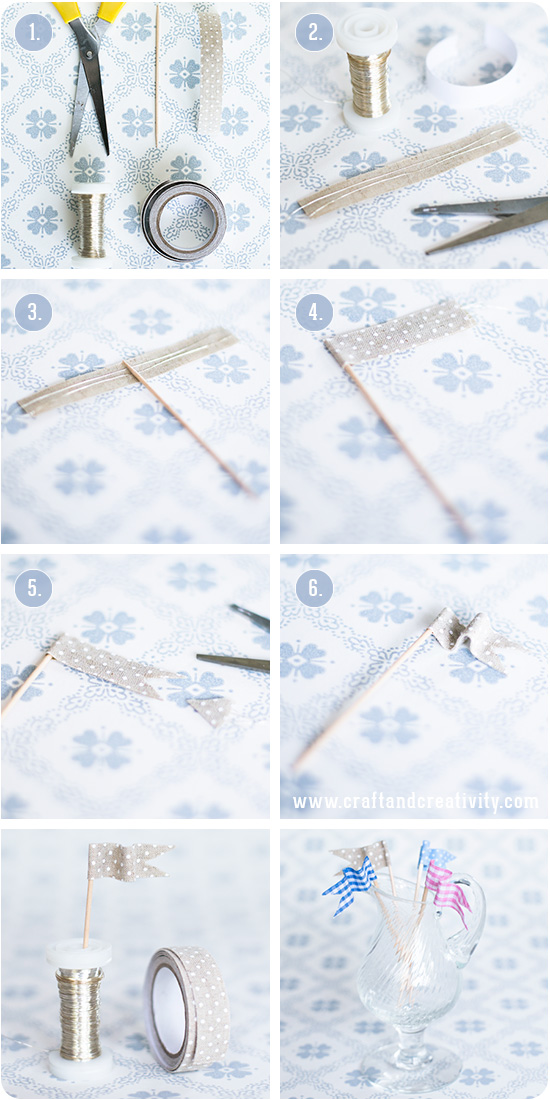
- Gör så här: Skär en toarulle i fyra delar, två breda och två smala. Jag använde washitejp för att måtta och få raka kanter hela vägen runt om. Vanlig washitejp är 15 mm bred, vilket blir lagom till handtagen. Du kan förstås också mäta med en linjal och rita stödlinjer med blyerts innan du delar upp rullen med hjälp av en hobbykniv eller skalpell.
- Avlägsna washitejpen och klipp upp båda handtagen.
- Skär nästa toarulle på längden och öppna upp den så att den blir flat (helt platt blir den inte, men det gör inget). Denna ska du använda för att skära ut två bottnar. Måtta och rita med en blyertspenna runt insidan av en toarulle för att få rätt storlek.
- Klipp ut dina bottnar med 5 mm marginal och klipp jack från utsidan in till den ritade cirkeln. Vik in flikarna.
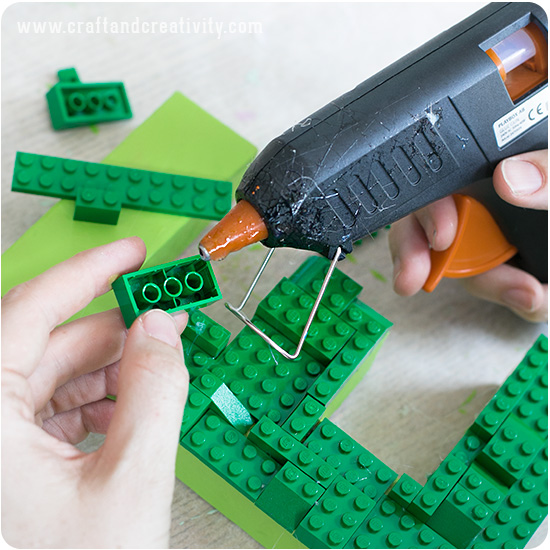
- Limma med limpistol längst ner på kanten och montera botten med flikarna på insidan. Fördelen med limpistolen är att limmet torkar snabbt men det är också väldigt varmt innan det stelnar. Var försiktig och ha ett glas vatten i närheten för att kunna doppa fingrarna om du råkar få lim på dem. Eller använd limstift, papperslim eller dubbelhäftande tejp istället.
- Så här ska botten se ut när du är klar. Gör likadant med korg nummer två.
- Limma fast båda ändar av handtaget på insidan av respektive korg.
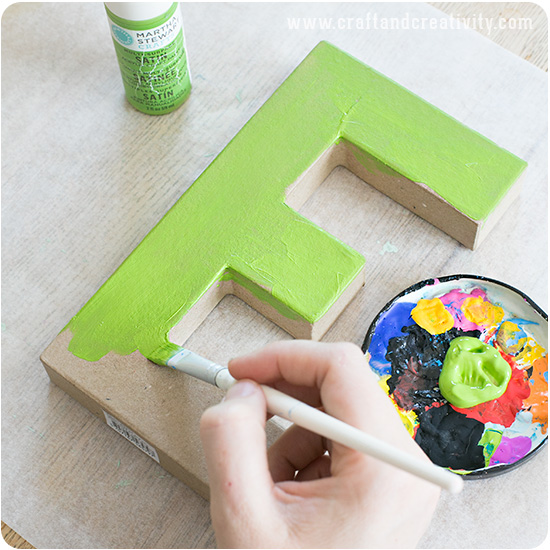
- Måla handtagen och insidan av korgarna. Jag använde guldfärg från Martha Stewart Crafts och det räckte med ett lager färg. Färgen torkar snabbt på papp, vänta ca 15-20 min innan nästa steg.
- Limma fint mönstrat papper runt utsidan av dina korgar. Jag valde ett guldfolierat designpapper. Se till att limma pappret kant i kant med korgens topp.
- Trimma pappret runt botten om det behövs. Gör så många korgar du vill, det går snabbt när du får rutin på det!
———–
- Do like this: Divide one toilet roll into four parts, two wide and two narrow. I used washi tape for measuring and this also helped me to get the edges straight all the way around. Ordinary washi tajpe is 15 mm wide, which is perfect for the handles. Instead of washi tape you can use a pencil and a ruler. I found it easiest to use a hobby knife for cutting.
- Remove the washi tape and cut open the two handles.
- Cut the next toilet roll lengthwise and open it up to make it flat (it won’t become completely flat but that doesn’t matter). Use this piece to cut out the two base parts. Measure and draw with a pencil around the inside of a toilet roll to get the right size.
- Cut your two circular bases with a 5 mm margin and cut tabs from the outside into the drawn circle. Fold the tabs upwards.
- Place a string of glue at the bottom edge and put base in place, while tucking in the tabs. A good thing with glue guns is that the glue dries quickly, but it’s also very hot before it stiffens. Be careful and have a glass of water nearby to dip your fingers in if you get glue on them. Or use glue sticks, paper glue or double-sided tape instead if you prefer that.
- This is what the bottom should look like when you’re done. Do the same with basket number two.
- Glue the two ends of the handle to the inside of each basket.
- Paint the handles and the inside of the baskets. I used metallic gold paint from Martha Stewart Crafts and one coat was enough. Let the paint dry.
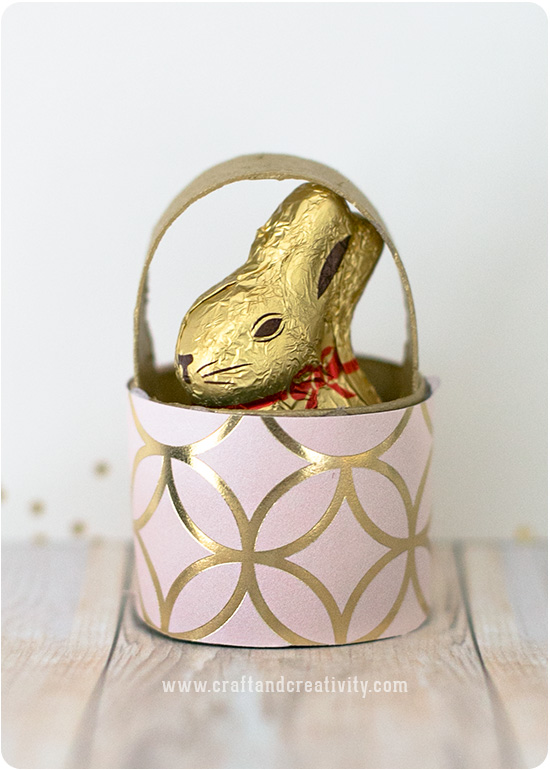
- Glue patterned paper to the outside of the baskets. I chose a gold foiled cardstock from My Minds Eye. Make sure to glue the paper aligned with the top of the basket.
- Trim the paper around the bottom if necessary. Make as many baskets as you like!
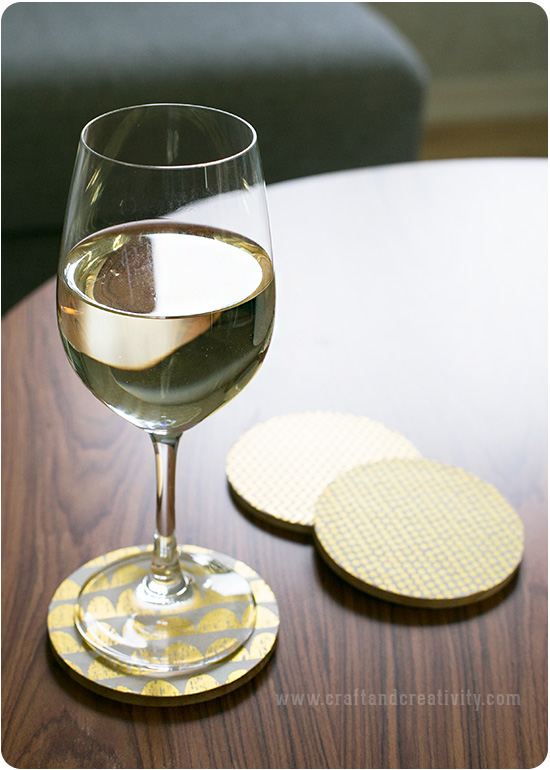
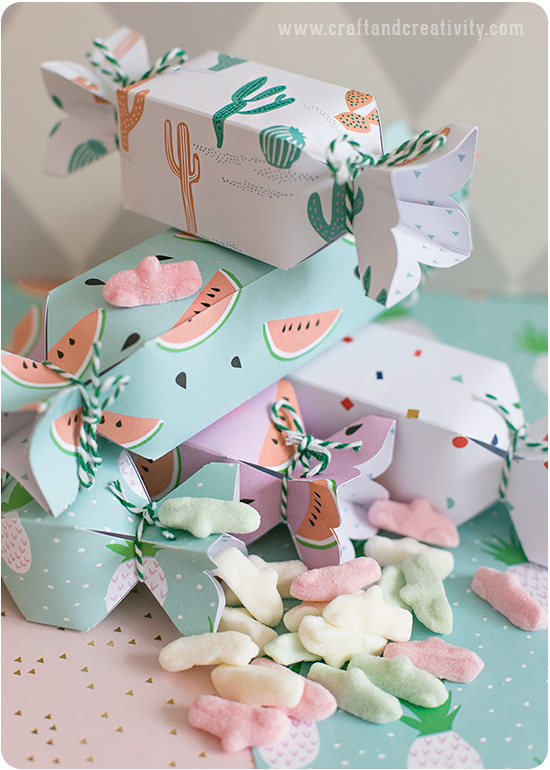
Fyll korgarna med påskgodis och duka med dem till påskmiddagen eller låt barnen ge bort sina egentillverkade korgar när de går påskkärring. Korgarna fungerar också som en söt liten gå-bort-present.
————–
Fill the baskets with Easter candy and set the table with them for Easter dinner or use them as a cute little going-away gift.
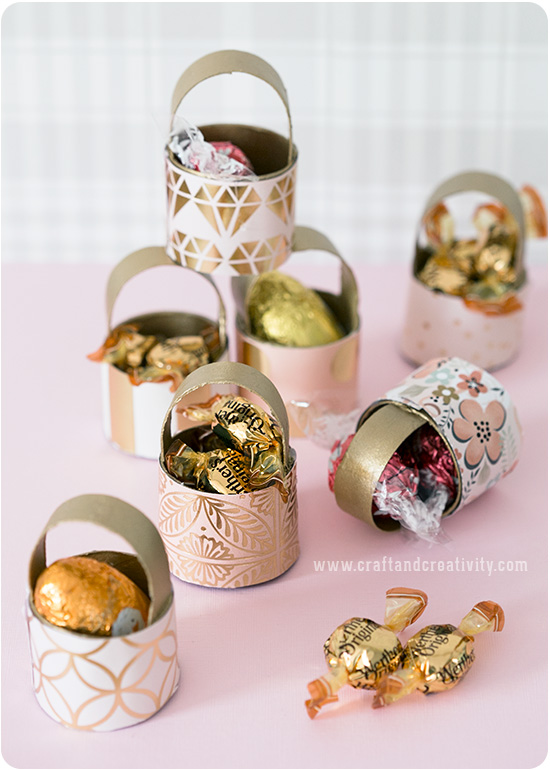

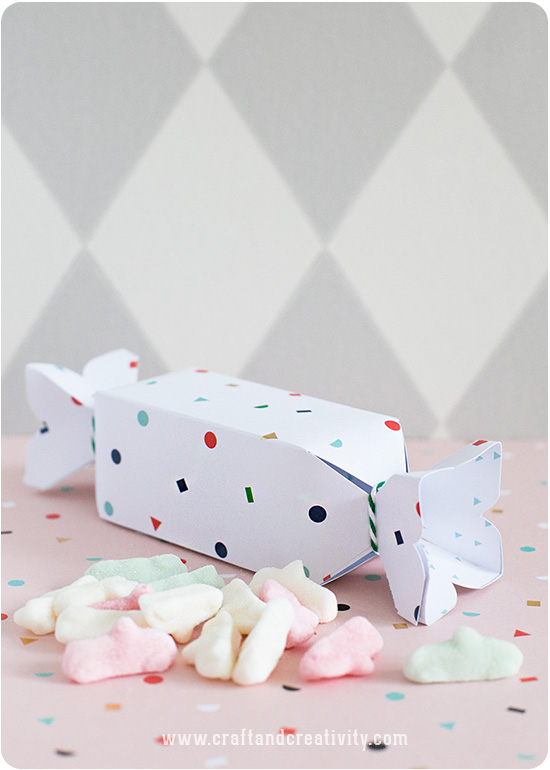
Visst är det lite kul att man kan förvandla något så enkelt som toalettrullar till lyxig godisförvaring?
————
Isn’t it fun that you can transform something as simple as toilet rolls into elegant candy holders?
The Creative Collective består av: Gina från Willowday (@willowdaygram), Helena från Hemma med Helena (@helenalyth), Helena från Mormorsglamour (@mormorsglamour), Karin och Freja från Pysselbolaget (@pysselbolaget), Karolina från Lina by the Bay (@linabythebay), Malin från Pastill (@pastillnu), Mina från Mini Piccolini (@minipiccolini), Sofia från Hildas hem (@hildashem.se), Maria från Made by Mary (@madebymary) och mig Helena från Craft & Creativity (@craft_and_creativity). Kika in hos dem för mer påskpyssel och följ oss gärna på Facebook.
————-
The Creative Collective Sweden consists of: Gina from Willowday (@willowdaygram), Helena from Hemma med Helena (@helenalyth), Helena from Mormorsglamour (@mormorsglamour), Karin and Freja from Pysselbolaget (@pysselbolaget), Karolina from Lina by the Bay (@linabythebay), Malin from Pastill (@pastillnu), Mina from Mini Piccolini (@minipiccolini), Sofia from Hildas hem (@hildashem.se), Maria from Made by Mary (@madebymary) and myself Helena from Craft & Creativity (@craft_and_creativity). You are welcome to follow us on Facebook.