Dagens pyssel, “pimpad” burk –
Craft of the Day, “pimped” jar

Det finns många sätt att piffa till en gammal glasburk. Det här är ett sätt. Jag har testat ett par andra varianter tidigare: se här, här och här. /
There are many ways to decorate an old glass jar. This is one way. I’ve tried a couple of other variations before: take a look here, here and here


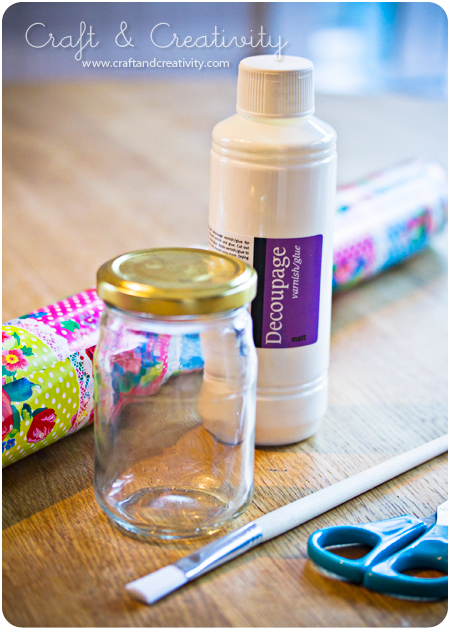
Jag började med locket. Till det använde jag presentpapper, decoupage (klister & lack i ett), sax och pensel. / I started with the lid. For this I used wrapping paper, mod podge (varnish & glue all-in-one), scissors and brush.
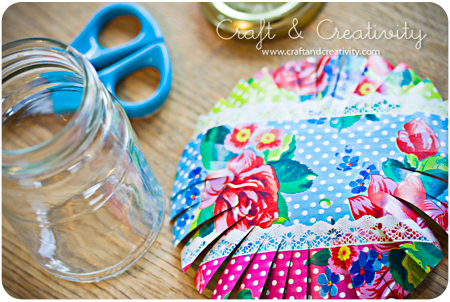

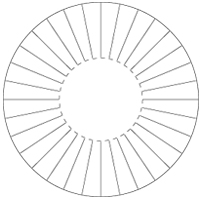
Jag måttade med locket och klippte ut en rundel som var några cm större. Sedan klippte jag remsor in mot mitten. Se skiss (den streckade inre cirkeln symboliserar lockets kant:
———-
I measured out a circle that was a couple of inches larger then the lid. Then I cut strips towards the center of the circle. See my figure below (the dashed inner circle symbolizes the edge of the lid:


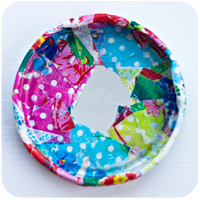
Jag penslade på decoupage runt hela locket och placerade locket i mitten av papperet. Sedan vek jag remsorna runt kanten. Se bild ovan till höger. När det torkat lite penslade jag decoupage utanpå locket också, som en lack på pappet. Jag lät torka i två timmar.
——–
I covered the lid with mod podge and placed the lid in the middle of the paper. Then I folded the strips around the edge. See the right hand picture above. When it had dried for a bit I mod podged the outside of the lid as well, coating the paper. I let it dry for about two hours.
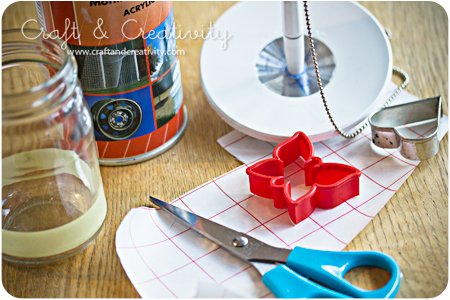

Under tiden målade jag burken. Till den använde jag: Vit sprayfärg, kakmått, självhäftande plast, penna, sax och en gammal tidning. Jag tejpade det område jag inte ville ha spraymålat. Med kakmåtten som mall klippte jag ut figurer i självhäftande plast. Dessa dekaler fäste jag på burken. Burken ställde jag sedan upp och ned på tidningspapper och spraymålade utomhus. När färgen torkat tog jag bort tejpen och plastdekalerna.
———-
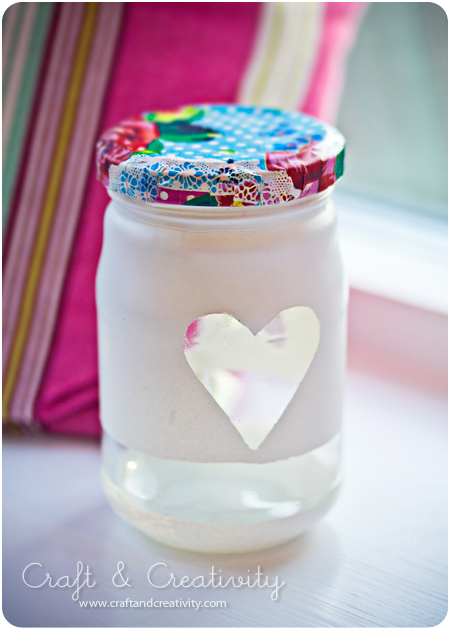
In the meantime, I painted the jar. For this I used: White spray paint, cookie-cutters, self-adhesive plastic, pencil, scissors and an old newspaper. I taped the area I didn’t want paint on. With cookie-cutters as templates I cut out a couple of shapes of the adhesive plastic. I attached the shapes on the jar. I put the jar upside down on a newspaper and spray painted it outdoors. When the paint had dried, I removed the tape and the plastic shapes. 
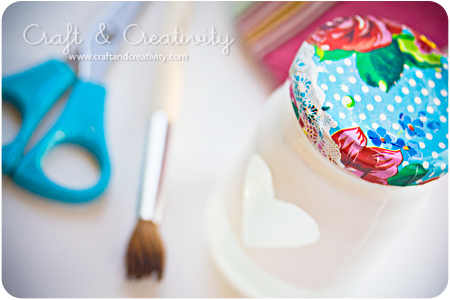

Ett lager lack till ovanpå locket så var jag nöjd. /
Another coating of mod podge on the top of the lid and I was satisfied.

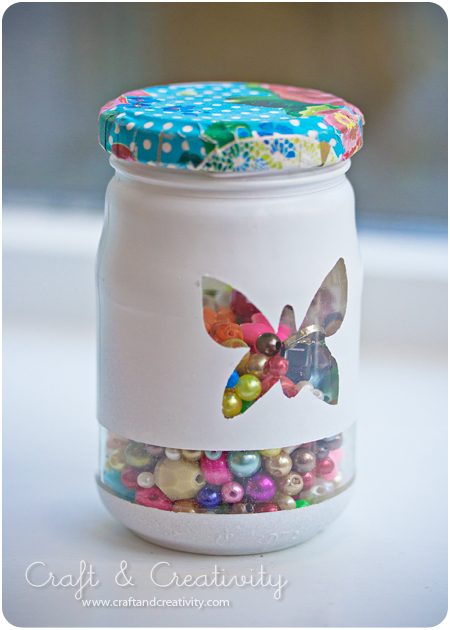
Klar att använda. / Ready to use. 

Dagens pyssel, tejpade klädnypor –
Craft of the Day, washi tape pegs

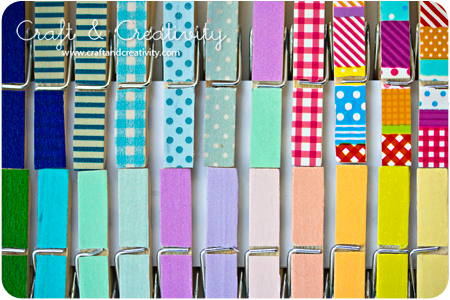
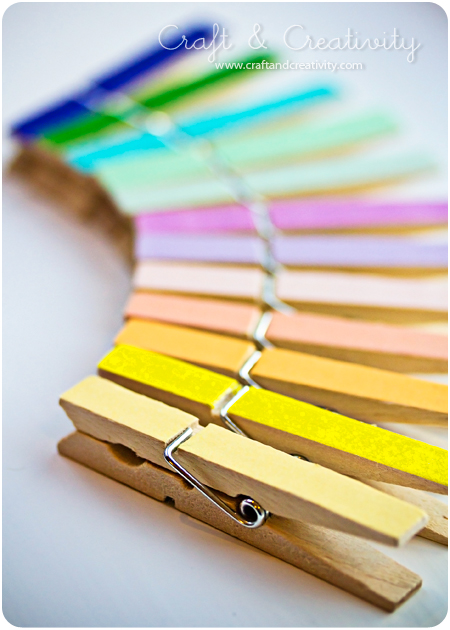
Ett sätt att använda washitejp (japansk maskeringstejp) är att klistra det på klädnypor av trä. Det pysslet har jag sett lite här och var, se till exempel Atypical Type A.

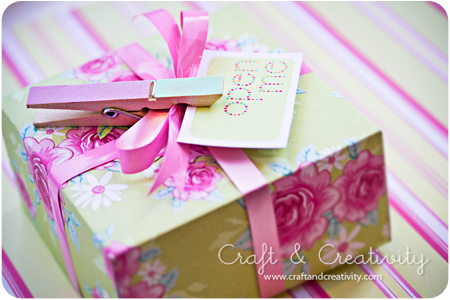
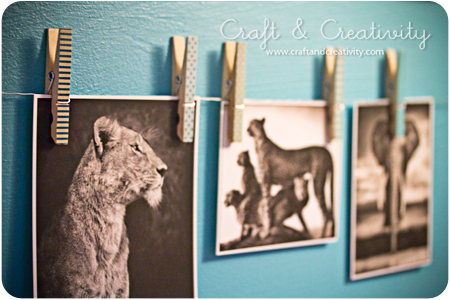
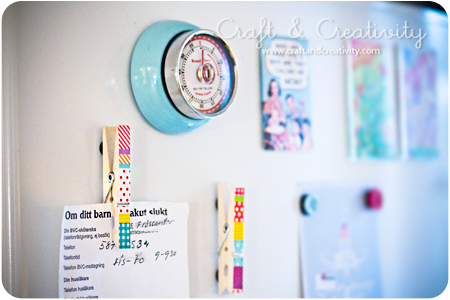
Mina klädnypor använder jag på lite olika sätt. Några får pryda paket, några får hänga på min inspirationsvägg i pysselrummet och ett par fick magneter på baksidan och sitter på kylskåpet och håller reda på viktiga papper:


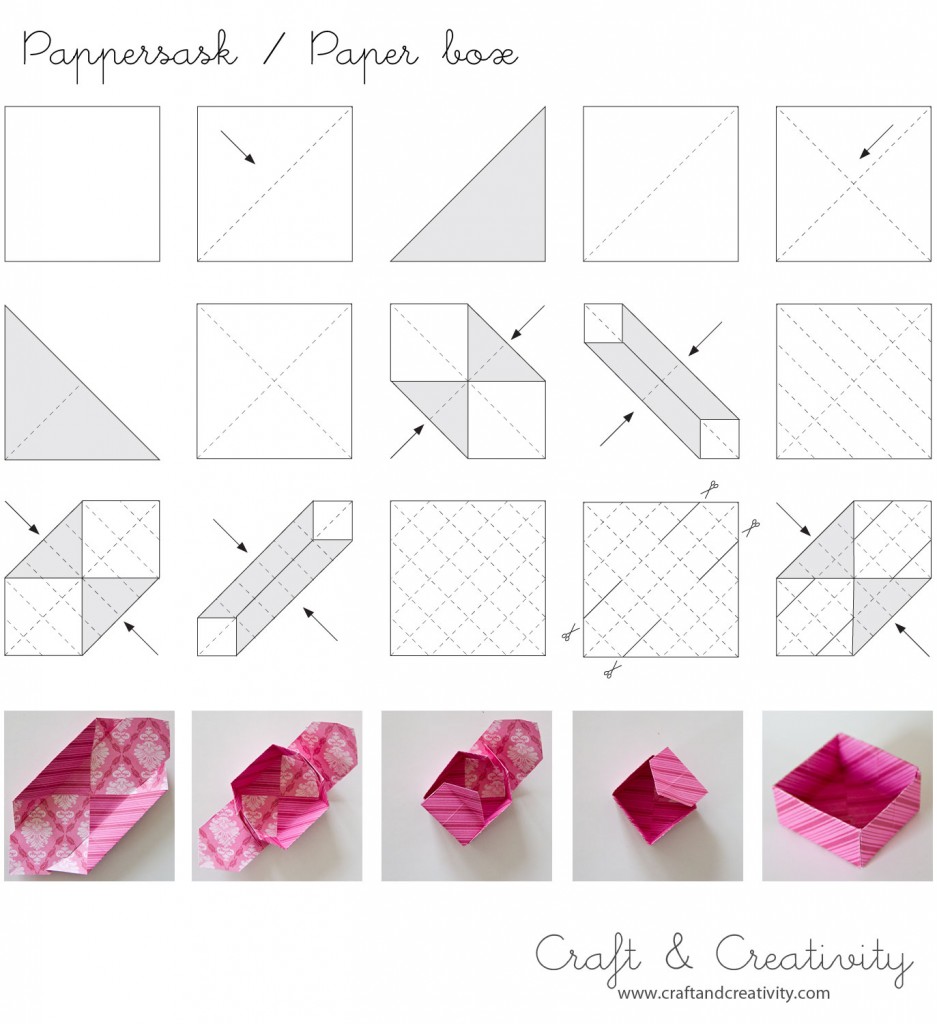
Beskrivning för askarna finns här. / For a paper box tutorial, click here


Fantastiska djurporträtt av Nick Brandt som just nu ställer ut på Fotografiska. /
Fantastic animal portraits by Nick Brandt, currently exhibiting at Fotografiska.

One way to use washi tejp (Japanese masking tape) is to paste it on the wooden pegs. This craft I’ve seen a bit here and there, take a look at these blogs for example: Atypical Type A

I’m using my clothes pegs i a couple of different ways. Some will be decorating wrapped gifts, some are hanging on the inspirational wall in my craft room and a couple of them got magnets on their back and are sitting on our refrigerator keeping track of important papers. 

Dagens pyssel, glaslykta –
Craft of the Day, glass lantern

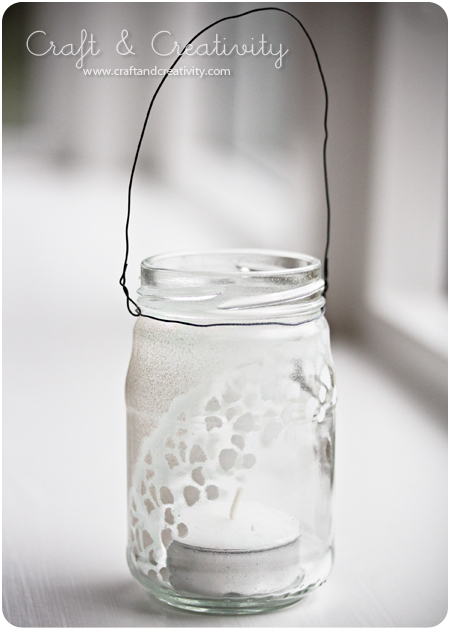
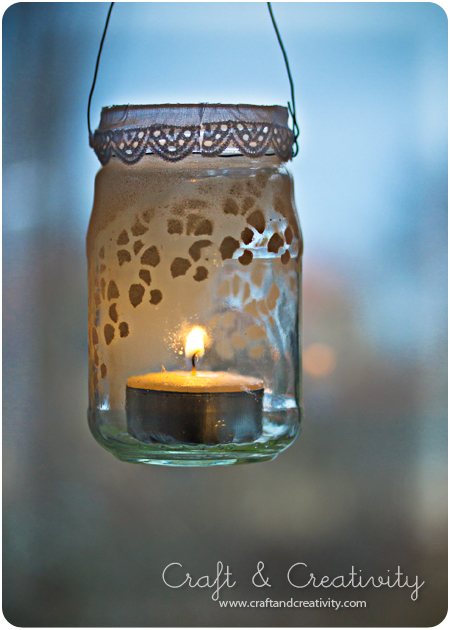
Det är mysigt med många tända ljus denna mörka årstid. Jag har gjort en ljuslykta av en gammal glasburk, vit sprayfärg, tårtpapper och ståltråd.

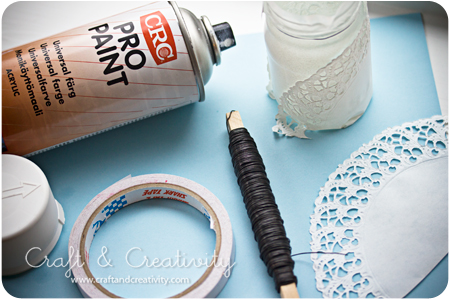
Det här behöver du:
– Glasburk
– Ståltråd
– Avbitartång
– Tårtpapper eller gammal spetsduk
– Vit sprayfärg
– Tejp, dubbelhäftande och vanlig
– Eventuellt ett bit band eller spets

Jag gjorde så här: 
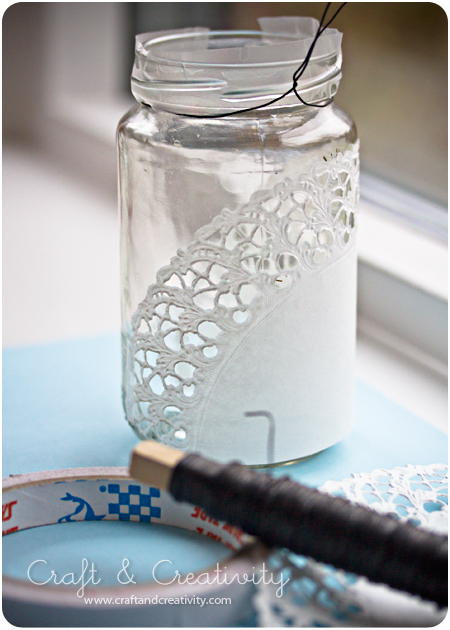
Jag började med att ta bort den gamla etiketten från glasburken. Först lät jag den ligga en stund i ljummet vatten tills etiketten lossnade. De sista klisterresterna tog jag bort med lite aceton. Sedan fäste jag tårtpapperet på burken med hjälp av dubbelhäftande tejp och maskerade de delar jag inte ville ha färg på med vanlig tejp. Jag gick utomhus när det var dags att spraymåla burken för att minimera lukten. Jag använde ganska lite färg eftersom jag bara ville att det skulle bli lite “dimmigt”. När färgen torkat tog jag bort tejpen och tårtpapperet och virade ståltråd runt öppningen. Jag böjde till en båge av en ny bit ståltråd som jag fäste på var sin sida av glasburken. Till sist klistrade jag på ett vitt bomullsband som jag hade i mina gömmor. Så var det klart!

It’s cozy to have many lighted candles this time of year, when it’s so dark outside.
I made a glass lantern  of an old jar, white spray paint, cake paper and wire.

You will need:
– Glass jar
– Steel wire
– Wire cutter
– Cake paper doily or old lace doily
– White spray paint
– Tape, double-sided, and regular
– Possibly a piece of ribbon or lace

I did like this: 
I started by removing the old label from the jar. At first I let it soak in warm water for a while until the label was easy to pile off. I removed the last of the glue residue with some nail polish remover. Then I placed the cake paper on the jar using double-sided tape and masked the parts I didn’t want paint on with ordinary tape. When it was time to spray paint I went outside to avoid the fuses. I didn’t use much color because I just wanted a “frosty” feeling. When the paint had dried, I removed the tape and cake paper and wrapped the wire around the jar opening. I bent another piece of wire into a loop that I attached on either side of the jar. Finally, I glued on a white cotton band that I had stashed. And that’s it! 
Dagens pyssel, pappersaskar –
Craft of the Day, paper boxes

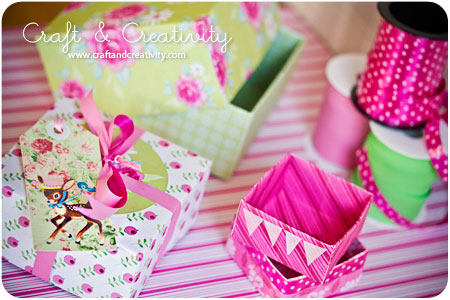
När jag var liten lärde min mamma mig göra dessa pappersaskar. Den kunskapen sitter i än idag och jag har även lärt min äldsta dotter hur man gör. Ett roligt pyssel som enbart kräver ett papper, en sax och möjligtvis en bit tejp eller klister. Lätt som en plätt. Man behöver inte mäta utan det enda viktiga är att man har ett kvadratiskt papper (alla sidor lika långa). Storleken bestämmer man själv.

Det går bra att använda nästan vilket papper som helst; presentpapper, skrivarpapper, tapetprover eller tidningspapper t ex.

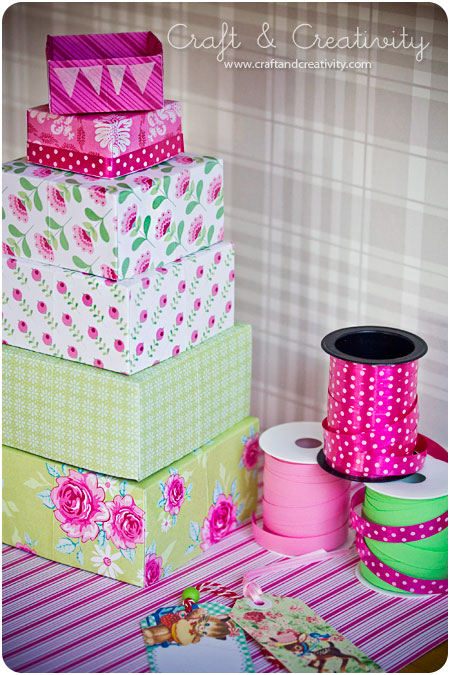
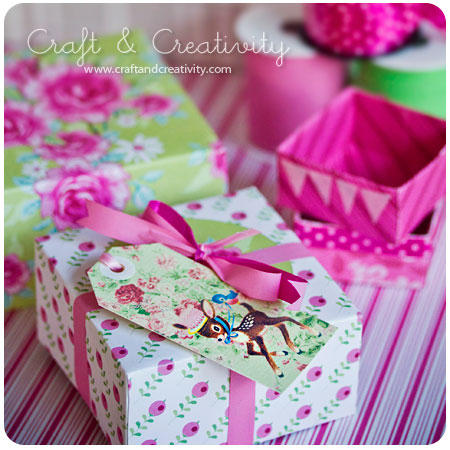
Gör man dessutom två pappersaskar (där den ena är lite mindre än den andra) kan man använda en som botten och en som lock. Slå ett snöre runt och sätt på en etikett så blir det en fin presentförpackning.

When I was little my mom taught me how to make these paper boxes. A knowledge that’s been with me since and I’ve also learned my eldest daughter how to make them. A fun craft that only requires a sheet of paper, scissors and perhaps a bit of tape or glue. A piece of cake. No need to measure, the only important thing is that you have a square paper (all sides the same length). How big is up to you.

You can use almost any paper; wrapping paper, printer paper, wallpaper samples or a newspaper for example.

Besides, if you make two boxes (one slightly smaller then the other) one can be used as a base and the other one as a lid. Wrap a string around it, put on a gift tag, and you’ve got yourself a nice gift box. 
Dagens pyssel, fladdermus –
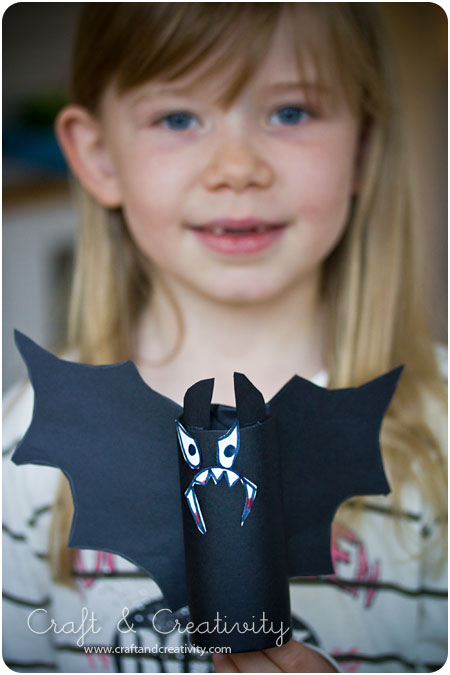
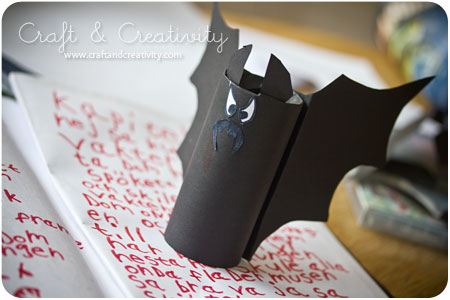
Craft of the Day, halloween bat

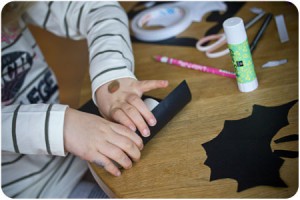
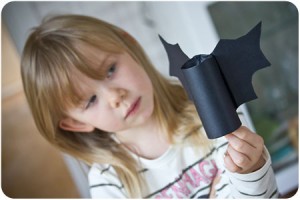
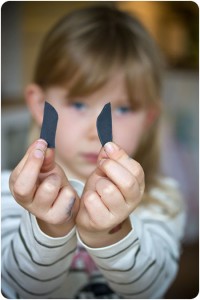
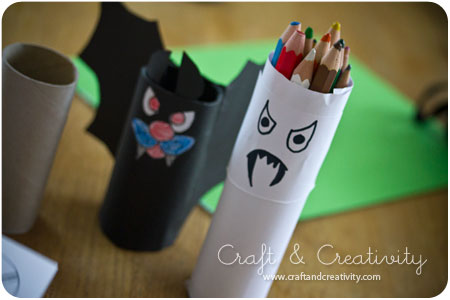
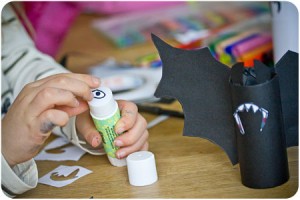
“-Mamma! Kan inte jag få visa hur man gör en fladdermus och du lägger upp den på din hemsida?”, föreslog min äldsta dotter A i förmiddags. Sedan förklarade min sjuåring med stor pedagogik och mycket tålamod steg för steg för mig medan jag fotograferade. 🙂
———-
“Mommy, can I show you how to make a bat, and you can post it on your blog?”, my oldest daughter suggested this morning. Then my seven-year-old explained to me, in detail and very methodically step by step how to make a bat. All the while I took pictures. 🙂

   
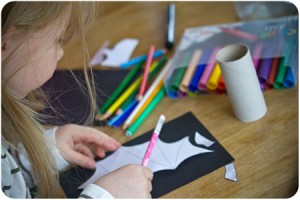
Ladda ner mallen, skriv ut, klipp ut, lägg den på svart papper och rita runt. /
Download the template, print it, cut out, place it on black paper and draw around it.

  
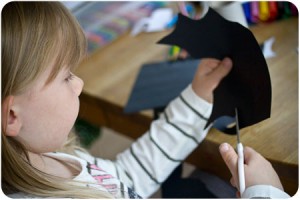
Klipp ut vingar och öron. / Cut ut wings and ears.  

  
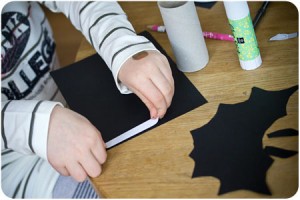
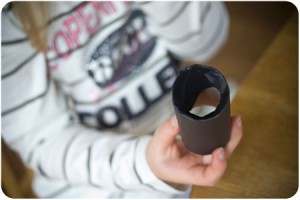
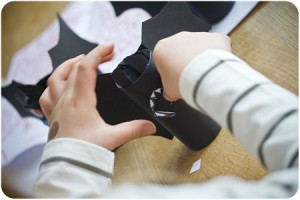
Använd dubbelhäftande tejp eller klister och täck en toalettpappersrulle med svart papper. /
Use double-sided tape or glue and cover a toilet paper roll with black paper. 

  
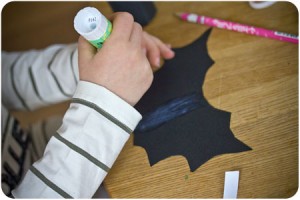
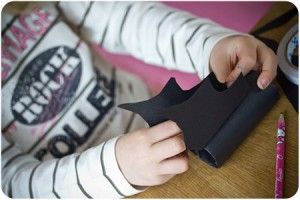
Vik in kanterna. Sätt klister mitt på vingarna och placera på kroppen. /
Fold the edges. Put glue on the middle of the wings and place on the body.

  
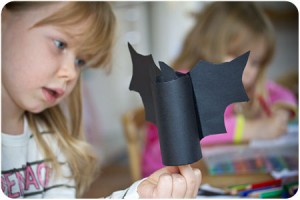
Vik till vingarna. / Fold the wings. 

  
Klistra fast öronen på toppen av kroppen. / Glue the ears and attach on the top. 

  
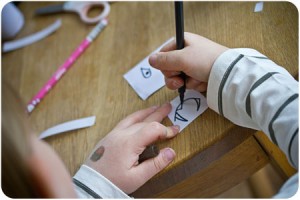
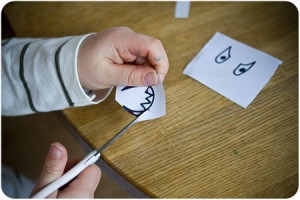
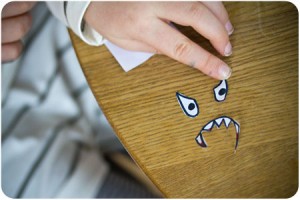
Ta en bit papper och rita ögon och huggtänder. /
Take a piece of paper and draw eyes and fangs. 

  
Klipp ut. / Cut out. 

  
Klistra fast ögon och tänder. Klart! /
Glue the eyes and the teeth and your done! 


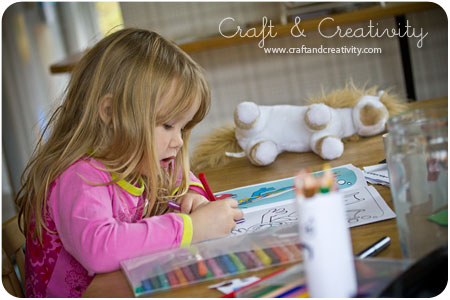
Lillasyster målar i sin Smurf-bok under tiden…
——–
In the meantime little sister E colors her Smurf-book… 

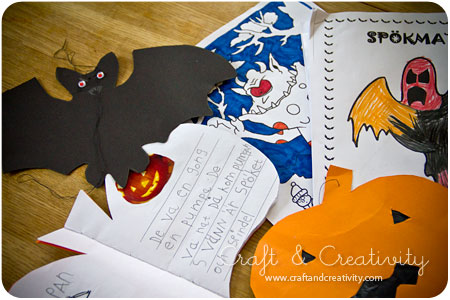
Produktionen av Halloween-pyssel är omfattande just nu, både på skolan och hemma vid köksbordet. Det klipps, klistras, ritas och skrivs skräckhistorier…
MarthaStewart.com finns massor av Halloween-pyssel-tips.
———–
The production of Halloween crafts is huge right now, both at school and at home at the kitchen table. The girls have been cutting, pasting, drawing and writing horror stories …
At MarthaStewart.com you can find lots of Halloween crafts tips.

Dagens pyssel, pennburk –
Craft of the Day, pen holder

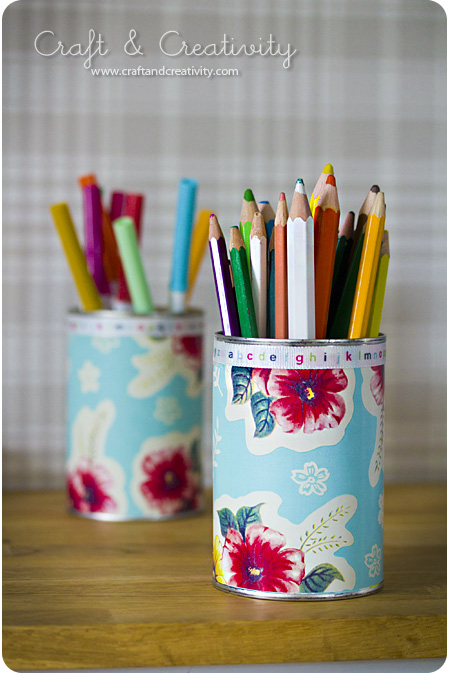
Gamla konservburkar kan vara bra att ha…

GÖR SÅ HÄR:

  1. Diska ur en tom konservburk. Välj en som inte har vassa kanter.
  2. Använd ett fint presentpapper eller ett tapetprov t ex. Mät och klipp till lagom storlek. Placera arket runt burken (lite omlott) och klistra ihop på baksidan, alternativt använd dubbelhäftande tejp. Vik gärna in den sista biten av papperet så att skarven blir snygg.
  3. Välj ett passande band till och fäst upptill eller nedtill.

————–

Old tin cans can be of good use …

HOW-TO:

  1. Wash out an empty tin. Choose one that does not have sharp edges.
  2. Use a nice gift wrap or wallpaper samples for example. Measure and cut the right size. Place the sheet around the tin(some overlap) and paste together at the back, or use double sided tape. Fold up the last piece of paper so that the seam looks nice.
  3. Choose a matching ribbon and attach to top or bottom.
Make & Create

Dubbelhäftande tejp

Clear limstift


Make & Create - logo