Barnens pennburkar –
The kids’ pen holders

Kid's pen holders - by Craft & Creativity

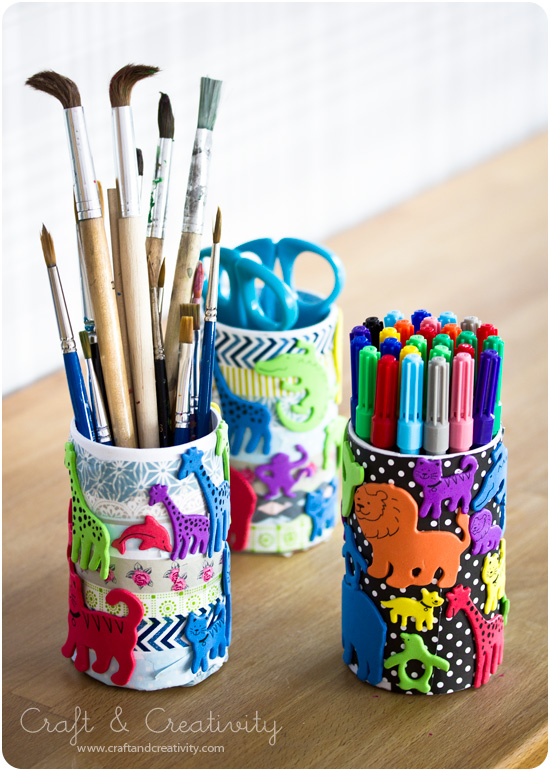
När jag fixade till mina nya pennburkar för ett par helger sedan så hade jag trevligt pysselsällskap av mina döttrar och två av deras kompisar. Jag tycker deras burkar blev supersnygga!
———-
A couple of weeks ago, while I was making my new pen holders, I had the pleasure of the company of my daughters and two of their friends. I think their pen holders turned out gorgeous!

Kid's pen holders - by Craft & Creativity

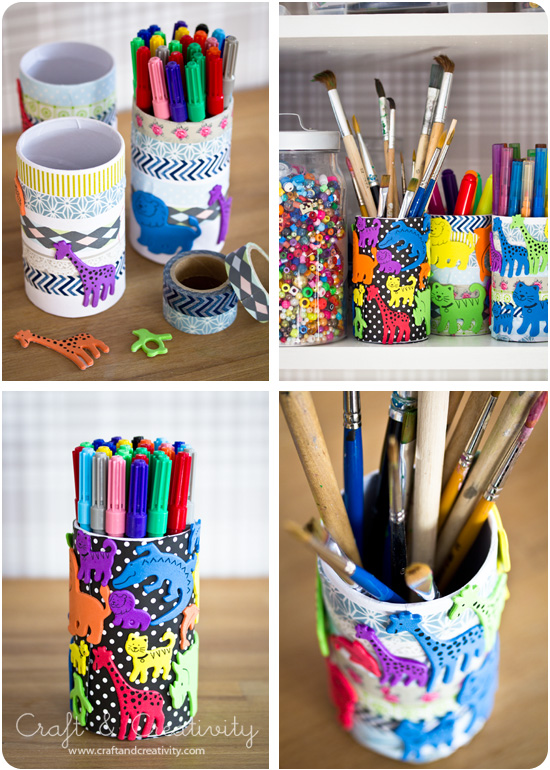
Med pennställ i papper, washitejp, prickiga papper och självhäftande djur av mossgummi har tjejerna skapat sina personliga pennburkar, helt efter eget huvud.
———-
With paper pen holders, a mix of washi tape, polka dotted paper and self-adhesive foam rubber animals, the girls created their own personal pen holders using just their imagination. 

Kid's pen holders - by Craft & Creativity

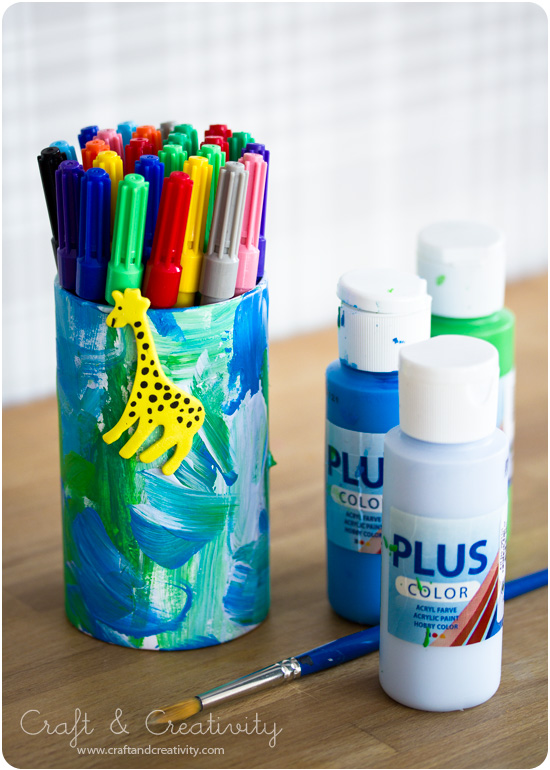
Här har Ellen 4 år målat sin pennburk i olika nyanser av blått och grönt och satt på en liten giraff. Jag tycker att den ser ut som om den är ute i djungeln och äter blad. 😉
———-
Here 4-year-old Ellen has painted her pencil holder in various shades of blue and green, and decorated it with a foam rubber giraffe. I think it looks like he’s out in the jungle eating leaves. 😉

Dekorerade pennburkar –
Decorated pen holders

Decorated pen holder - by Craft & Creativity

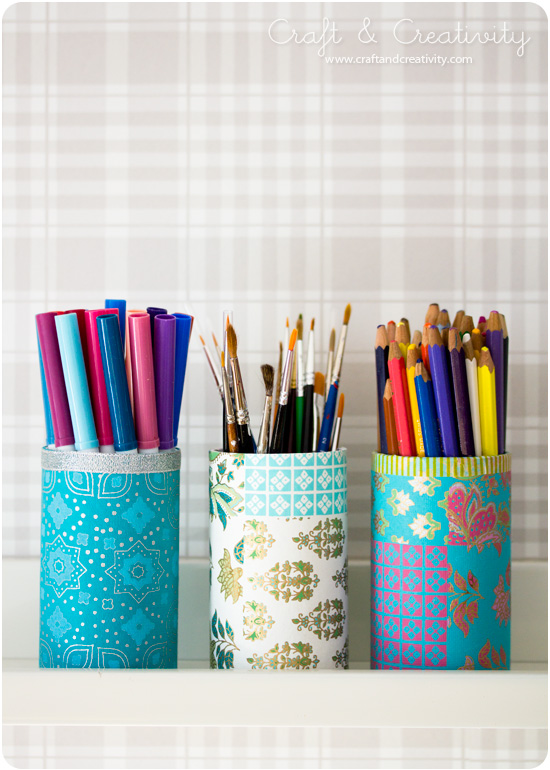
Jag vet inte hur det är hemma hos er men vi har alltid brist på pennburkar. De burkar som finns är överfulla med tuschpennor, blyertspennor, saxar, linjaler, penslar och annat småplock. När jag städade barnens pysselhyllor blev jag inspirerad att fixa till ny pennförvaring.

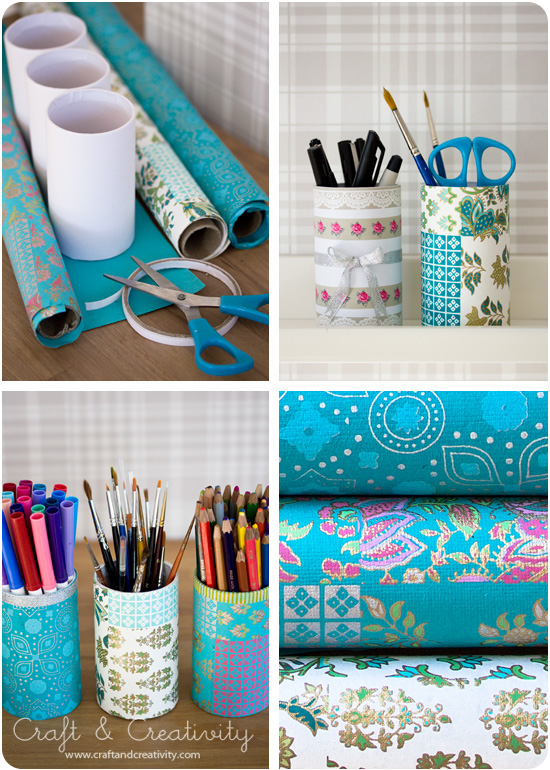
Jag använde pennställ i papp och dekorerade dem med ett mönstrat handgjort papper i turkosa nyanser som jag tycker är fint. Man kan också använda gamla konservburkar och täcka dem med fina papper. En av mina burkar pimpade jag med papperstejp och ett silvrigt band.
—————-

I don’t know about you, but in our house we always have a shortage of pen holders. The ones we have are overfull with felt pens, pencils, scissors, brushes and other little things. When organizing the kids’ craft shelves, I got inspired to create some additional pen storage.

I used cardboard pen holders (you could also use old tin cans) and decorated them with a turquoise patterned handmade paper that I really like. I pimped one of the pen holders with washi tape and a silver ribbon.

Decorated pen holder - by Craft & Creativity

För att fästa papperet på burken använde jag dubbelhäftande tejp. Ett annat alternativ kan vara att använda limstift eller papperslim. Nu är det ordning och reda på våra pennor & penslar!
———-
In order to attach the paper to the paper can, I used adhesive tape. Another way could be to use glue stick or paper adhesive. Voilà! Now all our pens, pencils and brushes are in order! 

Hushyllor på fler sätt –
House shelves in more ways

House shelves - by Craft & Creativity

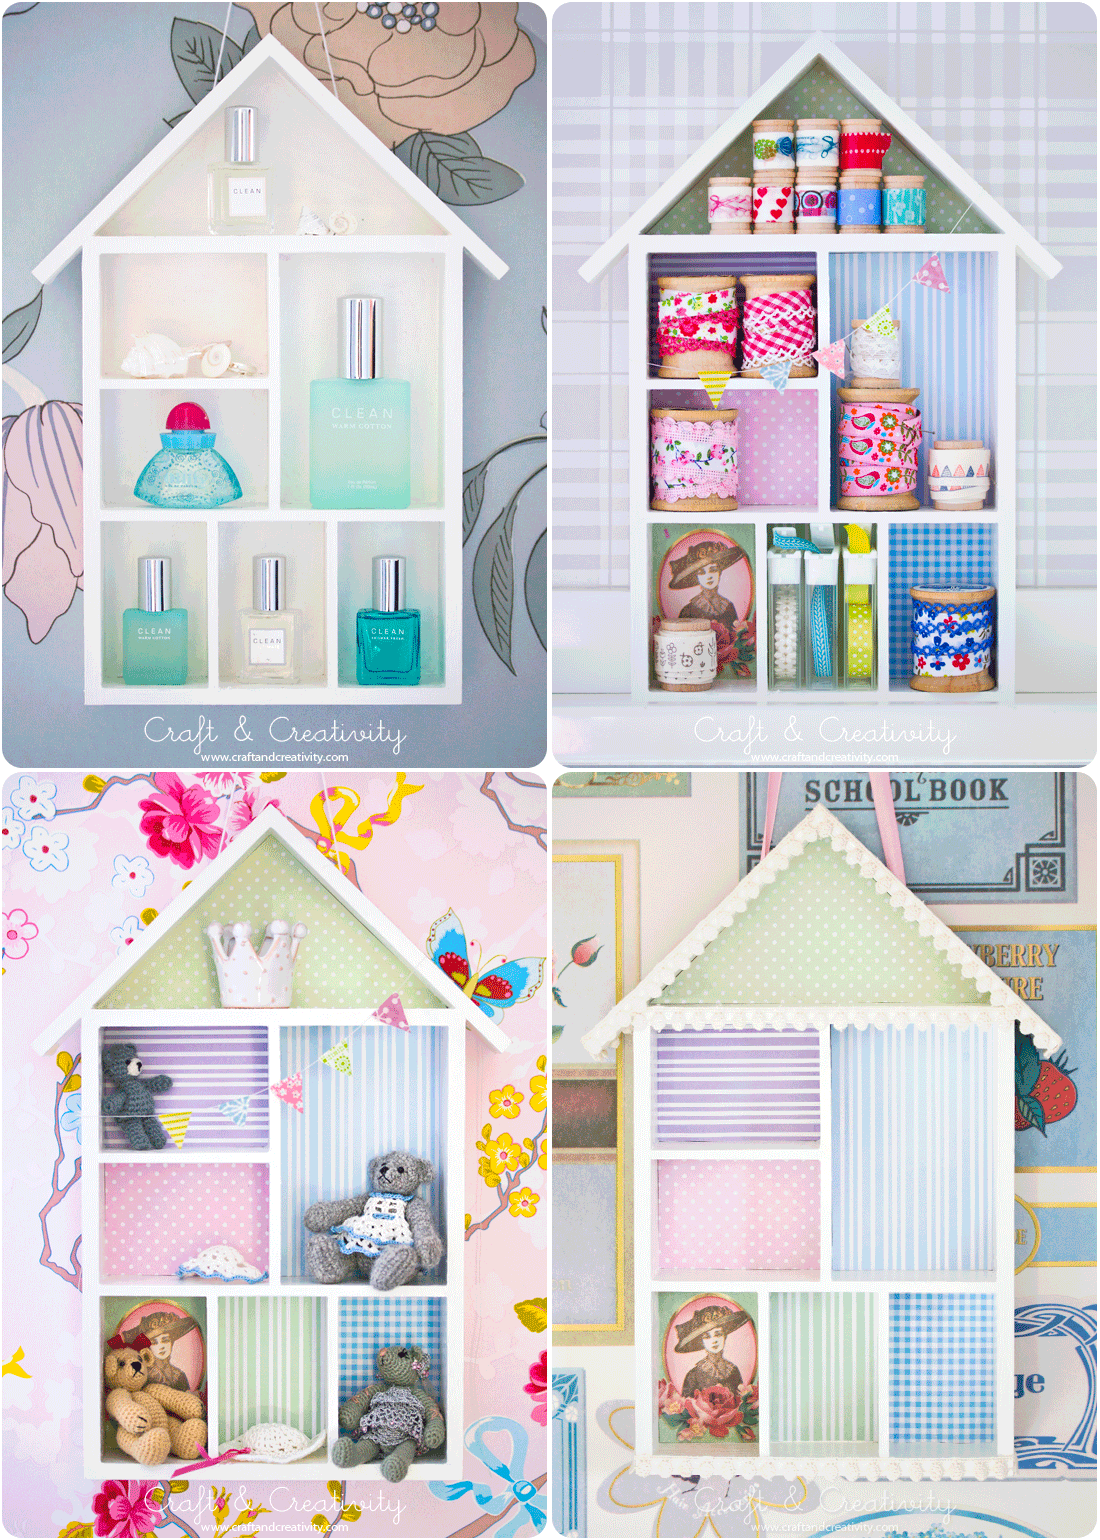
Jag har visat dessa små söta hushyllor tidigare och då använt dem som förvaring för gamla nycklar och för nagellacksflaskor. Här kommer ytterligare ett par sätt att dekorera prylhyllor och olika användningsområden för dem.
————
I’ve blogged about these cute little shelves before. I then used them as a Key cabinet and a Nail polish shelf. Now I’m going to show you some additional ways to decorate small shelves and different ways to use them.

House shelves - by Craft & Creativity

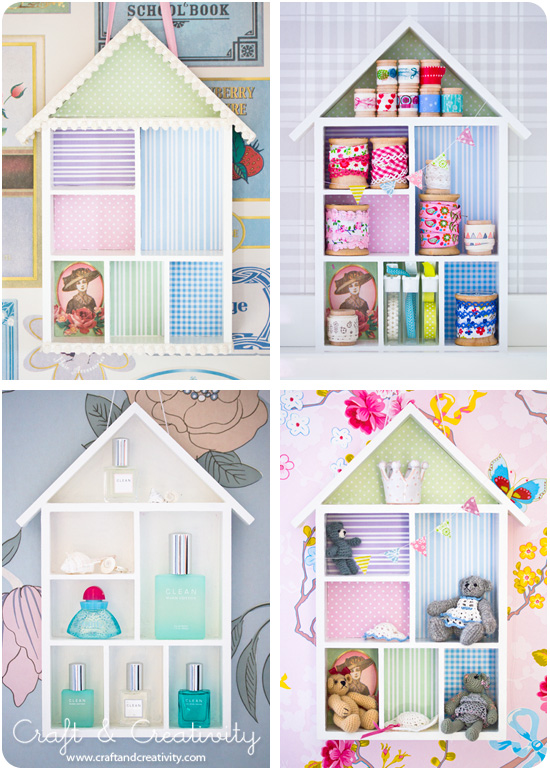
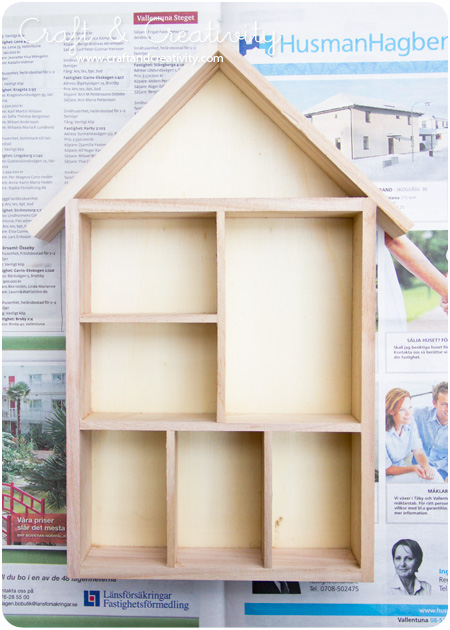
Hyllan är ursprungligen träfärgad men har målats vit med vanlig hobbyfärg. Jag dekorerade en hylla med en blandning av designpapper och små tapetprover. Längst ner till höger ser ni barnens nallar som min duktiga mamma virkat.
————–
This particular shelf is comes unpainted and I painted it with regular white hobby paint. I decorated the back of one of the house shelves with a mix of paper scraps and wallpaper samples. At the bottom right you can se my girls’ tiny teddy bears, crocheted by my talented mum

House shelves - by Craft & Creativity  House shelves - by Craft & Creativity

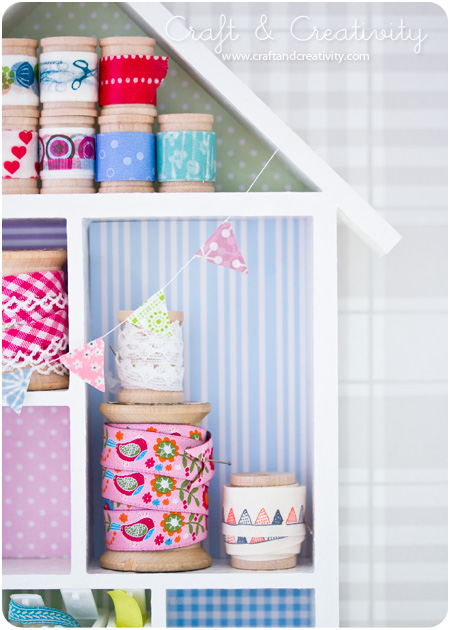
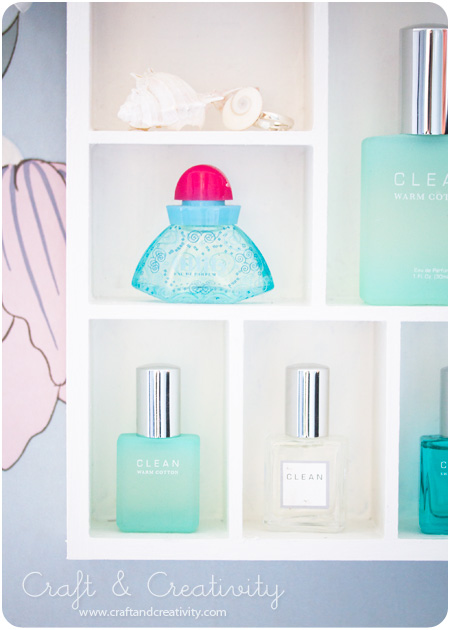
Hyllan till vänster är fylld med fina band på trådrullar och har fått en girland med vimplar av washitejp. Jag girlanden på samma sätt som till dotterns upplysta fågelholk. Till höger används hyllan till små flaskor med parfymprover.
———
The shelf to the left is filled with pretty ribbons on spools and decorated with a pennant garland made of washi tape. I made the garland the same way I made the one for my daughter’s birdhouse lamp. The shelf to the right is used to store small bottles of perfume samples. 

Se även: / See also: 
Key Cabinet - by Craft & Creativity  Nail polish shelf - by Craft & Creativity  Birdhouse lamp - by Craft & Creativity

Hylla för nagellack – Nail polish shelf

Nail polish shelf (decorated with washi tape) - by Craft & Creativity

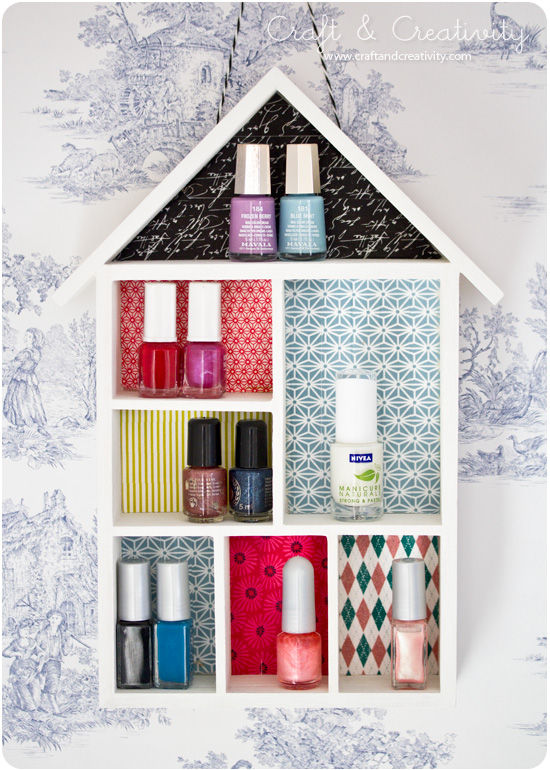
Ett roligt sätt att använda prylhyllor är som förvaring för nagellack. Nagellacksflaskor är ofta dekorativa så varför gömma undan dem? Jag vet att åsikterna går isär, huruvida man ska förvara dem i kylskåp eller ej. Jag har för min del aldrig märkt någon skillnad.
——-
A fun way to use small shelves like these is to use them for nail polish storage. Nail polish bottles are often decorative so why not display them? I’m aware that opinions differ, whether to store them in the fridge or not. However, I never noticed any difference.

Nail polish shelf (decorated with washi tape) - by Craft & Creativity  Nail polish shelf (decorated with washi tape) - by Craft & Creativity

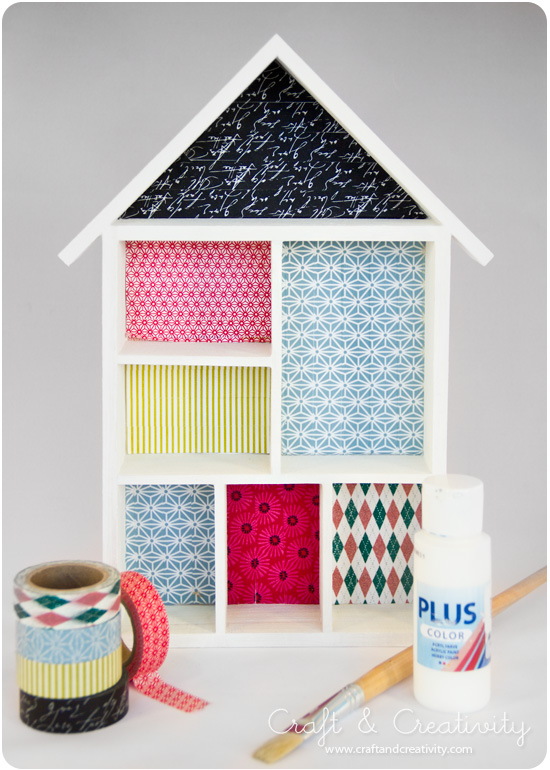
Den här hyllan är målad vit och dekorerad med washitejp. Man kan även använda bitar av tapetprover, mönstrat papper, decoupagepapper eller fina servetter. /
This shelf is painted white and decorated with washi tape. You could also use pieces of wallpaper samples, scraps of patterned paper, decoupage paper or pretty paper napkins.

Nail polish shelf (decorated with washi tape) - by Craft & Creativity  Nail polish shelf (decorated with washi tape) - by Craft & Creativity

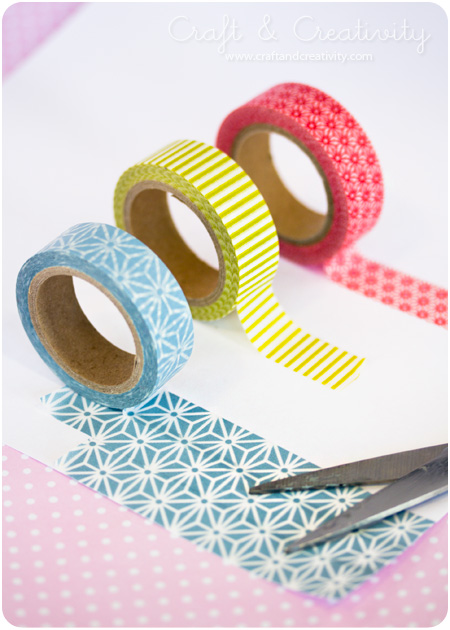
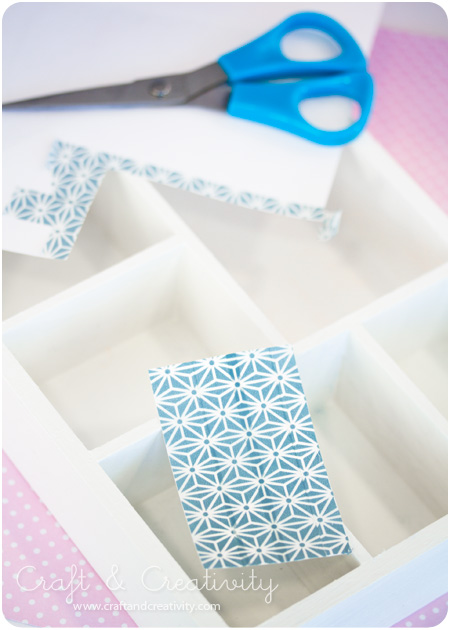
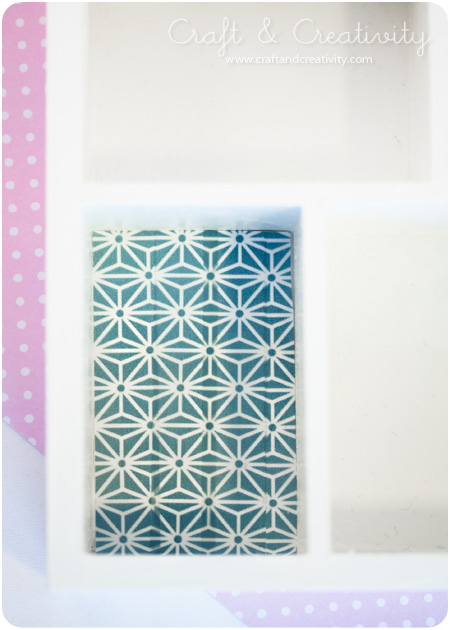
Fäst tejpen på en bit papper som du klipper till i rätt storlek. Mönsterpassa tejpen för snyggast resultat. Limma sedan fast papperet i de olika facken. Det är enklare än att tejpa direkt på hyllan. Lacka ytan om du vill. /
Add the washi tape to a piece of paper and cut the paper to fit the box. Align the tape pattern for best result. Then glue the paper to the back of each box. It’s much easier than to tape directly on the shelf. If you like you can seal the surface with laquer. 

Nail polish shelf (decorated with washi tape) - by Craft & Creativity

Voilà! Hyllan är klar. Missade du när vi gjorde nyckelskåp av hushyllor, så kan du klicka här. / Voila! You’re done. If you missed out on our house shaped key cabinet, please click here

Washitejpmagneter –
Washi tape magnets

Washi tape magnets - by Craft & Creativity

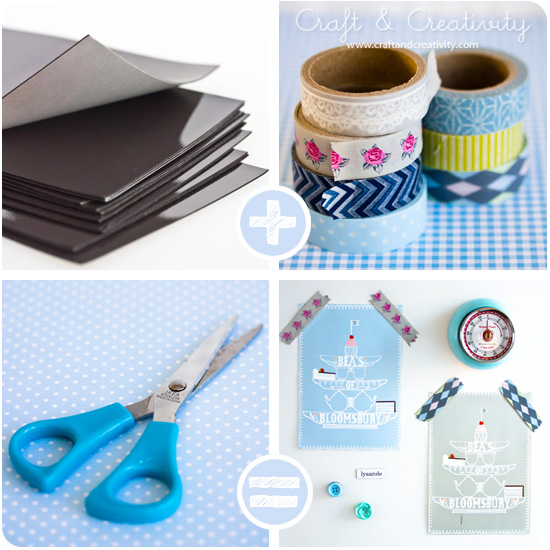
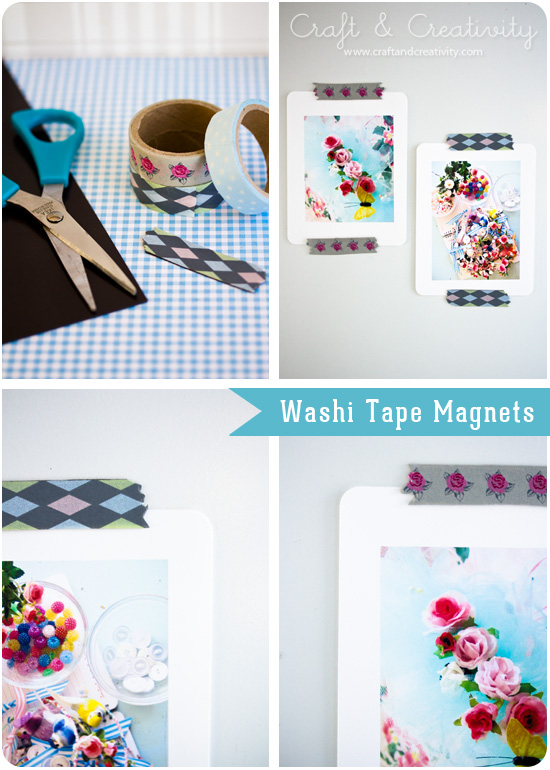
Du behöver: Magnetark, washitejp/papperstejp och en sax.
Gör så här: Avlägsna det vita skyddspapperet från magnetarket och tejpa på den självhäftande undersidan. Följ tejpens konturer och klipp runt.
———-
You will need: Adhesive magnetic sheets, washi tape / paper tape and scissors.
Do like this: Peel the paper backing off the magnetic sheets, and add your washi tape on the sticky side of the sheet. Cut around, while tracing the contours of the tape.

Washi tape magnets - by Craft & Creativity

Om du vill att magneterna verkligen ska se ut som tejp kan du klippa kanterna lite ojämnt, för att efterlikna avriven tejp. Det här är nog bland de snabbaste pysslen jag gjort och nu ser vårt kylskåp mycket roligare ut!
———-
If you like your magnets to look more like tape, you can trim the edges unevenly, to imitate torn tape. This is probably one of the quickest craft I’ve made, and our fridge now looks a lot prettier! 

Washi tape magnets - by Craft & Creativity  Washi tape magnets - by Craft & Creativity

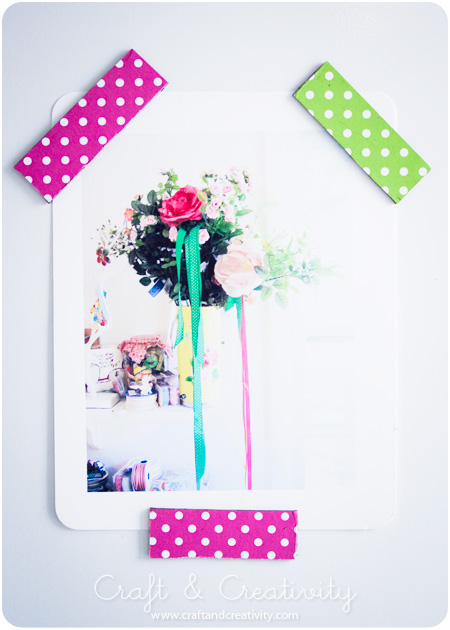
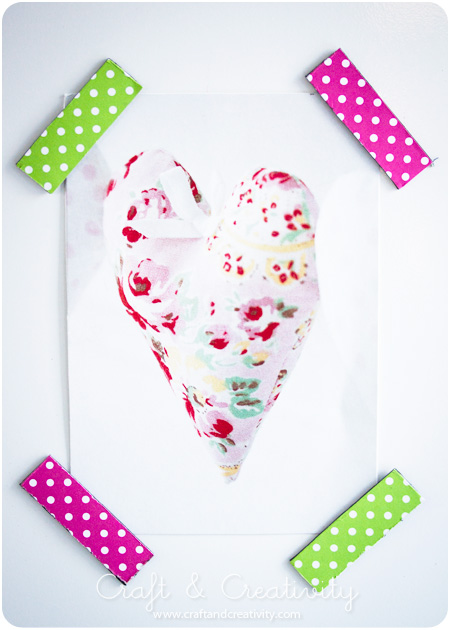
Eftersom magnetarken har en självhäftande undersida kan kan även använda vanligt papper och då är variationsmöjligheterna oändliga. Här har jag använt prickigt Color bar papper (100 g) i rosa och grönt. Vykorten ovan kommer från Bea’s of Bloomsbury, Nest Pretty Things och Ryland Peters.
———-
Since the magnetic sheets are adhesive you can also use plain paper. The possibilities are endless. Here I’ve used polka dotted color bar paper, in pink and green. The postcards above comes from Bea’s of Bloomsbury, Nest Pretty Things and Ryland Peters.

Adventsstjärnor i ny skrud –
Advent star makeover

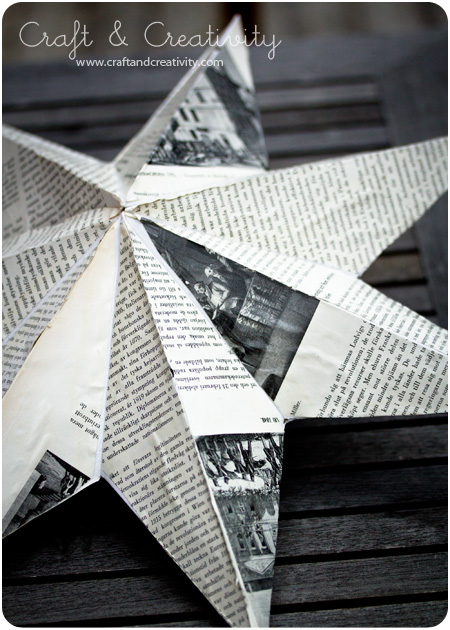
Förra fredagen fick vi fint besök av Karin och hennes dotter Freja från Pysselbolaget. Vi pysslade och bollade idéer tillsammans en hel eftermiddag och kreativiteten sprutade, både bland vuxna & barn. Så roligt! Dessa omgjorda adventsstjärnor är ett av många resultat av denna dag. Idén var att pynta färdiga adventsstjärnor på olika sätt. Antingen köper man nya eller så gör man om gamla som man har hemma.
—–
Last Friday we got a nice visit from Karin and her daughter Freja from Pysselbolaget. We crafted together and exchanged ideas an entire afternoon. There was a flow of creativity in the air, both among us adults and the children. We had so much fun! These pimped Advent stars are one of many result of this day. The idea was to decorate pre-made Advent stars in different ways. You could either buy new ones or use old ones from your stash. 
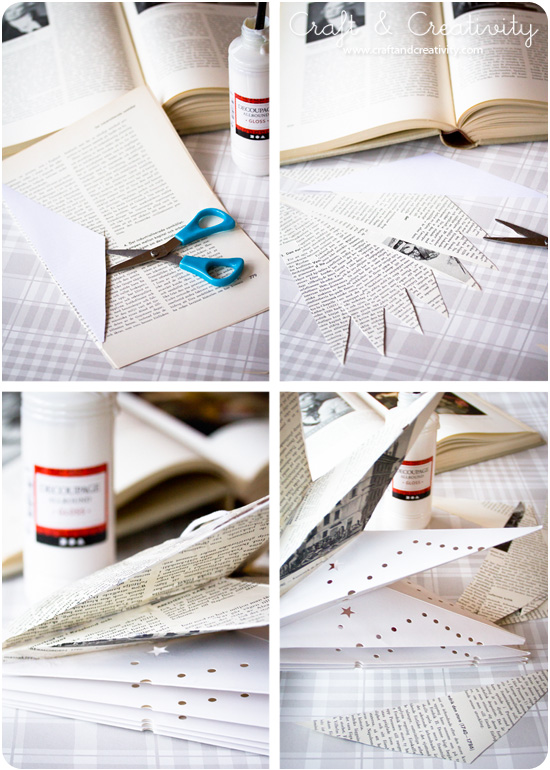
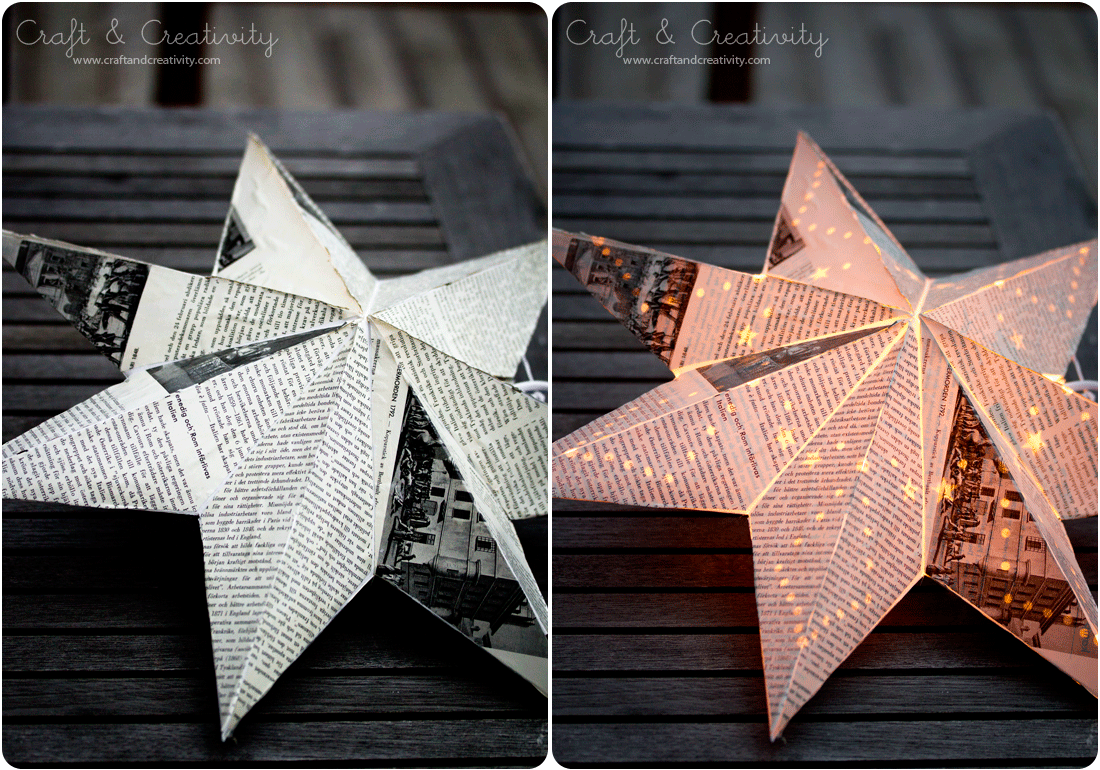
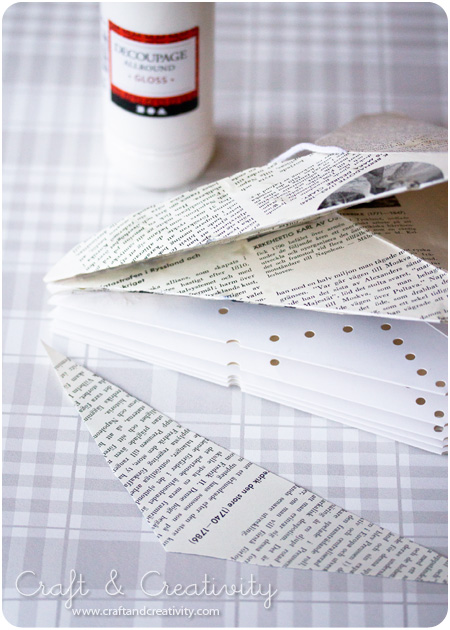
Jag valde att täckte en stjärna med boksidor från en gammal uppslagsbok och limmade och lackade med decoupagelack. Enklast är att börja med att klippa ut en trekantig mall som passar formen av stjärnans udd. Använd sedan mallen för att få rätt form på papperet. Se bilderna ovan. Pensla limmet på stjärnan, lägg papperet på plats och släta ut eventuella ojämnheter med fingrarna. Täck en udd i taget och vänd sedan på stjärnan och ta andra sidan. Blir kanterna ojämna kan du putsa dem med en sax. När stjärnan är helt täckt, lacka ytan med samma decaupagelack som du använde för att limma med. Jag använde blank lack men så här i efterhand hade jag hellre använt den matta varianten. Men det är ju en smaksak.
—–
I chose to cover one star with book pages from an old encyclopedia and used decoupage lacquer (i.e. Mod Podge) for glue and finish. I found that the easiest way is to start by cutting out a triangular template that fit the shape of the points of the star. Then use the template to get the correct shape when cutting the book pages. See the pictures for guidance. Brush decoupage laquer on the star, put the paper in place and smooth out any irregularities with your fingers. Cover one point at a time and then turn the star around and do the other side. If the edges get uneven, you can trim them with a pair of scissors. When the star is completely covered, paint the surface with the same decoupage laquer you used to glue with. I chose the glossy kind, but in retrospect, I would rather have used the matte one. But that’s just a matter of taste. 
   

A comment for you non-Swedish readers: In Sweden it’s very common to hang these Advent stars in the windows on the first Advent before Christmas. 
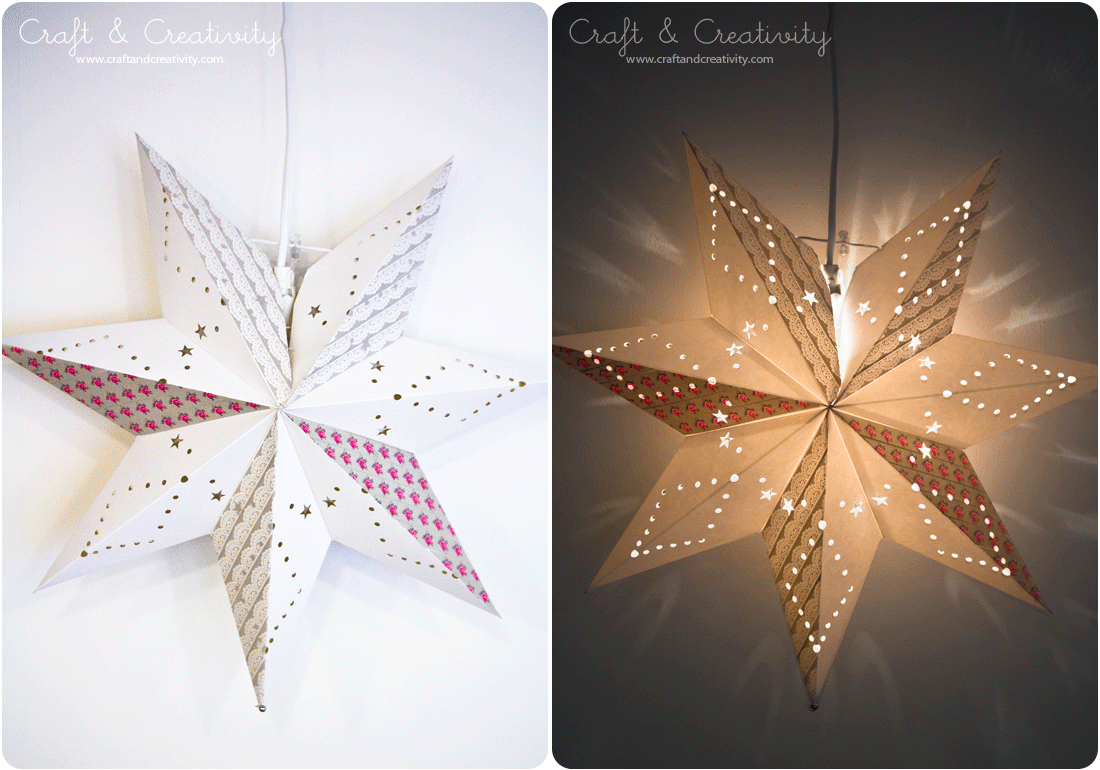
Blinka lilla stjärna. Vår andra stjärna tejpade vi med papperstejp, s k washitejp. Ganska effektfullt det också och mindre kladdigt att jobba med än lim/lack. /
Twinkle twinkle little star. We decorated our second star with paper tape, so called washi tape. Pretty effect-full, and less messy to work with compared to glue/laquer. 
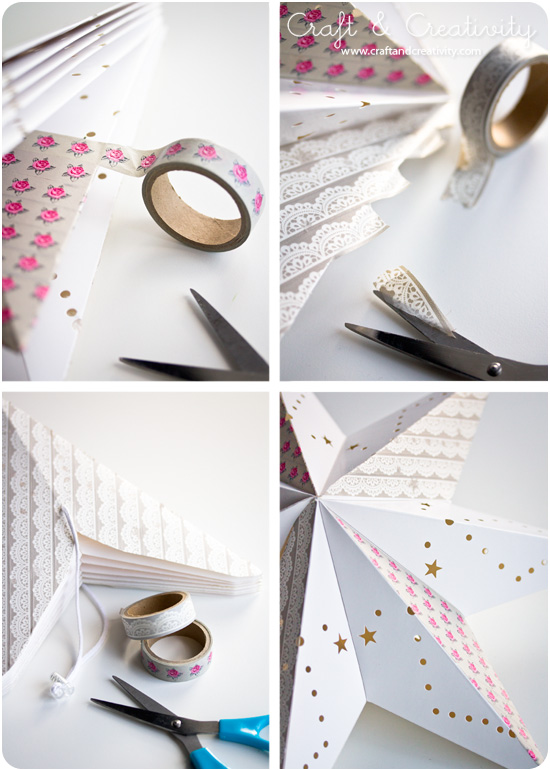
Tejpa hela eller delar av stjärnan. Trimma bort överflödig tejp med en sax och du är klar! Tips: Ta även en titt hos Pysselbolaget och se vad Karin & Freja gjorde med sina stjärnor!
——
Tape the whole or parts of the star. Trim off excess tape with scissors and you’re done! Tip: Take a look at Pysselbolaget and see what Karin & Freya made with their stars!

Washitejpad julgran –
Washi taped Christmas tree

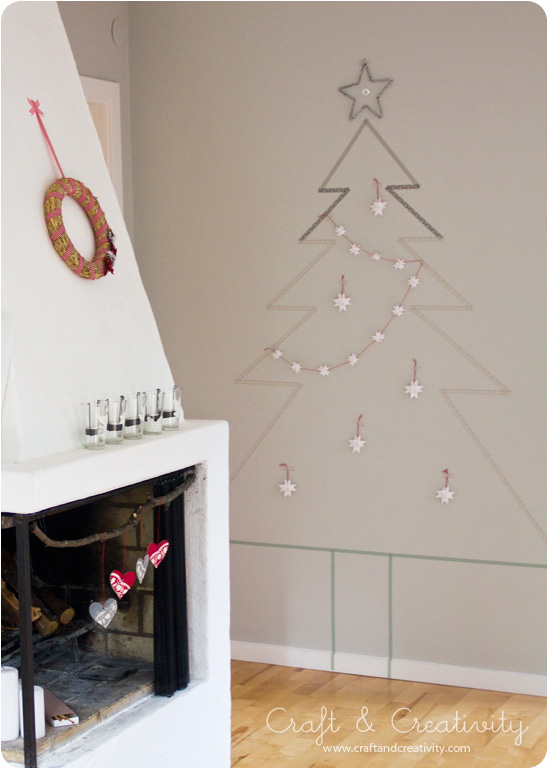
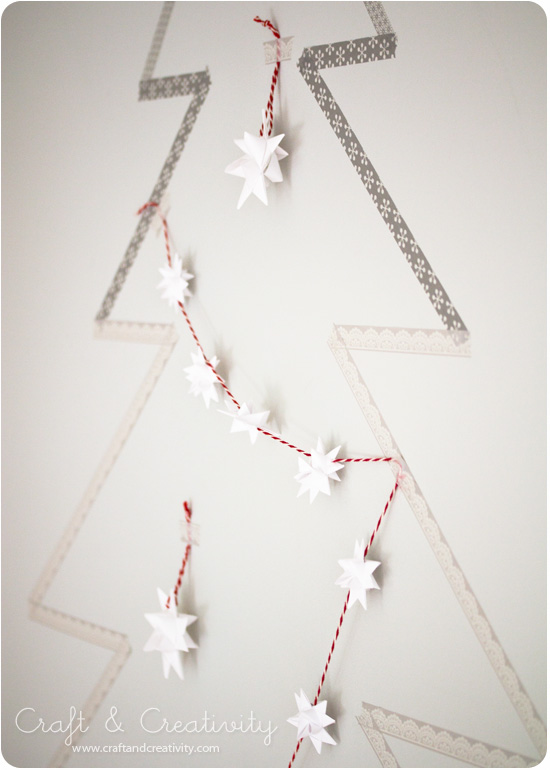
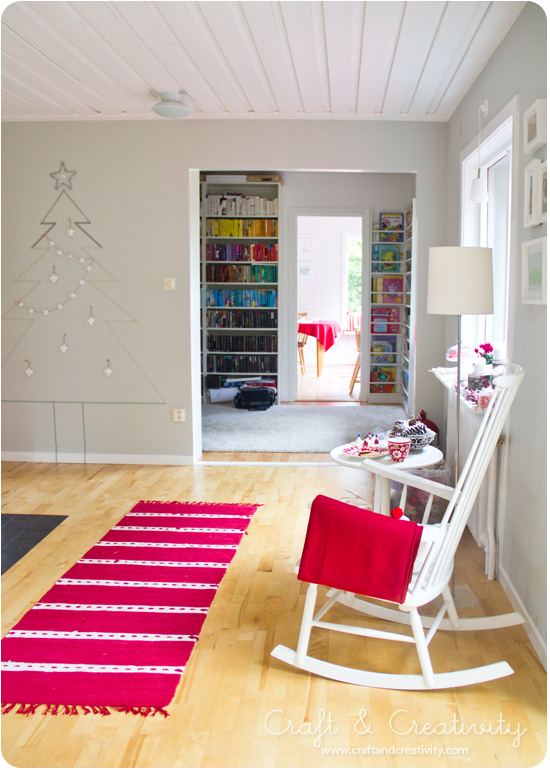
Har man inte plats för en julgran hemma eller helt enkelt vill slippa alla fallande barr så kan man tejpa upp en gran istället. Om inte annat för är det en kul grej. Washitejp (japansk papperstejp) är lätt att ta bort och lämnar inga märken. Svårast var att få granen någorlunda symmetrisk… måttstock är att rekommendera.

If you don’t have room for a real Christmas tree or if your tired of needle-drop, you can tape up a tree instead. if for no other reason, it looks kind of fun. Washi tape (japanese masking tape) is easy to remove doesn’t leave marks. The most difficult thing was to get the tree somewhat symmetrical … I recommend a yardstick.

Jag pyntade min gran med de pappersstjärnor som jag vek ihop förra julen. /
I decorated my tree with those paper stars I folded last Christmas.

Vy från vårt vardagsrum, genom biblioteket och in i köket. /
The view from our living room, through the library and into the kitchen.

Washitejpade askar –
Boxes decorated with washi tape

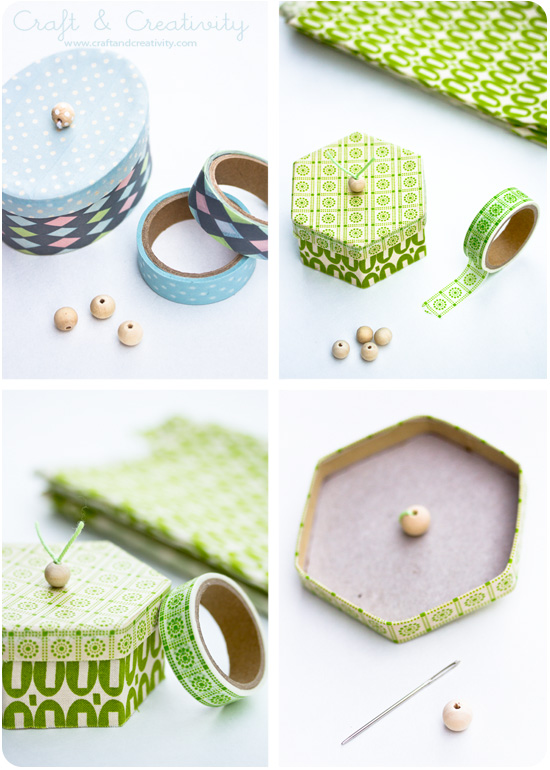
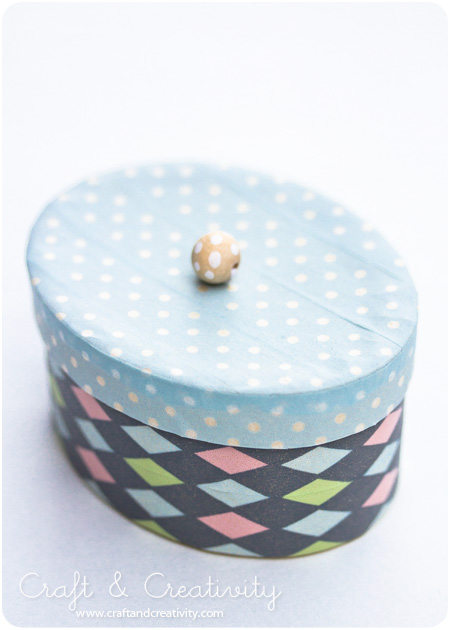
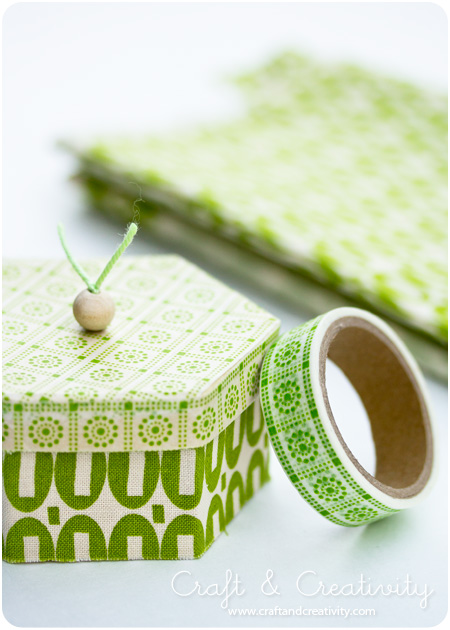
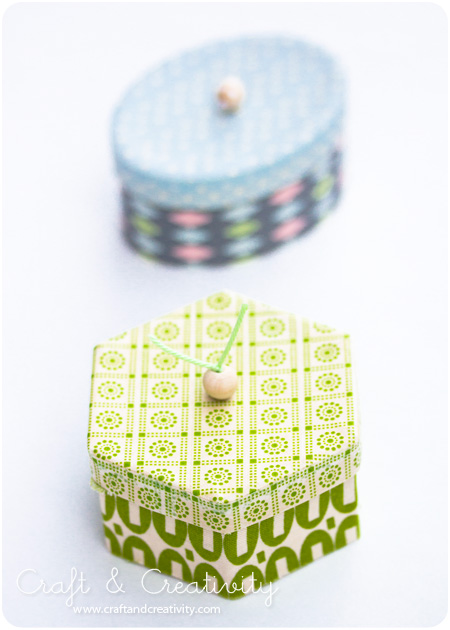
Jag spinner vidare på det här med att göra presentaskar. Snart har jag ett helt lager här hemma för framtida kalas. 🙂 Den här gången har jag täckt mina pappersaskar med mönstrad papperstejp och tyg. Det gick på ett kick och jag gillar resultatet. Mina presentaskar fick små knoppar på locket, inspirerad av Rie Elise Larsens fina boxar.
—-
I keep on making gift boxes. Soon I’m fully stocked for upcoming birthday parties. 🙂 This time I covered my paper boxes with washi tape and fabric. The boxes were quick to make and I like the result. I put small knobs on the lids of my boxes, inspired by Rie Elise Larsen’s beautiful boxes. 

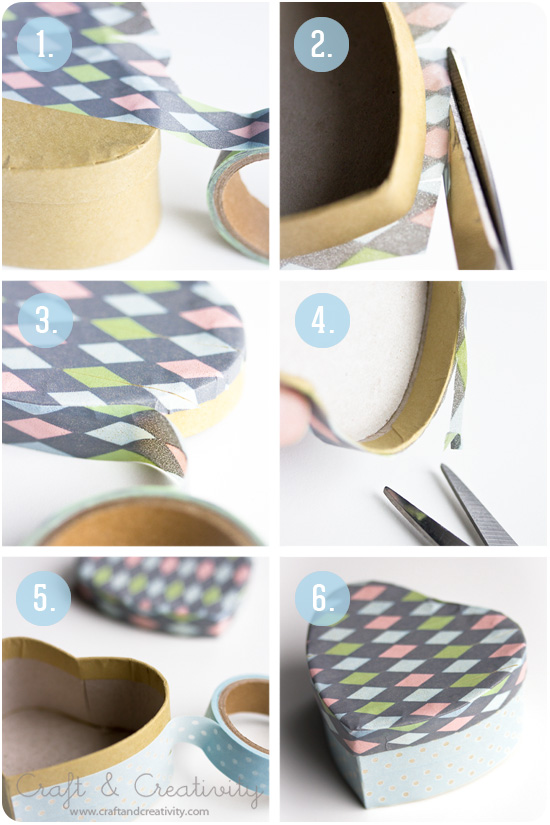
Gör så här: 
1. Täck ovansidan av locket med önskad tejp. Mönsterpassa så gott det går.
2. Klipp rent men lämna ett par mm runt kanten som du viker över på lockets sidor.
3. Täck sidorna med tejp, runt om hela locket.
4. Klipp rent.
5. Täck askens sidor på samma sätt.
6. Du är klar! Lacka asken med decoupagelack, om så önskas.
—-
Do like this:
1. Start by covering the lid with the tape of your choice. Pattern match for best result.  
2. Trim the tape but leave a little bit around the lid and fold over the edge. 
3. Cover the sides, all around the lid. 
4. Trim.
5. Cover the sides of the box in the same way as with the lid. 

6. You’re done! If you like you can top off with some decoupage laquer.


För att göra en liten knopp behöver du en bit garn, en stoppnål och två små träpärlor. Stick nålen genom locket och fäst en pärla på ovansidan av locket och en på undersidan. På så sätt säkrar du att det går att dra i knoppen utan att den lossnar.
——-
To make a small knob, you will need a piece of yarn, a darning needle and two small wooden beads. Push the needle through the lid and attach one bead on top of the lid and one on the bottom. This will ensure that the knob won’t detach when you pull it.


Den gröna asken är täckt med bit tyg. Också ett enkelt och fint sätt att piffa upp tråkiga askar. Jag limmade fast tyget med papperslim. /
The green box is covered with a piece of fabric. Also a simple and nice way to embellish dull paper boxes. I glued the fabric in place with paper glue.

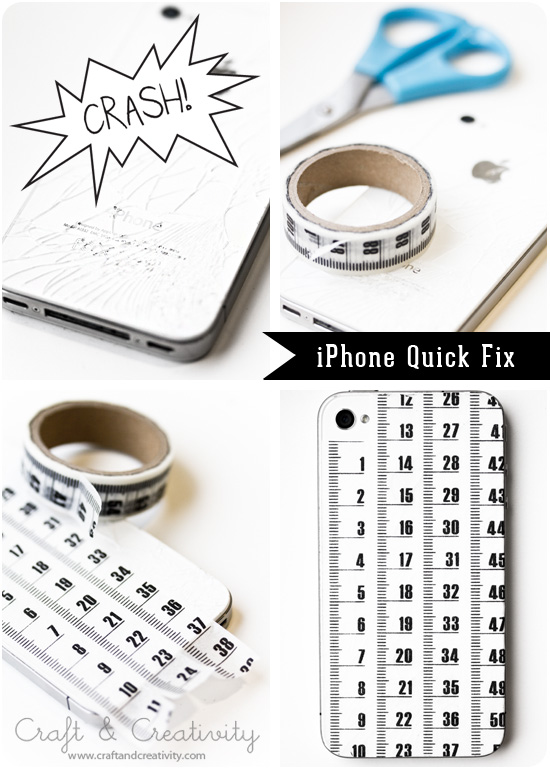
iPhone snabbfix – iPhone Quick Fix

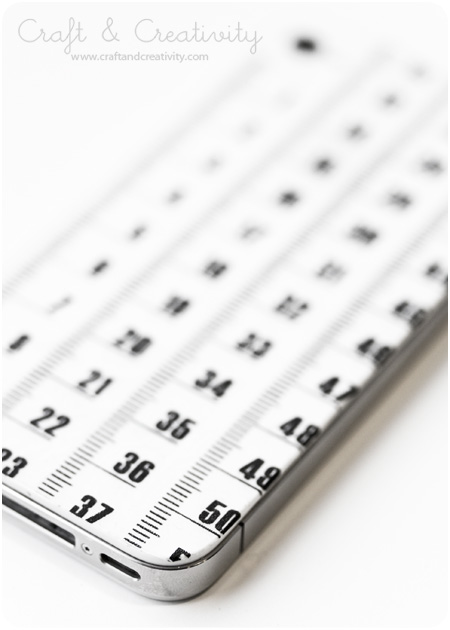
Jag vet, jag är klantig. Säg inget. 😉 Men om man, som jag, tappar sin mobil i asfalten och glaset på baksidan krossas så finns det en snabb & billig lösning, som dessutom ser lite kul ut. Tejpa baksidan med washitejp (mönstrad papperstejp), klipp bort överflödet och du kan använda telefonen ett tag till. Självklart kan du tejpa din telefon även om den inte är trasig, som ett billigt alternativ till mönstrade mobilskal.
—-
I know, I’m clumsy. Don’t say anything. 😉 But if you, like me, dropped your iPhone on the ground and happened to crush the back glass, there is a quick and inexpensive fix to this. Which also looks kind of fun. Tape the back of the phone with washi tape (japanese masking tape), cut away the access and you can use your phone for a while longer. Needless to say you can tape your phone even if it’s not broken, as an inexpensive alternative to a patterned mobile cover. 

Tejpen håller sig snygg några veckor, sedan kan man enkelt byta ut tejpen. Om man nu inte, vid det laget, lagat telefonen eller kanske t o m köpt en ny. 🙂
The tape will keep fresh for a few weeks, then you can easily replace the tape. That is, if you haven’t, by then, repaired your phone or perhaps even bought a new one. 🙂

Gör dina egna kalaspåsar –
DIY Party bags

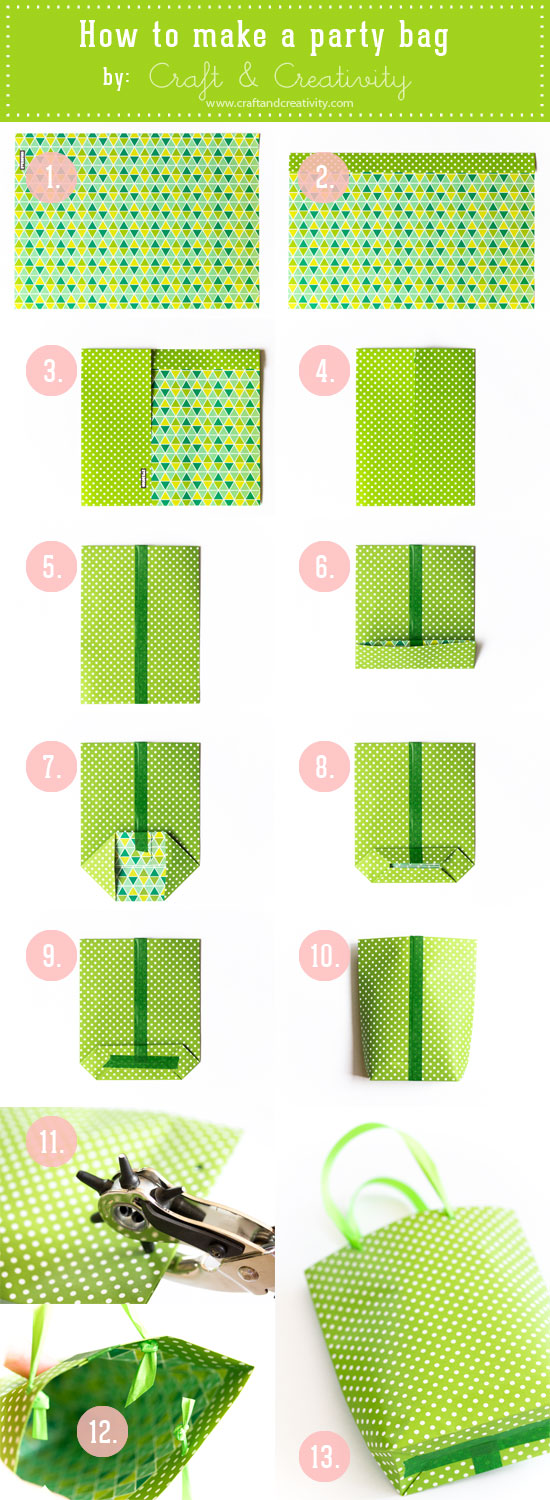
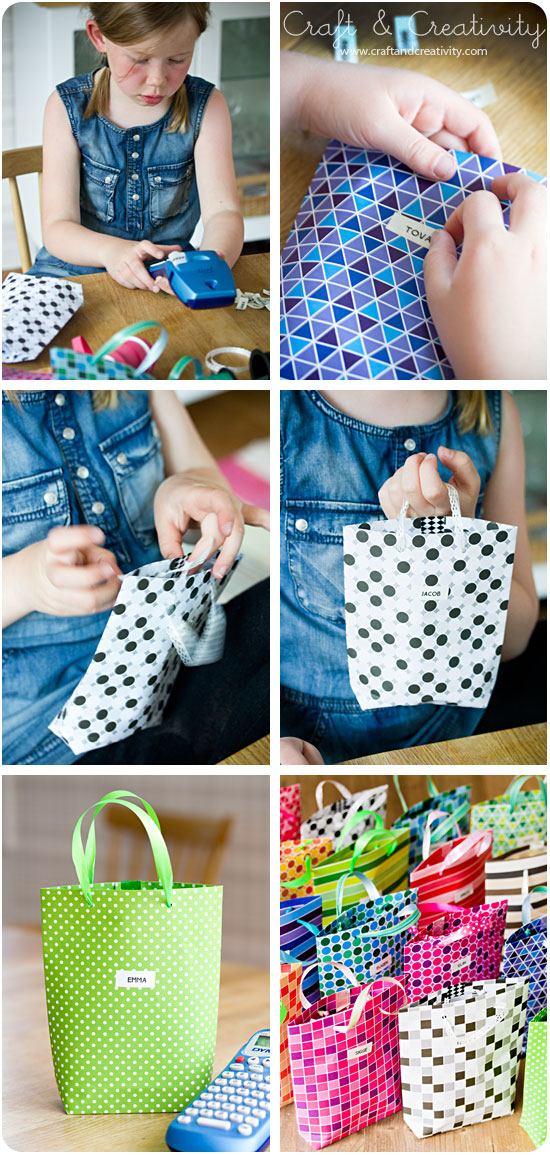
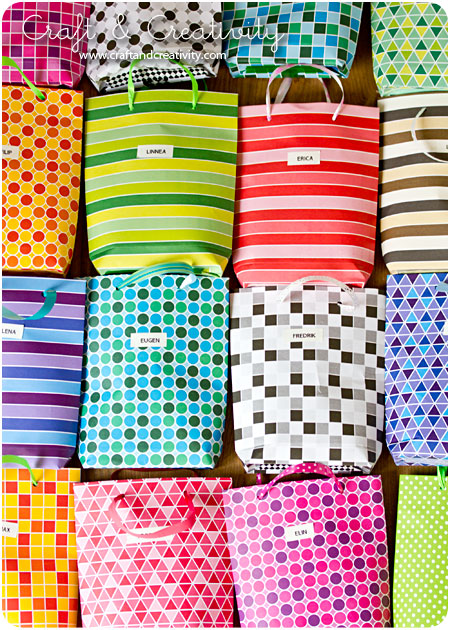
Till lördagens kalas har jag och dottern gjort egna kalaspåsar till barnen som kommer. Vi dissekerade en köpt kalaspåse för att se hur den var gjord och sedan gjorde vi vår egen variant. Inte alls svårt. Ta ett A4-papper och vik enligt instruktionerna ovan. Vi tejpade ihop våra med washitejp och när de var klara gjorde vi hål högst upp och trädde i presentsnören som handtag.
——-
Me and my daughter made our own party bags for the kids who are coming to Saturday’s party. We dissected a pre-made party bag to see how it was made, and then we made our own version. Not difficult at all. Take a sheet of paper (A4 size) and fold it according to the instructions above. We used washi tape to tape them together and when they were finished, we made holes at the top and used gift ribbons for handles. 

Vi använde vår Dymo markapparat för att märka påsarna med barnens namn. /
We used our Dymo label machine to mark the bags with the children’s names.