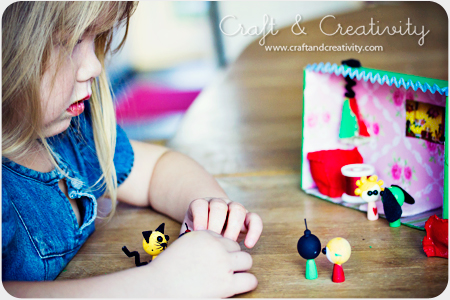
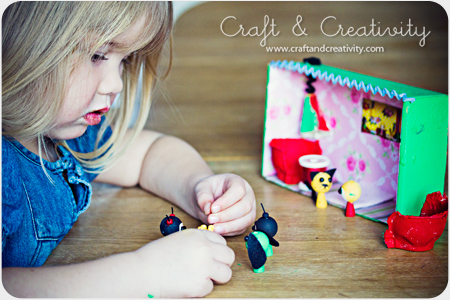
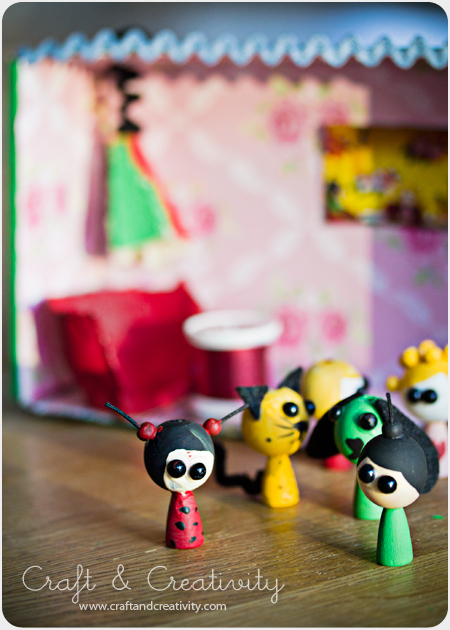
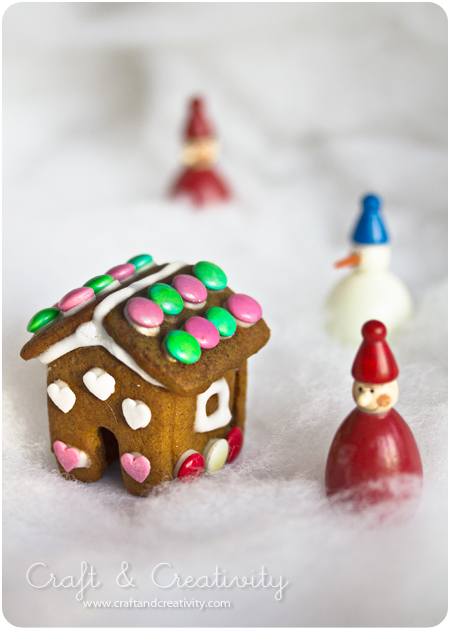
Vi hade finbesök av en god vän igår och tjejerna fick tidiga julklappar, var sin pysselsats. Som de ivriga pysslare som de är (undrar var de fått de ifrån?) satte de genast igång. Eftersom lillasyster E inte hade något dagis idag hann vi färdigställa hennes figurer och tillhörande hus. Lyckan var gjord!
——-
We had the pleasure of having a good friend over for dinner yesterday and the girls received early Christmas gifts, craft kits. Happy crafters as they are (wonder where the got that from?) they got started immediately. Since little sister E didn’t have any daycare today, we were able to complete her figures and their house. She’s one happy girl!
Monthly Archives: December 2011
Dagens pyssel, pappersgran –
Craft of the Day, paper Christmas tree
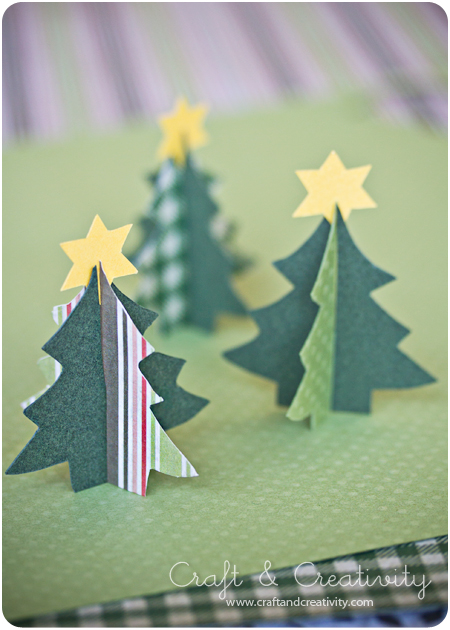
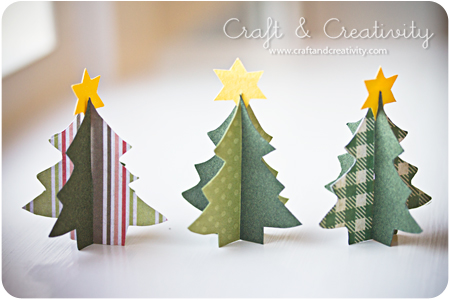
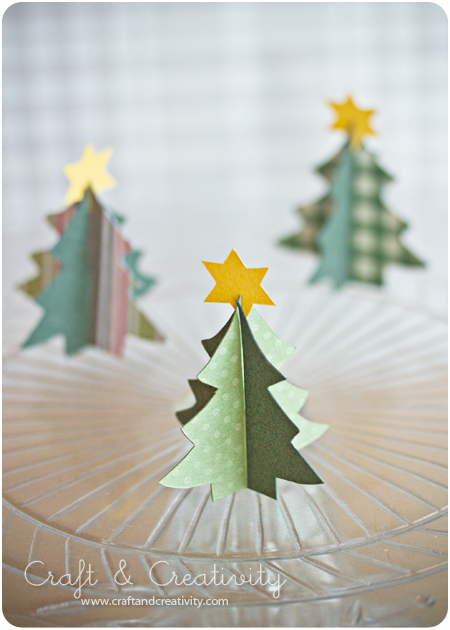
Dessa pappergranar gjorde jag med hjälp av pepparkaksmått. Ett perfekt pyssel att göra tillsammans med barn. En idé är att skriva namn på stjärnorna och använda granarna som placeringskort vid julmiddagen. /
I made these paper trees using cookie cutters. A perfect craft to make together with kids. You could also write names on the stars and use the trees as place cards for your Christmas dinner.
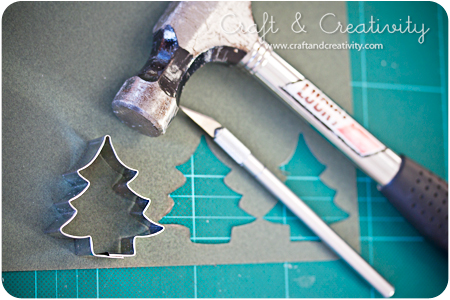
Jag använde mig av min skärmatta, placerade pepparkaksformen ovanpå papperet bankade lite med en hammare för att markera formen. Sedan var det enkelt att skära ut. Det går förstås lika bra att rita med en penna runt och sedan klippa ut. Kanske mer praktiskt om det är barn som hjälper till. Man behöver två granar, gärna i olika mönstrade papper. /
I used my cutting mat, placed the cookie cutter on top of the paper and pounded a bit with a hammer to mark the shape of the tree. After that, it was really easy to cut. If you want, you can trace the outlines of the tree with a pen instead and then cut with scissors. Perhaps that’s a better alternative if your doing this together with a child. You need two tree shapes, preferable in different patterned paper.
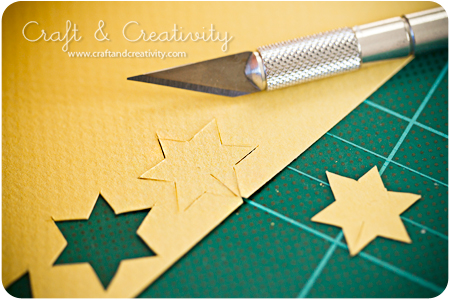
Klipp eller skär ut en liten stjärna i gult eller vitt papper och skär en liten skåra i ena stjärnspetsen. / Cut out a small star in yellow or white paper and make a score in one of the points.
Klipp eller skär till en skåra i båda granarna, den ena uppifrån och den ena nerifrån – som på bilden ovan. / Cut a score in both the trees, one from above and one fro below, as shown in the picture above.
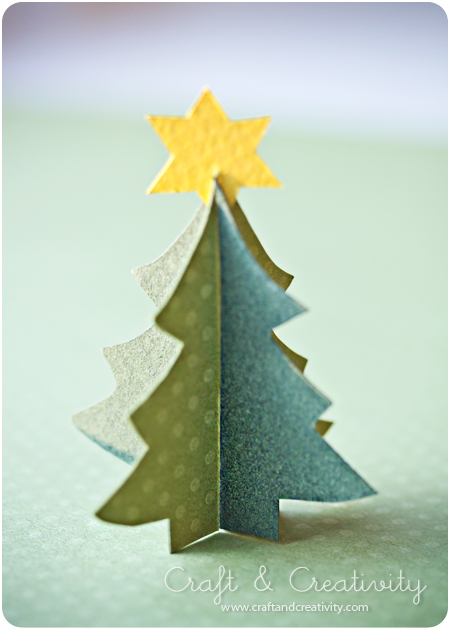
Trä granarna i varandra och placera stjärnan i topp. /
Slip the trees together and place the star on top.
Idé för julpynt –
Christmas decoration display
Sött innehåll – Sweet content
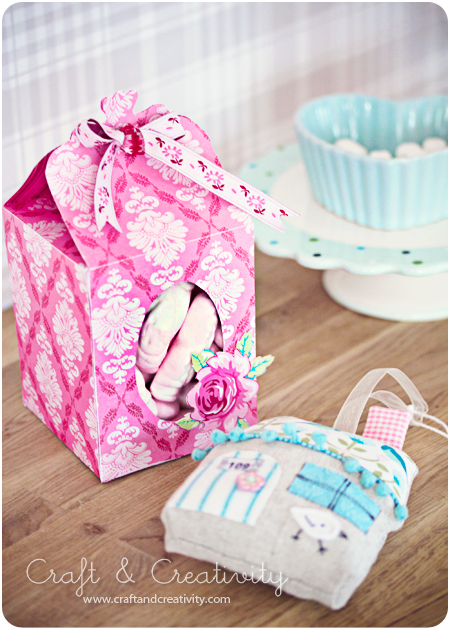
Apropå presentasken jag pysslade ihop härom dagen så fick jag flera förslag på vad jag skulle fylla den med. Bland annat Hanna som tipsade om julgodis och Finurliga fröken som kläckte idén med skumtomtar. Självklart! Varför tänkte jag inte på det? Tack för tipsen tjejer. 🙂
Asken får följa med tyghuset till sina nya ägare, goda vännerna A & N. Huset sydde jag med hjälp av mönster från Retro Mama, jag har bloggat om det här.
——–
About that gift box I made the other day, I got several suggestions on what to fill it with. For example Hanna who suggested Christmas candy and Finurliga fröken who suggested JuleSkum (kind of like marshmallow shaped Santas). It’s perfect! Why didn’t I think of that? Thanks for the tips girls. 🙂
The box will accompany the fabric house to their new owners, our good friends A & N. I made the house using a template from Retro Mama, as blogged about here.
Dagens pyssel, julgodis –
Craft of the Day, Christmas sweets
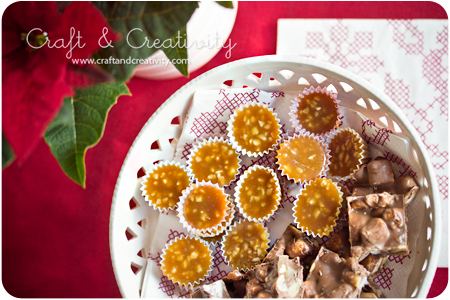
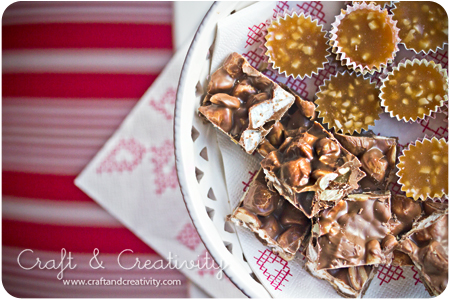
Igår fick jag ett ryck och gjorde julgodis tillsammans med barnen. Mina tjejer, 7 och 4 år, hjälpte till med att bryta choklad, placera ut knäckformar på en bricka, röra i smeten, dela Dumlekola och annat smått och gott. Fast det viktigaste av allt var förstås att slicka ur skålarna. 🙂
——
Yesterday the kids and I got a whim to make some Christmas sweets. My girls, 7 and 4 years, helped with breaking the chocolate, placing the baking liners on a tray, cutting the toffee into pieces, and so on. But most importantly, they helped to lick the bowls. 😉
Vi var inte så äventyrliga i år utan nöjde oss med klassikerna knäck och Rocky Road. Knäcken gjorde vi efter recept från Tasteline. Rocky Road kan man blanda lite som man vill, det blir alltid gott. Vi använde 400 g Marabou mjölkchoklad, 1 påse Dumlekola, 100 g mini-marshmallows och 2 dl salta jordnötter. Smält chokladen, bland alla ingredienserna, bred ut smeten på bakplåtspapper och kyl tills den stelnar. Skär upp i fyrkanter. Mums!
——-
We didn’t feel so adventurous this year, so we settled for making the classics: Christmas toffee with chopped almonds (“Knäck” in Swedish) and Rocky Road. We made the toffee with a recipe from Tasteline, you can find an English recipe here. With Rocky Road bars you can improvise a bit with the ingredients, it always tastes great. We used 400 g milk chocolate, a bag of Dumle Caramel Toffee, 100 g mini marshmallows and 2 cups of salted peanuts. Melt the chocolate and mix it with all of the other ingredients. Then spread the batter on a baking paper and let it cool until its hardened. Cut into squares. Yummy!
Lucia idag – St Lucia’s Day
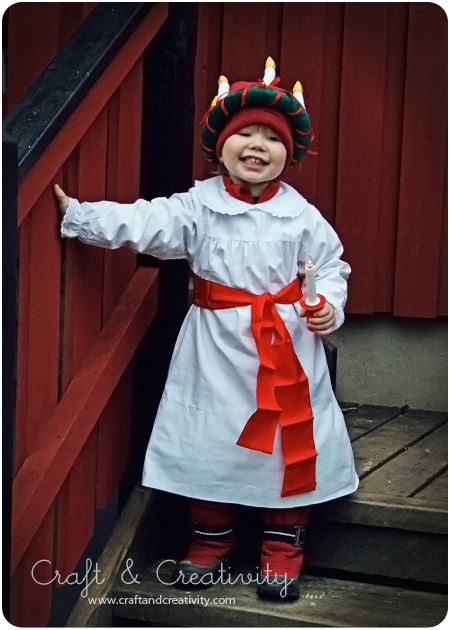
Lucia idag. Jag har en gammal favoritbild av vår äldsta dotter när hon var tre år och på väg till luciafirandet på dagis. Hon står på trappan till vårt hus och ser bara så himla lycklig ut: /
St Lucia’s Day today. I have an old favorite picture of our oldest daughter, three years old, on her way to the Lucia celebrations at kindergarden. She’s standing on the steps of our house, looking so happy:
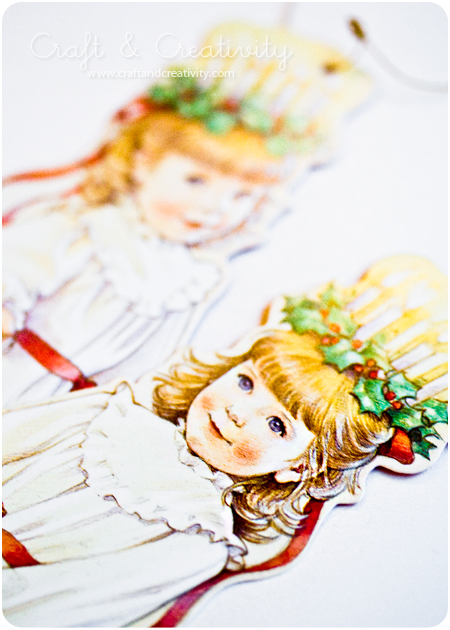
Fina julkort som jag köpte för några år sedan:
Cute Christmas cards that I bought I few years ago:
Ha en fin dag! / Have a great day!
Dagens pyssel, randigt julhänge –
Craft of the Day, Striped Paper Ornament
En amerikansk pysselblogg som jag följer är How About Orange och där finns med massor med roliga pysseltips, beskrivningar och mönster. Dessutom är den fylld med vackra fotografier.
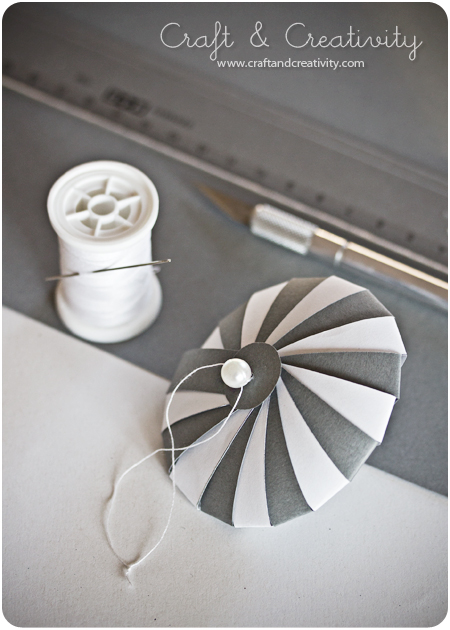
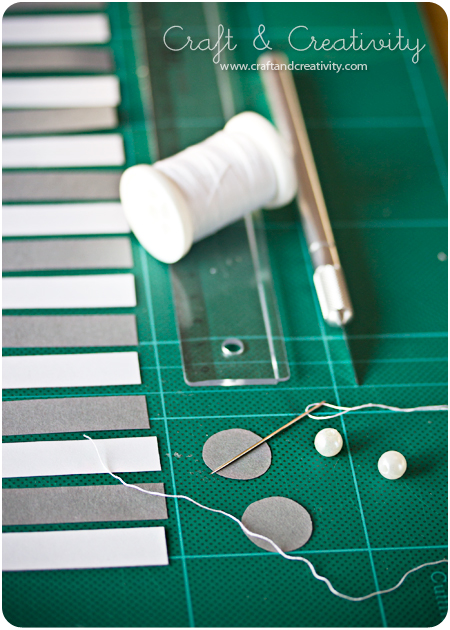
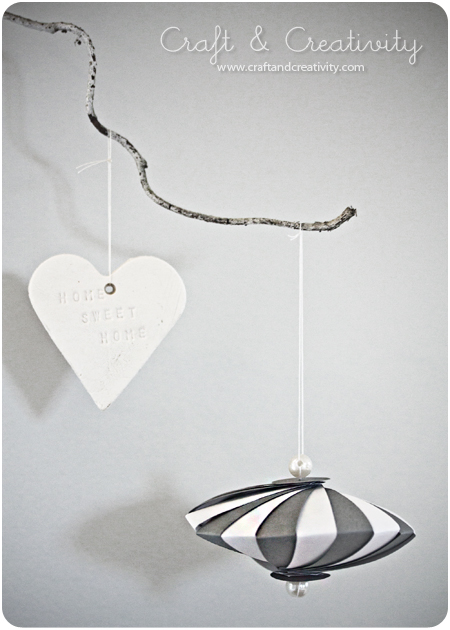
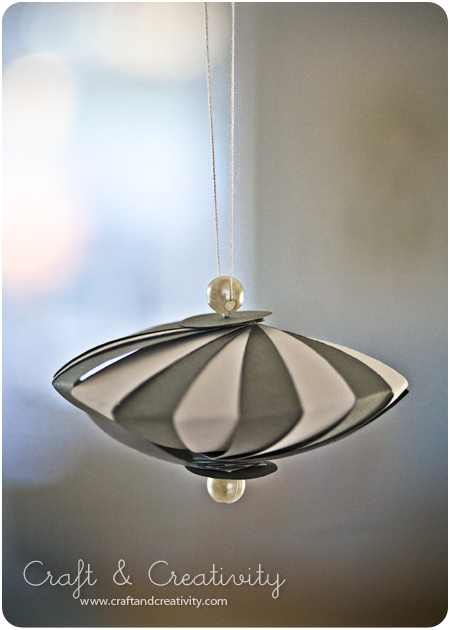
Ett av tipsen jag fastnat för är dessa randiga julhängen i papper, de ser nästan ut som om de hör hemma på tivoli. De var enkla att göra och det krävdes inte mycket material. Klicka er till How About Orange för att se beskrivningen.
Måtten är i tum och remsorna ska vara 3,5″ x 0,5″, vilket enligt vårt mätsystem är ca 8,9 x 1,3 cm. Lite pilligt att mäta ut (om man inte har en linjal som även visar tum). Därför har jag gjort en mall i Illustrator som ni kan ladda hem i pdf-format om ni vill.
Klicka här för mallen. Förslagsvis kan man skriva ut mallen en gång på vitt papper och en gång på färgat papper (inte för mörkt för då syns nog inte utskriften). Då har man remsor som räcker till två julhängen och man kan blanda färgerna så man får randiga hängen.
How About Orange is an American craft blog that I’ve followed for some time and I’m a big fan of Jessicas work. There you can find lots of fun craft tips, tutorials and templates. Furthermore, it is filled with beautiful photographs.
One of her crafty tips that I’ve fallen for is these striped paper ornaments, they almost look like they belong at a carnival. They were easy to make and required very little material. Click your way to How About Orange to see the tutorial.
The dimensions are in inches and the strips should be 3.5 “x 0.5”, which according to the metric system is approximately 8.9 x 1.3 cm. A bit tricky to measure when you have a ruler which only shows centimeters. 🙂 Therefore I made a template in Illustrator, you can download in pdf format if you wish.
Click here for the template. I suggested you print out the template once on white paper and once on colored paper (not too dark or else the print will not be visible). Then you get enough strips to make two ornaments and you can mix the colors to get the striped effect.
Dagens pyssel, pappersask –
Craft of the Day, paper box
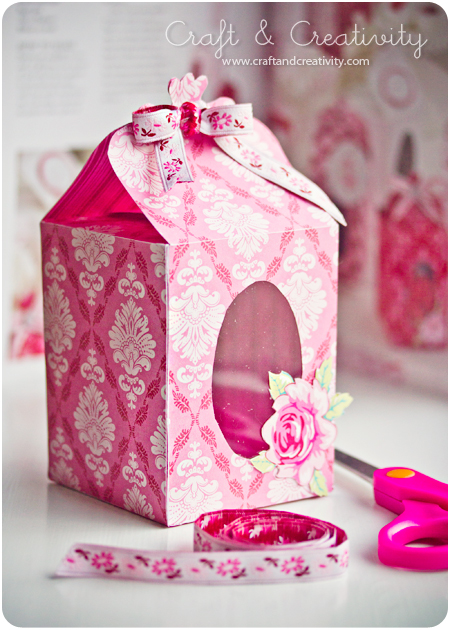
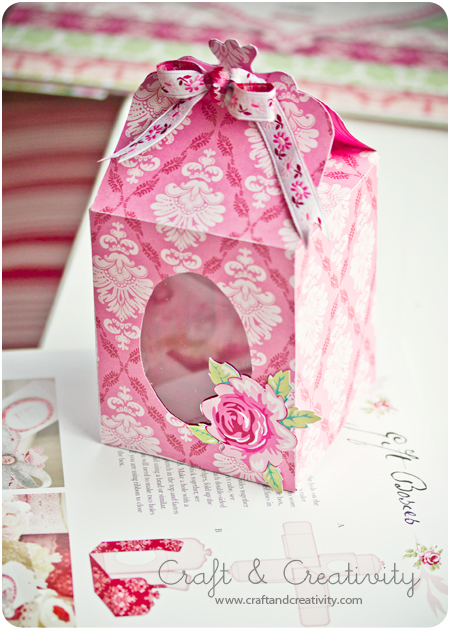
Jag köpte “Tilda’s Christmas Ideas” härom dagen och i den fanns det mycket fint pyssel. Bland annat en mall för att göra dessa askar. Jag vet inte om min ask blev så julig men den blev ganska söt hur som helst. Nu är bara frågan vad jag ska fylla den med. 🙂 Jag önskar er en mysig tredje advent!
——
I bought “Tilda’s Christmas Ideas” the other day and it’s full of inspiration, including a template to make these boxes. I don’t know if my box turned out very Christmassy, but it’s kind of pretty anyway. The question is what to fill it with. I wish you a great 3rd Sunday of Advent. 🙂
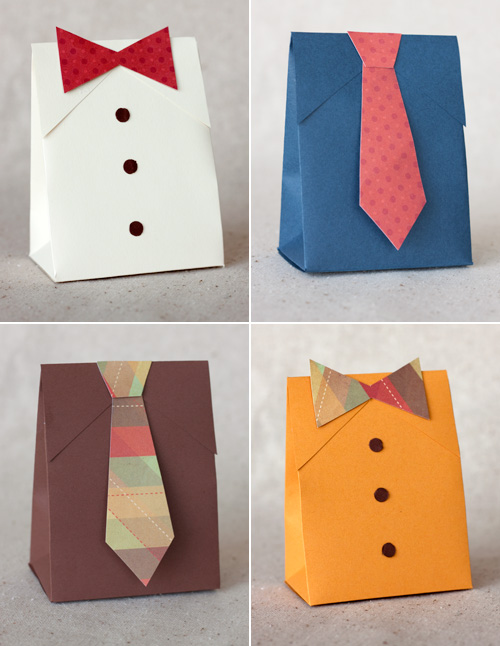
Det finns en hel del gratis ask-mallar att ladda hem från nätet. Inte just den här, men många andra: /
There’s a lot of box templates to download from the web, for free. Not this one exactly, but many others:

Speckless / Oh the lovely things

Create Studio / Martha Stewart
Dagens pyssel, filthjärtan –
Craft of the Day, felt hearts
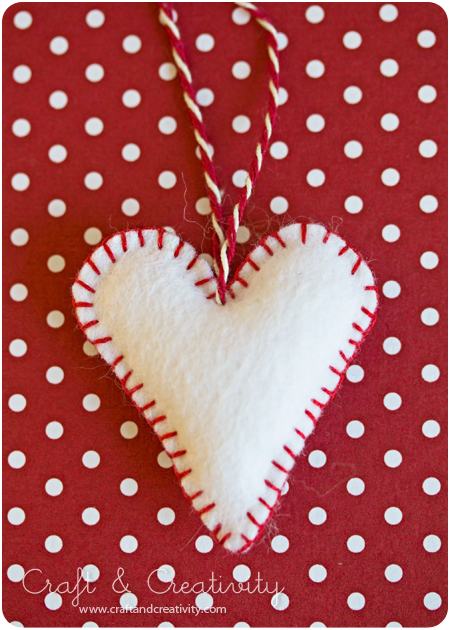
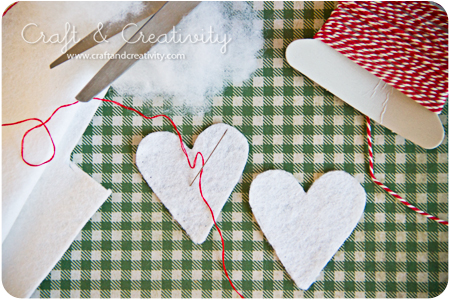
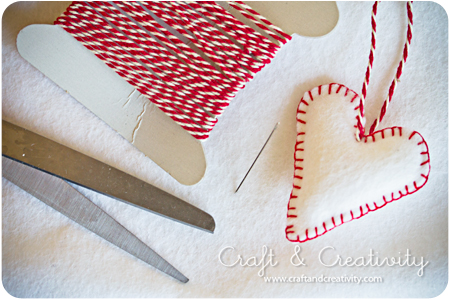
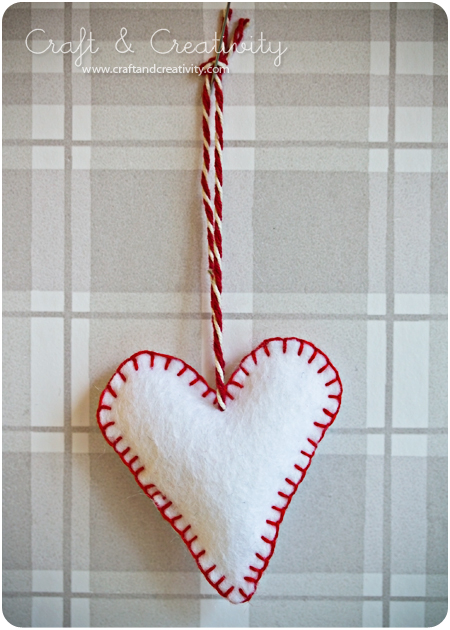
Ja då var det dags för fler hjärtan. 🙂 Jag gillar rött och vitt i granen och då kommer dessa filthjärtan förhoppningsvis passa bra. Jag hade vit filt över efter marängerna och hus-ljuslyktorna. Dessa hjärtan är enkla att göra. Du behöver vit filt, sax, sytråd (eller broderitråd), nål och ett band att hänga hjärtat i.
För att måtta hjärtana kan man använda en pepparkaksform till exempel, eller rita för hand. Klipp ut två hjärtan. Sy runt kanten med langettstygn men spara en liten öppning. Fyll med vadd och sy igen det sista. Fäst ett band för upphängning.
It’s about time for some new hearts. 🙂 I like the combination of red and white in the Christmas tree and these felt hearts will hopefully fit right in. I had some scraps of white felt left from the meringues and the felt house lanterns.The hearts are really easy to make. You need white felt, scissors, sewing thread (or embroidery thread), a needle and string or yarn for the hanging.
In order to get the right heart shape, you can use a cookie cutter, or simply draw by hand. Cut out two hearts. Sew around the edge with blanket stitch, but leave a small opening. Fill the heart with cotton wool and close the gap. Attach a string for hanging.
Pyntade pepparkakor – Decorated gingerbread
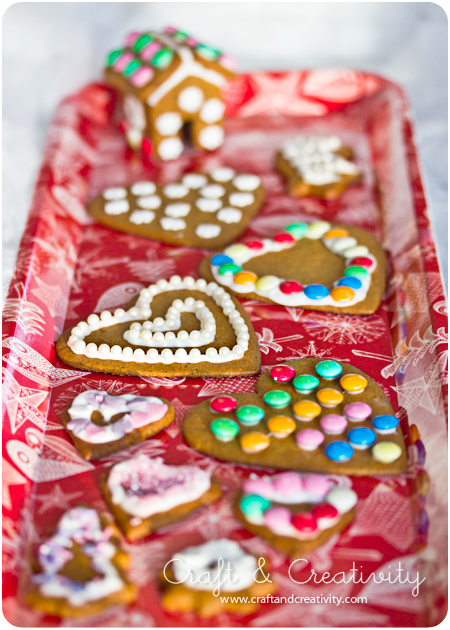
Jag och min 4-åring pyntade pepparkakorna som vi bakade härom dagen. Vi tömde strösselförrådet kan man säga. Hur kul som helst. /
My 4-year-old and I decorated the gingerbread we baked the other day. You could say that we emptied our stash of sprinkles… And we had so much fun.


