Dagens pyssel, “pimpad” burk –
Craft of the Day, “pimped” jar

Det finns många sätt att piffa till en gammal glasburk. Det här är ett sätt. Jag har testat ett par andra varianter tidigare: se här, här och här. /
There are many ways to decorate an old glass jar. This is one way. I’ve tried a couple of other variations before: take a look here, here and here


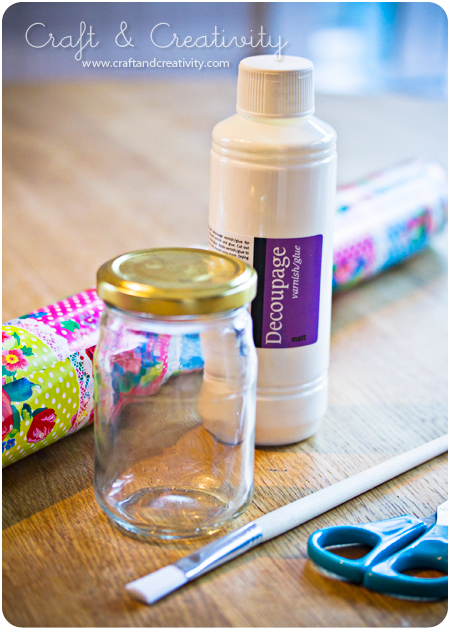
Jag började med locket. Till det använde jag presentpapper, decoupage (klister & lack i ett), sax och pensel. / I started with the lid. For this I used wrapping paper, mod podge (varnish & glue all-in-one), scissors and brush.
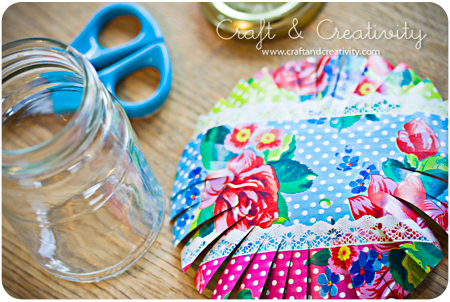

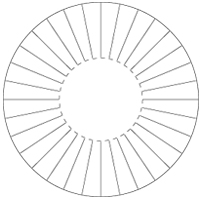
Jag måttade med locket och klippte ut en rundel som var några cm större. Sedan klippte jag remsor in mot mitten. Se skiss (den streckade inre cirkeln symboliserar lockets kant:
———-
I measured out a circle that was a couple of inches larger then the lid. Then I cut strips towards the center of the circle. See my figure below (the dashed inner circle symbolizes the edge of the lid:


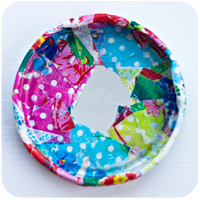
Jag penslade på decoupage runt hela locket och placerade locket i mitten av papperet. Sedan vek jag remsorna runt kanten. Se bild ovan till höger. När det torkat lite penslade jag decoupage utanpå locket också, som en lack på pappet. Jag lät torka i två timmar.
——–
I covered the lid with mod podge and placed the lid in the middle of the paper. Then I folded the strips around the edge. See the right hand picture above. When it had dried for a bit I mod podged the outside of the lid as well, coating the paper. I let it dry for about two hours.
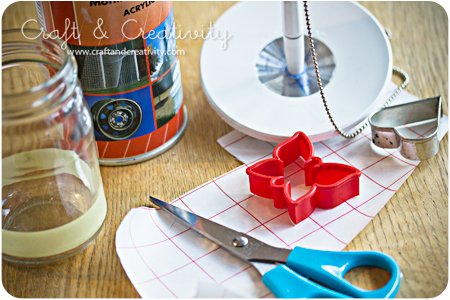

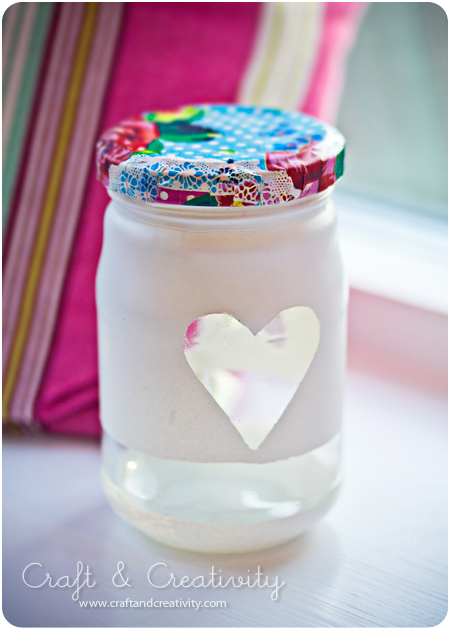
Under tiden målade jag burken. Till den använde jag: Vit sprayfärg, kakmått, självhäftande plast, penna, sax och en gammal tidning. Jag tejpade det område jag inte ville ha spraymålat. Med kakmåtten som mall klippte jag ut figurer i självhäftande plast. Dessa dekaler fäste jag på burken. Burken ställde jag sedan upp och ned på tidningspapper och spraymålade utomhus. När färgen torkat tog jag bort tejpen och plastdekalerna.
———-
In the meantime, I painted the jar. For this I used: White spray paint, cookie-cutters, self-adhesive plastic, pencil, scissors and an old newspaper. I taped the area I didn’t want paint on. With cookie-cutters as templates I cut out a couple of shapes of the adhesive plastic. I attached the shapes on the jar. I put the jar upside down on a newspaper and spray painted it outdoors. When the paint had dried, I removed the tape and the plastic shapes. 
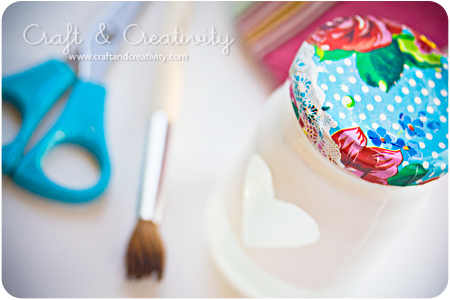

Ett lager lack till ovanpå locket så var jag nöjd. /
Another coating of mod podge on the top of the lid and I was satisfied.

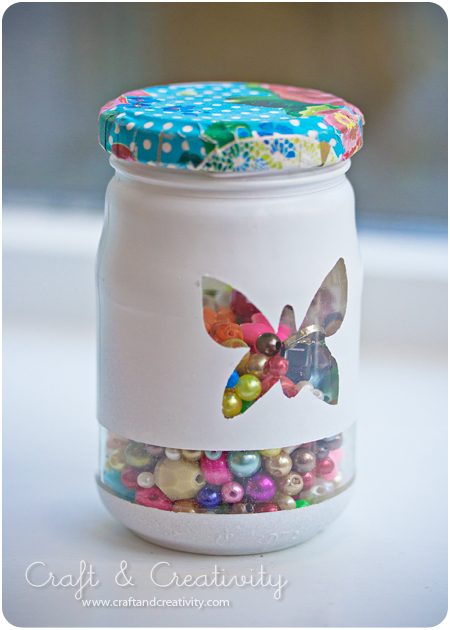
Klar att använda. / Ready to use. 

Dagens pyssel, snöglob –
Craft of the Day, snow globe

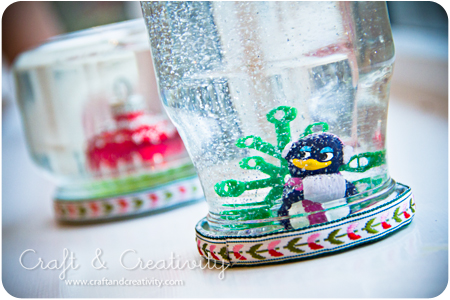
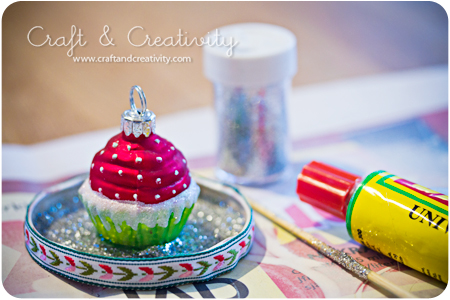
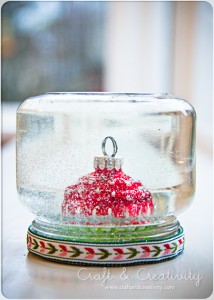
Jag har sett tips på hur man gör egna snöglober lite här och var på nätet och i inredningstidningar. Det verkade som ett relativt enkelt projekt och mina tjejer var entusiastiska. Vi gjorde ett försök.

Det här behöver du: 
– Glasburkar
– Glitter, fusksnö eller paljetter
– Lim (icke vattenlösligt)
– Tygband eller snygg tejp
– Glycerol
– Vatten som kokats upp och svalnat
– Figurer som tål vatten

Gör så här:
– Koka upp vatten, låt svalna.
– Ta bort eventuella gamla etiketter på burkarna (aceton kan hjälpa mot klisterresterna).
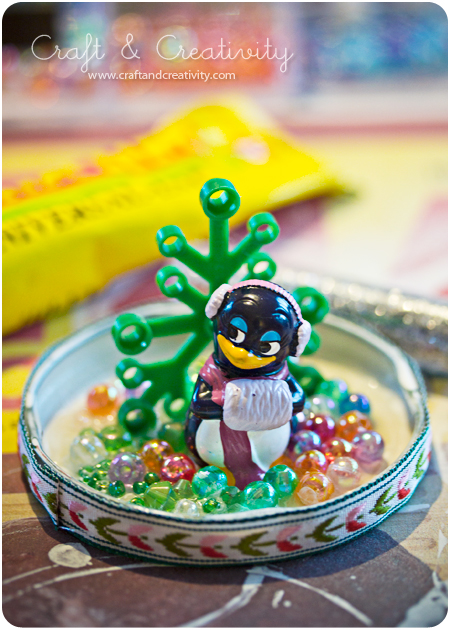
– Limma dina figurer på locket, låt torka.
– Fyll burkarna det avsvalnade vattnet, nästan ända upp till kanten.
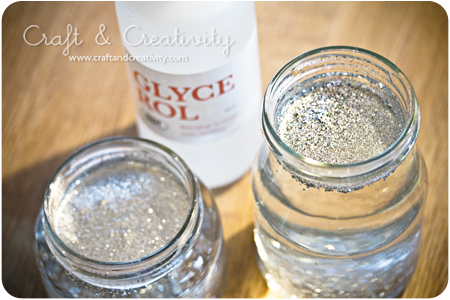
– Droppa i lite glycerol (en tsk ca) och häll på glitter.
– Sätt en sträng med lim på insidan av burken, längst kanten.
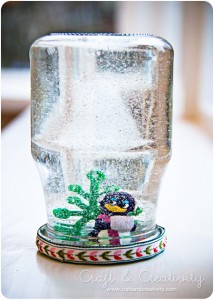
– Skruva på locket. Skaka burken och se resultatet.

Tips: 
– Se verkligen till att använda icke vattenlösligt lim!
– Ha gott om tid. Låt vattnet svalna och låt klistret torka ordentligt. Annars kommer figurerna lossna så småningom när man skakar… Våra första två försök blev bra, när vi skulle göra fler misslyckades vi. Fel sorts klister den gången plus att figurerna tålde inte vattnet.
– Det är snyggare med låga burkar om dina figurer inte är så höga.


I have seen a lot of different ideas on how to make your own snow globes. It seemed like a pretty simple project and my girls were enthusiastic. We gave it a try.

What you need:
– Glass Jars
– Glitter, sequins or synthetical snow
– Glue / Epoxy (water resistant)
– Fabric ribbon or pretty tape
– Glycerol
– Water (boiled and cooled)
– Figurines that can withstand water

Do like this:
– Boil water, let it cool.
– Remove any old labels on the cans (nail polish remover can help with sticky residue).
– Glue your figurines on the lid, allow to dry.
– Fill the jars with the cooled water, almost up to the edge.
– Add some glycerine (one teaspoon approx) and add the glitter.
– Place glue on the inside edge of the jar.
– Screw on the lid. Shake the jar and see the result.

Tips & tricks:
– Be sure to use non-water soluble glue/epoxy! 😉
– Have plenty of time. Be sure to let the water cool down and let the glue dry properly. Otherwise, the figurines will come off eventually when shaken rigorously … Our first two attempts were successful, but when we made two more we failed. We used bad glue that time plus the fact that the figures weren’t waterproof. 
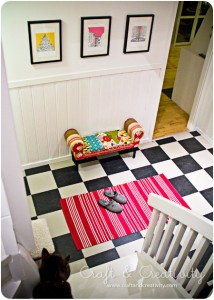
– If your figures are small, it will look better if you use a low jar.

Dagens pyssel, filtmaränger –
Craft of the Day, felt meringues

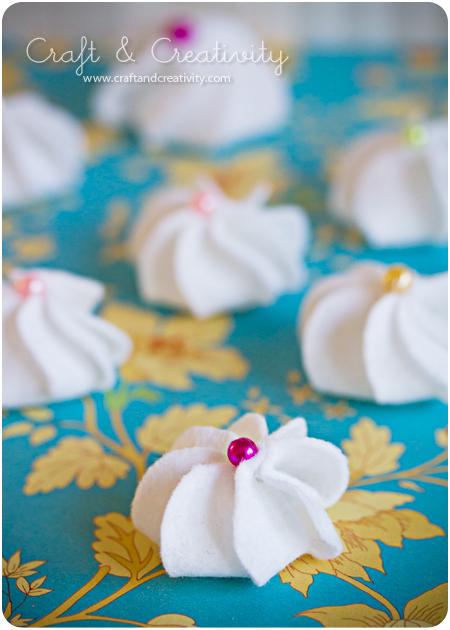
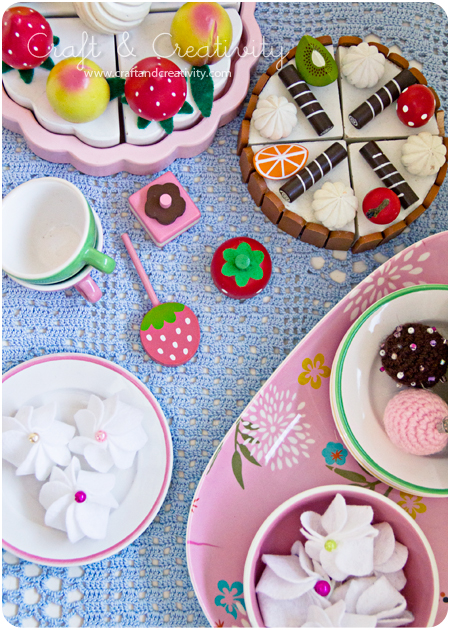
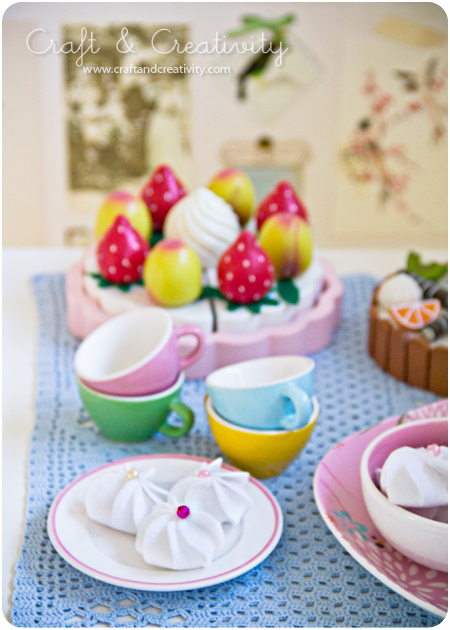
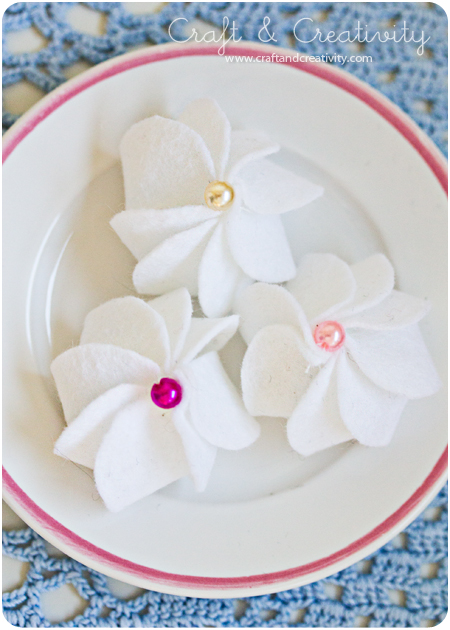
Jag har gjort ett gäng maränger av vit filt till tjejernas lekkök. Idén hittade jag på den italienska bloggen Le creazioni di Minù. Söta (att se på) och enkla att göra. Minimala sykunskaper krävs. Jag har gjort en mall med två olika storlekar som du kan ladda ner genom att klicka här. De små blir ca 4 cm i diameter, de stora 5,5 cm.

Du behöver: Vit filt, mall, sax, vit sytråd, nål och pärlor.

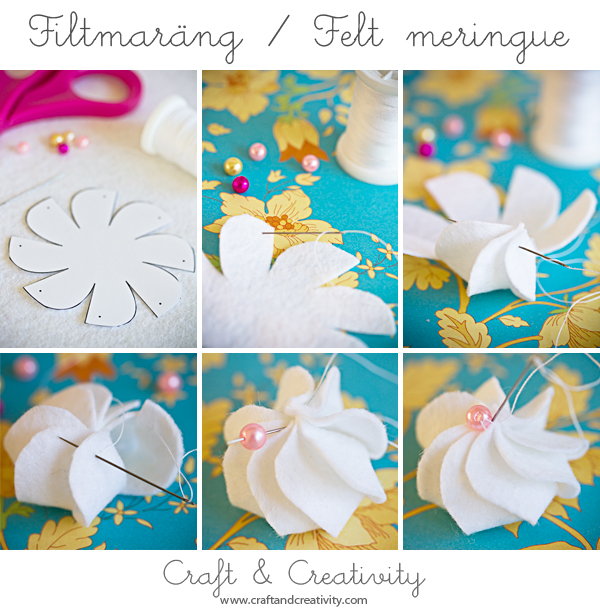
Gör så här: Klipp ut filten enligt mall, trä vit sytråd på nålen, stick nålen genom “uddarna” (som på bilden ovan) och avsluta med den udd du började med. Knyt för att fästa tråden och trä på en pärla. Sy fast pärlan i mitten av marängen. Fäst tråden.

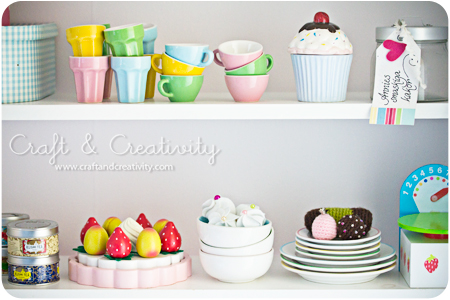
De söta virkade gobitarna till höger i bild kommer från min favorit sedan länge, Life is a Plate of Cupcakes (som för övrigt börjar sin julkalender idag). /
The sweet treats to the right are from my long time favorite Life is a Plate of Cupcakes.  

I’ve made a bunch of white felt meringues for the girls’ play kitchen. I found the idea on the Italian blog Lecreazioni di Minu. Very cute and easy to make. A minimum of sewing skills required. I made a template with two different sizes for you to download (for personal use) and you can download it by clicking here. The small one is about 4 cm in diameter, the large one 5.5 cm.

You will need: White felt, template, scissors, white sewing thread, a needle, and beads.

Do like this: Cut out the felt according to the template, thread the needle and sew through the “petals” one by one (as shown in the pictures above) and finish with the “petal” you started with. Tie a double knot. Thread a bead and sew it in place, in the center of the meringue. 

Make & Create

Hobbyfilt, 1 m

Filtark, 18-pack

Sytråd, bomull

Synålar


Make & Create - logo

Dagens pyssel, zinkhjärtan –
Craft of the Day, zinc hearts

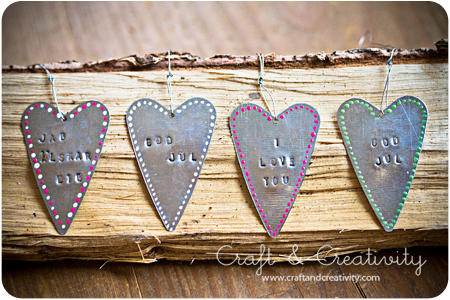
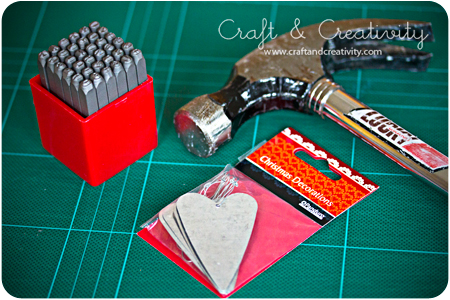
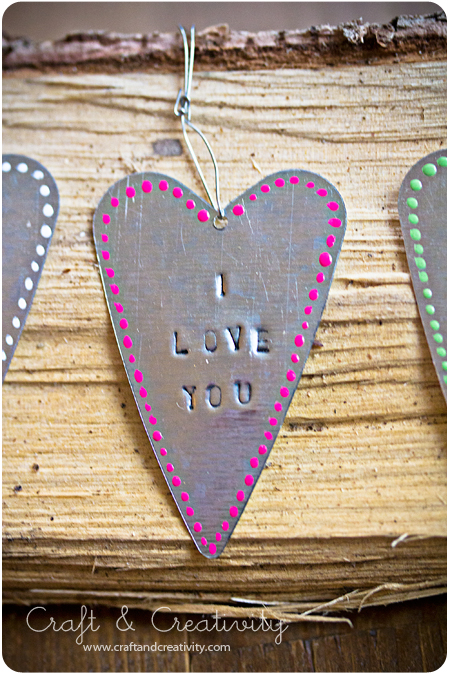
Jag köpte nyligen dessa zinkhjärtan, bokstavsstansarna hade jag sedan tidigare men först nu börjat använda dem. Det finns massor man kan göra med stansar, börjar jag förstå.

När jag sitter här och skriver detta inlägg inser jag plötsligt att jag måste ha en förkärlek för hjärtan just nu. Det har blivit många hjärtan pysslade på sistone. Måste betyda något… 🙂
——-
Recently I bought these zinc hearts. I’ve had the letter punches for a while but just recently started using them. I’m starting to realize that there’s lots of fun stuff you can make with them.  

When I’m sitting here writing this post I’m realizing I must have a thing for hearts right now. I’ve crafted many hearts lately. Must mean something …. 🙂 


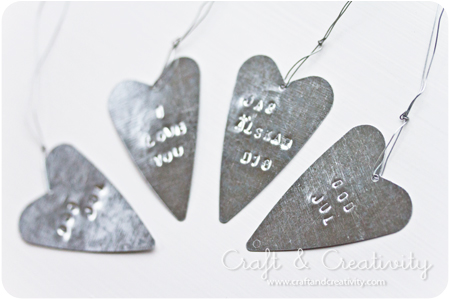
Först stansade jag bokstäverna med hjälp av stans och hammare. Mina hjärtan blev an aning buckliga så jag bankade lite med hammaren på baksidan när jag var klar. Det gjorde susen. / First, I punched the letters using the puncher and a hammer. My hearts became slightly dented so I took the hammer and banged them a bit on the back. It did the trick. 

   
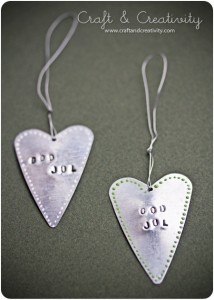
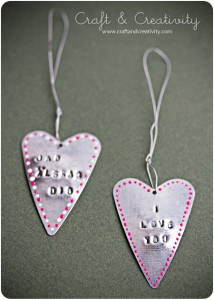
Jag tyckte det saknades något så jag målade lite pickar med hobbyfärg runt kanterna. /
I felt something was missing so I painted small dots around the edges with hobby paint. (“God Jul” is Swedish for “Merry Christmas” and “Jag älskar dig” is Swedish for “I love you”)


För att bokstäverna skulle framträda tydligare svärtade jag dem med lite svart stämpelfärg och torkade bort överflödet med hushållspapper. /
To accentuate the letters and make them appear more pronounced I blackened them with stamp color and wiped away the access color with paper towels. 

Knappar, band & gamla spetsar –
Buttons, ribbons & old laces

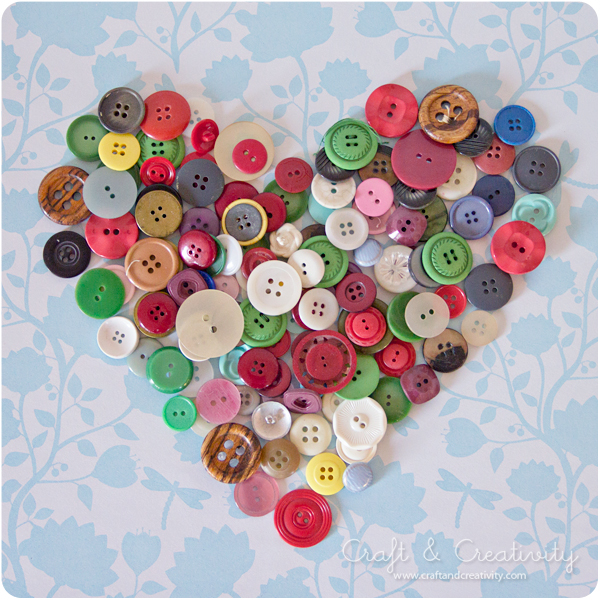
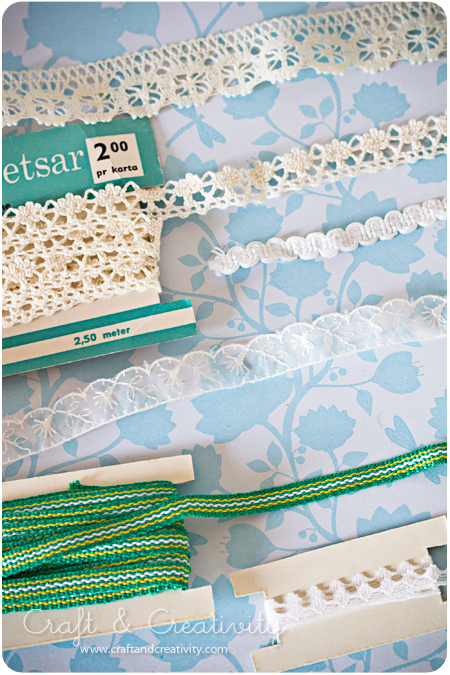
Jag var hemma hos mamma härom dagen och botaniserade bland hennes stora lager av knappar, band och gamla spetsar. En guldgruva för en pysselentusiast! Det här är vad jag fick med mig hem. 🙂
——-
I spent an afternoon at my mom’s the other day and browsed through her large stock of buttons, ribbons and old lace. A gold mine for a craft enthusiast! This is what I came home with. 🙂

Dagens pyssel, tejpade klädnypor –
Craft of the Day, washi tape pegs

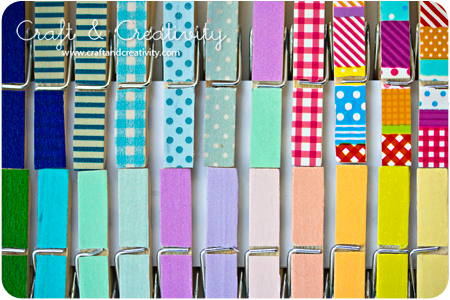
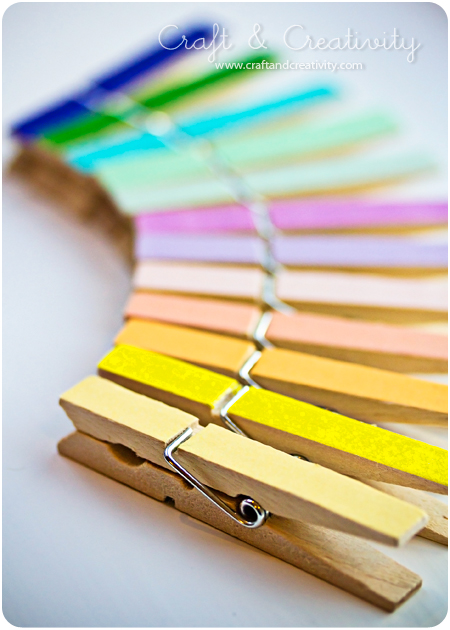
Ett sätt att använda washitejp (japansk maskeringstejp) är att klistra det på klädnypor av trä. Det pysslet har jag sett lite här och var, se till exempel Atypical Type A.

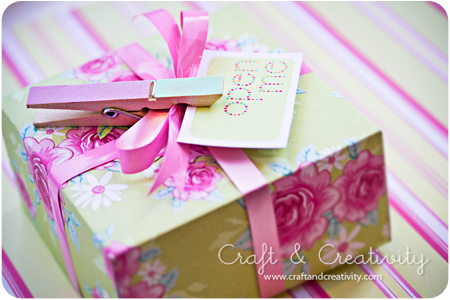
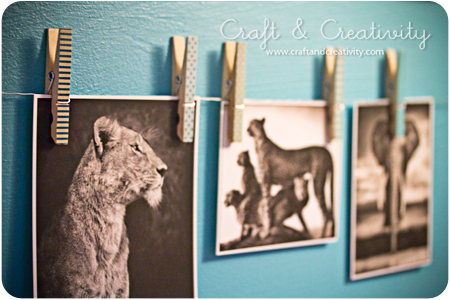
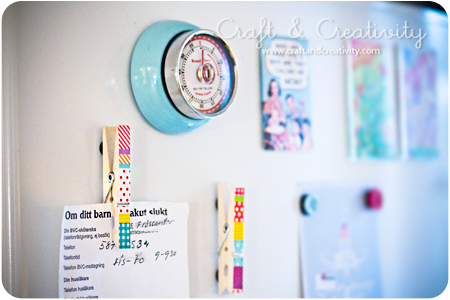
Mina klädnypor använder jag på lite olika sätt. Några får pryda paket, några får hänga på min inspirationsvägg i pysselrummet och ett par fick magneter på baksidan och sitter på kylskåpet och håller reda på viktiga papper:


Beskrivning för askarna finns här. / For a paper box tutorial, click here


Fantastiska djurporträtt av Nick Brandt som just nu ställer ut på Fotografiska. /
Fantastic animal portraits by Nick Brandt, currently exhibiting at Fotografiska.

One way to use washi tejp (Japanese masking tape) is to paste it on the wooden pegs. This craft I’ve seen a bit here and there, take a look at these blogs for example: Atypical Type A

I’m using my clothes pegs i a couple of different ways. Some will be decorating wrapped gifts, some are hanging on the inspirational wall in my craft room and a couple of them got magnets on their back and are sitting on our refrigerator keeping track of important papers. 

Dagens pyssel, julpyntad ljuskrona
Craft of the Day, chandelier wreath

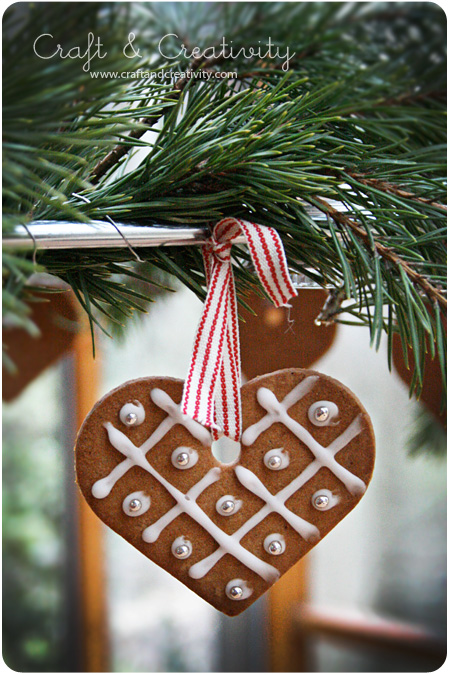
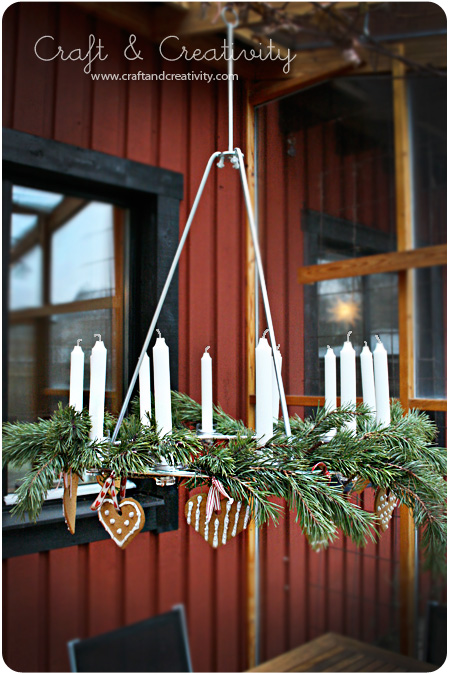
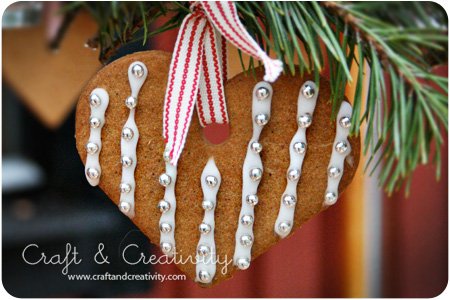
I vår vinterträdgård hänger en ljuskrona (från Ikea) och en jul, för ett par år sedan, pyntade jag den med granris och pepparkakor. Pepparkakorna köpte jag färdigbakade och garnerade själv med kristyr och silverkulor (strössel). Trevlig första advent allesammans!
———-
In our conservatory hangs a chandelier (from Ikea) and one Christmas, a couple of years ago, I decorated it with pine boughs and gingerbread. I bought the gingerbreads pre-baked and garnished myself with icing and silver ball sprinklers. Today we celebrate the first out of four advents before Christmas. So happy First Sunday Advent everyone!

Dagens pyssel, glaslykta –
Craft of the Day, glass lantern

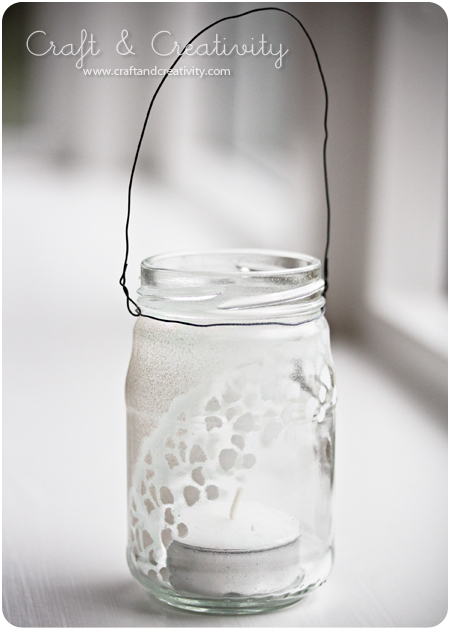
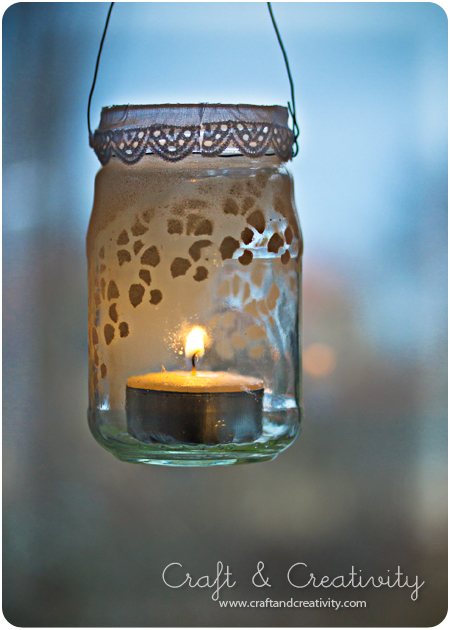
Det är mysigt med många tända ljus denna mörka årstid. Jag har gjort en ljuslykta av en gammal glasburk, vit sprayfärg, tårtpapper och ståltråd.

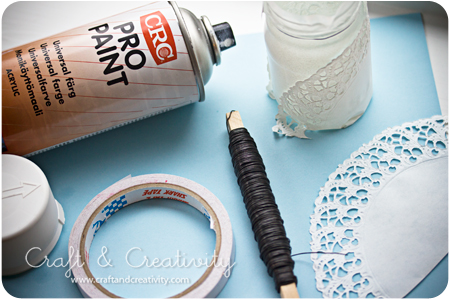
Det här behöver du:
– Glasburk
– Ståltråd
– Avbitartång
– Tårtpapper eller gammal spetsduk
– Vit sprayfärg
– Tejp, dubbelhäftande och vanlig
– Eventuellt ett bit band eller spets

Jag gjorde så här: 
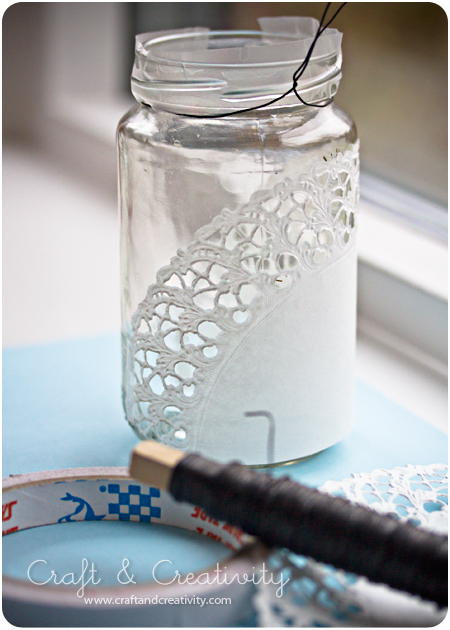
Jag började med att ta bort den gamla etiketten från glasburken. Först lät jag den ligga en stund i ljummet vatten tills etiketten lossnade. De sista klisterresterna tog jag bort med lite aceton. Sedan fäste jag tårtpapperet på burken med hjälp av dubbelhäftande tejp och maskerade de delar jag inte ville ha färg på med vanlig tejp. Jag gick utomhus när det var dags att spraymåla burken för att minimera lukten. Jag använde ganska lite färg eftersom jag bara ville att det skulle bli lite “dimmigt”. När färgen torkat tog jag bort tejpen och tårtpapperet och virade ståltråd runt öppningen. Jag böjde till en båge av en ny bit ståltråd som jag fäste på var sin sida av glasburken. Till sist klistrade jag på ett vitt bomullsband som jag hade i mina gömmor. Så var det klart!

It’s cozy to have many lighted candles this time of year, when it’s so dark outside.
I made a glass lantern  of an old jar, white spray paint, cake paper and wire.

You will need:
– Glass jar
– Steel wire
– Wire cutter
– Cake paper doily or old lace doily
– White spray paint
– Tape, double-sided, and regular
– Possibly a piece of ribbon or lace

I did like this: 
I started by removing the old label from the jar. At first I let it soak in warm water for a while until the label was easy to pile off. I removed the last of the glue residue with some nail polish remover. Then I placed the cake paper on the jar using double-sided tape and masked the parts I didn’t want paint on with ordinary tape. When it was time to spray paint I went outside to avoid the fuses. I didn’t use much color because I just wanted a “frosty” feeling. When the paint had dried, I removed the tape and cake paper and wrapped the wire around the jar opening. I bent another piece of wire into a loop that I attached on either side of the jar. Finally, I glued on a white cotton band that I had stashed. And that’s it! 

Dagens pyssel, tyghjärtan –
Craft of the Day, fabric hearts

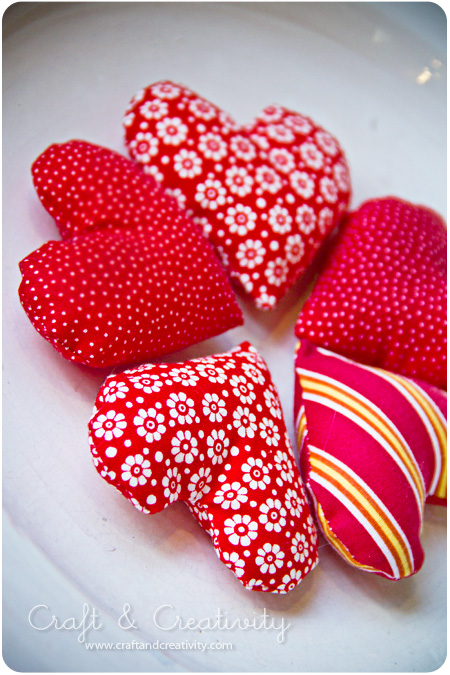
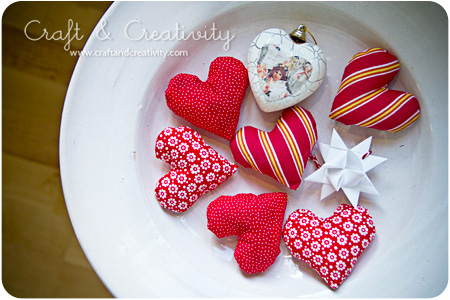
På bloggen Helby’s Hatch finns beskrivningar på hur man syr tyghjärtan. Beskrivningarna är på engelska men med hjälp av bilderna är det lätt att förstå hur man gör.
———–
At the blog Helby’s Hatch you can find descriptions of how to sew fabric hearts.