Hylla för nagellack – Nail polish shelf

Nail polish shelf (decorated with washi tape) - by Craft & Creativity

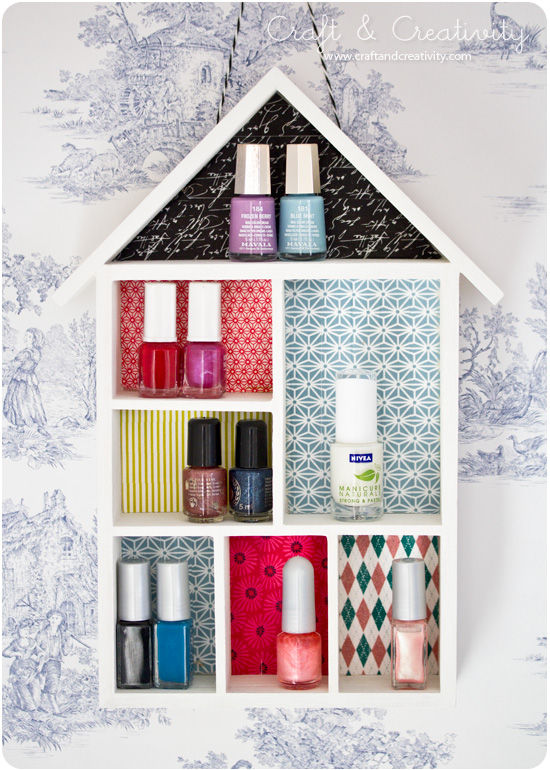
Ett roligt sätt att använda prylhyllor är som förvaring för nagellack. Nagellacksflaskor är ofta dekorativa så varför gömma undan dem? Jag vet att åsikterna går isär, huruvida man ska förvara dem i kylskåp eller ej. Jag har för min del aldrig märkt någon skillnad.
——-
A fun way to use small shelves like these is to use them for nail polish storage. Nail polish bottles are often decorative so why not display them? I’m aware that opinions differ, whether to store them in the fridge or not. However, I never noticed any difference.

Nail polish shelf (decorated with washi tape) - by Craft & Creativity  Nail polish shelf (decorated with washi tape) - by Craft & Creativity

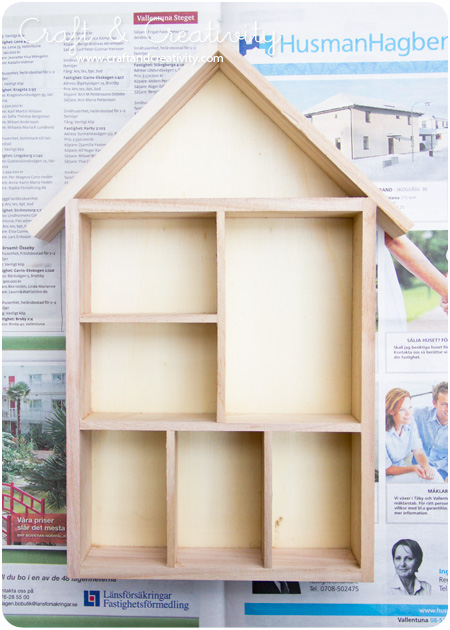
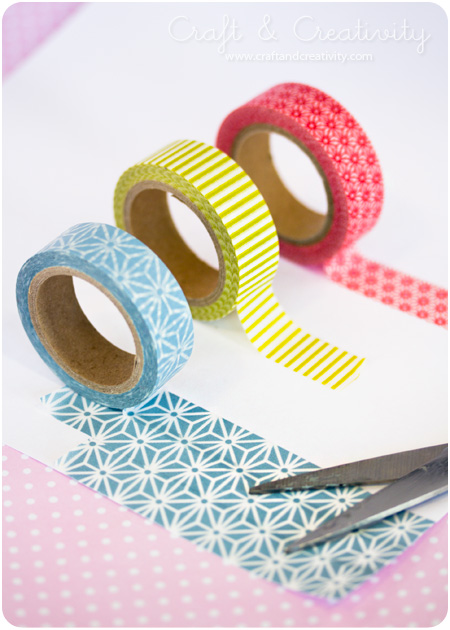
Den här hyllan är målad vit och dekorerad med washitejp. Man kan även använda bitar av tapetprover, mönstrat papper, decoupagepapper eller fina servetter. /
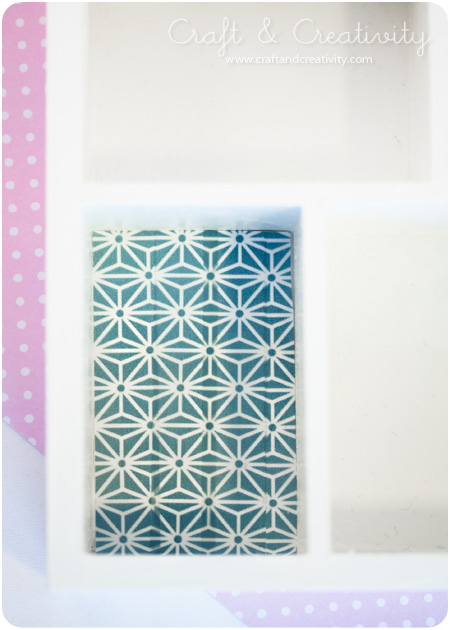
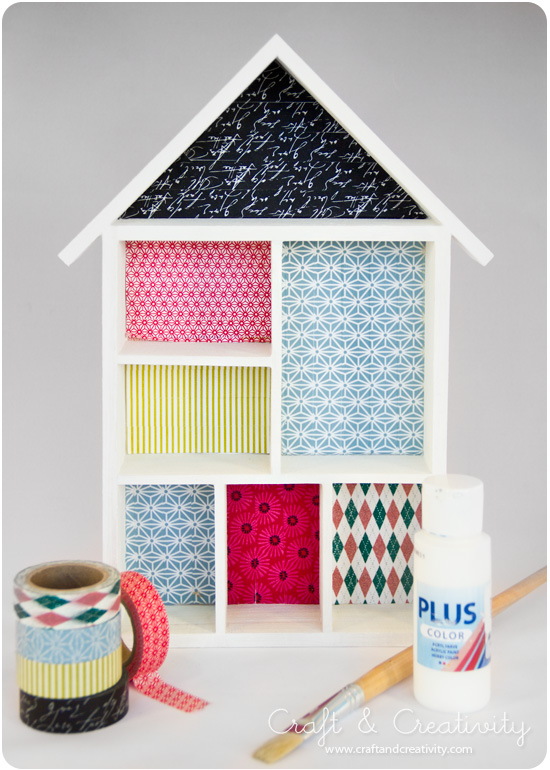
This shelf is painted white and decorated with washi tape. You could also use pieces of wallpaper samples, scraps of patterned paper, decoupage paper or pretty paper napkins.

Nail polish shelf (decorated with washi tape) - by Craft & Creativity  Nail polish shelf (decorated with washi tape) - by Craft & Creativity

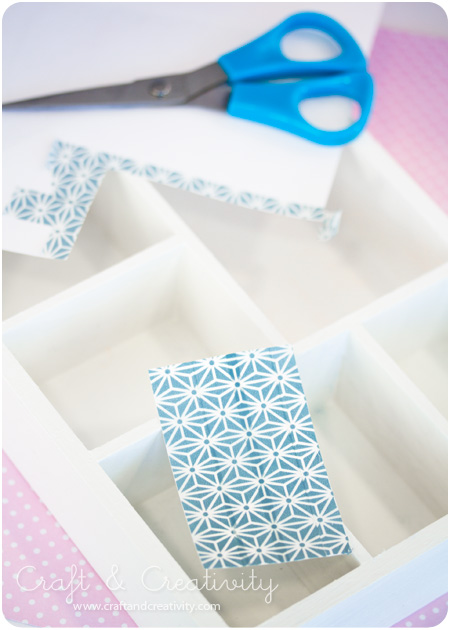
Fäst tejpen på en bit papper som du klipper till i rätt storlek. Mönsterpassa tejpen för snyggast resultat. Limma sedan fast papperet i de olika facken. Det är enklare än att tejpa direkt på hyllan. Lacka ytan om du vill. /
Add the washi tape to a piece of paper and cut the paper to fit the box. Align the tape pattern for best result. Then glue the paper to the back of each box. It’s much easier than to tape directly on the shelf. If you like you can seal the surface with laquer. 

Nail polish shelf (decorated with washi tape) - by Craft & Creativity

Voilà! Hyllan är klar. Missade du när vi gjorde nyckelskåp av hushyllor, så kan du klicka här. / Voila! You’re done. If you missed out on our house shaped key cabinet, please click here

Måla porslin – Painting porcelain

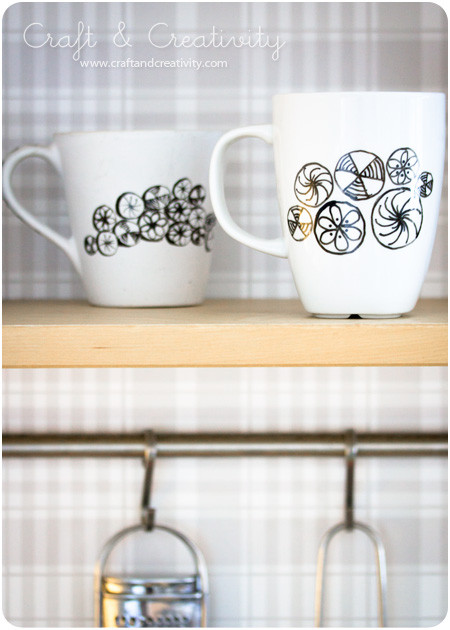
Painting porcelain - by Craft & Creativity

Senaste tiden har jag sett så många fina exempel på skålar, muggar och tallrikar dekorerade med porslinspennor, t ex hos Lana Red, Wit & Whistle, A Merry Mishap och Design Sponge m fl. Eftersom vi har gott om billigt vitt porslin hemma kände jag att det var värt att testa själv.
————
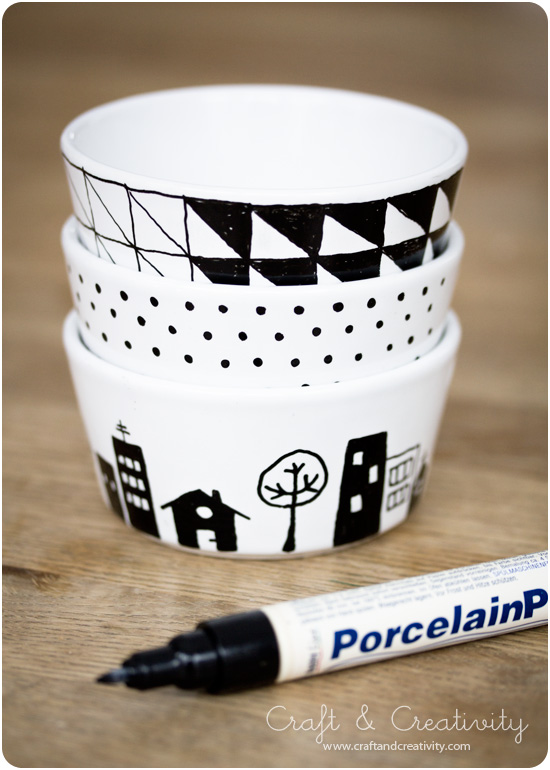
Lately I’ve seen so many fine examples of bowls, mugs and plates decorated with porcelain pens, for example at Lana Red, Wit & Whistle, A Merry Mishap, and Design Sponge etc. Since we have plenty of cheap white porcelain at home, I felt I wanted to give it a try. 

Painting porcelain - by Craft & Creativity

Jag använde mig av en svart tunn porslinspenna. Det finns även tjockare pennor om man önskar. Så länge färgen inte torkat kan du ta lite blött hushållspapper och torka bort eventuellt kludd. När du är klar låter du färgen torka i ca 4 tim och sedan ska den härdas i ugnen (160°C i 30 min). Då tål den mild maskindisk. Som ni ser är jag inte särskilt stadig på hand men jag tycker ändå resultatet blev ok. Det ska ju faktiskt inte se fabriksgjort ut. 😉
————-
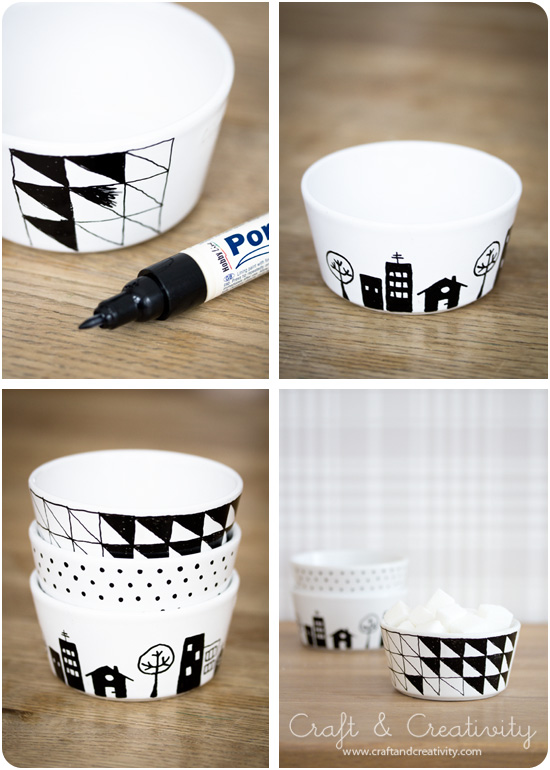
I used a black thin porcelain marker. As long as the paint is still wet, you can use a wet paper towel to wipe away errors. After a drying time of 4 hours, cure at 160°C in a non-preheated kitchen oven for 30 minutes. Then the paint will  withstand gentle machine wash. As you can see I am not very steady at hand, but I still think the result turned out ok. It’s not ment to look factory made. 😉

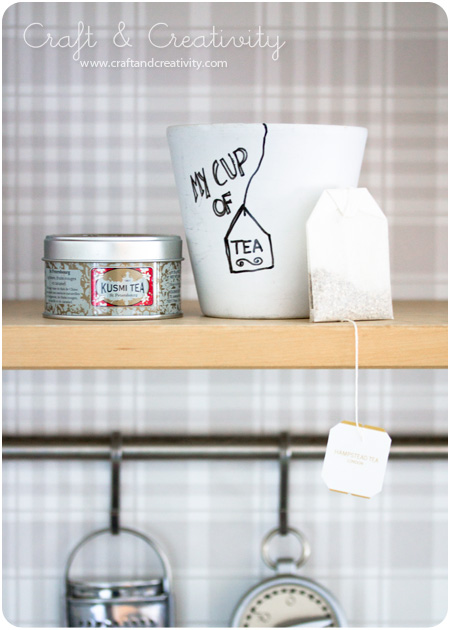
Painting porcelain - by Craft & Creativity  Painting porcelain - by Craft & Creativity

Det var inte bara jag som fick inspiration utan en vän till mig passade på och piffa till ett par av våra vita muggar. Visst blev det fint?
————-
It wasn’t the only one who got inspired. A friend of mine took the opportunity to decorate a couple of our plain white mugs. Didn’t they turn out nice? 

Nyckelskåp – Key cabinet

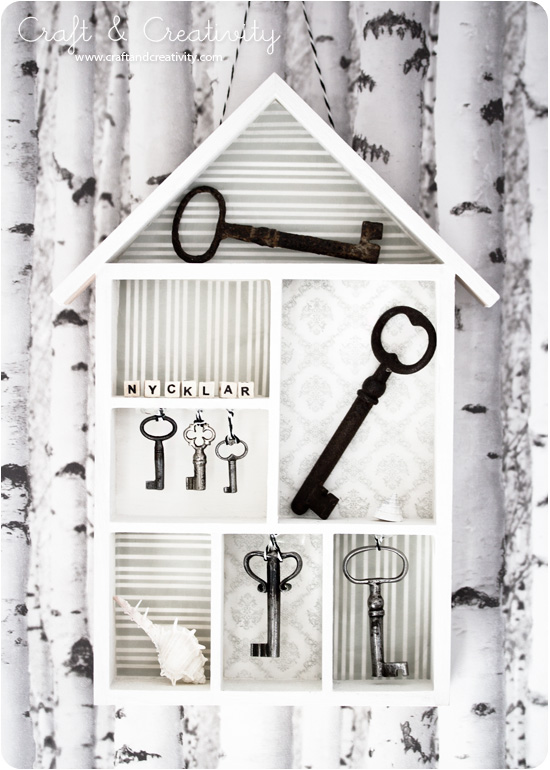
Key house - by Craft & Creativity

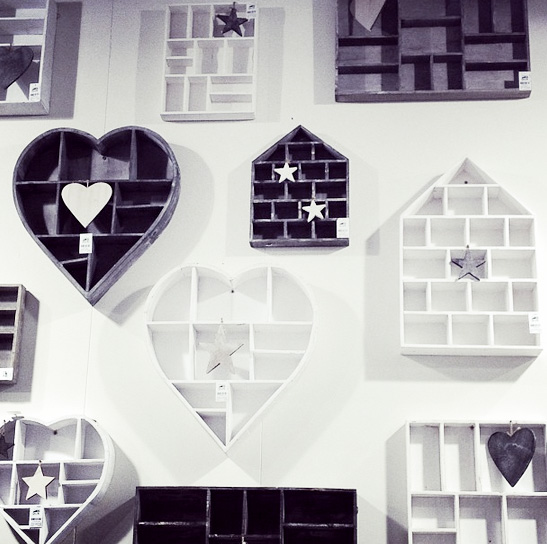
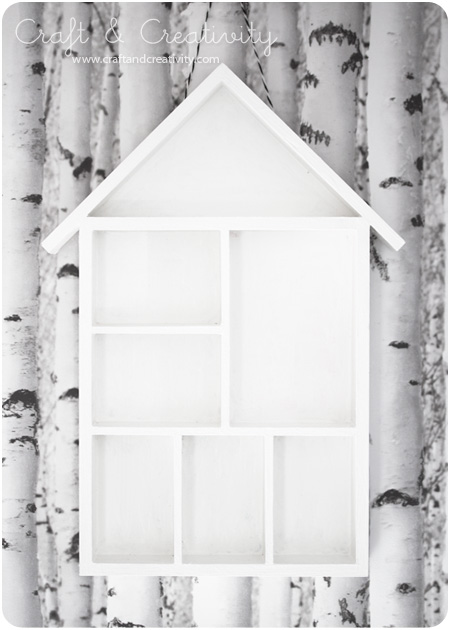
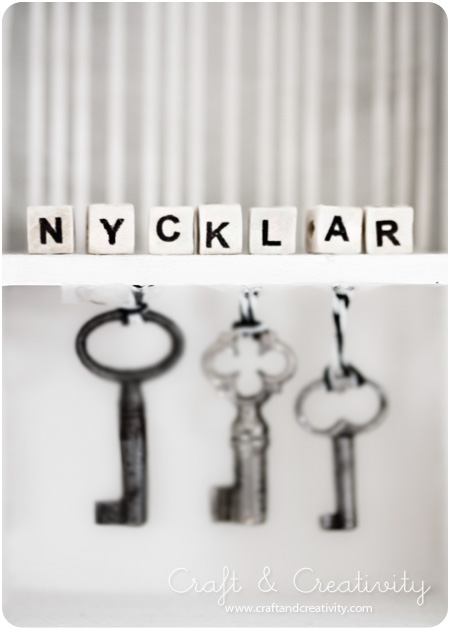
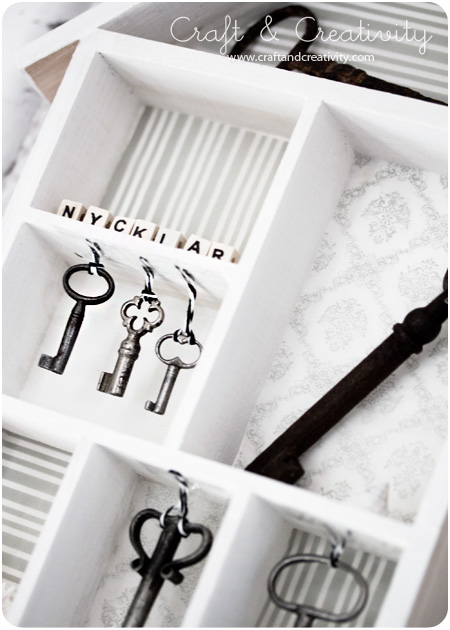
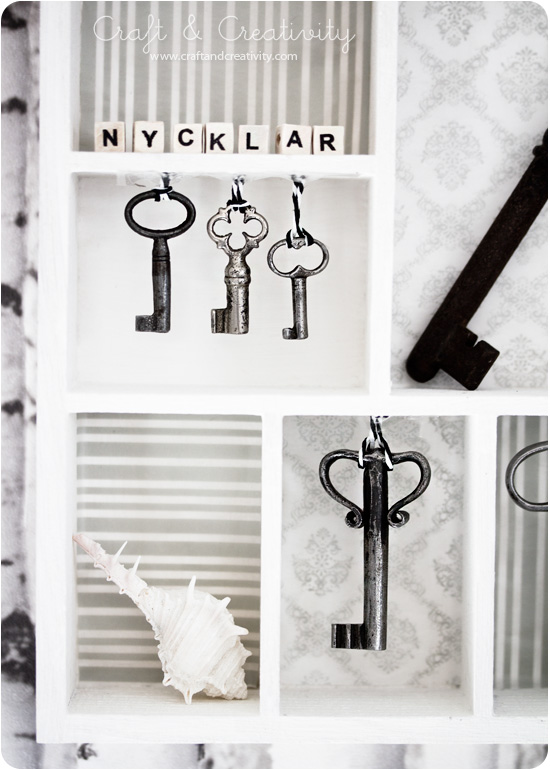
keycabinet8Jag har sett fina hushyllor lite här och var på sistone, som på Formex-mässan och på mässan i Frankfurt förra helgen. Hyllorna till vänster kommer t ex från Dijk Natural Collections. Inspirerad av dessa och andra hyllor har jag och min kollega gjort ett par egna varianter. Idag tänkte jag visa den första – ett nyckelskåp. Vårt skåp blev mer som en tavla eller ett tittskåp eftersom nycklarna är gamla och ur bruk, men ändå snygga att ha framme. Spikar man däremot dit krokar så kan man göra ett nyckelskåp för nycklar som används, en krok för hemmanyckeln, en för bilnyckeln o s v.
——————
I’ve been noticing house-shaped shelves a bit here and there lately. For example at the Formex fair in Stockholm and at the Frankfurt fair, last weekend. Like these ones to the upper left, from Dijk Natural Collection. This has inspired me and my colleague to decorate our own shelves. Today I’ll show you the first one – a key cabinet. Our shelf works more like a display, since the keys are old and not in use, but still pretty to look at. If you, on the other hand, attach hooks to your shelf, you can use it for everyday keys, i e your house keys, car keys, etc. 

Key house - by Craft & Creativity  Key house - by Craft & Creativity

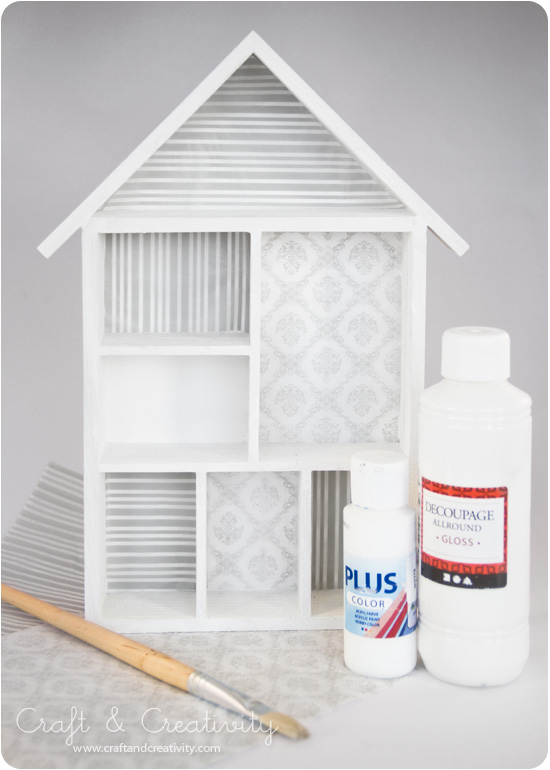
Huset har vi målat med vit hobbyfärg.
————-
We painted the house with white hobby color. 

Key house - by Craft & Creativity

Vi valde att sätta diskret mönstrade decoupagepapper i de olika facken. Man kan också välja låta den vara helt vit, beroende på tycke & smak.
————-
We chose to cover the back of the compartments with patterned decoupage paper. Or you can choose to keep it white and plain, depending on your preference and taste.

Key house - by Craft & Creativity  Key house - by Craft & Creativity

Key house - by Craft & Creativity

En liten stad – A small town

A small town - by Craft & Creativity

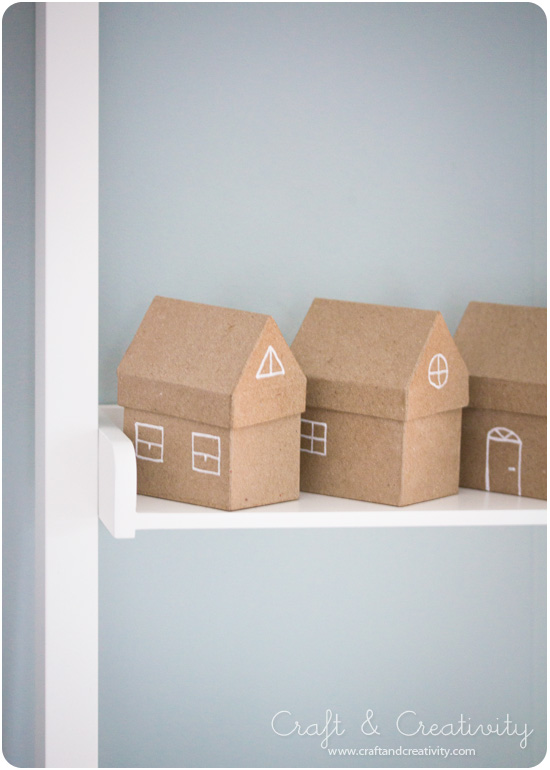
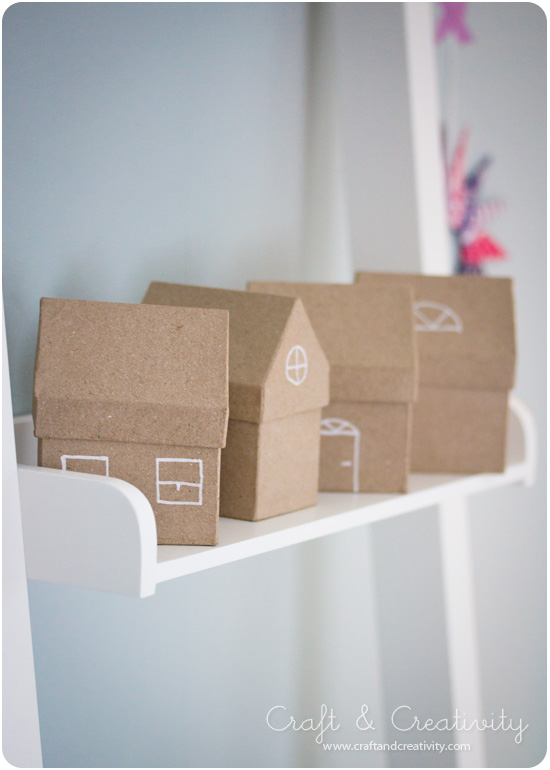
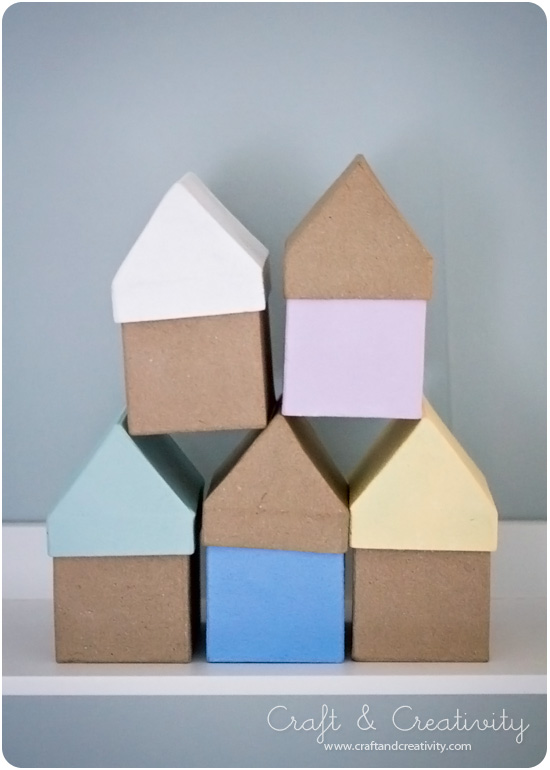
Jag blev så förtjust i mina hus (från mitt förra inlägg) att jag gjorde en liten stad. Staden huserar (haha) på vår steghylla i sovrummet. Barnen älskar husen och fantiserar om vilka som bor i dem… Det är hemligt, säger jag. 😉
——–
I’ve become so fond of my houses (from my last post) that I created a small town. The city resides on the step shelf in our bedroom. The kids love the houses and fantasizes about who’s living in them. I tell them, it’s a secret. 😉

A small town - by Craft & Creativity

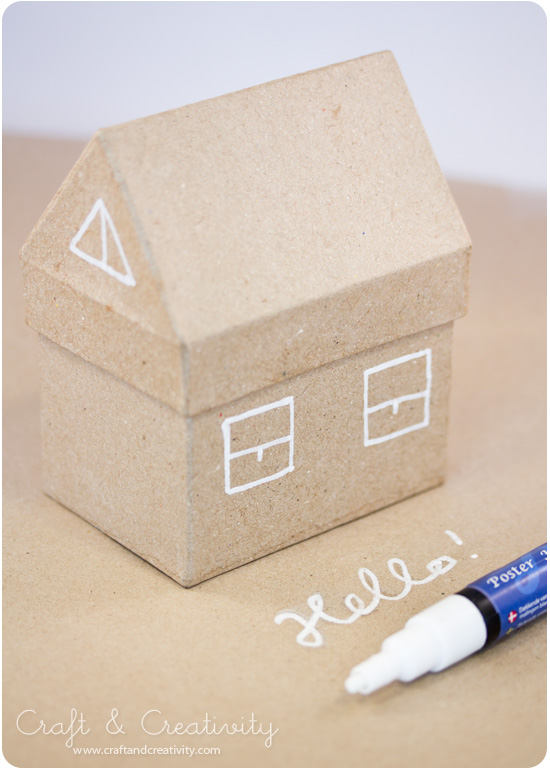
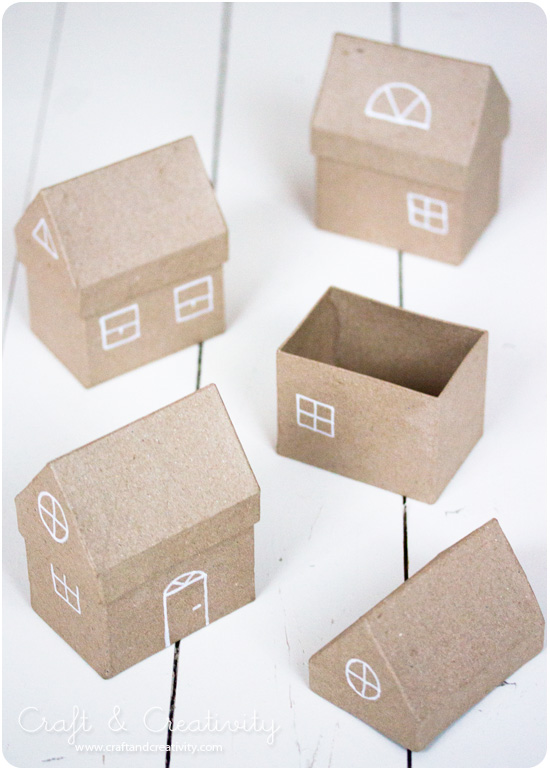
Världens enklaste pyssel. Färdiga husaskar och en vit täckande penna. /
The world’s easiest craft. Pre-made paper mache houses and white opaque pen. 

A small town - by Craft & Creativity

A small town - by Craft & Creativity

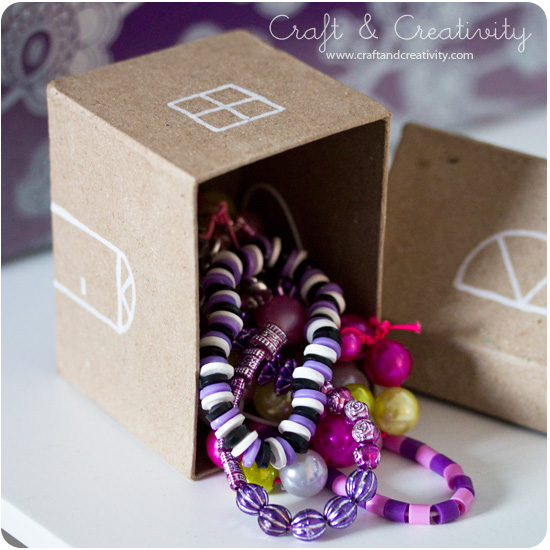
I askarna förvarar jag alla fantastiska smycken som barnen tillverkat senaste åren, pärlade halsband och armband i mängder. Små skatter ♥.
———-
Inside the boxes I keep all the amazing jewelry that my kids made for me ​​over the years – a variety of beaded necklaces and bracelets. Small treasures ♥.

A small town - by Craft & Creativity

Kartonghus-askar –
Paper mache house boxes

Painted papier maché house boxes - by Craft & Creativity

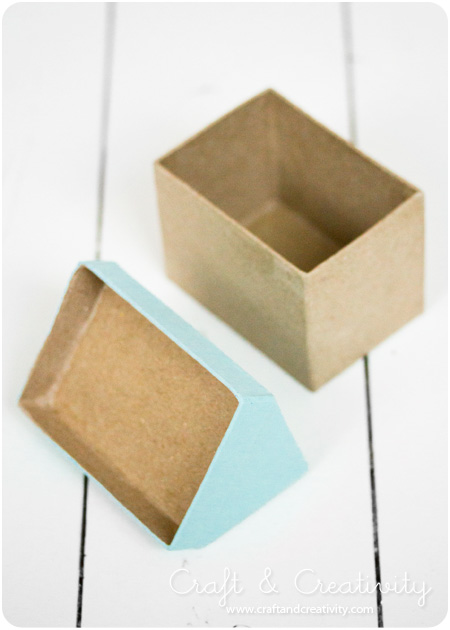
Jag är väldigt förtjust i husformer av alla de slag och dessa söta hus i papier-machè fungerar dessutom som askar. Taket går att lyfta av och i askarna kan man till exempel förvara smycken, barnens små skatter eller pysselmaterial.
————-
I’m a big fan of house shapes of all kinds, and these cute houses can also act as boxes. The roof work as a lid and the boxes can, for example, be used for storing jewelry, small treasures or craft supplies.

Painted papier maché house boxes - by Craft & Creativity  Painted papier maché houses - by Craft & Creativity

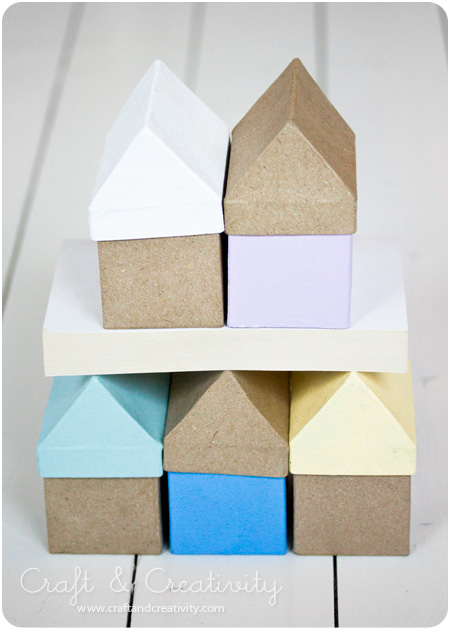
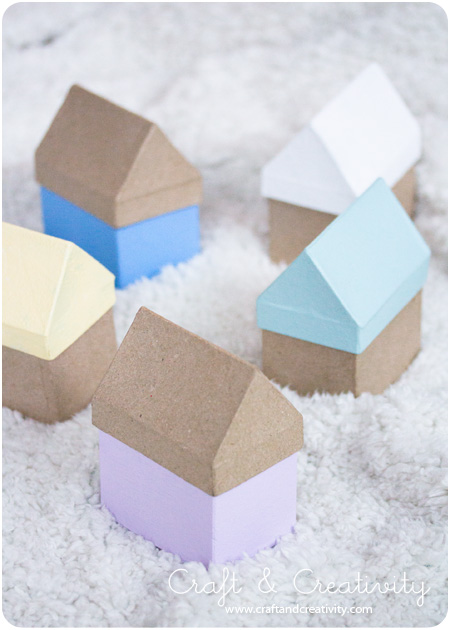
Husen levereras omålade. Jag målade mina sparsamt och använde matta pastellfärger som jag tyckte blev fina i kontrast mot den “råa” kartongen. Vissa målade jag endast botten på och andra bara taket.
——-
The houses come unpainted. I painted mine partly and used mat pastel colors, which I thought would look nice in contrast to the “raw” paper mache. I chose to paint either the base of the house or the roof. 

Painted papier maché house boxes - by Craft & Creativity

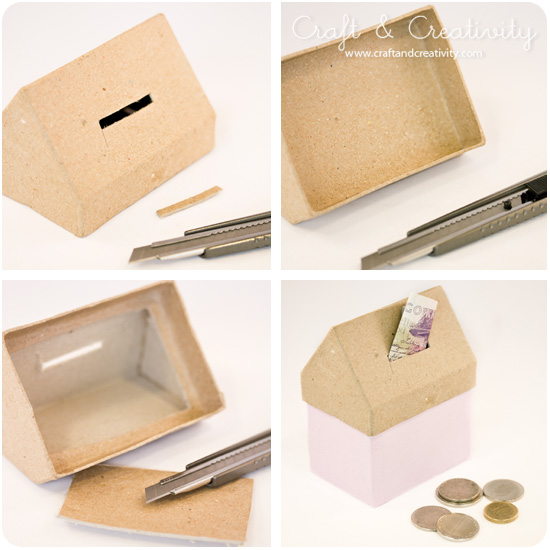
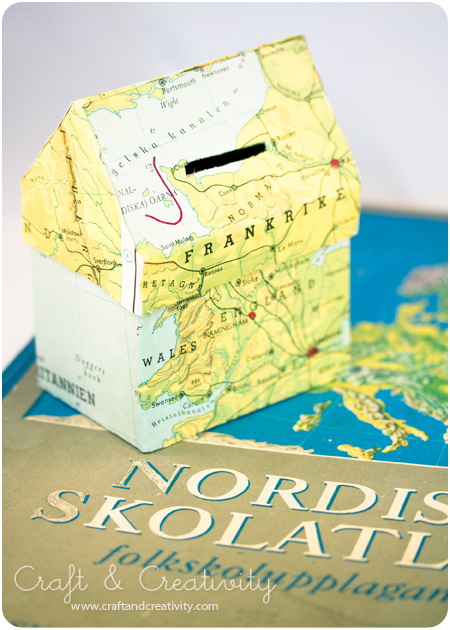
Ett hus fick bli sparbössa. Jag skar ut ett rektangulärt hål i taket med hjälp av en hobbykniv. Eftersom taket på dessa hus har en liten botten så skar jag bort den också, annars skulle inte pengarna kunna ramla ner i huset.
———–
I turned one of the houses into a money bank. I cut a rectangular hole in the roof with a hobby knife. Since the roof of these houses comes with a bottom, I removed this also. Otherwise the money would not fall down into the house, like I wanted it to. 

Painted papier maché house boxes - by Craft & Creativity  Painted papier maché houses - by Craft & Creativity

Painted papier maché house boxes - by Craft & Creativity  Painted papier maché house boxes - by Craft & Creativity

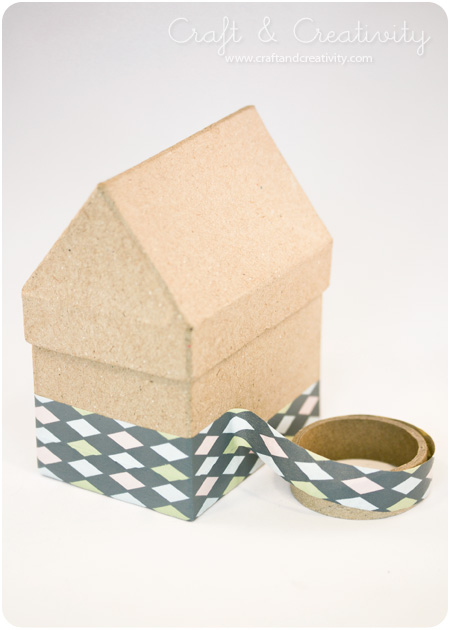
En annan idé jag fick var att täcka husaskar med washitejp (som med askarna jag dekorerade i höstas). Drömmer man, som jag, om en resa kan man göra ett “sparhus” för reskassan och täcka den med sidor ur en gammal kartbok.

Jag har fler planer för mina hus, plus att jag lovat barnen att de ska få dekorera några. Husaskarna kommer alltså säkert dyka upp fler gånger på bloggen framöver. Tänk er att skära ut fönster och dörr och lägga en liten ljusslinga i eller ett batteridrivet värmeljus. Kan bli fint, tror ni inte? Så många idéer – så lite tid. 😉 Ps. Apropå det, ta en titt på det här ljuvliga katthuset av flyttkartonger… ett sådant vill jag göra!
——
Another idea I got was to cover house boxes with washi tape (like the boxes I decorated last autumn). If you like me, have travelling plans, you can make a money bank for your travel cash and cover it with maps from an old atlas. 

I have additional plans for my houses, plus I promised the kids that they could decorate their own. In other words, the house boxes will probably turn up on the blog again in the future. Imagine cutting out windows and a door and add string lights or a battery-operated tea light inside. Wouldn’t that look nice, you think? So many ideas – so little time. 😉 Ps. Speaking of which, have you seen this cute and original cat playhouse made of cardboard boxes? I need to make one!  
Juldukning – Christmas table setting

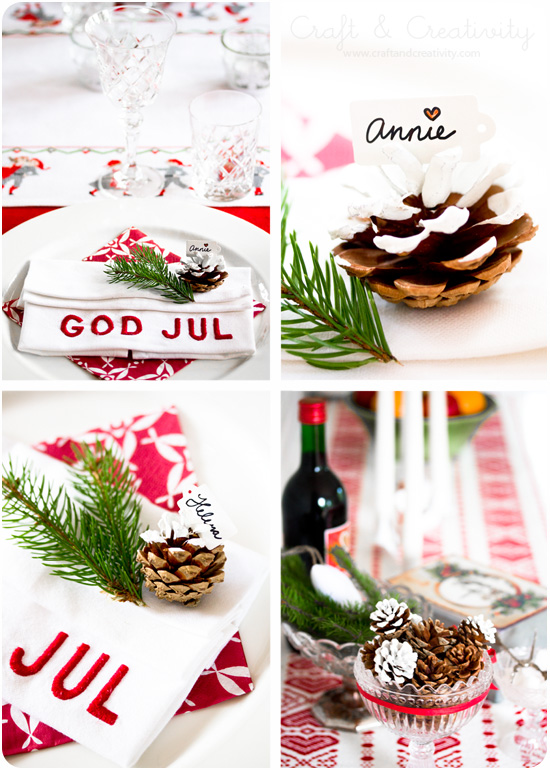
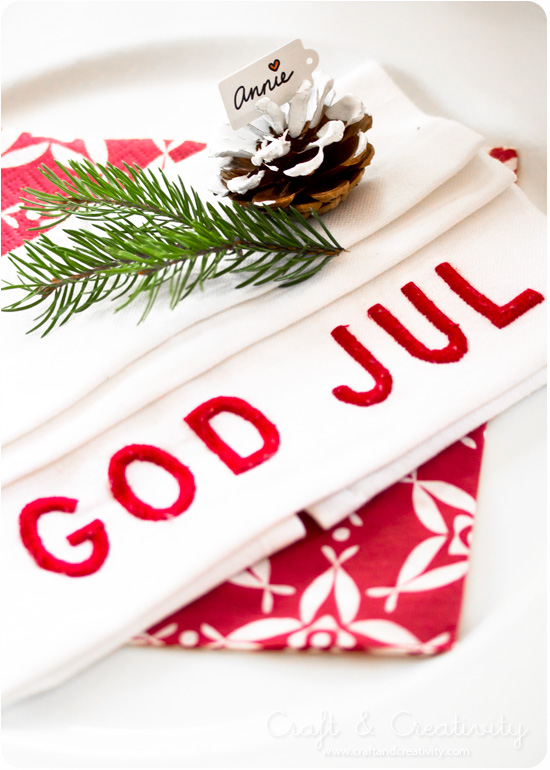
Mina färgdoppade kottar har fått fler användningsområden. Här som placeringskorthållare till en juldukning. I kombination med en grankvist och fina servetter blev det riktigt juligt.
——-
I found additional use for my color dipped pine cones. Here I’ve used them as place card holders for a Christmas table setting. I combined them with a spruce twig and pretty napkins, and the result was very Christmassy. 

Färgdoppade kottar –
Paint dipped pine cones

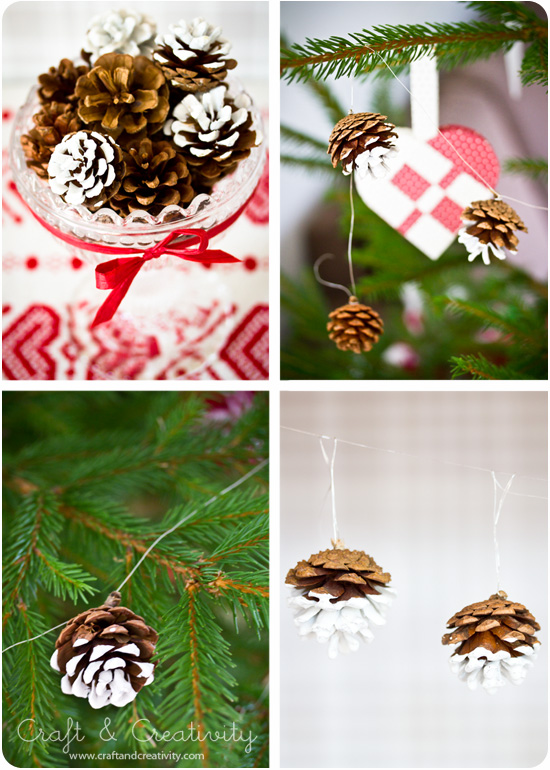
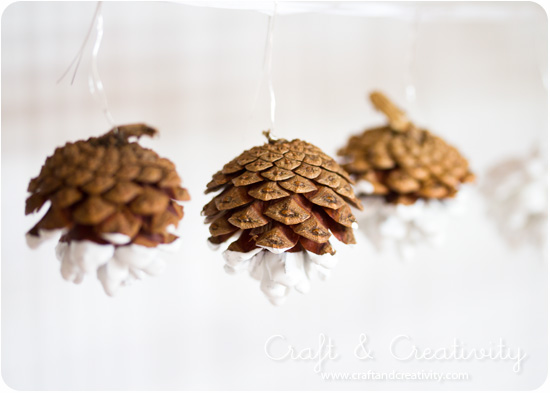
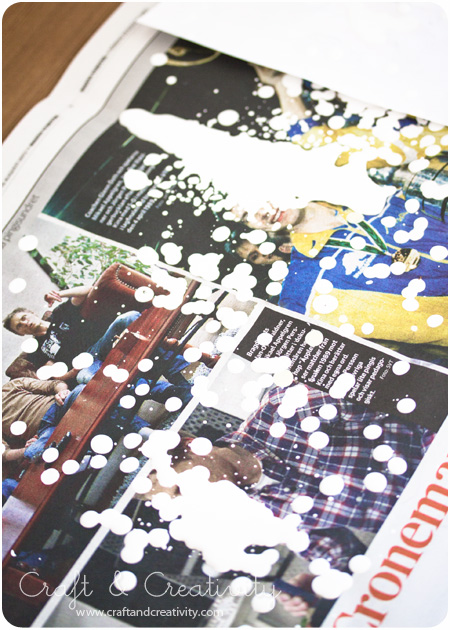
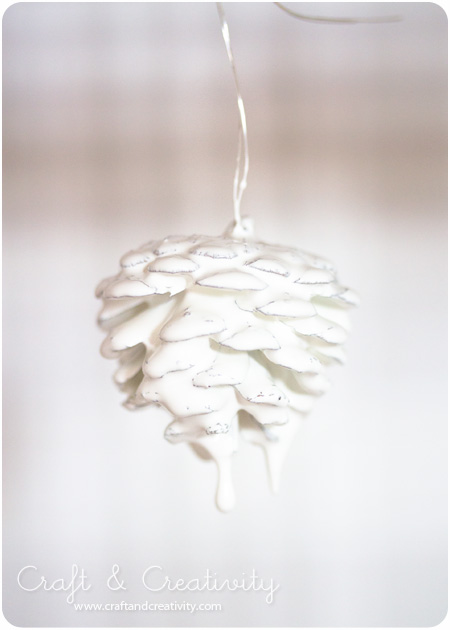
Att doppa kottar i färg blir effektfullt och fint. Av mina doppade kottar gjorde jag en girland till granen, medan några av kottarna får agera prydnad i en skål på fot.

Dipping pine cones in paint creates a nice effect. With mine I made a garland for our Christmas tree, while the rest of the cones are being displayed in a glass bowl. 

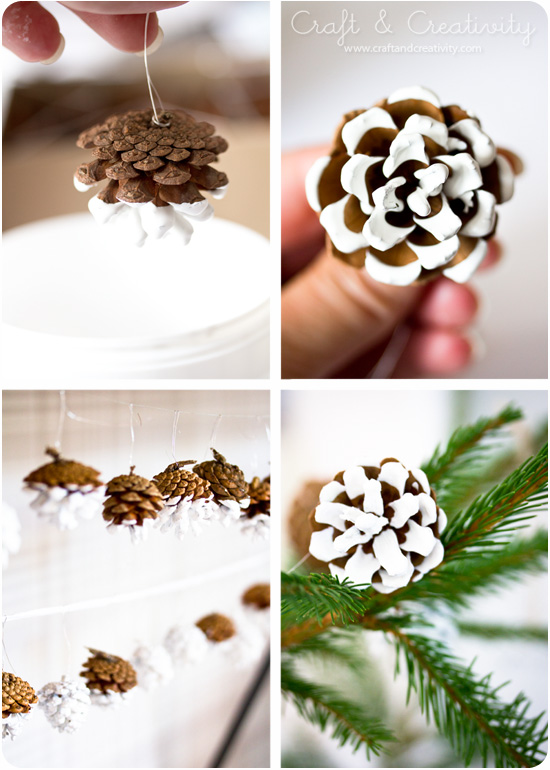
Jag tyckte det var enklast att vira en bit metalltråd runt toppen av kotten så hade jag något att hålla i när jag doppar dem. Jag hällde färg i en gammal yoghurtburk, doppade kottarna helt eller delvis och hängde dem sedan på tork på en lina som jag spände upp under en hylla i köket. Färgen jag använde heter Plus Color och finns på Make & Create. Den torkade på en timme eller två. Ut med er nu och leta kottar under snön! 😉
—–
I found that the easiest way was to wrap a piece of wire around the top of the cone, to have something to hold on to when I dipped them. I poured paint in an old yogurt container, dipped the cones partly or completely, and hung them to dry on a wire underneath a shelf in my kitchen.


Se till att täcka golvet under kottarna. Det droppar rejält! /
Make sure to cover your floor with paper. Dripping is guaranteed! 

Make & Create

Metalltråd

Hobbyfärg

A-color


Make & Create - logo

Juliga burkar – Christmas glass jars


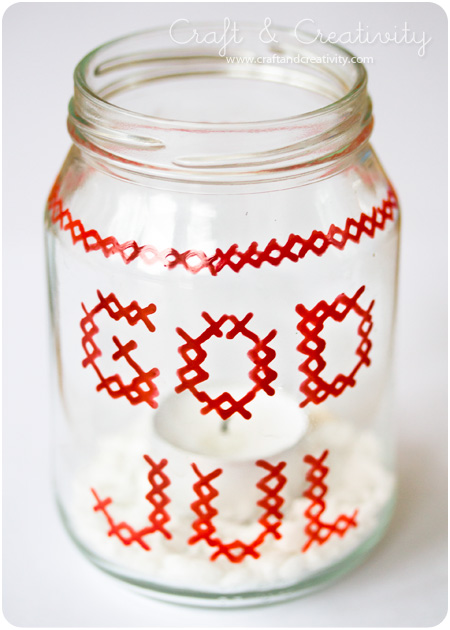
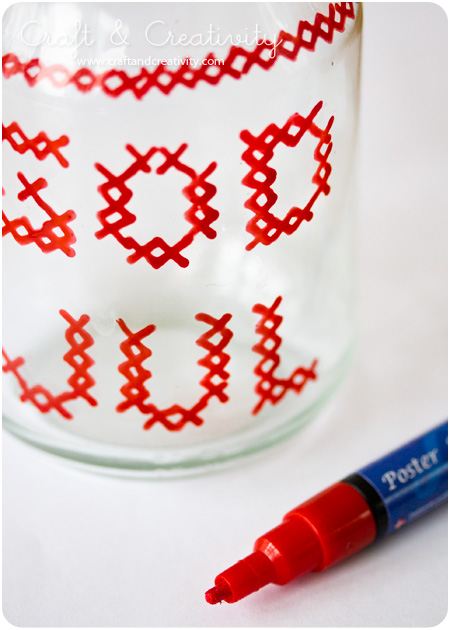
Jag såg några burkar med målat korsstygsmönster i en affär och fick idén att göra det själv och dessutom passa på och återvinna några av de gamla glasburkar som jag har liggande hemma i skåpen. /
I saw some cross stitch decorated jars at a local shop and decided to make my own and at the same way recycle some of those old glass jars I have in my cabinets. 

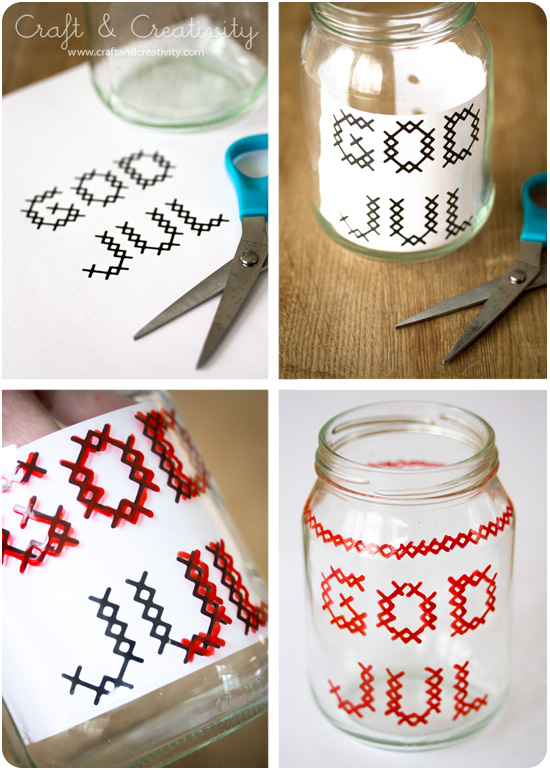
Jag skrev GOD JUL i datorn, skrev ut på skrivaren och klippte till pappersarket så det passade inuti burken. Sedan kalkerade jag med en röd tusch på utsidan av glaset. Typsnittet heter Costura och går att ladda ner gratis på Font Squirrel. Man kan använda glastuschpennor men jag använde Poster Hobby Marker som fäste väldigt bra. Bör dock inte diskas i maskin.
—-
I wrote GOD JUL (Swedish for Merry Christmas) on my computer, printed and trimmed the paper to fit inside the jar. I then traced the text with a red marker on the glass. The font is called Costura and can be downloaded for free at Font Squirrel. You can use regular glass & porcelain markers, but I used Poster Hobby Markers and they worked very well on glass. Not dishwasher-safe though. 


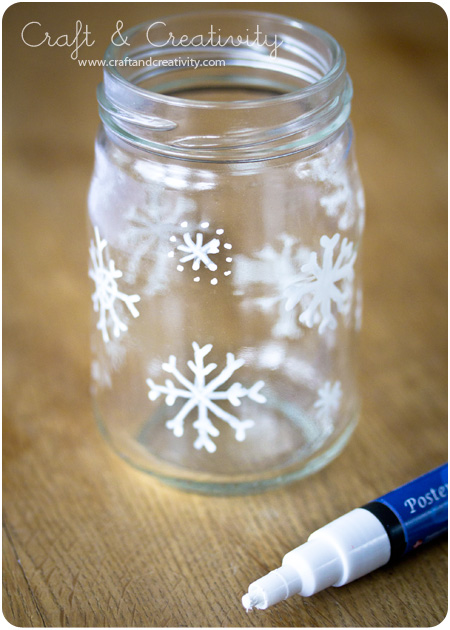
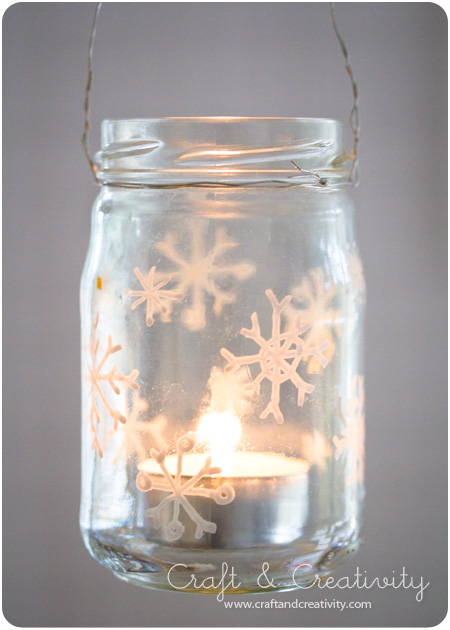
På några burkar ritade jag snöflingor med vit Hobby Marker. För att göra en lykta, virade jag ståltråd runt toppen av burken och gjorde en båge för upphängning. /
On some of the jars I drew snowflakes with a white Hobby Marker. To make a lantern, I twisted wire around the top and made a loop for hanging. 

Kylskåpsmagneter & mormorsväska – Fridge magnets & granny bag

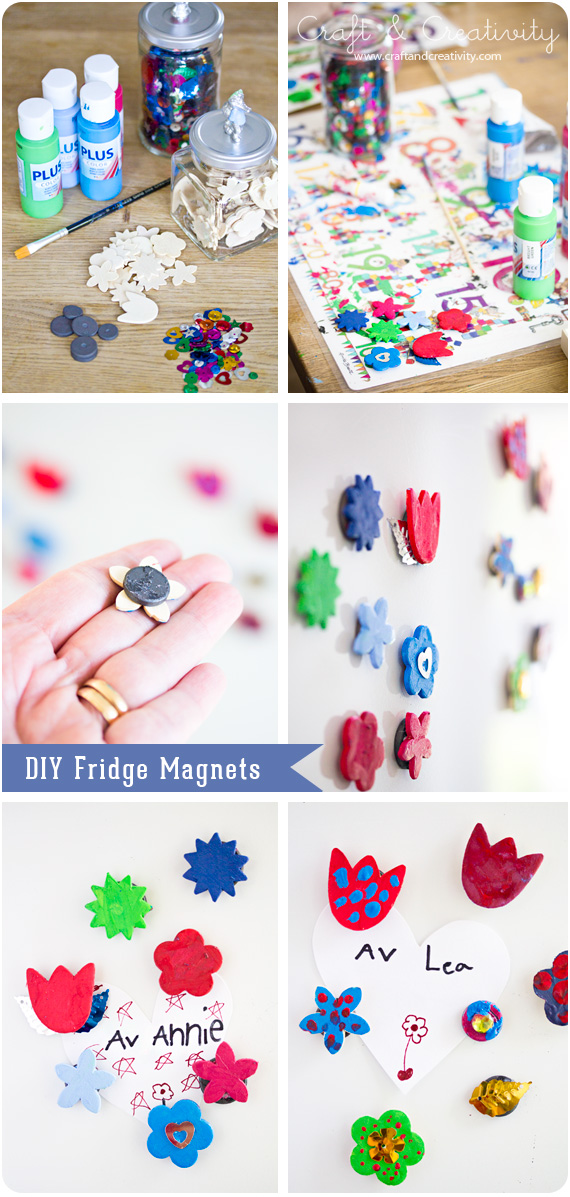
Som ni har förstått är det inte bara jag som pysslar här hemma utan även barnen, så klart. Sjuåringen slår oss alla i kreativitet och hon älskar när jag lägger upp hennes pyssel på bloggen. Som den stolta mamma jag är så visar jag gärna er hennes alster. Dessa söta kylskåpsmagneter har hon gjort tillsammans med en kompis. De använde sig av små träfigurer som de målade med hobbyfärg, lät torka och limmade fast magneter på baksidan. För att magneterna skulle bli extra fina och blänkande pyntades de med paljetter.
—–
As you probably already figured out I’m not the only one in the family to craft, my girls love it too. My seven year old daughter beat us all when it comes to creativity and she absolutely loves it when I publish her crafts on the blog. Being the proud mother I am, I enjoy showing you her creations. She made these cute fridge magnets together with a friend. They used small wooden figures which they first painted with hobby paint, and after drying they glued magnets to the back of the figures. To make the magnets look even prettier, they decorated them with sequins. 

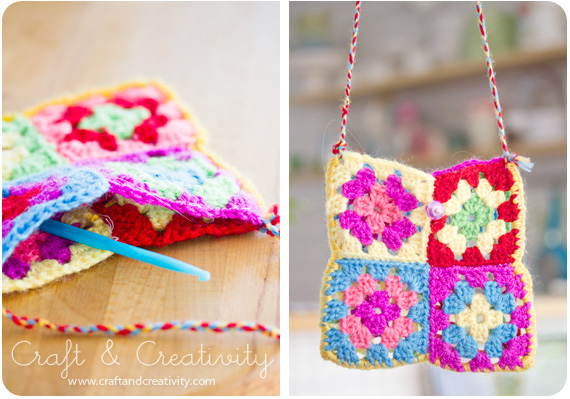
När mormor var barnvakt härom dagen lärde hon dottern att virka mormorsrutor. Tillsammans virkade de denna väska med flätat axelband. Ljuvlig, tycker jag! /
When grandma was looking after the girls the other day, she taught my eldest daughter how to crochet granny squares. Together they crocheted this bag with plaited shoulder strap. I think it’s lovely! 

Upplyst fågelholk – Birdhouse lamp

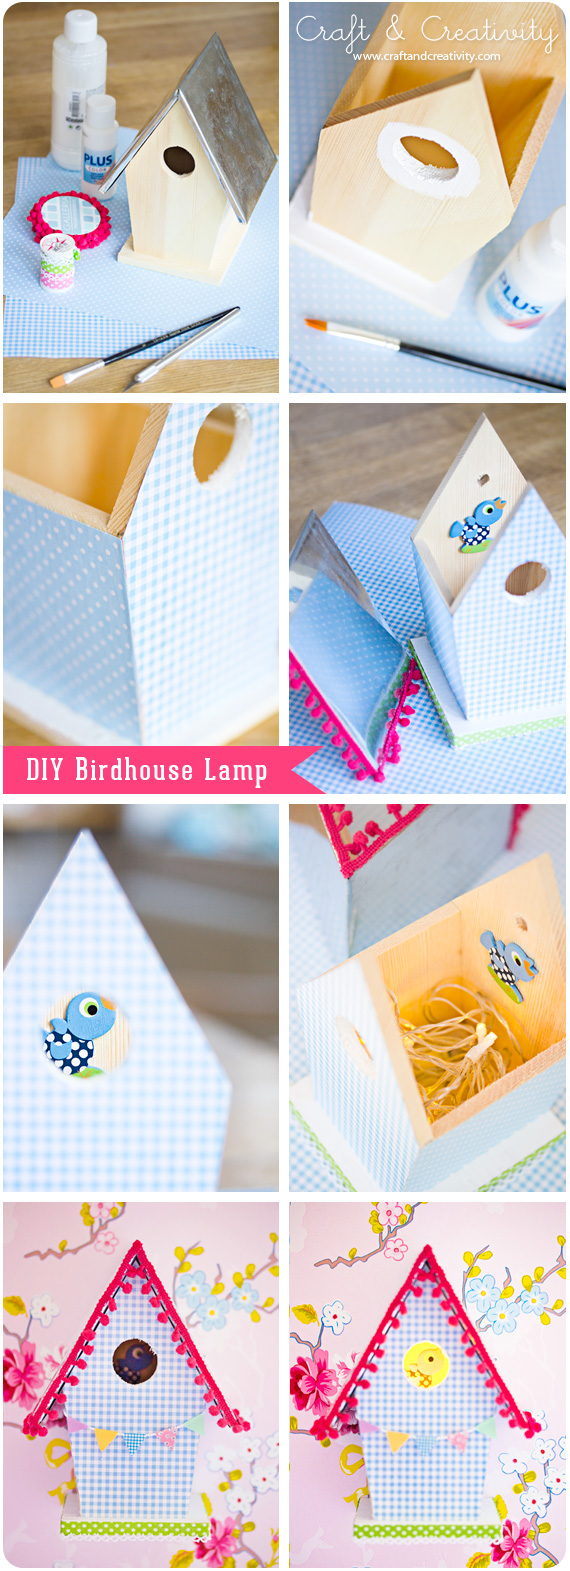
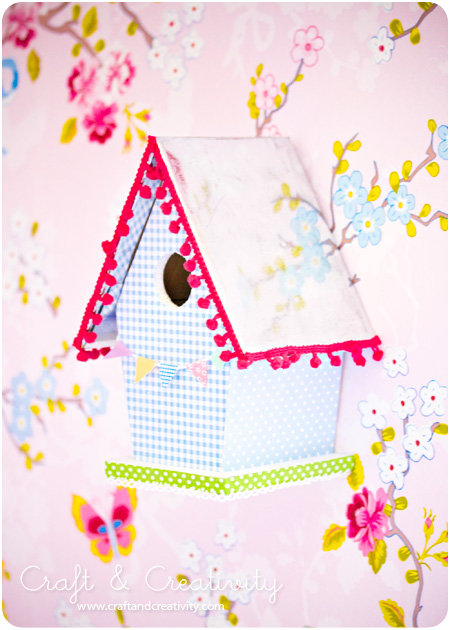
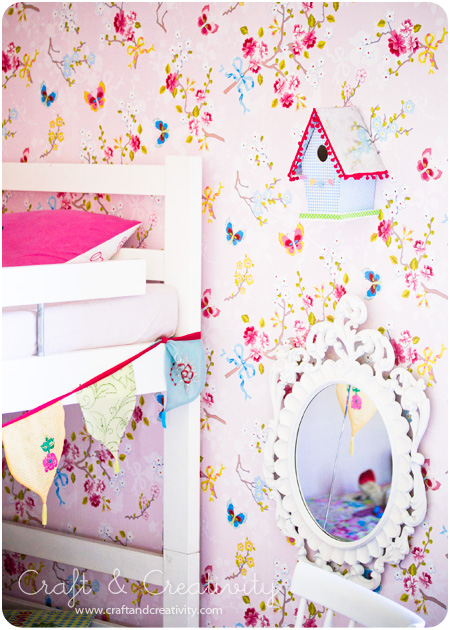
Ända sedan vi tapetserade äldsta dotterns rum med denna söta tapet från Pip Studio så har jag tänkt att det skulle vara fint med en liten fågelholk på väggen, bland blommorna och fjärilarna. Nu hänger den på plats och som en extra finess kan man tända holken på kvällskvisten och den sprider ett litet, men mysigt, sken.

Jag använde mig av en färdig fågelholk. Jag började med att måla bottenplattan och området runt öppningen eftersom dessa delar inte skulle komma att täckas av papperet. Sedan måttade jag och klippte ut papper för att passa formen på fågelholken och penslade decoupagelim på träytan för att fästa papperet. När allt torkat limmade jag fast bollfrans på taket och ett prickigt band runt bottenplattan. Jag klistrade en liten träfågel på bakstycket av holken. För att få belysning i holken använde jag mig av en batteridriven ljusslinga och slapp därmed sladdar. För inköpsställen av allt material, se information längst ner i denna bloggpost.
——
Ever since we decorated our eldest daughter’s room with this cute wallpaper from Pip Studio, I’ve been thinking it would look nice with a small birdhouse on the wall, among all the flowers and butterflies. Now it’s there and as an extra feature I turned it into a lampshade and it spreads a subtle, but cozy, light. 

I used a pre-made birdhouse but of course you can also make one from scratch. First I painted the parts that I knew beforehand wouldn’t be covered by paper, using white craft paint. I measured and cut out my patterned paper to fit the birdhouse, then I brushed decoupage glue onto the wooden surface and attached the paper. When everything had dried, I glued a ball fringe onto the roof and a polka dotted ribbon around the base. I attached a small wooden bird to the back of the birdhouse. To get light in the birdhouse I used a battery powered string light to avoid electrical cables. For more information on the material I used, please read the information at the end of this blog post. 

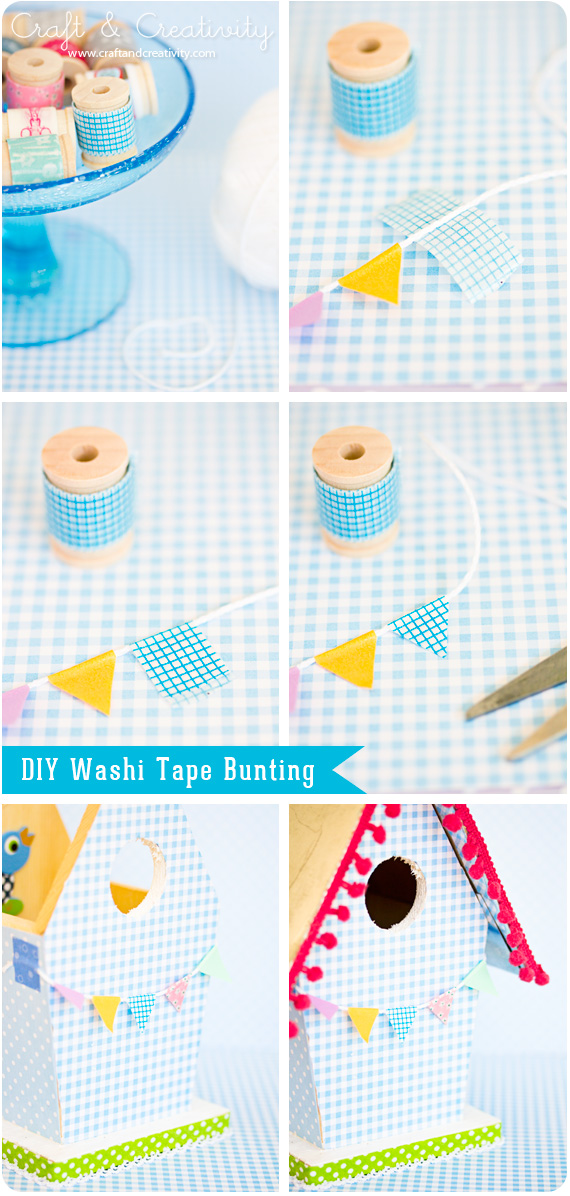
Vimplarna gjorde jag av washitejp och en bit garn. Vik tejpen över garnet och forma vimplarna med en sax. Jag fäste mina girland med en bit washitejp på båda sidor av fågelholken. /
I made the pennants out of washi tape. Fold the tape over the yarn and shape the pennants with a pair of scissors. I stuck my garland to both sides of the birdhouse using pieces of washi tape.

Skulle dottern ledsna på att ha den som lampa kan hon bara lyfta på locket och använda holken som ett gömställe för hemliga saker…
———
Should my daughter get tired of using it as a lampshade, she can simply lift the roof and use the birdhouse as a perfect hiding place for secret stuff… 

Den rosa tapeten kommer från Pip Studio (InTrade är återförsäljare i Sverige). Ljusslingan köpte jag på Ikea för länge sedan.
————
The pink wall paper comes from Pip Studio. The string lights were purchased at Ikea some time ago.