Knappringar – Button rings

Knappringar / DIY Button rings - Craft & Creativity

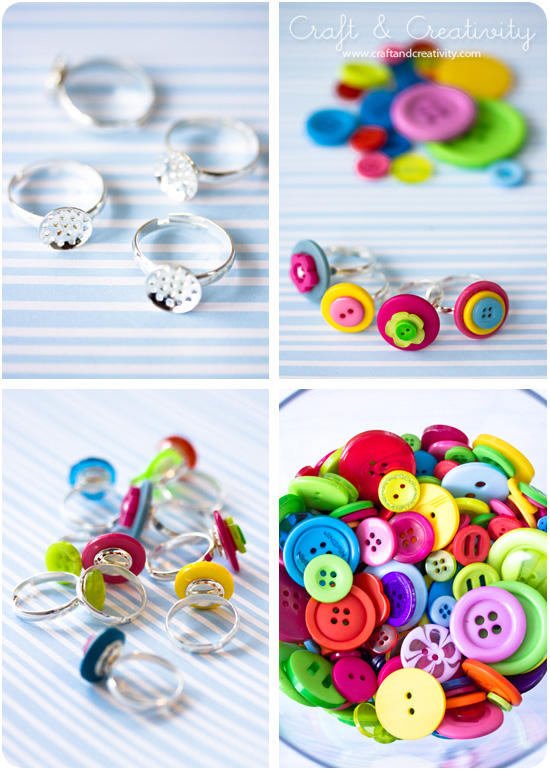
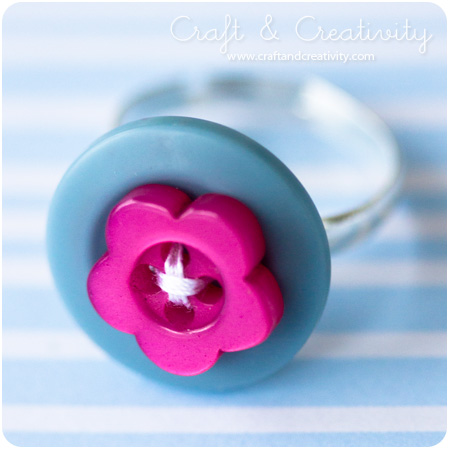
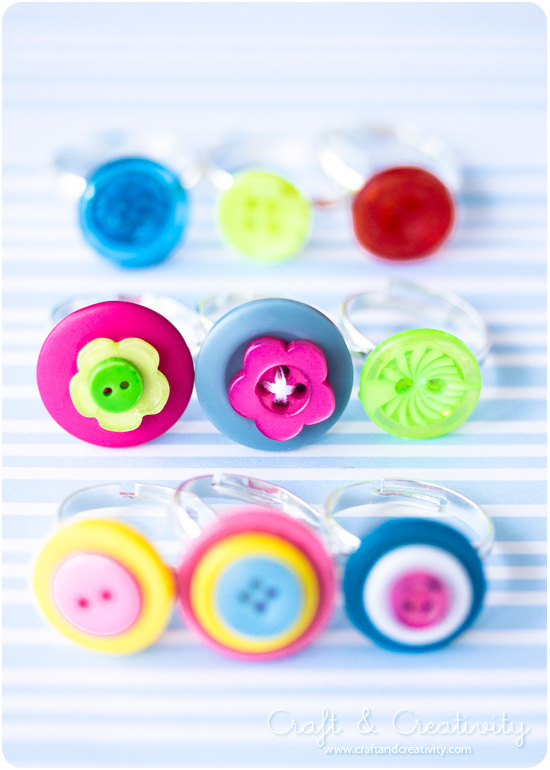
Jag fortsätter pyssla med med mina glada knappar. Förra månaden, när jag gjorde mina knappblommor fick jag även en idé att göra smycken av knapparna. Det har nu resulterat i knappringar! De har blivit en succé här hemma och barnen och jag nästan slåss om dem. Jag har haft mina på mig på jobbet och fått många positiva kommentarer.
———-
I keep crafting with my happy buttons. Last month, while making my button flowers, I got the idea to use the button for making jewelry. This has now resulted in a bunch of button rings! They’ve become very popular in our family and the kids and I almost fight over them. I’ve wore my rings to work and received many positive comments. 

Knappringar / DIY Button rings - Craft & Creativity

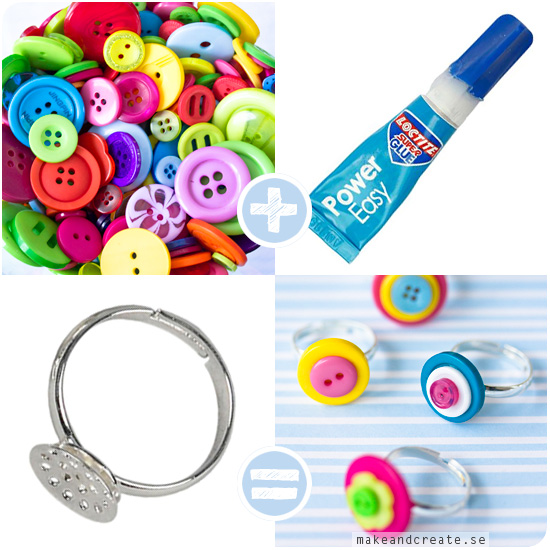
Du behöver: Knappar i olika storlekar & färger, sekundlim och ringar med en platta att fästa knapparna vid. Jag använde försilvrade broderiringar som går att justera i storlek för att passa både små och stora fingrar. Mixa & matcha knappar och limma fast dem på ringen. Sekundlim torkar, som namnet antyder, blixtsnabbt så var försiktig. Du vill inte limma ihop fingrarna. 😉
——————-
You will need: Buttons in different sizes & colors, super glue and rings with a plate to attach the buttons. I used adjustable silver-plated sieve rings. Mix & match the buttons and glue them on the plate of the ring. Super glue dries really quick, so be careful. You don’t want to get it on your fingers. 😉

Knappringar / DIY Button rings - Craft & Creativity

Vill man så kan sy fast knapparna istället för limma. Broderiringarna har små hål i den runda plattan och med en smal nål kan man sy fast knapparna med sytråd.
————
If you like you can sew the buttons in place, instead of gluing. Sieve rings have a round plate with small holes and with a fine needle and some sewing thread you can sew the buttons to the plate.

Knappringar / DIY Button rings - Craft & Creativity

Jag har sett andra söta knappringar hos Prickig och Lilla a. De har gjort sina knappringar med elastiskt band istället. Smart! Ta även gärna en titt på Pysselbolagets tjusiga knapparmband, även dessa gjorda med gummitråd.
—————
I’ve seen other cute button rings at Prickig and Lilla a. They made their button rings using elastic thread instead. Smart! And why not take a look at Pysselbolagets sweet button bracelets, also made with rubber thread.

Hushyllor på fler sätt –
House shelves in more ways

House shelves - by Craft & Creativity

Jag har visat dessa små söta hushyllor tidigare och då använt dem som förvaring för gamla nycklar och för nagellacksflaskor. Här kommer ytterligare ett par sätt att dekorera prylhyllor och olika användningsområden för dem.
————
I’ve blogged about these cute little shelves before. I then used them as a Key cabinet and a Nail polish shelf. Now I’m going to show you some additional ways to decorate small shelves and different ways to use them.

House shelves - by Craft & Creativity

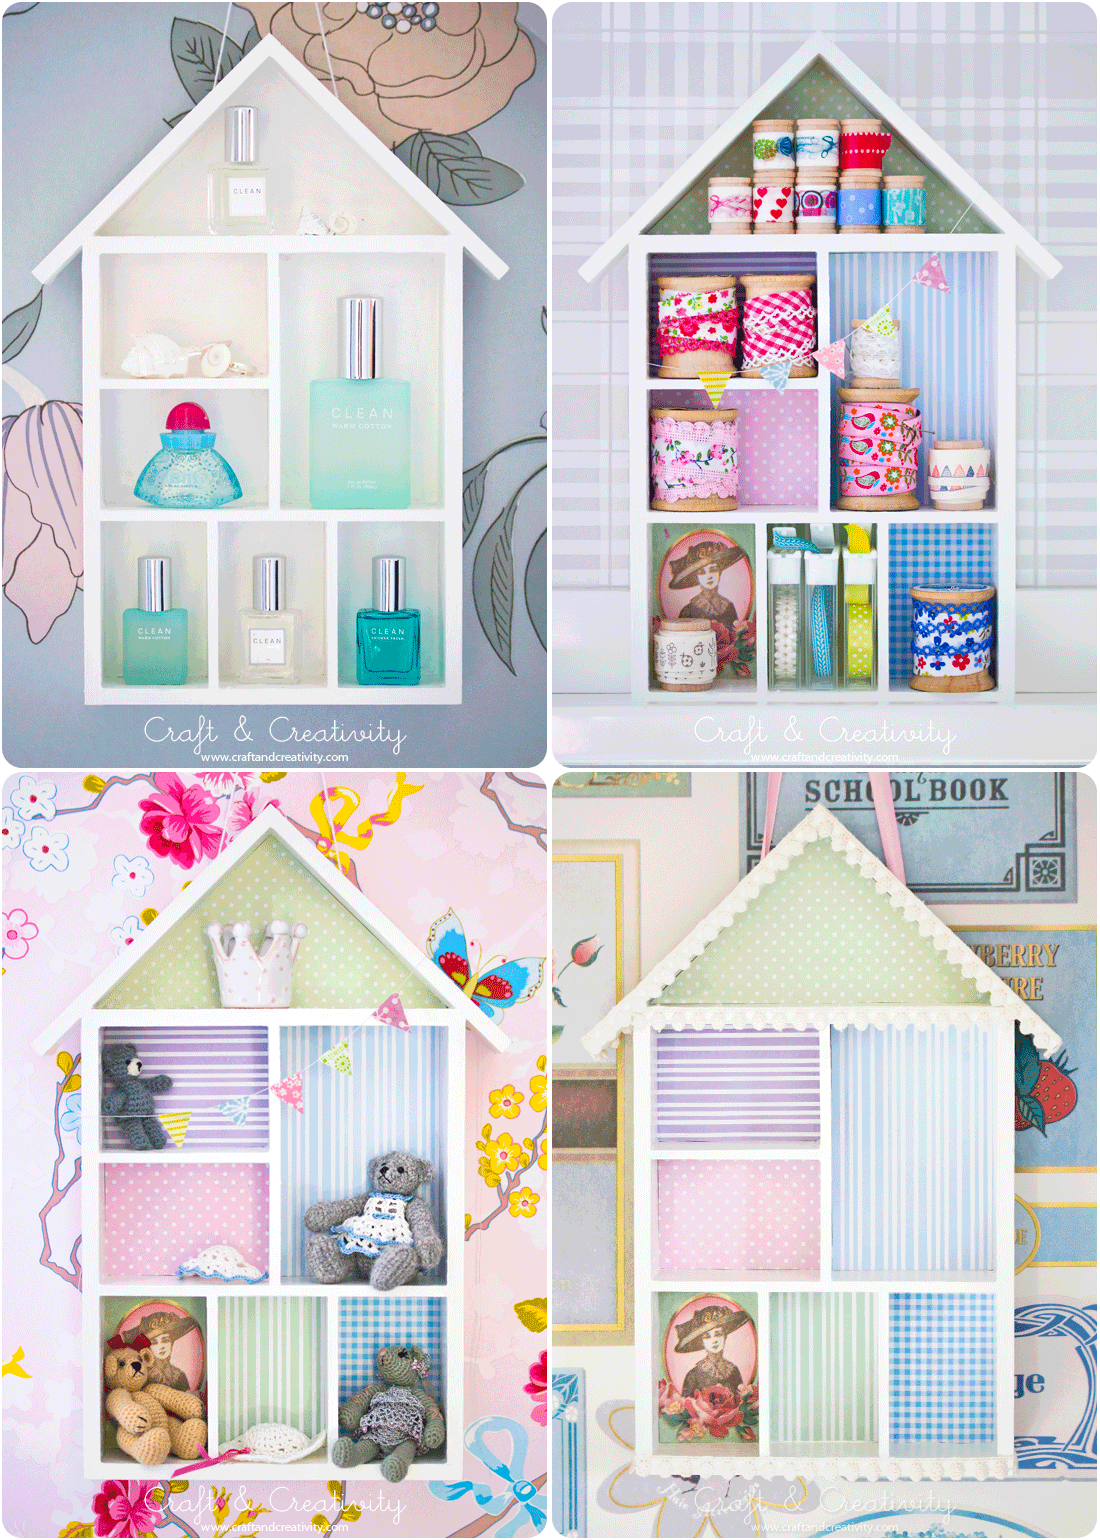
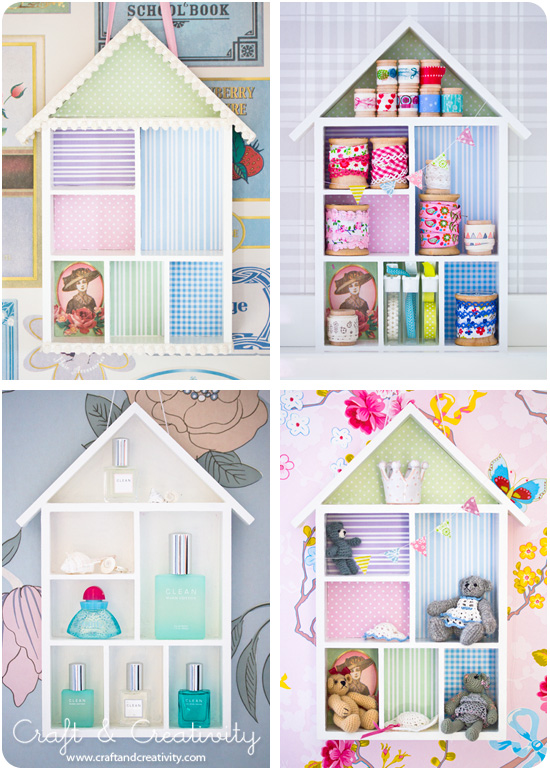
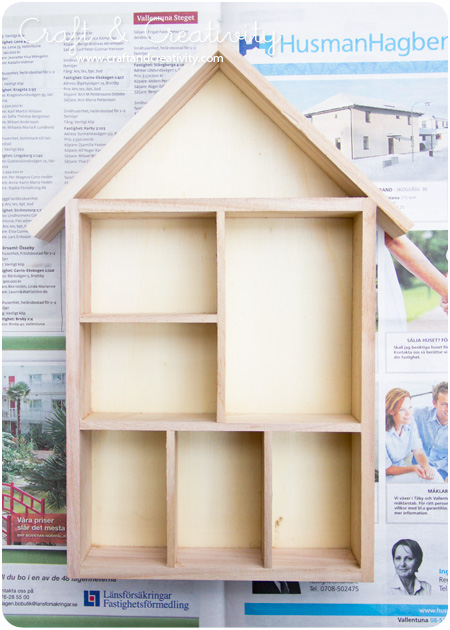
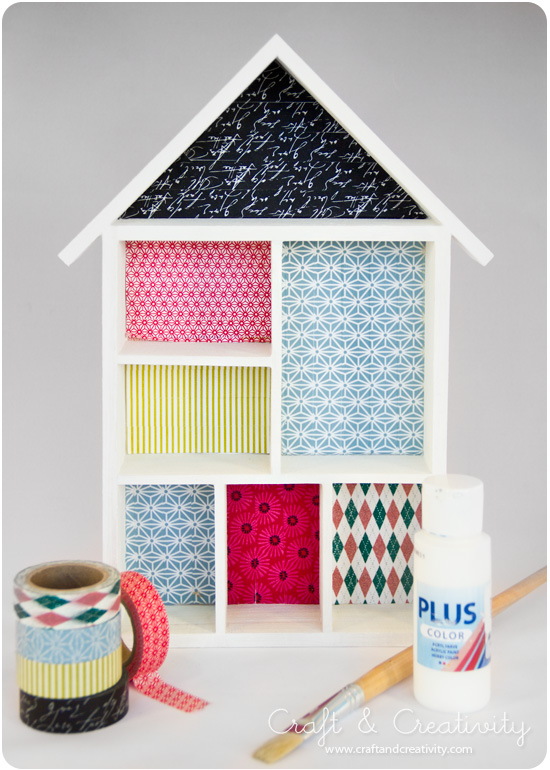
Hyllan är ursprungligen träfärgad men har målats vit med vanlig hobbyfärg. Jag dekorerade en hylla med en blandning av designpapper och små tapetprover. Längst ner till höger ser ni barnens nallar som min duktiga mamma virkat.
————–
This particular shelf is comes unpainted and I painted it with regular white hobby paint. I decorated the back of one of the house shelves with a mix of paper scraps and wallpaper samples. At the bottom right you can se my girls’ tiny teddy bears, crocheted by my talented mum

House shelves - by Craft & Creativity  House shelves - by Craft & Creativity

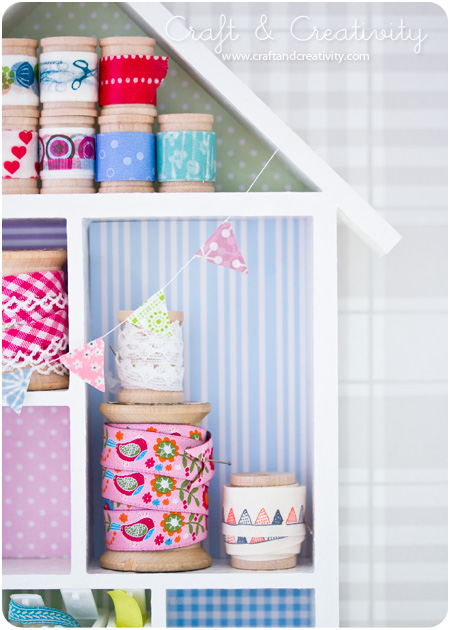
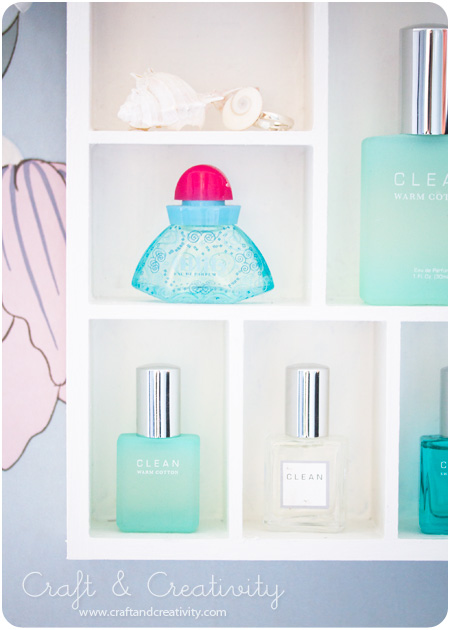
Hyllan till vänster är fylld med fina band på trådrullar och har fått en girland med vimplar av washitejp. Jag girlanden på samma sätt som till dotterns upplysta fågelholk. Till höger används hyllan till små flaskor med parfymprover.
———
The shelf to the left is filled with pretty ribbons on spools and decorated with a pennant garland made of washi tape. I made the garland the same way I made the one for my daughter’s birdhouse lamp. The shelf to the right is used to store small bottles of perfume samples. 

Se även: / See also: 
Key Cabinet - by Craft & Creativity  Nail polish shelf - by Craft & Creativity  Birdhouse lamp - by Craft & Creativity

Piffa till gamla vaser –
Decorate old vases

Decorating old vases - by Craft & Creativity

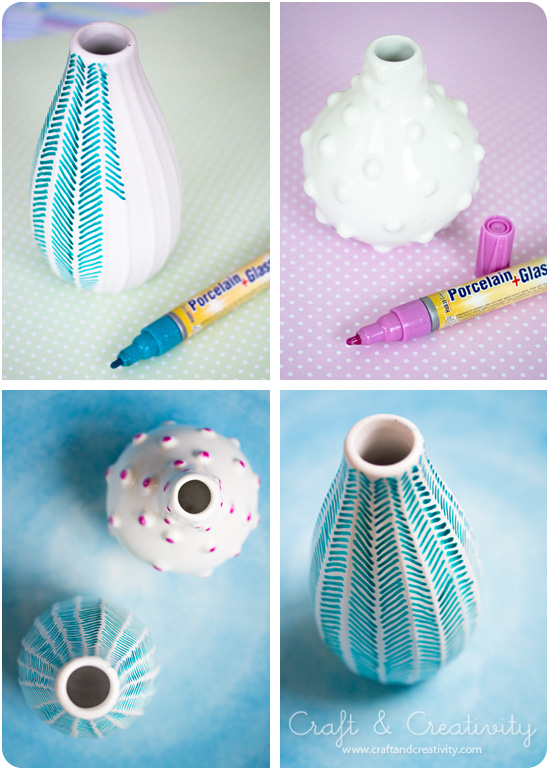
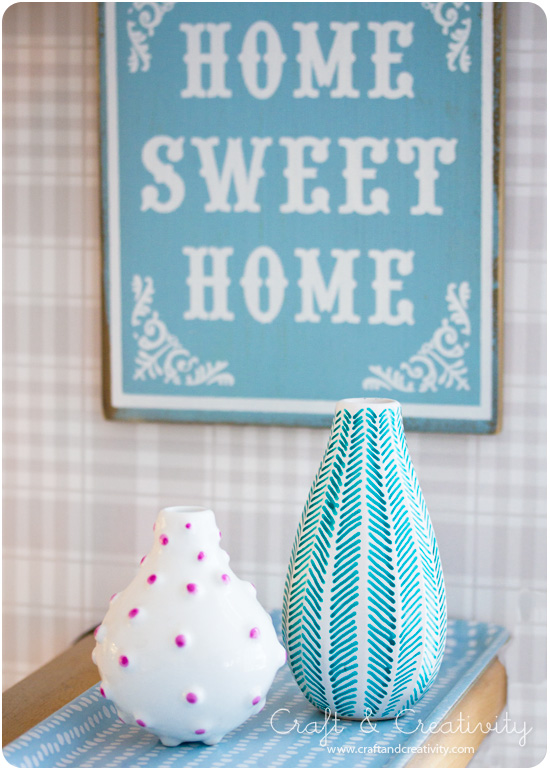
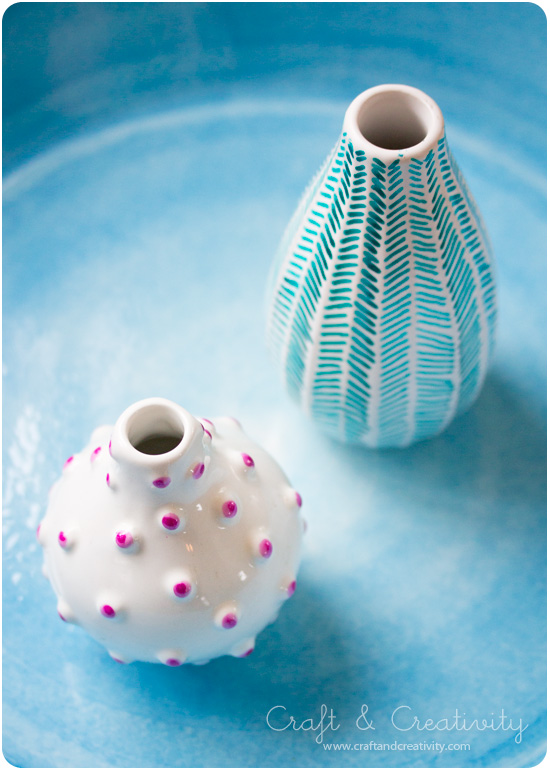
Mitt första försök med porslinspennor gav mig lust att experimentera vidare. Här har jag piffat till några små vaser (från Ikea?) som jag haft i skåpet länge. Jag använde glas- och porslinstusch med glittereffekt. Precis som sist ser man att min hand inte är särskilt stadig men helheten blir helt ok ändå.
————-
My first try with porcelain pens inspired me to experiment further. Here I’ve decorated small porcelain vases (from Ikea?) that I had stored in a cupboard. I used a glass and porcelain marker with glitter effect. Just like last time you will my notice my hand isn’t very steady. But the overall effect looks ok anyway.

Decorating old vases - by Craft & Creativity

Så länge färgen inte torkat kan du ta lite blött hushållspapper och torka bort eventuellt kludd. När du är klar låter du färgen torka i ca 4 tim och sedan ska den härdas i ugnen (160°C i 30 min). Då tål den mild maskindisk.
——–
As long as the paint is still wet, you can use a wet paper towel to wipe away errors. After a drying time of 4 hours, cure at 160°C in a non-preheated kitchen oven for 30 minutes. Then the paint will  withstand gentle machine wash.

Decorating old vases - by Craft & Creativity

Nu ska jag bara fylla dem med lite blommor. Välkommen hit våren, jag längtar! 🙂 /
Now I just need to fill them with small flowers. Welcome here Spring, I can’t wait! 🙂

Bygg ditt eget kakfat –
Make your own cake stand

Bygg ditt eget kakfat - Craft & Creativity

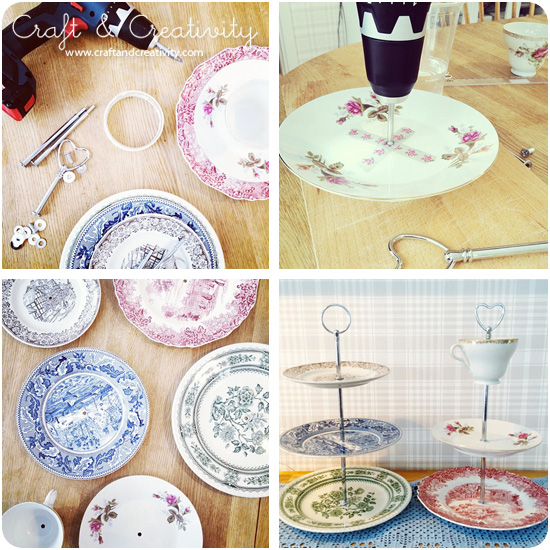
I lördags roade jag mig med att bygga kakfat. Hur kul som helst! Dock glömde jag kameran på kontoret så steg-för-steg bilderna nedan är tagna med mobilen. Ni som följer mig på Instagram kanske såg dem redan i lördags.
——-
Last Saturday, I amused myself by building cake stands. For those of you non-Scandinavian, Etsy is probably the right place to look for cake stand parts. It was so much fun! However, I forgot my camera at the office so I hade to take the step-by-step photos with my mobile phone. Those of you who follow me on Instagram might already have seen them.

Bygg ditt eget kakfat - Craft & Creativity

Från det att jag började diska porslinet tills det att mina båda kakfat var klara tog det inte ens 45 min. Det tycker jag var snabbt! Det var verkligen mycket enklare än jag trodde. Instruktioner för att bygga ett eget kakfat följer ofta med när man beställer kakfatsdelar. För att borra i porslin behöver man en kakelborr som man sätter i sin vanliga borrmaskin. Om man vill ha ett extra runt och fint hål så byter man kakelborren mot en diamantborr mot slutet av borrningen.
——–
From the moment I started washing the china, until my two cakes stands was ready, it took less then 45 minutes. It felt quick and it was much easier then I thought. Instructions for building a cake stand is included when you buy your kit. To drill holes through porcelain you need a tile drill bit that you use in your regular drill machine. If you want extra round and fine holes you can replace the tile drill bit with a diamond drill bit towards the end of the drilling. 

Bygg ditt eget kakfat - Craft & Creativity

Det roliga med att bygga egna kakfat är att man kan mixa och matcha porslin lite som man vill. Du kanske har fat, skålar eller koppar hemma som du vill använda? Annars är det lätt att hitta gammat fint porslin på loppis, för en billig slant.
———-
The great thing about building your own cake stands is that you can mix and match the china as you want. Perhaps you have plates, bowls or cups at home that you could use? Otherwise, it’s easy to find pretty porcelain at a flea market for a small sum.

Bygg ditt eget kakfat - Craft & Creativity

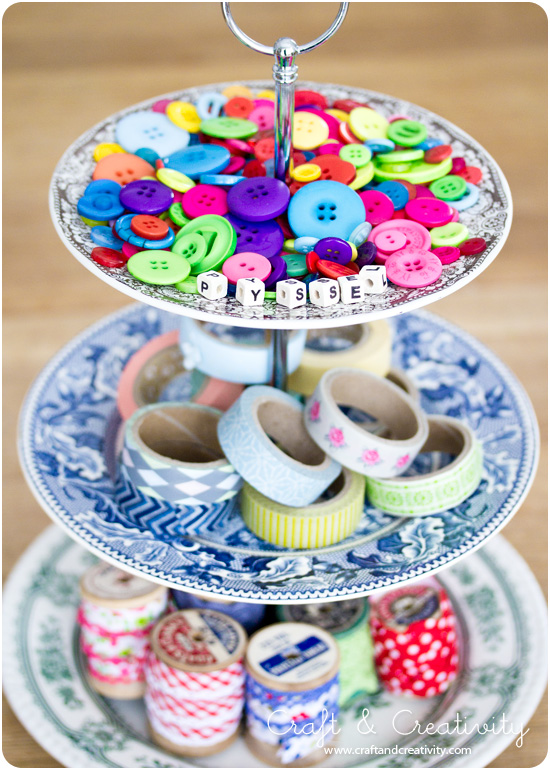
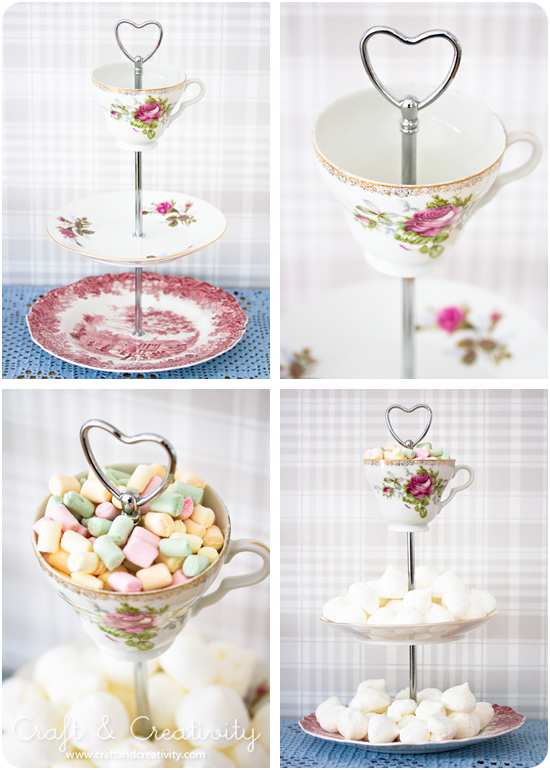
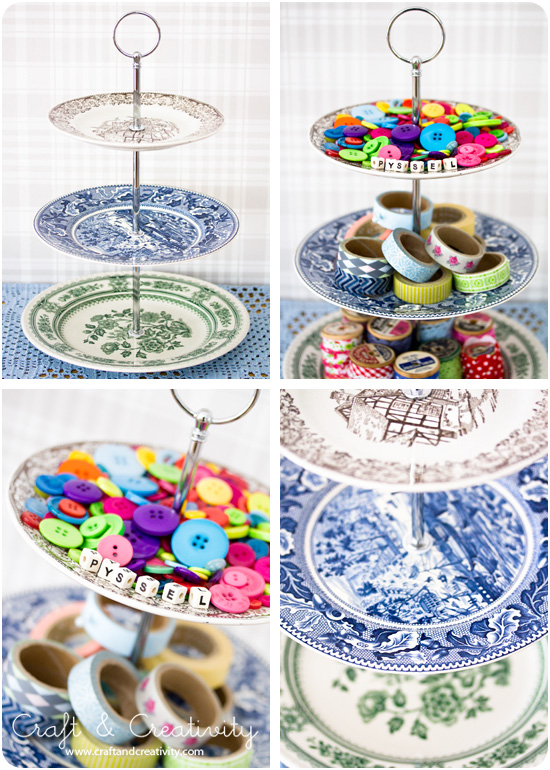
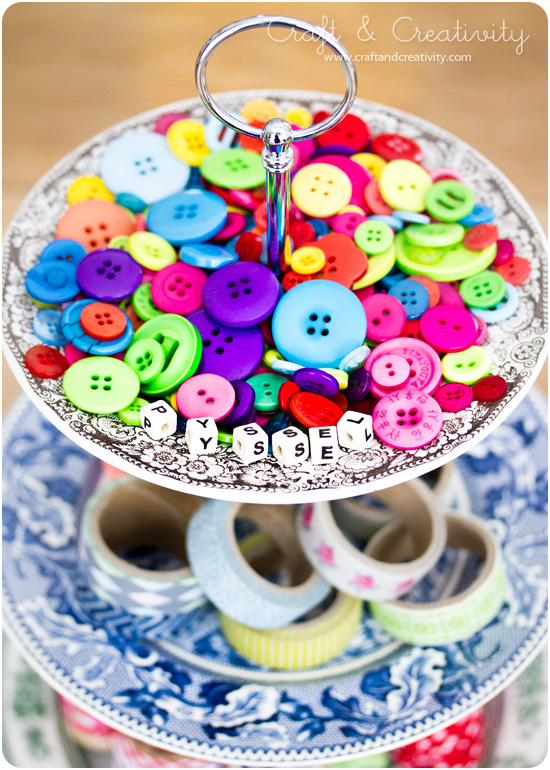
Kakfaten kan man använda till allt möjligt. I lördags fyllde vi ett fat med smågodis som vi mumsade i oss till Melodifestivalen. Faten fungerar säkert toppen till uppläggning av snittar till en fest, kakor (förstås) och cupcakes. Eller så gör man som jag och använder sitt fat till något helt annat – pysselmaterial! 🙂
———-
The cake stands can be used for many things. On Saturday night we filled it with candy. The plates should also be perfect for afternoon tea sandwiches, cakes (of course) or cupcakes. Or do like me and use a cake stand to store something completely different – craft material! 🙂

Bygg ditt eget kakfat - Craft & Creativity  Bygg ditt eget kakfat - Craft & Creativity

Minus undrar vad det är för konstiga kakor som ligger på fatet… /
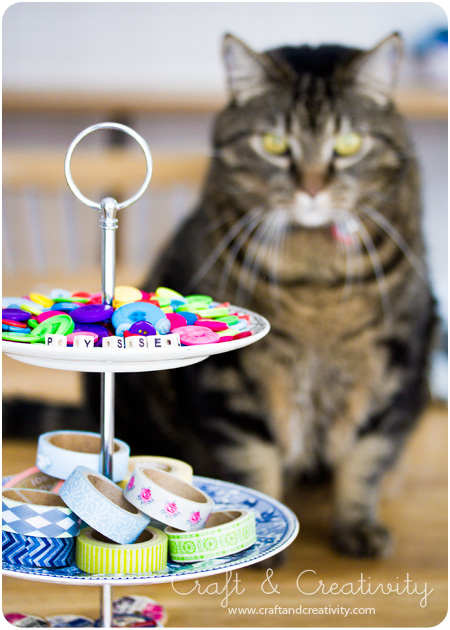
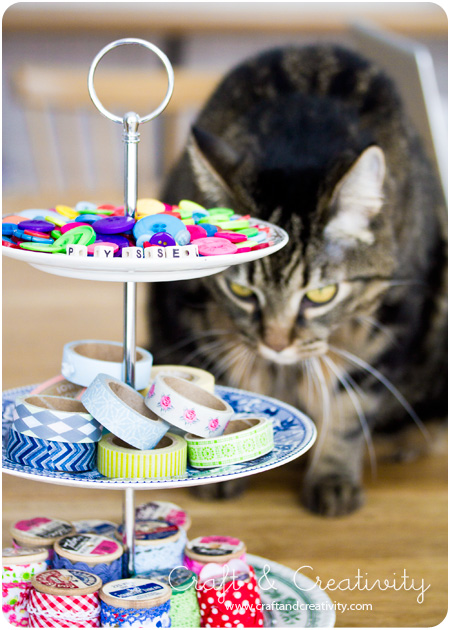
Minus is curios about those weird looking cookies … 

Bygg ditt eget kakfat - Craft & Creativity

Hylla för nagellack – Nail polish shelf

Nail polish shelf (decorated with washi tape) - by Craft & Creativity

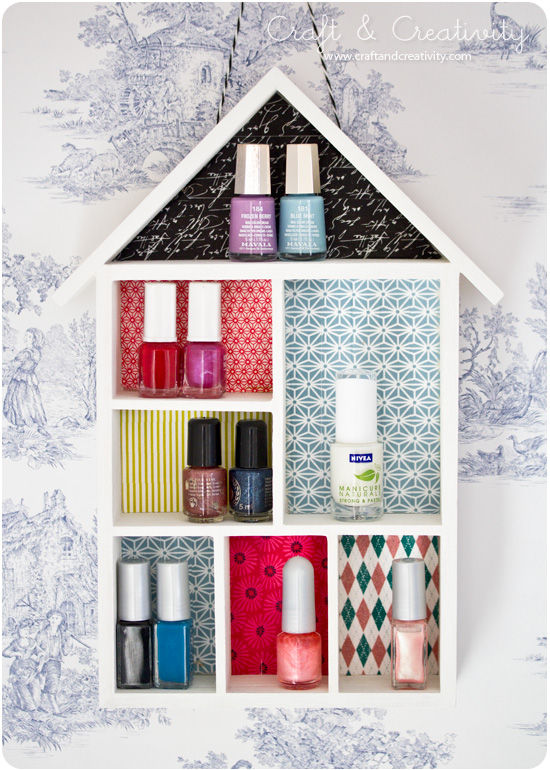
Ett roligt sätt att använda prylhyllor är som förvaring för nagellack. Nagellacksflaskor är ofta dekorativa så varför gömma undan dem? Jag vet att åsikterna går isär, huruvida man ska förvara dem i kylskåp eller ej. Jag har för min del aldrig märkt någon skillnad.
——-
A fun way to use small shelves like these is to use them for nail polish storage. Nail polish bottles are often decorative so why not display them? I’m aware that opinions differ, whether to store them in the fridge or not. However, I never noticed any difference.

Nail polish shelf (decorated with washi tape) - by Craft & Creativity  Nail polish shelf (decorated with washi tape) - by Craft & Creativity

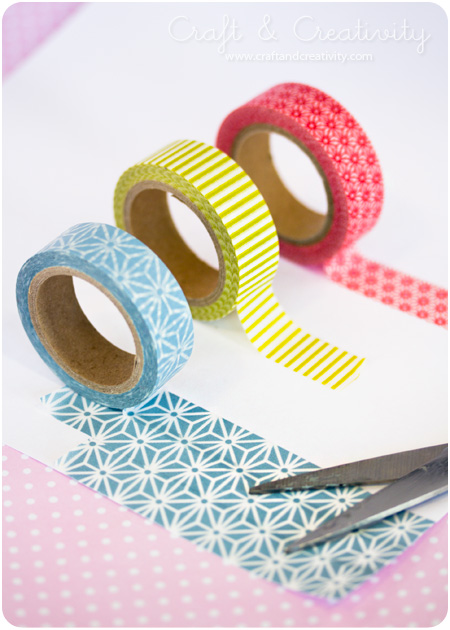
Den här hyllan är målad vit och dekorerad med washitejp. Man kan även använda bitar av tapetprover, mönstrat papper, decoupagepapper eller fina servetter. /
This shelf is painted white and decorated with washi tape. You could also use pieces of wallpaper samples, scraps of patterned paper, decoupage paper or pretty paper napkins.

Nail polish shelf (decorated with washi tape) - by Craft & Creativity  Nail polish shelf (decorated with washi tape) - by Craft & Creativity

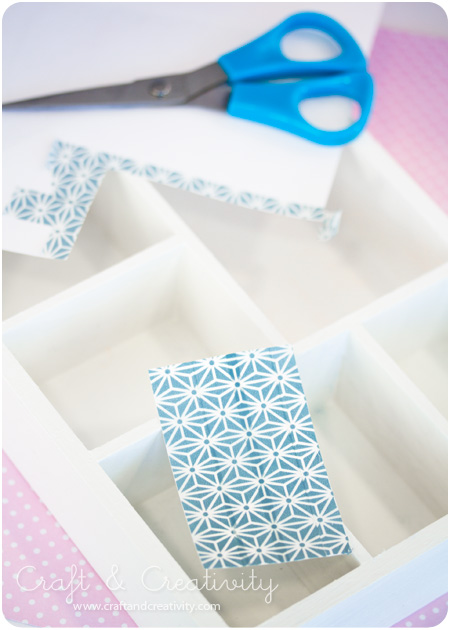
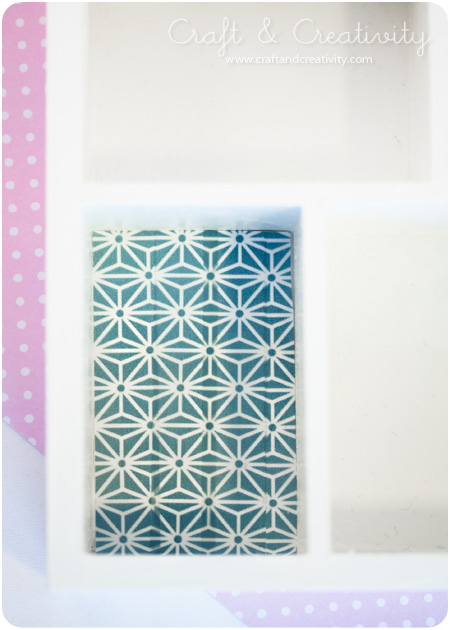
Fäst tejpen på en bit papper som du klipper till i rätt storlek. Mönsterpassa tejpen för snyggast resultat. Limma sedan fast papperet i de olika facken. Det är enklare än att tejpa direkt på hyllan. Lacka ytan om du vill. /
Add the washi tape to a piece of paper and cut the paper to fit the box. Align the tape pattern for best result. Then glue the paper to the back of each box. It’s much easier than to tape directly on the shelf. If you like you can seal the surface with laquer. 

Nail polish shelf (decorated with washi tape) - by Craft & Creativity

Voilà! Hyllan är klar. Missade du när vi gjorde nyckelskåp av hushyllor, så kan du klicka här. / Voila! You’re done. If you missed out on our house shaped key cabinet, please click here

Roliga bokmärken – Fun bookmarks

Bookmark template - by Craft & Creativity

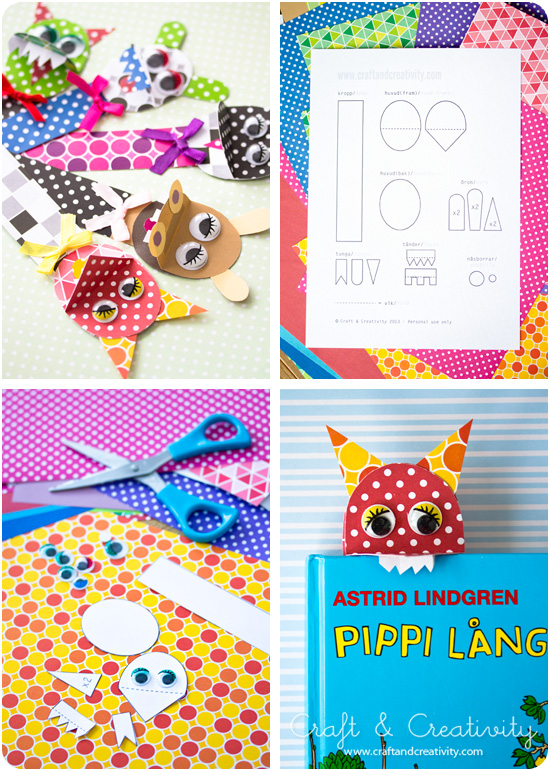
Min dotter Annie kom hem från skolan härom dagen och talade om för mig att
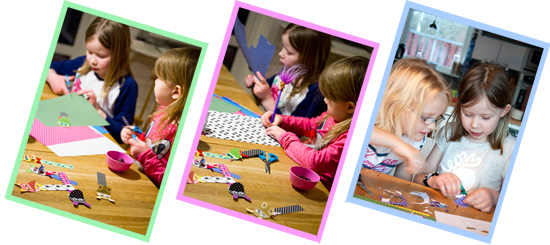
“-Mamma, nu ska jag lära dig göra roliga bokmärken!”. Och det gjorde hon. Visst blev de fina? Först lärde hon mig och sedan höll hon kurs för sin lillasyster. I lördags visade hon även bästa pysselvännen Freja hur man gör. Vi var hemma hos Karin & Freja från Pysselbolaget en hel dag, pysslade tillsammans och hade roligt.
—————-
My daughter Annie came home from school the other day and stated “-Mom, I’m going to teach you how to make fun bookmarks”. And she did. Don’t they look pretty? First she taught me, and then she held a course for her little sister. Last Saturday, she also showed her best crafting friend Freja from Pysselbolaget how to make the bookmarks. We spent a whole day at Karin & Freja’s house, creating and having fun.
Bookmark template - by Craft & Creativity
Bild 1 & 2: Systrarna pysslar                           Bild 3: Freja & Annie (Karin fotograf)
Photo 1 & 2: Crafting sisters                           Photo 3: Freja & Annie (Karin’s photo)
Bookmark template - by Craft & Creativity

Med min dotters hjälp har jag gjort en mall som ni kan ladda ner om ni vill. Det går utmärkt att göra bokmärkena utan mall också – men vill man ha lite vägledning så klicka här för att ladda ner pdf-filen.
————–
With my daughter’s help, I made a template that you can download if you like. It’s not necessary to use the template – but if you want a bit of guidance, simply click here to download the pdf file

Bookmark template - by Craft & Creativity

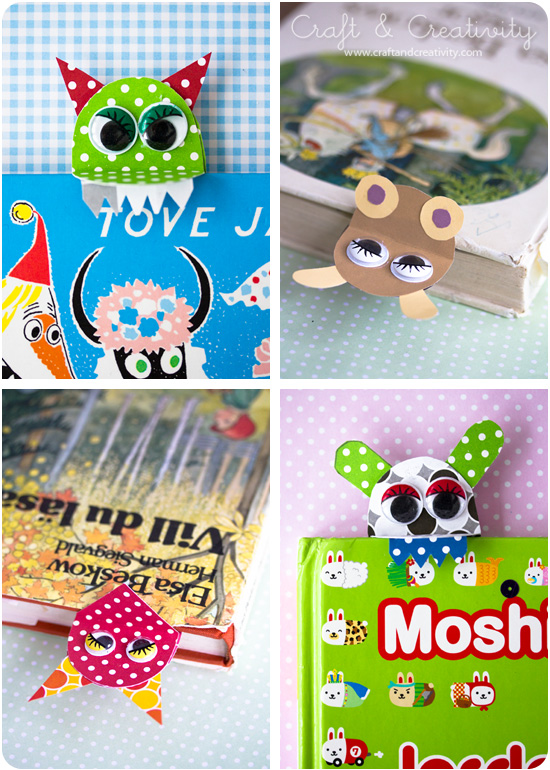
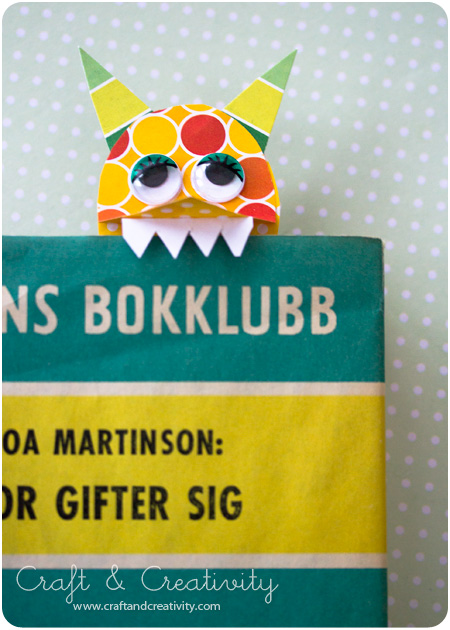
Du behöver: Mönstrade papper (vi använde Color bar kartong 250 g och Color bar papper 100 g), plastögon, lim, sax och lite passande pynt att dekorera med.

Gör så här:
1. Klipp ut alla delar. Kropp, huvud bak, huvud fram (välj mellan rund nos eller spetsig näbb), öron x2, tunga, tänder och näsborrar om man vill.
2. Börja med att limma fast öron + tunga på huvud (bak).
3. Vik huvud (fram), efter den streckade linjen. Vik tänderna och limma fast dem under nosen/näbben. Limma dit ögon.
4. Limma huvud (fram) på huvud (bak).
5. Limma huvudet på kroppen.
6. Pynta bokmärket med pärlor, paljetter eller en rosett. Sedan är du klar!
————
You will need: Patterned paper (we used a mix of cardstock and 100 g paper), plastic eyes, glue, scissors and fun stuff to decorate with.

Do like this:
1. Start by cutting out all the parts. Body, head back, head front (choose between round nose or pointy beak), 2 ears, tongue, teeth and nostrils if you like.
2. Glue the ears and the tongue to the head (back).
3. Fold the head (front) at the dotted line. Fold the teeth and glue them under the nose. Glue the eyes in place.
4. Glue the head (front) on top of the head (back).
5. Glue the head to the body.
6. Decorate your bookmark with beads, sequins, or a bow. And your done! 
Bookmark template - by Craft & Creativity  Bookmark template - by Craft & Creativity

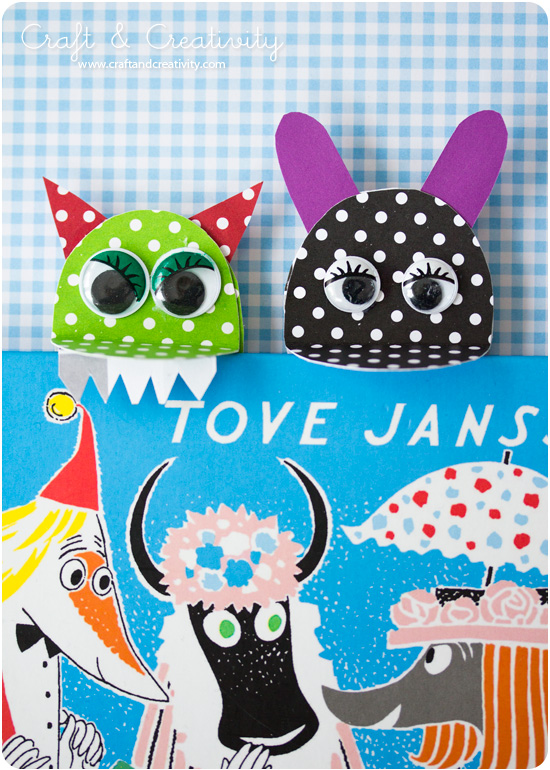
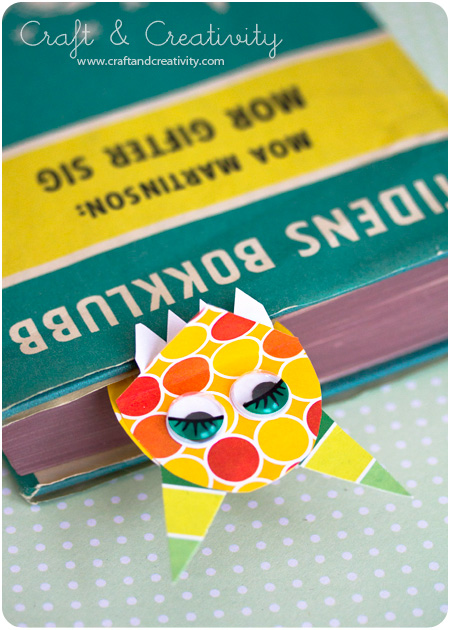
Nu har alla i familjen var sitt bokmärke, plus att vi har ett gäng extra att ge bort till lämpliga bokmalar i vänskapskretsen.
——-
Now everyone in the family has their own personal bookmark, plus we have a bunch extras to give away to friends and relatives.
Bookmark template - by Craft & Creativity

Måla porslin – Painting porcelain

Painting porcelain - by Craft & Creativity

Senaste tiden har jag sett så många fina exempel på skålar, muggar och tallrikar dekorerade med porslinspennor, t ex hos Lana Red, Wit & Whistle, A Merry Mishap och Design Sponge m fl. Eftersom vi har gott om billigt vitt porslin hemma kände jag att det var värt att testa själv.
————
Lately I’ve seen so many fine examples of bowls, mugs and plates decorated with porcelain pens, for example at Lana Red, Wit & Whistle, A Merry Mishap, and Design Sponge etc. Since we have plenty of cheap white porcelain at home, I felt I wanted to give it a try. 

Painting porcelain - by Craft & Creativity

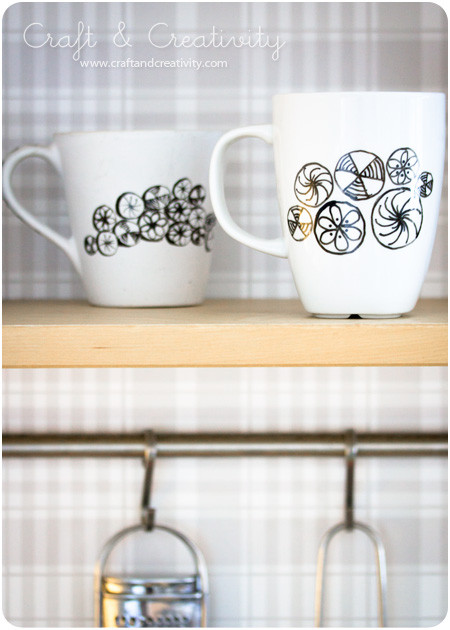
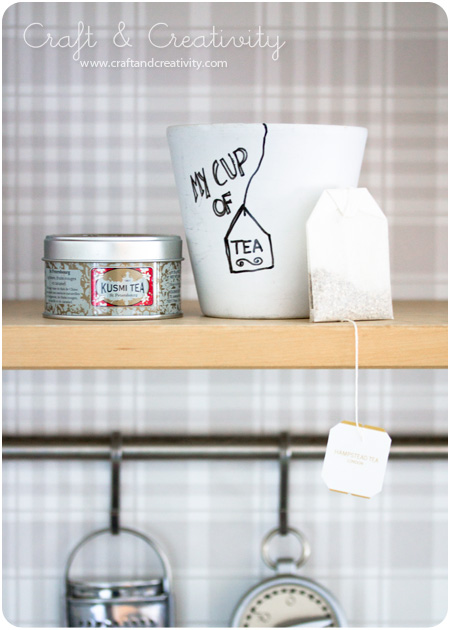
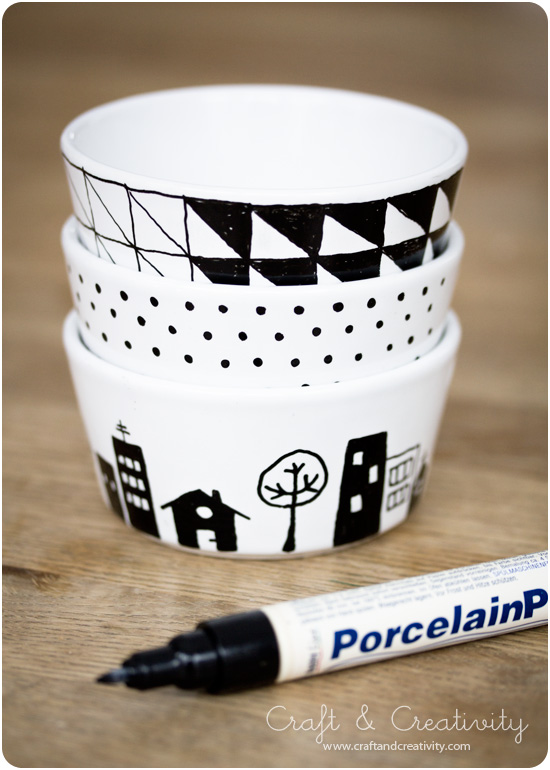
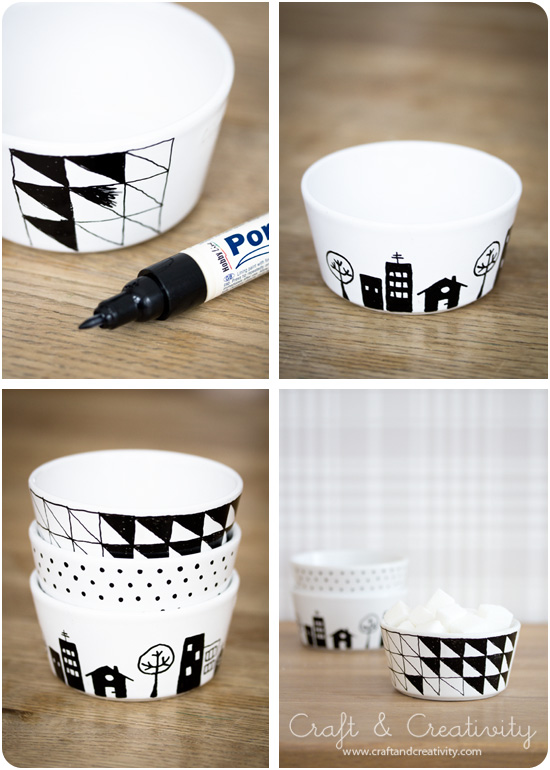
Jag använde mig av en svart tunn porslinspenna. Det finns även tjockare pennor om man önskar. Så länge färgen inte torkat kan du ta lite blött hushållspapper och torka bort eventuellt kludd. När du är klar låter du färgen torka i ca 4 tim och sedan ska den härdas i ugnen (160°C i 30 min). Då tål den mild maskindisk. Som ni ser är jag inte särskilt stadig på hand men jag tycker ändå resultatet blev ok. Det ska ju faktiskt inte se fabriksgjort ut. 😉
————-
I used a black thin porcelain marker. As long as the paint is still wet, you can use a wet paper towel to wipe away errors. After a drying time of 4 hours, cure at 160°C in a non-preheated kitchen oven for 30 minutes. Then the paint will  withstand gentle machine wash. As you can see I am not very steady at hand, but I still think the result turned out ok. It’s not ment to look factory made. 😉

Painting porcelain - by Craft & Creativity  Painting porcelain - by Craft & Creativity

Det var inte bara jag som fick inspiration utan en vän till mig passade på och piffa till ett par av våra vita muggar. Visst blev det fint?
————-
It wasn’t the only one who got inspired. A friend of mine took the opportunity to decorate a couple of our plain white mugs. Didn’t they turn out nice? 

Nyckelskåp – Key cabinet

Key house - by Craft & Creativity

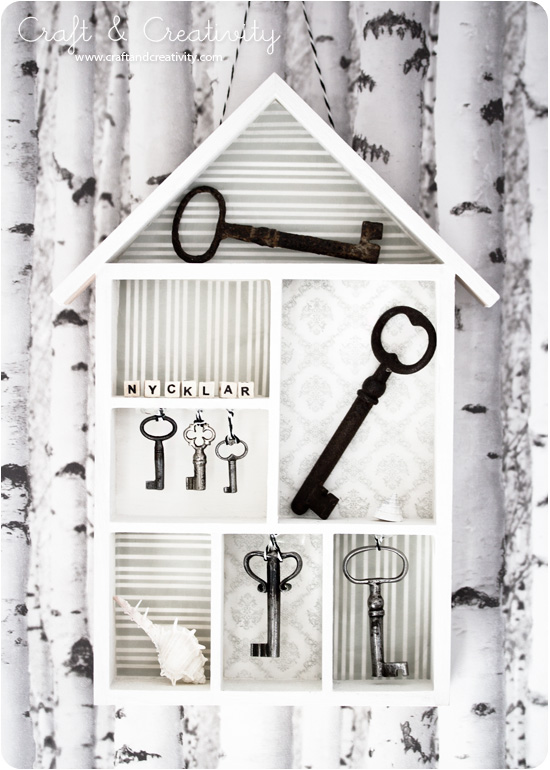
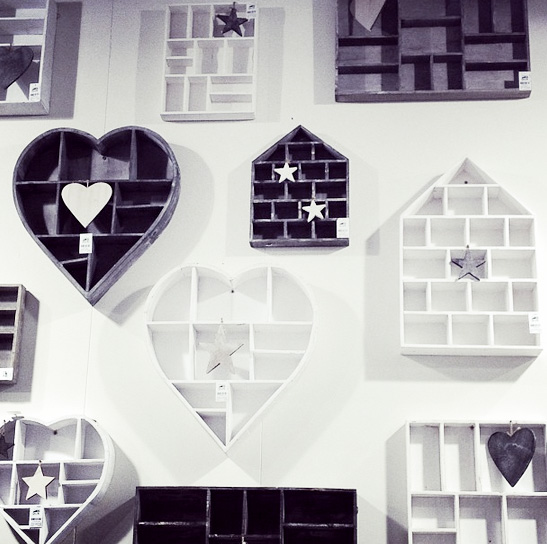
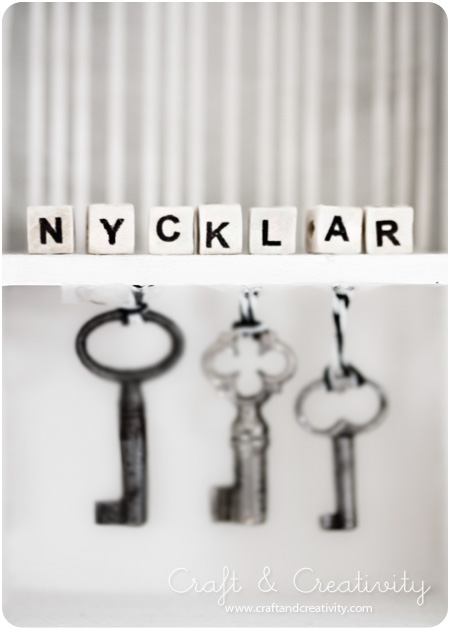
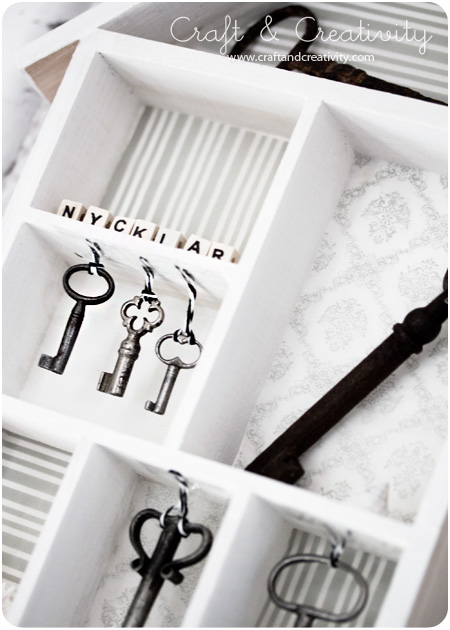
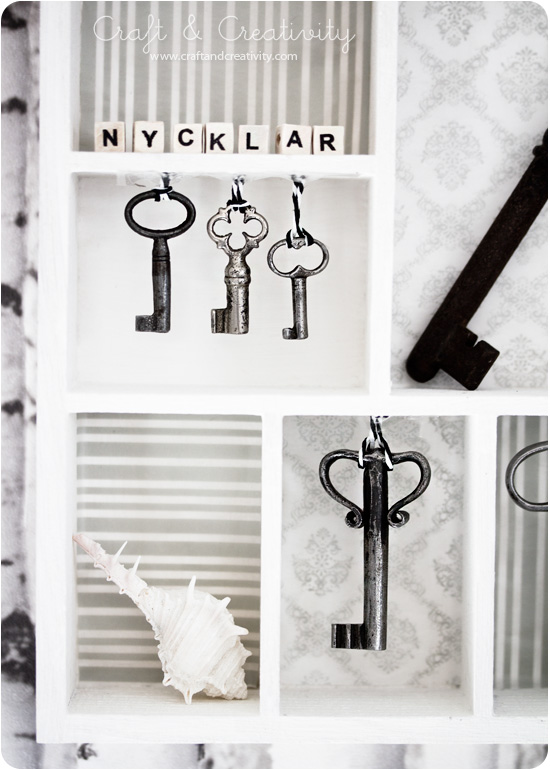
keycabinet8Jag har sett fina hushyllor lite här och var på sistone, som på Formex-mässan och på mässan i Frankfurt förra helgen. Hyllorna till vänster kommer t ex från Dijk Natural Collections. Inspirerad av dessa och andra hyllor har jag och min kollega gjort ett par egna varianter. Idag tänkte jag visa den första – ett nyckelskåp. Vårt skåp blev mer som en tavla eller ett tittskåp eftersom nycklarna är gamla och ur bruk, men ändå snygga att ha framme. Spikar man däremot dit krokar så kan man göra ett nyckelskåp för nycklar som används, en krok för hemmanyckeln, en för bilnyckeln o s v.
——————
I’ve been noticing house-shaped shelves a bit here and there lately. For example at the Formex fair in Stockholm and at the Frankfurt fair, last weekend. Like these ones to the upper left, from Dijk Natural Collection. This has inspired me and my colleague to decorate our own shelves. Today I’ll show you the first one – a key cabinet. Our shelf works more like a display, since the keys are old and not in use, but still pretty to look at. If you, on the other hand, attach hooks to your shelf, you can use it for everyday keys, i e your house keys, car keys, etc. 
Key house - by Craft & Creativity  Key house - by Craft & Creativity

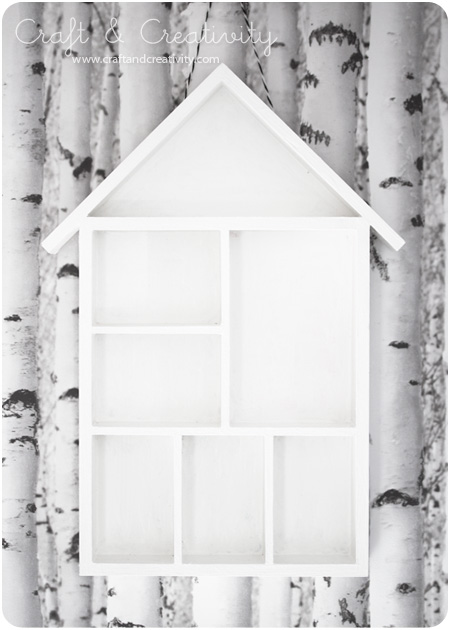
Huset har vi målat med vit hobbyfärg.
————-
We painted the house with white hobby color. 

Key house - by Craft & Creativity

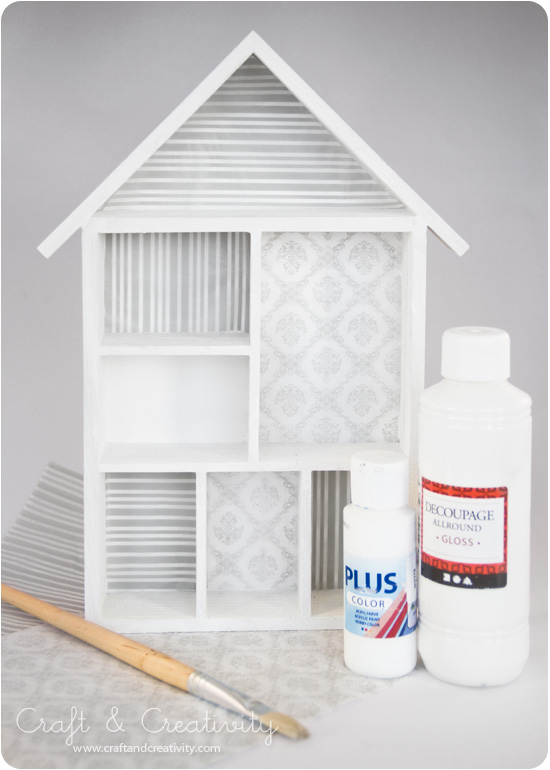
Vi valde att sätta diskret mönstrade decoupagepapper i de olika facken. Man kan också välja låta den vara helt vit, beroende på tycke & smak.
————-
We chose to cover the back of the compartments with patterned decoupage paper. Or you can choose to keep it white and plain, depending on your preference and taste.

Key house - by Craft & Creativity  Key house - by Craft & Creativity

Key house - by Craft & Creativity

Hjärtliga kort – Valentine Cards

Valentine cards - by Craft & Creativity

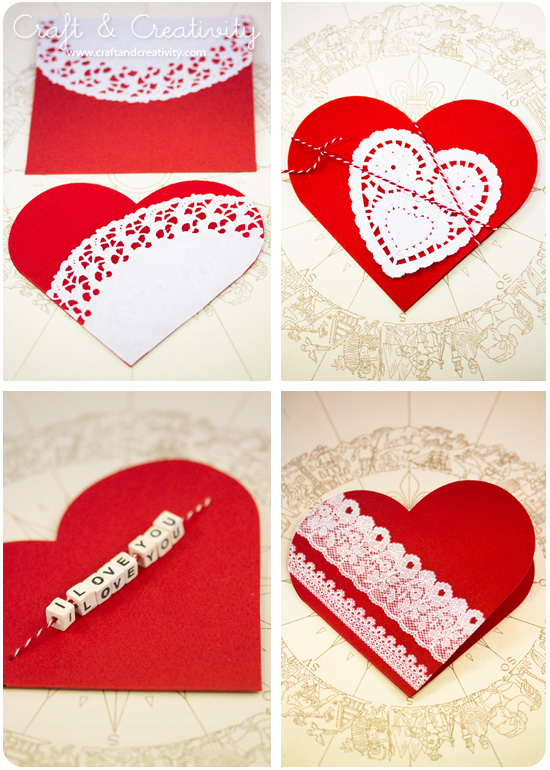
Vare sig man firar Alla Hjärtans Dag eller inte så är det förstås trevligt att visa kärlek och omtanke för dem man tycker om. Ett hjärtkort med en fin hälsning kan vara ett sådant sätt. Jag har pyntat mina kort med tårtpapper, träbokstäver på snöre och spetsmönstrade rub-ons. Dessa kort kommer hjärtformade i 10-pack med kuvert. Eller så klipper du till egna kort av papper.
————-
Whether you celebrate Valentine’s Day or not, it’s nice to show love and care for those you near and dear to you. A heart shaped card with some kind words can be such a way. I decorated my cards with paper doily, wooden bead letters on a string and lace patterned rub-ons. These heart-shaped cards came in a pack of 10, including envelopes. But you could also make your own cards.
Valentine cards - by Craft & Creativity

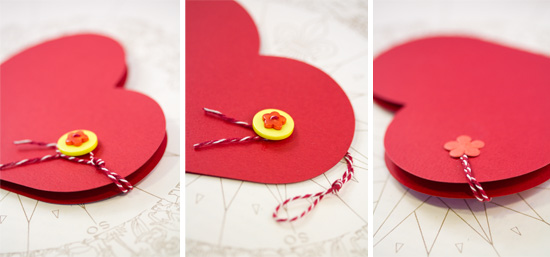
Om man vill kan man göra kort som går att “låsa”. Sy först fast en knapp på framsidan. Fäst ett snöre på baksidan med lim och en pappersblomma eller liknande. Gör en ögla av snöret och trä den över knappen för att låsa kortet.
———-
If you like you can make your cards “lockable”. First sew a button on the front of the card. Attach a string to the back and secure it with glue and perhaps a paper flower. Make a loop with the string and slip it over the button to lock the card.

Valentine cards - by Craft & Creativity  Valentine jar - by Craft & Creativity

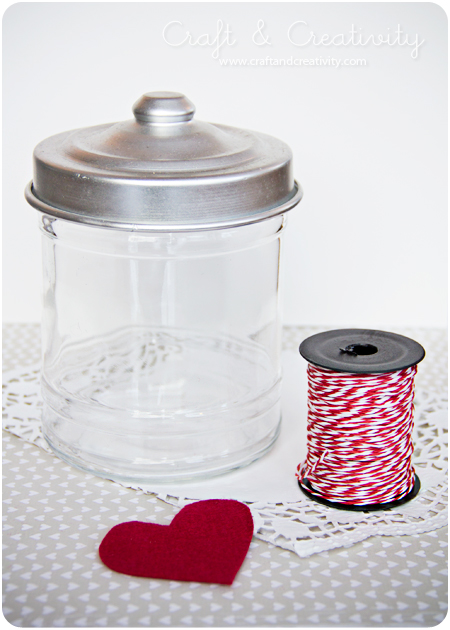
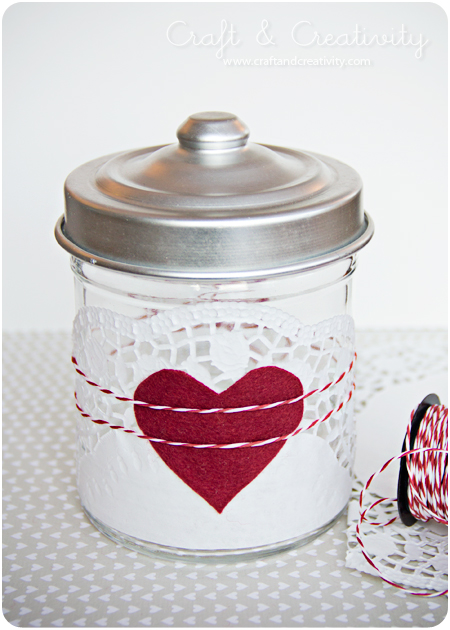
Jag avslutar med att visa er min gamla glasburk som jag pyntade för ett år sedan med lite tårtpapper, ett hjärta som jag klippte ut av filt och ett snöre. Den skulle man kunna fylla med något gott och ge bort i present. Fast min burk behöll jag. Den står alltjämt på en hylla i köket. 😉
———–
Last but not least I’d like to show you this old glass jar that I decorated a year ago. I used paper doily, a felt heart and some baker’s twine. You could fill it with something sweet and give it away as a gift. Although I kept mine for myself.  😉