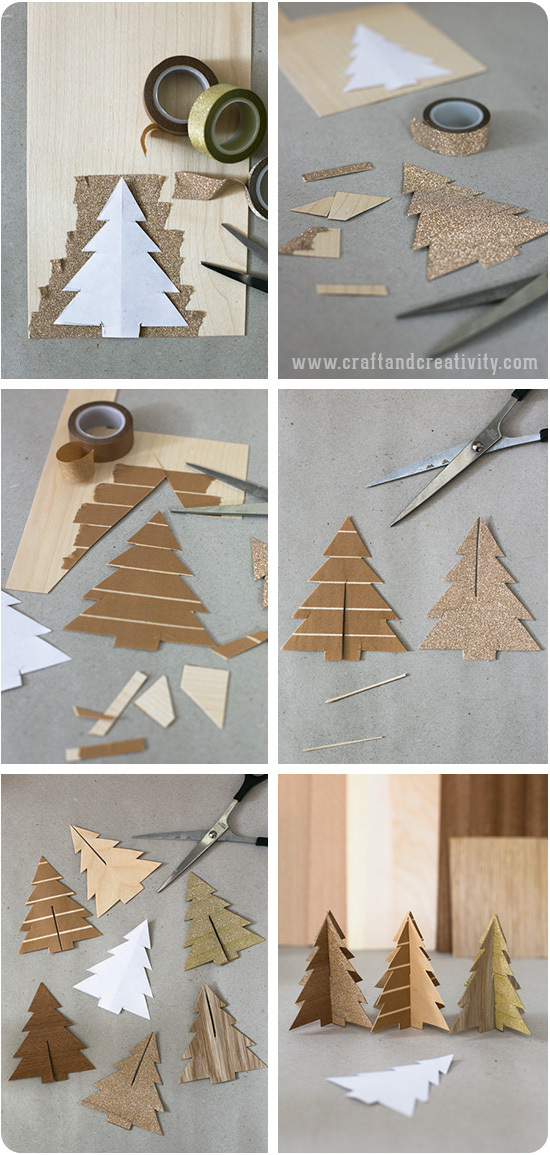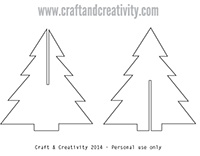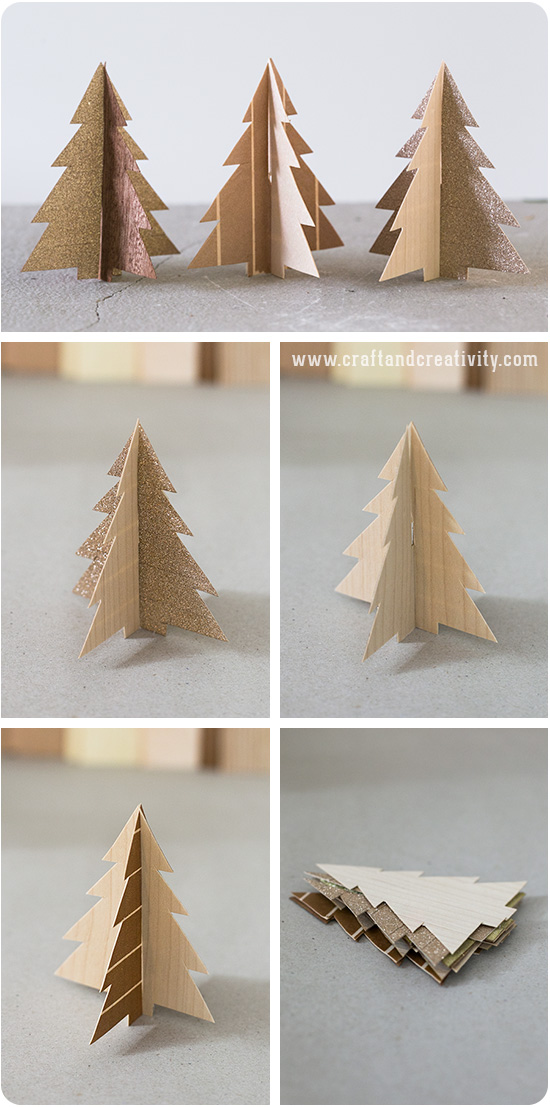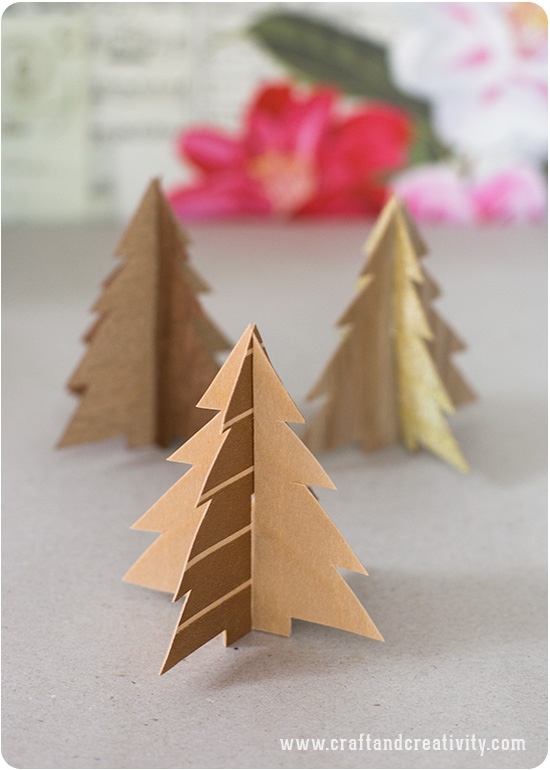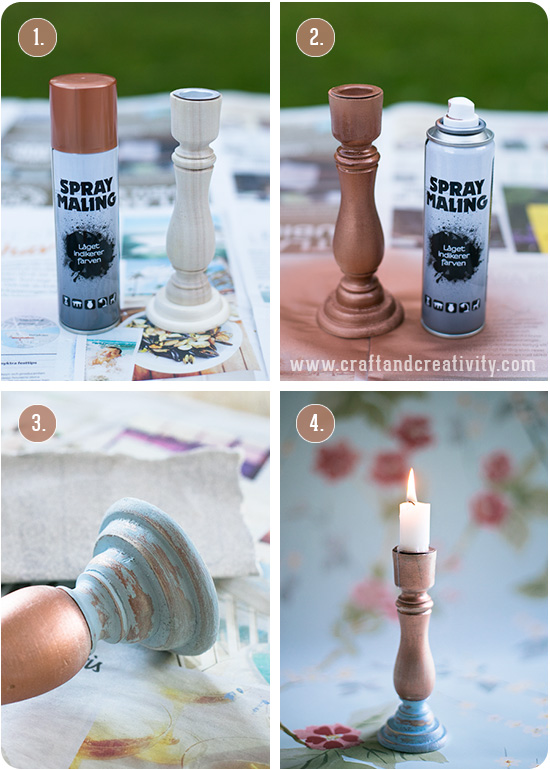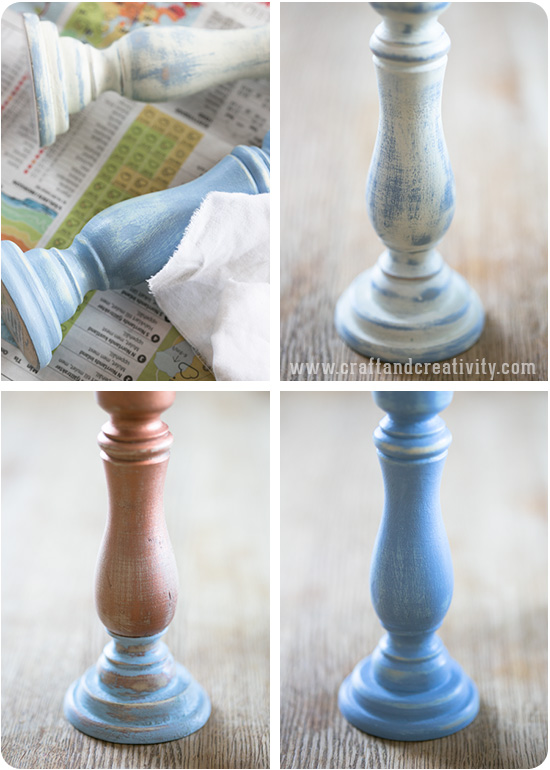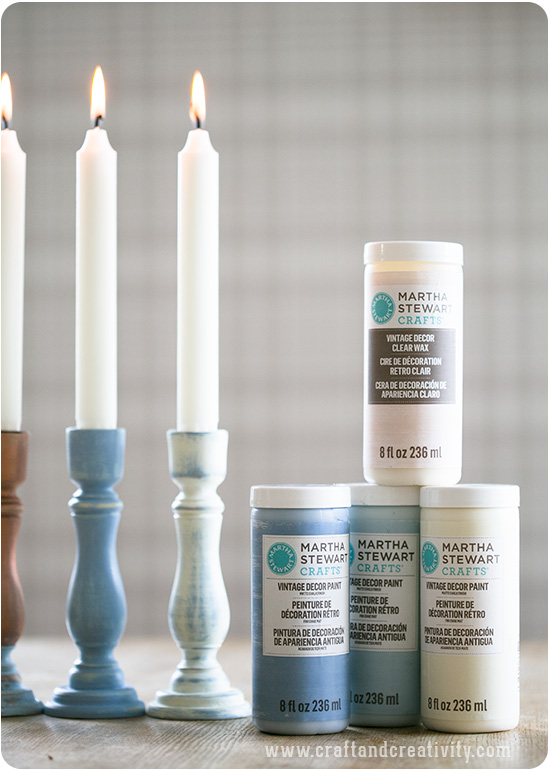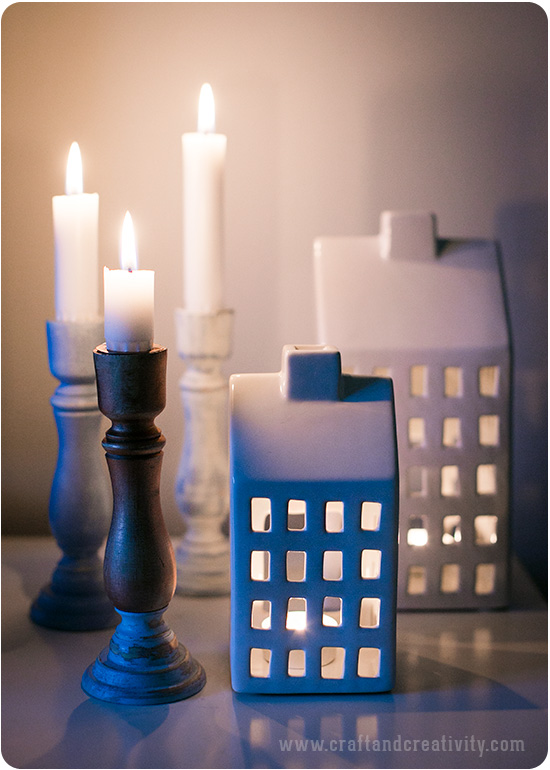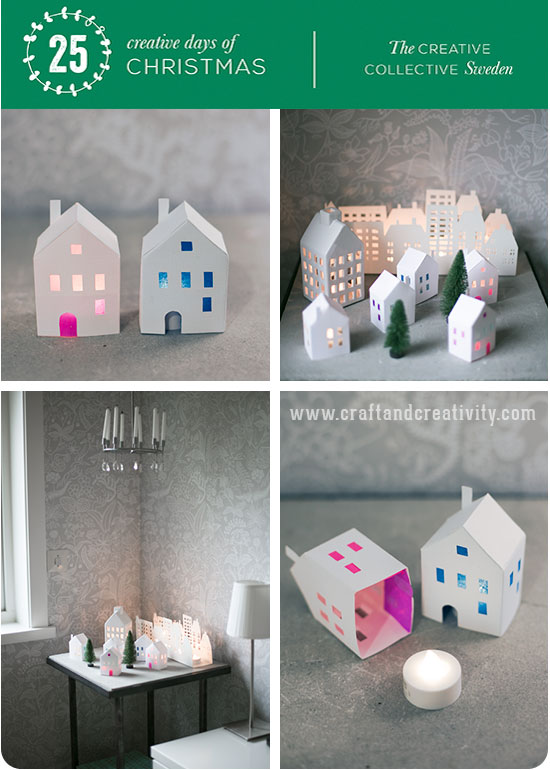
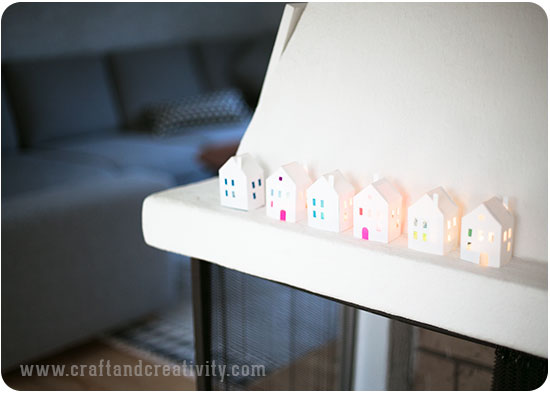
Igår visade Helena på Mormorsglamour oss hur man gör en fin ljusstake av rundstav och idag är det min tur att ta över stafettpinnen i julkalendern “25 kreativa dagar i december“. Jag har gjort en mall som du kan skriva ut och vika ihop till små pappershus som lyser upp i vintermörkret. Med silkespapper på insidan skiner fönstren i fina färger.
—————
Yesterday Helena at Mormorsglamour showed us how to make an elegant candel holder out of dowel rods and today it’s my turn to take the baton in the Christmas calendar “25 Creative Days of Christmas“. I made a template for you to download, print and fold into small paper houses which will light up your winter evenings. Using tissue paper inside the houses the windows will make the windows shine in bright colors.
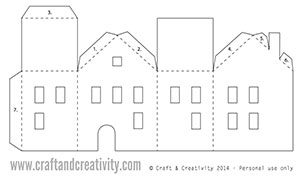
© Craft & Creativity 2014 – For personal use only
Du behöver:
Mall (klicka för att ladda ner), skrivare, skrivarpapper i A4-format, vit kartong eller tjockt papper, sax, ca 6 mm bred dubbelhäftande tejp, limstift, linjal, skalpell/hobbykniv, falsben, skärplatta, batteridrivna värmeljus och silkespapper i olika färger.
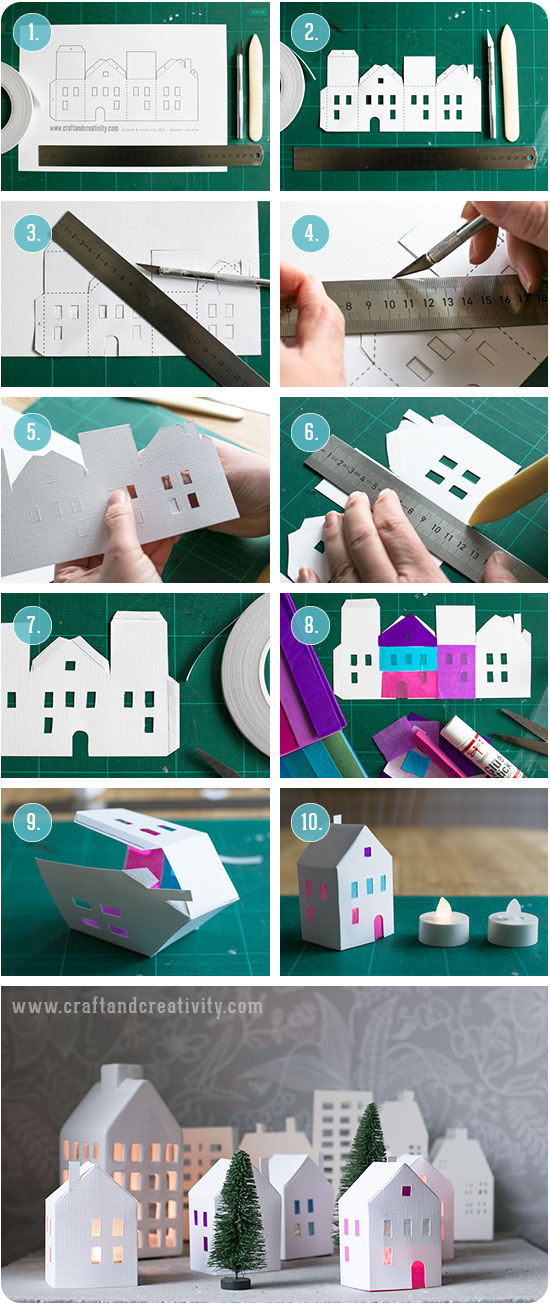
Gör så här: 1. Skriv ut mallen på vanligt skrivarpapper i A4-format (liggande). 2. Klipp/skär ut mallen. 3. Lägg mallen ovanpå ett ark vit kartong. Jag använde Bazzill canvas cardstock som har en fin canvasliknande struktur. 4. Skär genom kartongen längst mallens ytterkanter och skär ut fönster/dörr. Använd en skalpell/hobbykniv och en stållinjal för att få raka, fina linjer. 5. Peta bort överflödig kartong. 6. Skåra/falsa längst med de streckade linjerna med hjälp av falsben eller den slöa sidan av en bordskniv. 7. Klipp bitar av dubbelhäftande tejp och fäst på flikarna. 8. Limma bitar av olikfärgat silkespapper på insidan av huset. Täck några eller alla fönster. 9. Vik längst med de skårade linjerna, ta bort skyddspappret på tejpen och montera ihop huset. Enklast i den ordning som flikarna är numrerade. 10. Tänd huset genom att placera det ovanpå ett batteridrivet värmeljus och ditt första hus är klart!
—————–
You will need: Template (click to download), printer, printer paper, white cardstock, scissors, double-sided tape, glue stick, ruler, hobby knife, bone folder, cutting mat and tissue paper in various colors. Battery operated tea lights can be found at for example Ikea or the hardware store.
Do like this: 1. Print the template on plain printer paper (landscape). 2. Cut out the template. 3. Place the template on top of a sheet of white cardstock. I used Bazzill canvas cardstock, which has a nice canvas-like structure. 4. Cut through the cardstock along the edges of the template and cut out the windows and the door. Use a hobby knife and a steel ruler to get fine, straight lines. 5. Peel away any excess cardstock. 6. Notch along the dashed lines with a bone folder or the blunt side of a table knife. 7. Cut pieces of double-sided tape and attach to the tabs. 8. Glue pieces of colored tissue paper to the inside of the house. Cover some or all of the windows. 9. Fold at the scored lines, remove the backing paper from the tape and assemble the house. It’s easiest to do this in the order in which the tabs are numbered. 10. Light up the house by placing it on top of a battery operated tea light and your first house is ready!
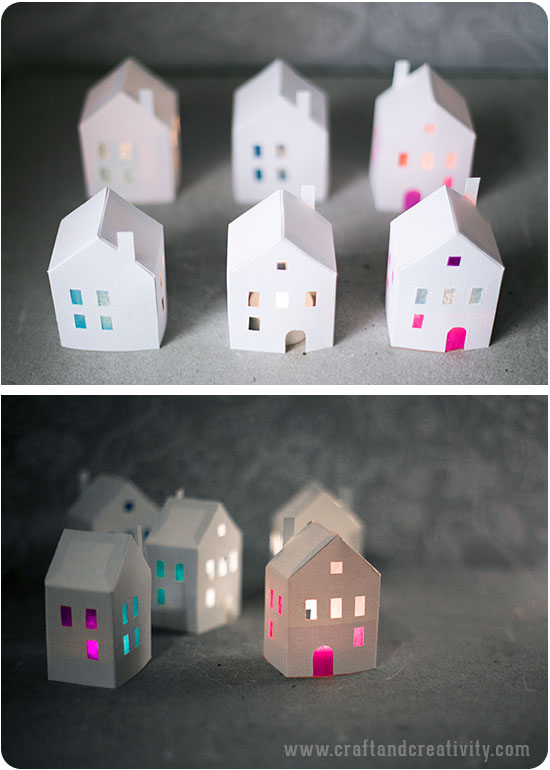
Observera som sagt att du endast kan använda batteridrivna värmeljus i dessa ljushus. Husen skapar julstämning i all sin enkelhet men den som önskar kan även måla utsidan som t ex pepparkakshus innan montering.
————-
It’s important that you use only battery operated tea lights inside these paper houses. The houses will create a Christmas spirit in all its simplicity but if you wish you can paint the outside to look like for a example a gingerbread house, before mounting.
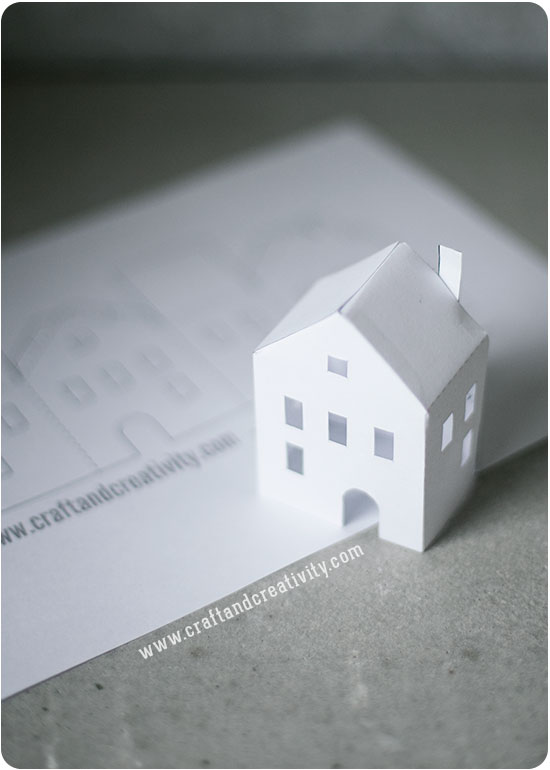
Vill du göra en enklare variant av husen så kan du använda mallen och bygga ditt hus med den och även skippa silkespappret. Vänd den tryckta sidan inåt när du viker ihop huset för bäst resultat. Med skrivarpapper blir huset inte lika stabilt men fint ändå! Det enda du behöver då är: Skrivare, skrivarpapper, sax/hobbykniv, linjal och dubbelhäftande tejp (eller limstift). Om du inte har någon skärplatta hemma så går det bra med en bit tjock kartong så länge du är försiktig och inte skär igenom underlaget.
————–
If you want to make a simpler version of the houses you can use the template itself and furthermore skip the tissue paper. For best result you should in that case turn the printed side facing inwards when you fold your house. With printer paper the house will not be as stable, but it will look nice anyway! All you need then is: Printer, printer paper, scissors/hobby knife, ruler and double-sided tape (or glue stick). If you don’t have a cutting mat you can use a piece of thick cardboard, as long as you are careful not to cut through and damage your table.
Imorgon är du varmt välkommen att titta in till Sofia på Hildas hem för lucka nr 4. Följ The Creative Collective och vår julkalender på Facebook och Pinterest för att inte riskera missa en enda lucka! På Instagram taggar vi våra bilder med #25kreativadagar.
————
Tomorrow, you are most welcome to visit Sofia at Hildas hem for door No. 4. Follow The Creative Collective and our Christmas Calendar at Facebook and Pinterest to not risk missing a single day! On Instagram we tag our pictures with #25creativedays.

1. Pysselbolaget, 2. Mormorsglamour, 3. Craft & Creativity, 4. Hildas hem,
5. Hemma med Helena, 6. Made by Mary, 7. Djura Bok & Pappersverkstad,
8. Pastill, 9. Mormorsglamour, 10. Lina by the Bay, 11. Mini Piccolini,
12. Djura Bok & Pappersverkstad, 13. Willowday, 14. Willowday, 15. Hemma med Helena,
16. Pastill, 17. Hildas hem, 18. Craft & Creativity, 19. Made by Mary,
20. Lina by the Bay, 21. Hildas hem, 22. Mini Piccolini, 23. Mormorsglamour, 24. Pysselbolaget, 25. Willowday.


