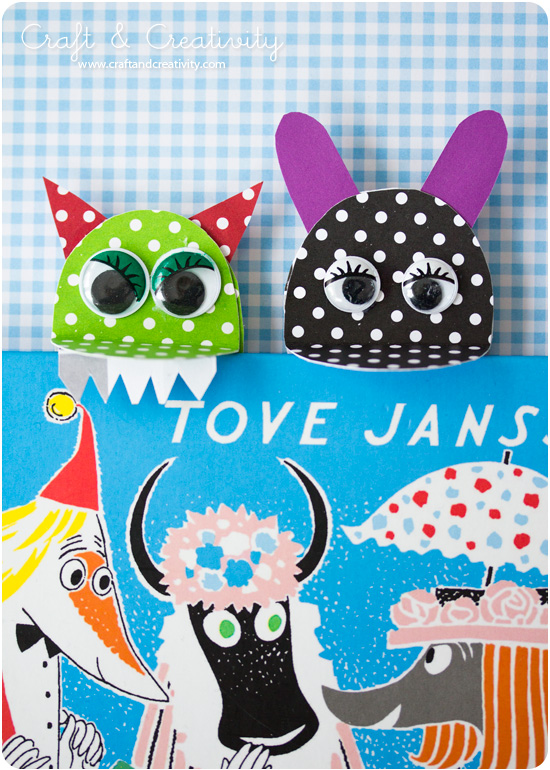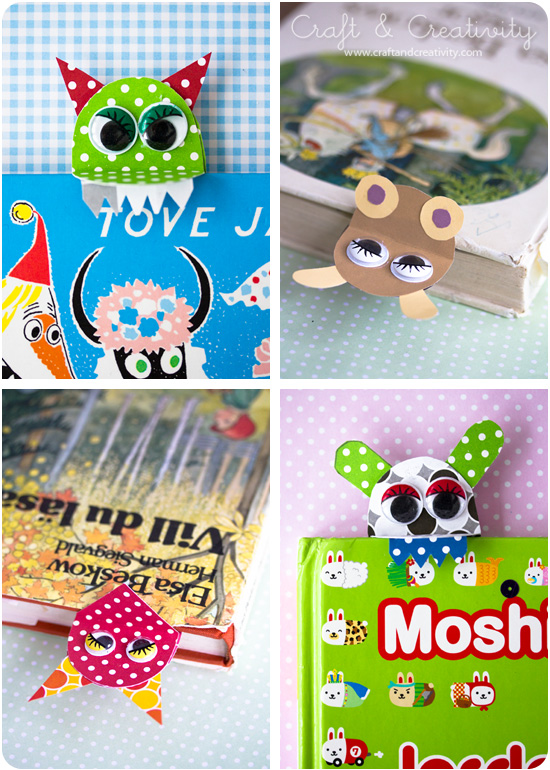
Min dotter Annie kom hem från skolan härom dagen och talade om för mig att
“-Mamma, nu ska jag lära dig göra roliga bokmärken!”. Och det gjorde hon. Visst blev de fina? Först lärde hon mig och sedan höll hon kurs för sin lillasyster. I lördags visade hon även bästa pysselvännen Freja hur man gör. Vi var hemma hos Karin & Freja från Pysselbolaget en hel dag, pysslade tillsammans och hade roligt.
—————-
My daughter Annie came home from school the other day and stated “-Mom, I’m going to teach you how to make fun bookmarks”. And she did. Don’t they look pretty? First she taught me, and then she held a course for her little sister. Last Saturday, she also showed her best crafting friend Freja from Pysselbolaget how to make the bookmarks. We spent a whole day at Karin & Freja’s house, creating and having fun.
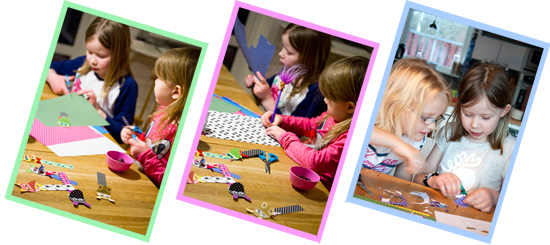
Bild 1 & 2: Systrarna pysslar Bild 3: Freja & Annie (Karin fotograf)
Photo 1 & 2: Crafting sisters Photo 3: Freja & Annie (Karin’s photo)
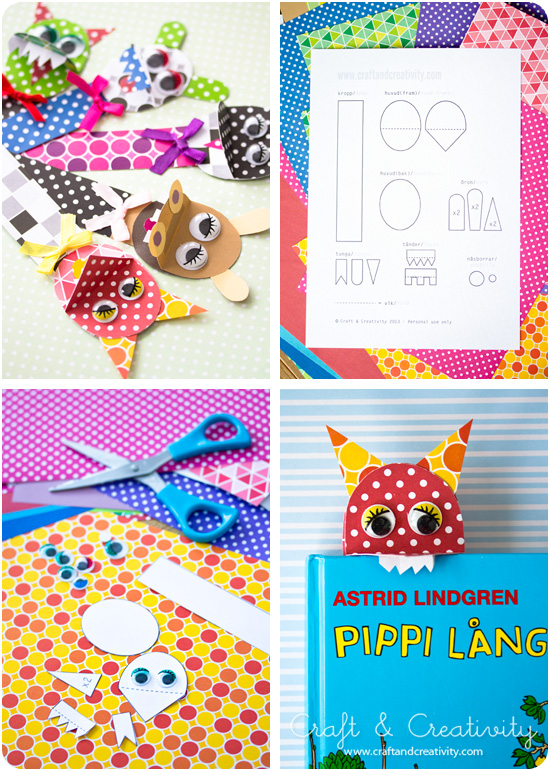
Med min dotters hjälp har jag gjort en mall som ni kan ladda ner om ni vill. Det går utmärkt att göra bokmärkena utan mall också – men vill man ha lite vägledning så klicka här för att ladda ner pdf-filen.
————–
With my daughter’s help, I made a template that you can download if you like. It’s not necessary to use the template – but if you want a bit of guidance, simply click here to download the pdf file.
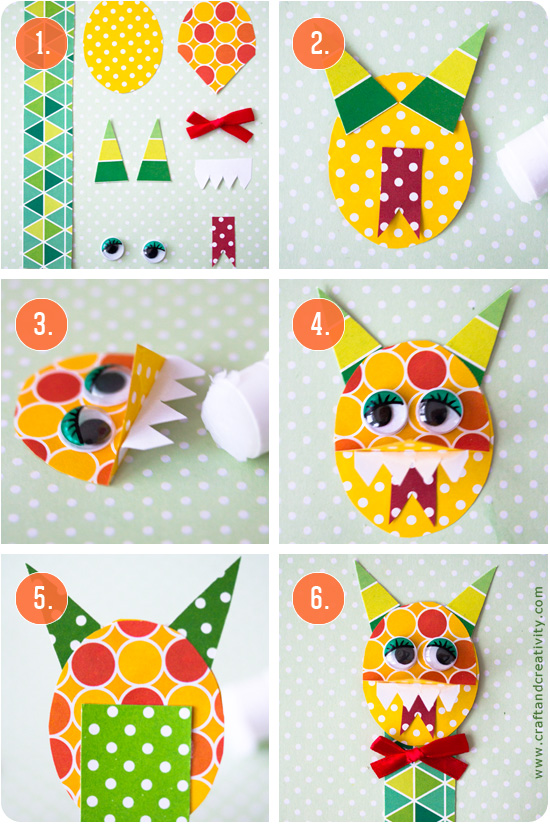
Du behöver: Mönstrade papper (vi använde Color bar kartong 250 g och Color bar papper 100 g), plastögon, lim, sax och lite passande pynt att dekorera med.
Gör så här:
1. Klipp ut alla delar. Kropp, huvud bak, huvud fram (välj mellan rund nos eller spetsig näbb), öron x2, tunga, tänder och näsborrar om man vill.
2. Börja med att limma fast öron + tunga på huvud (bak).
3. Vik huvud (fram), efter den streckade linjen. Vik tänderna och limma fast dem under nosen/näbben. Limma dit ögon.
4. Limma huvud (fram) på huvud (bak).
5. Limma huvudet på kroppen.
6. Pynta bokmärket med pärlor, paljetter eller en rosett. Sedan är du klar!
————
You will need: Patterned paper (we used a mix of cardstock and 100 g paper), plastic eyes, glue, scissors and fun stuff to decorate with.
Do like this:
1. Start by cutting out all the parts. Body, head back, head front (choose between round nose or pointy beak), 2 ears, tongue, teeth and nostrils if you like.
2. Glue the ears and the tongue to the head (back).
3. Fold the head (front) at the dotted line. Fold the teeth and glue them under the nose. Glue the eyes in place.
4. Glue the head (front) on top of the head (back).
5. Glue the head to the body.
6. Decorate your bookmark with beads, sequins, or a bow. And your done!
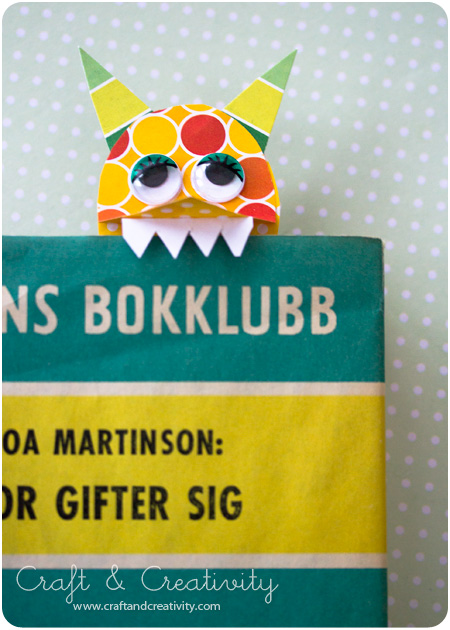
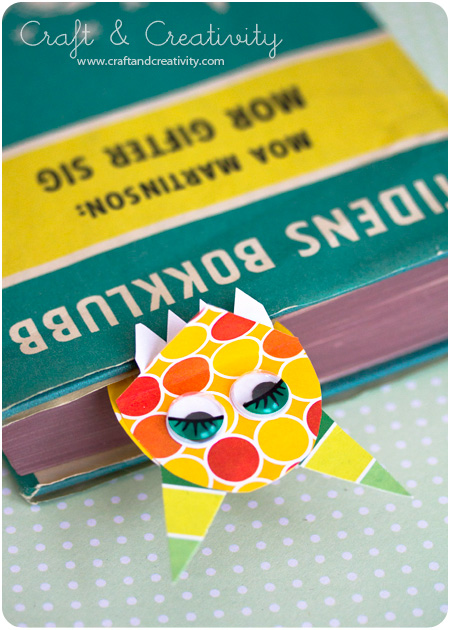
Nu har alla i familjen var sitt bokmärke, plus att vi har ett gäng extra att ge bort till lämpliga bokmalar i vänskapskretsen.
——-
Now everyone in the family has their own personal bookmark, plus we have a bunch extras to give away to friends and relatives.
