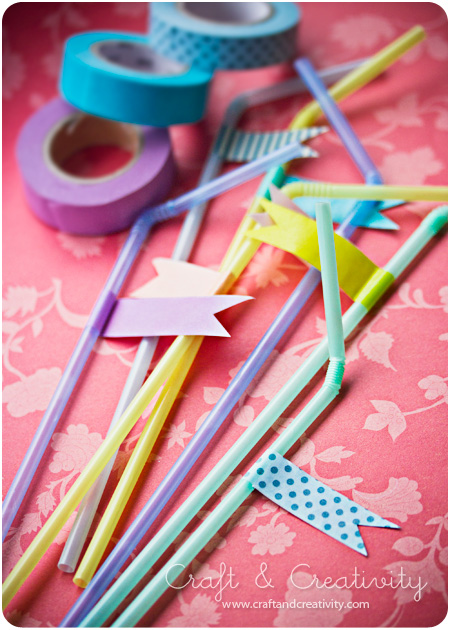
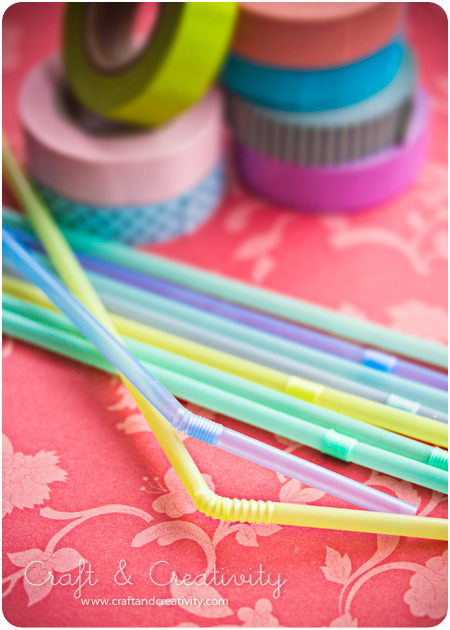
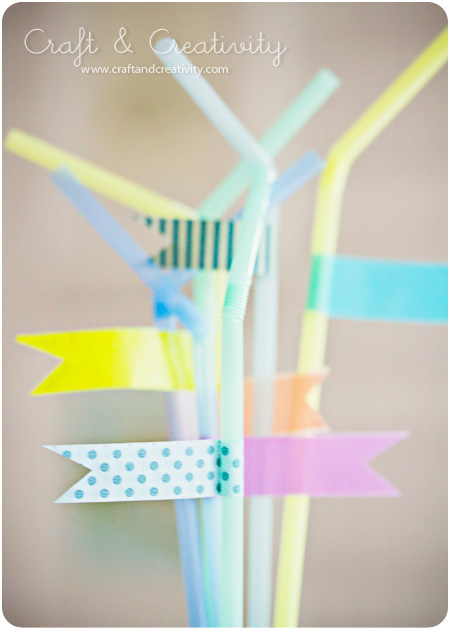
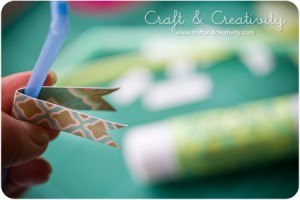
Här kommer en variation till förra pysseltipset. Istället för papper kan man använda washitejp (japansk maskeringstejp). Ännu enklare, vik bara tejpen runt sugröret och klipp. Eller gör som Ella på Ellas Inspiration, tejpa runt foten på ett glas. Papperstejpen är enkel att ta bort och man behöver inte oroa sig för klisterrester.
———-
Here’s a variation to my last craft tip. Instead of paper you can use washi tape (japanese masking tape). It’s even easier, just fold the tape around the straw and cut. Or do like Ella at Ella’s Inspration, tape around the foot of the glass. The paper tape is easy to remove and you don’t have to worry about glue residue.
Tag Archives: tutorial
Washitejpade sugrör –
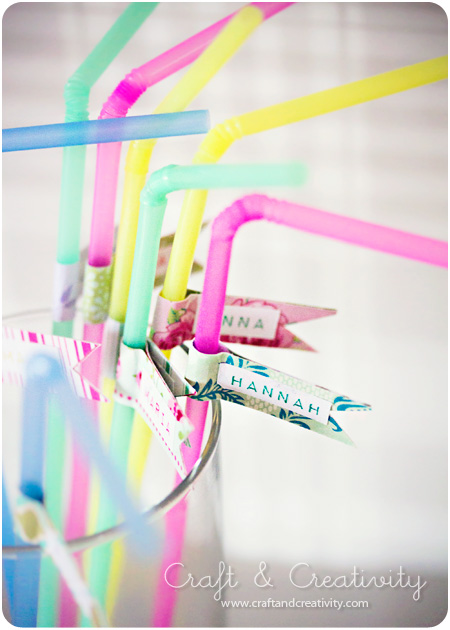
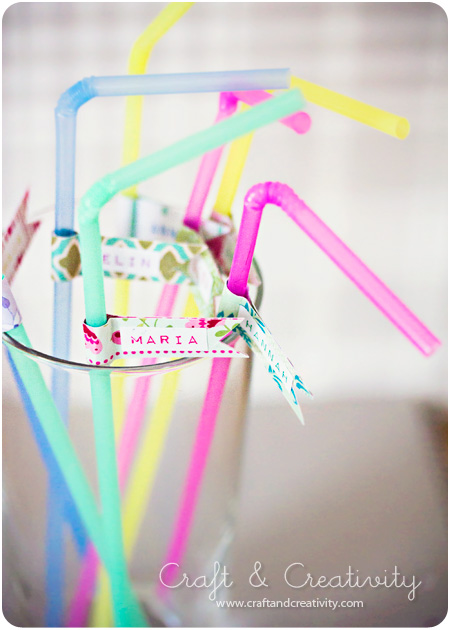
Party-sugrör – Party straws
Det här kanske kan vara en kul grej till ett barnkalas? Eller till en middagsbjudning med drinkar för all del. Förutom att impa lite på gästerna så är det lättare att hålla reda på glasen. 🙂
—-
Perhaps this could be a fun thing for a birthday party? Or why not for a dinner party with drinks? In addition to impressing the guests, it’s easier to keep track of the glasses. 🙂
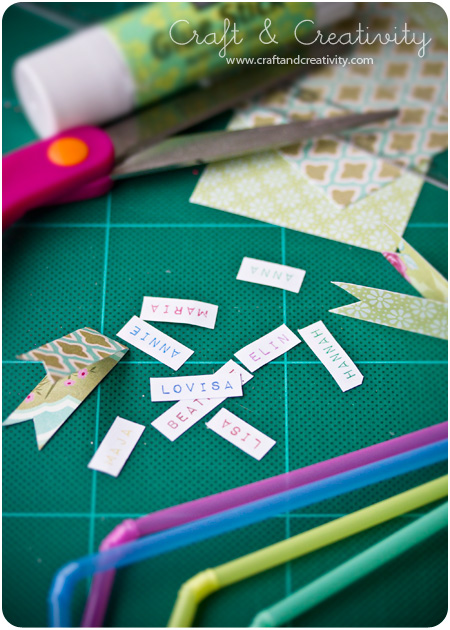
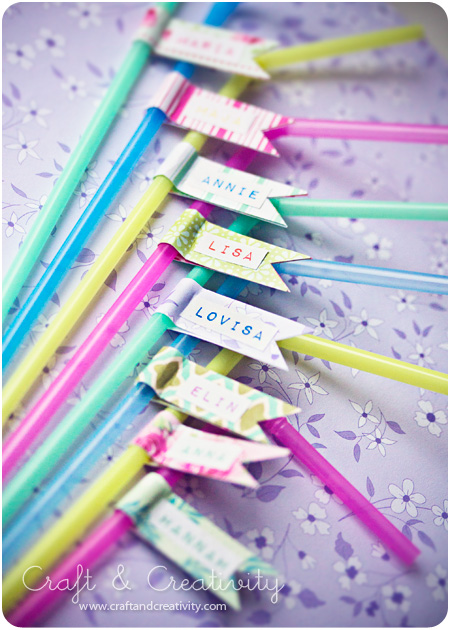
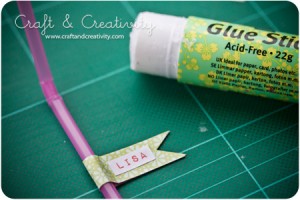
Det är lätt som en plätt. Klipp vimplar av mönstrat papper, vik dem dubbelt och klistra runt sugrören. Skriv gästernas namn för hand eller på datorn. Klipp ut och klistra på. /
It’s easy as one, two, three. Cut pennants out of patterned paper, fold them in half and paste around the straws. Write the guests’ names by hand or on your computer. Cut and paste in place.
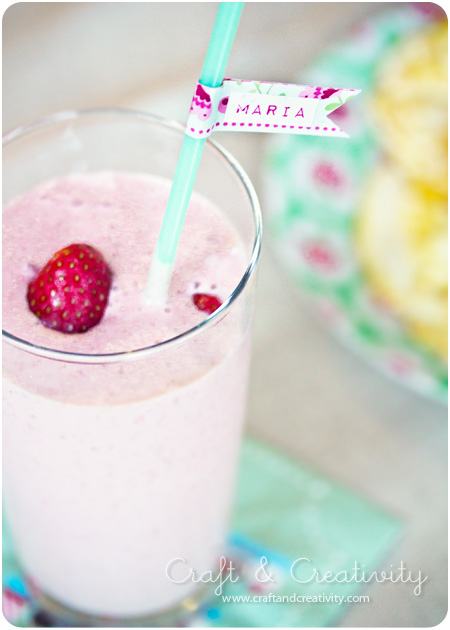
Eller festa till det lite extra för familjen en helt vanlig helgfrukost och gör smaskiga smoothies med personliga sugrör. /
Or surprice your family by spicing up a regular weekend breakfast with yummy smooties and personalized party straws.
Garnlindade flaskor –
Yarn wrapped recycled bottles
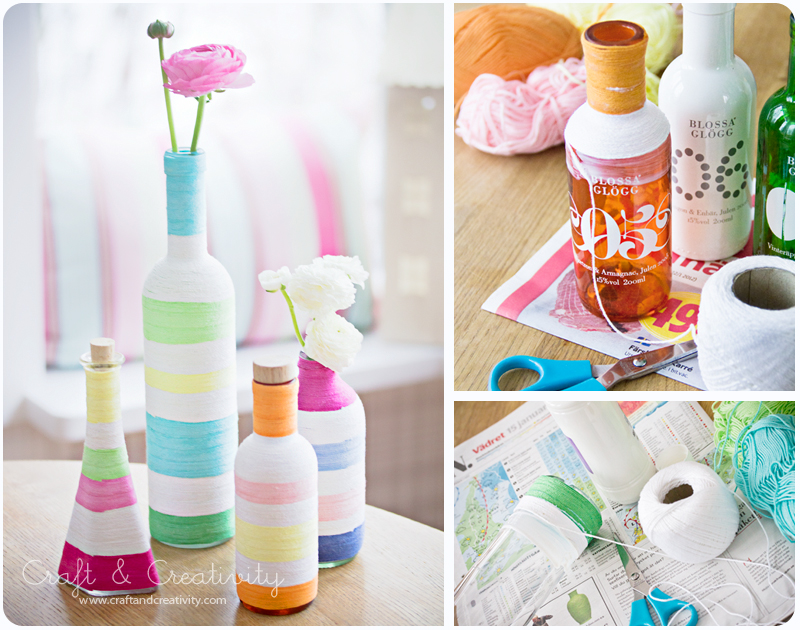
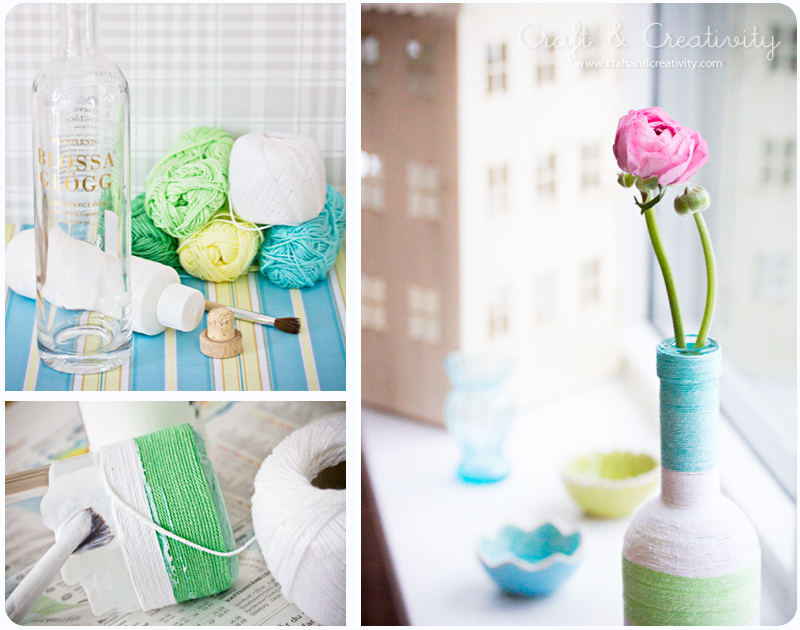
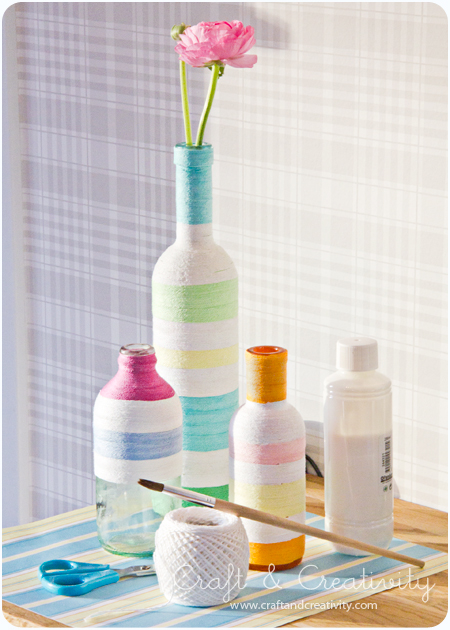
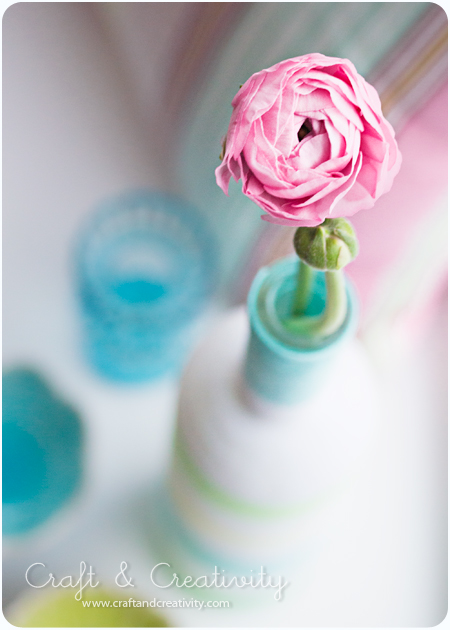
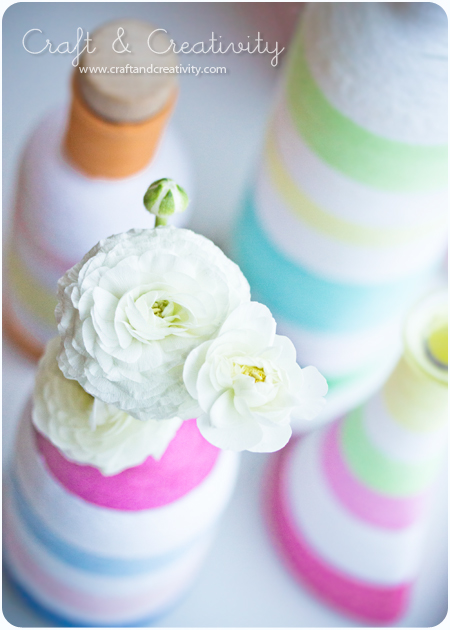
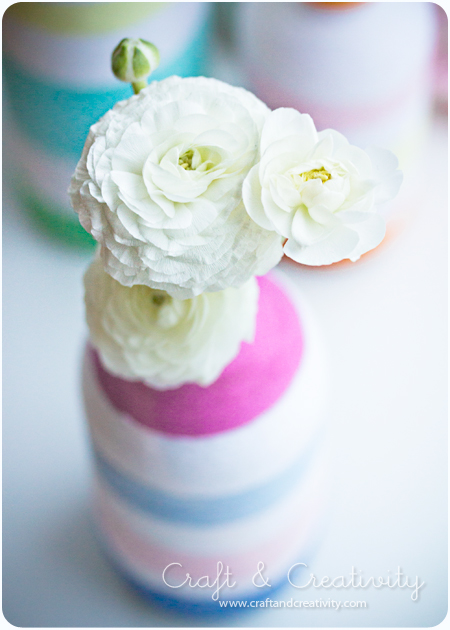
Allt du behöver är flaskor (gamla glöggflaskor är t ex perfekta!), garn, klister (t ex decoupagelim eller Mod Podge) och en sax. Det blir lite kladdigt men det är det värt!
Idén har jag inte hittat på själv utan jag fann inspiration på några olika ställen, t ex Style Me Pretty. Sedan gjorde jag lite som jag själv tyckte, som vanligt. 🙂 Detta pyssel gav mersmak och jag kunde nästan inte sluta. Började fundera på om man kan göra likadant med skokartonger, gamla konservburkar, krukor… Varför inte?
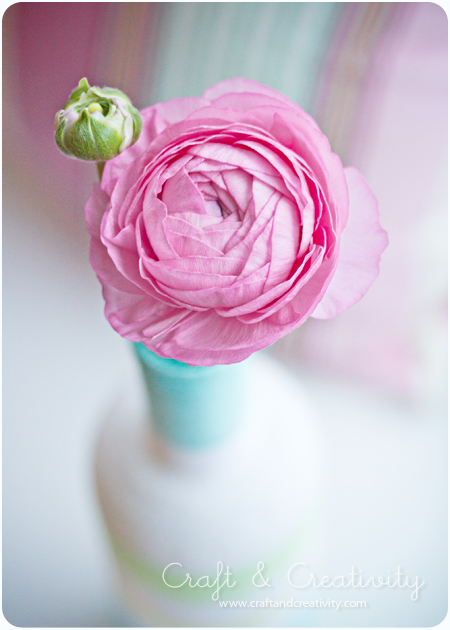
Och visst är det vackert med ranunkler? Den mest vårliga blomman av dem alla, i min mening. Faktum är att det känns som lite vår inne nu, trots snön som faller ute.
——-
All you need is some old bottles, yarn, glue (for example Mod Podge or decoupage glue) and a pair of scissors. It’s gets a bit messy, but it’s worth it!
I didn’t come up with this idea all by myself. The inspiration comes Style me Pretty. I also improvised a bit, as usual. 🙂 I had so much fun making these, I could hardly stop. I began to wonder if it would work to do the same thing with shoe boxes, old tin cans, pots … Why not?
And aren’t ranunculuses beautiful? It’s the most spring like flower of them all, in my opinion. In fact, it now feels a little bit like spring in the house, despite the snow falling outside.
Några användbara tips:
- Börja från toppen av flaskan och arbeta dig neråt, från den smalare delen till den tjockare. Det är enklast, märkte jag efter mitt första försök då jag gjorde tvärtom.
- Vid byte av färg på garnet, se till att byta på samma ställe hela tiden och använd den sidan som “baksida”.
- Pensla på lite klister i taget, det torkar ganska snabbt. Plus att du slipper bli kladdig i onödan.
- Ju tjockare garn desto snabbare går det att täcka flaskorna. Men jag tycker samtidigt att det gav en fin effekt med mitt ganska tunna garn (för stickor nr 3). En smaksak, helt enkelt.
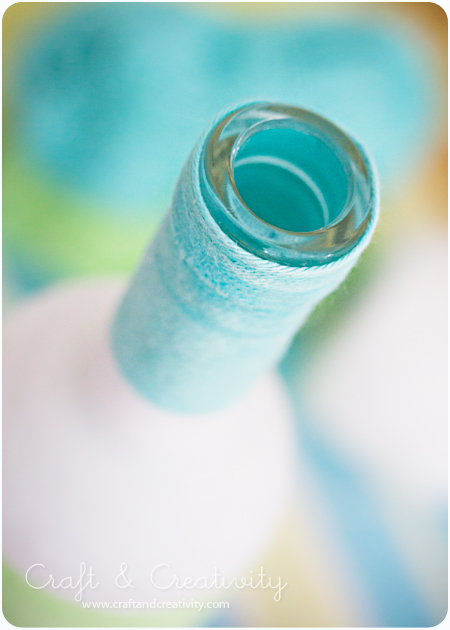
- Om du vill använda flaskorna som vaser kan det vara en god idé att pensla lite genomskinlig lack eller vattenbeständigt klister högst upp på flaskhalsen när du virat klart, så att inte garnet lossnar när det kommer vatten på.
Some useful advice:
- Start from the top of the bottle and work your way down to the bottom. It the easiest way, I discovered after my first bottle when I did it the “hard” way.
- When changing the color of the yarn, make sure to change it in the same place all the time and use that side as the “back” of the vase.
- Put on a little bit of glue at a time, it dries fairly quickly. Plus you won’t get your fingers too sticky.
- The thicker the yarn, the faster you will cover the bottles. But at the same time, I think my thin yarn turned out to give a pretty nice effect. It’s just a matter of taste, which ever you prefer.
- If you want to use the bottles as vases it can be a good idea to brush a little bit of transparent lacquer or water-resistant adhesive on top of the bottle neck when you finished wrapping, so that the yarn doesn’t comes off when exposed to water.
Trä-gaffel-dockor – wooden fork dolls
För ett par månader sedan snubblade jag över en bild på så söta dockor gjorda av engångsgafflar i trä. Det var på Pinterest jag hittade bilden och källan uppgavs vara MotherBabyEarth som i sin tur hittat bilden på Amy Powers’ Inspire co. Där hittade jag massor med inspiration på fina pyssel men ingen bild eller beskrivning på just dessa dockor och mitt detektivarbete gav alltså ingen ledtråd till hur dockorna var tillverkade.
När jag en tid senare, av en slump, hittade trägafflar på PUB för 1 kr styck så bestämde jag mig för att försöka göra mina egna dockor. Och vad roligt det var! Kul när man kan låta fantasin flöda och använda många olika material. Barnen blev dessutom glada för sina nya handdockor!
Här följer en beskrivning på hur jag gjorde mina trä-gaffel-dockor. Det går också precis lika bra att improvisera! Använd de material som du har hemma. 🙂
———–
A few months ago I stumbled across a photo of some adorable dolls made from disposable wooden forks. I found the image through Pinterest and the followed the link to MotherBabyEarth, where the image in turn was reported to origin from Amy Powers’ Inspire co. There I found lots of inspiration on great crafts but no picture or description on these specific dolls. In other words, my detective work gave no clue to how exactly the dolls were made.
When I by chance, some time later, found some wooden forks at a store in Stockholm for 1 SEK each (about 10 cent), I decided to try making my own dolls using my imagination. And it was so much fun! It’s great when you can let your imagination run wild using a variety of materials. Besides, the kids were very excited for their new hand puppets!
Here is a description of how I made my wooden fork dolls. Or just simply improvise and use the materials available for you at home. 🙂
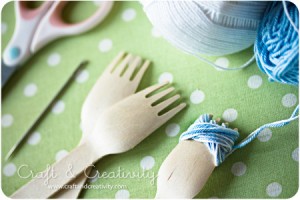
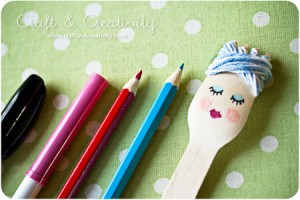
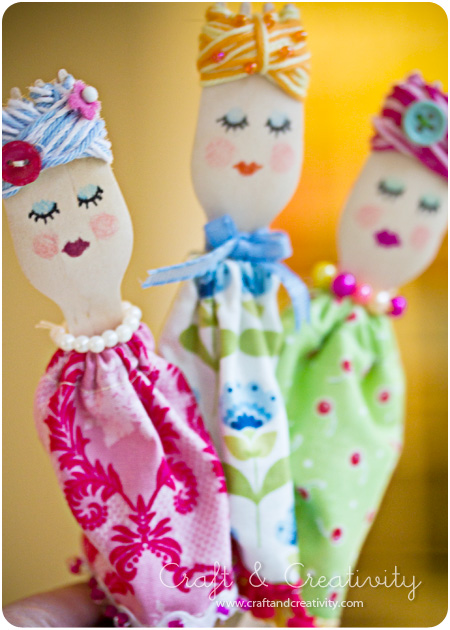
Vira garn runt gaffelns tänder. Jag använde mig av två olika färger samtidigt. Måla mun och ögon med smala tuschpennor och lägg på lite rouge och ögonskugga med färgpennor eller kritor. /
Wrap the yarn around the tines of the fork. I used two different colors of yarn. Paint the mouth and eyes with thin felt pens and put on a little bit of blush and eye shadow with color pencils or crayons.
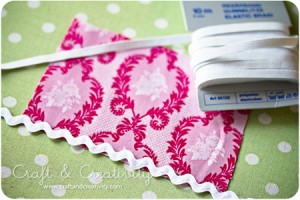
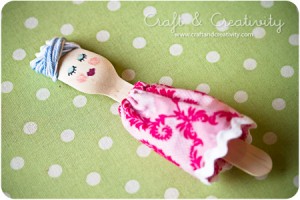 Klipp ut en bit tyg, ca 13 cm bred och 10 cm hög (beroende på storlek på gaffel). Sicksacka runt hela tygstycket. Sy fast ett fint band längst ner och fålla högst upp. Trä ett resårband i fållen, spänn åt resåren ordentligt och sy ihop kjolen. Trä kjolen på dockan. /
Cut a piece of fabric, about 13 cm (5″) wide and 10 cm (4″) high (depending on the size of the fork). Zigzag around the edges. Attach a pretty ribbon at the bottom and hem the top edge. Thread an elastic through the hem, securely tighten the elastic and sew the skirt together at the back. Place the skirt on the doll.
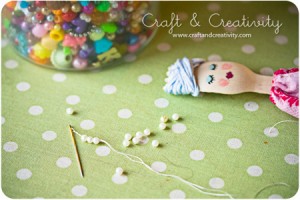
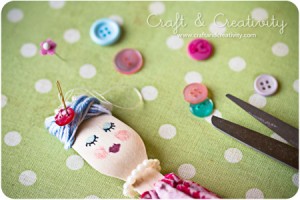
Gör ett litet halsband av pärlor eller knyt ett fint band runt halsen. Pynta håret med knappar, filtblommor och/eller små pärlor. /
Make a miniature necklace out of small beads or tie a pretty ribbon around the neck. Decorate her hair with buttons, felt flowers and / or small beads.
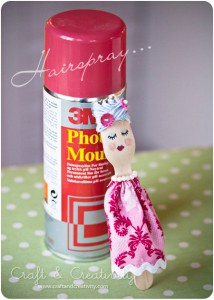
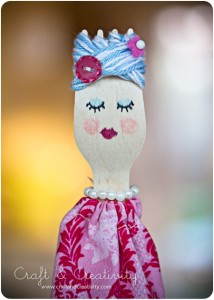
Klart en fin dam ska ha hårspray i håret… Jag sprayade “håret” med lite sprayklister för att garnet inte skulle åka av gaffeln i första taget. /
Needless to say, I nice lady must have some hairspray to hold her pretty hairdo … I sprayed the “hair” with a little bit of spray adhesive so that the yarn wouldn’t so easily slip off the fork.
Fast dockan var “klar” kunde jag inte låta bli att pynta lite till… Pärlor kan man aldrig ha för mycket av. /
Even thought the doll were “ready”, I couldn’t stop myself from decorating her a bit more… A girl can never have to much jewelry.
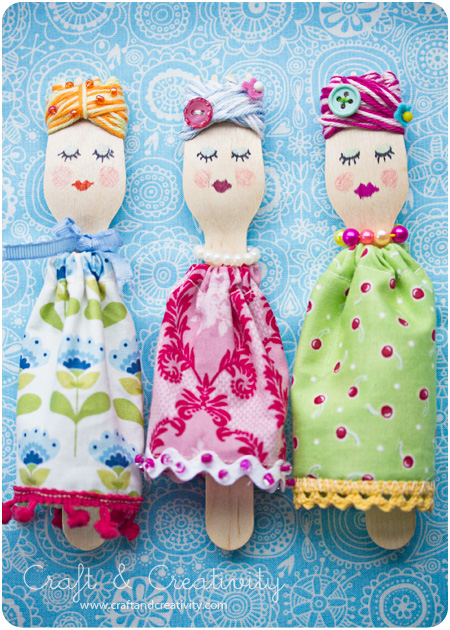
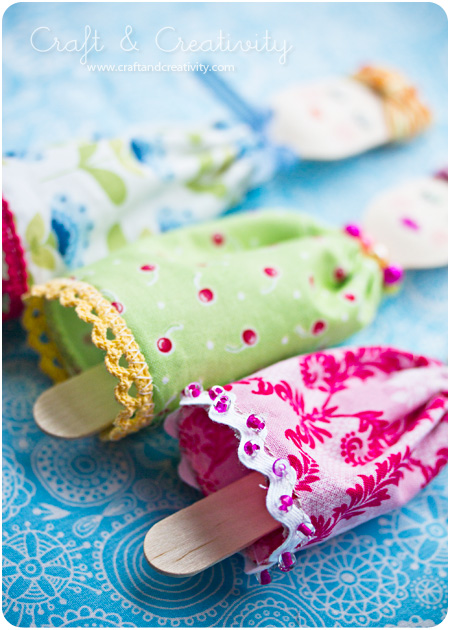
Möt tre fina damer, redo att gå på te-kalas. “-Mamma!” utbrast fyraåringen när hon såg dem. “-Sover de hela tiden?“… /
Meet three posh ladies, ready for their Afternoon Tea. “-Mom!” exclaimed my four-year-old when she saw them.”-Do they sleep all the time?” …
Regntavla – Rain painting
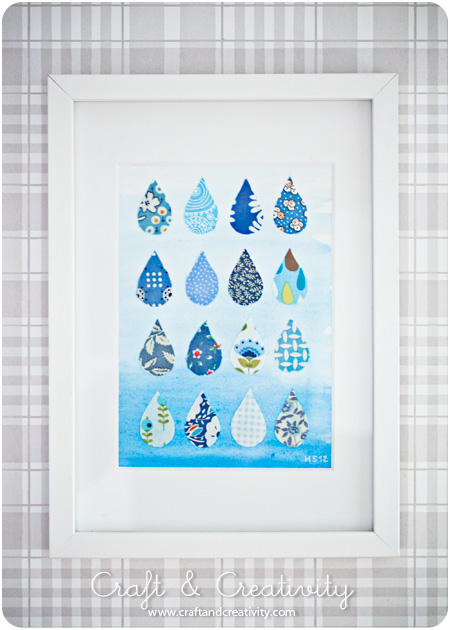
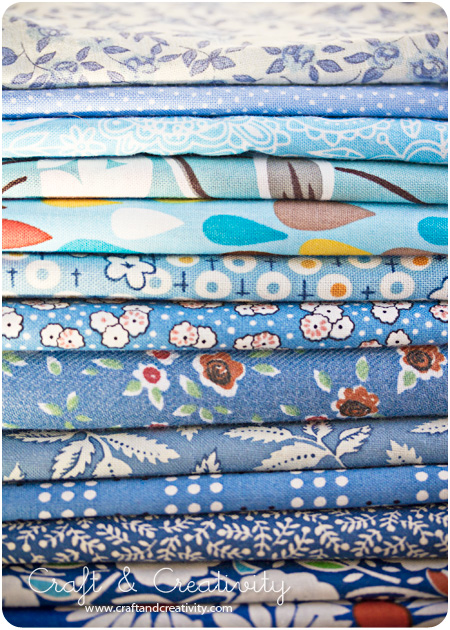
Jag är en samlare. Av pysselmaterial. Det kanske ni redan har märkt… 🙂 Bland annat har jag en hel del tyger i olika mönster som jag samlat på mig genom åren. Härom dagen fick jag en idé om att göra en regntavla med droppar av tyg i olika blåa nyanser. Nu är den klar och jag tror faktiskt den ska bli en present till en fin vän (hoppas hon inte ser det här).
Om du vill göra en liknande tavla så behöver du: Ram, (passepartout), akvarellpapper, pensel, akvarellfärg, tyger i olika mönster och nyanser, sax och klister.
Man kan ju även tänka göra ett kollage med röda hjärtan t ex. Eller fjärilar och då kan man använda massor med olika färger. Det är bara fantasin som sätter gränser, som vanligt.
———-
I’m a collector. Of craft materials. Perhaps you’ve already noticed … 🙂 For example, I’ve got a bunch of fabrics in different patterns that I’ve collected over the years. I got an idea the other day to make a rain painting with drops of fabrics in various shades of blue. Now it’s ready and I think it’s gonna be a gift for a good friend of mine (hope she doesn’t see this).
If you want to make a similar painting, you will need: A frame, (a mat/mount), watercolor paper, a brush, watercolor paint, fabrics in various patterns and shades, scissors and glue.
One can also imagine making a collage with red hearts for example. Or butterflies, and then you can use lots of different colors. It’s all up to your imagination.
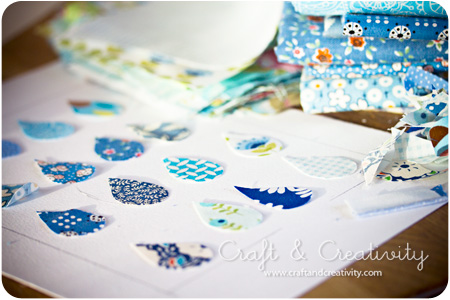
Börja med att klippa ut en mall av en droppe som du känner dig nöjd med. Måtta hur många droppar som får plats på ditt papper (jag ritade ut en stödlinje för att se var passepartouten skulle hamna). Använd mallen och klipp ut önskat antal droppar från dina utvalda tyger. /
Start by cutting out a template of a drop form you like. Measure how many drops will fit on to your paper (I sketched a fine line to see the edges of the mat/mount). Use the template to cut out the desired number of drops from your chosen fabrics.
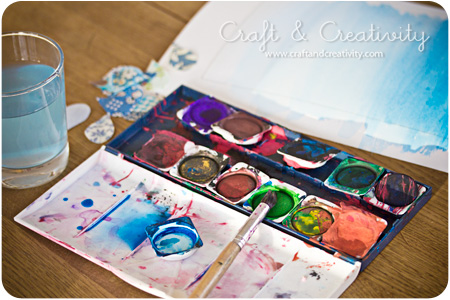
Måla en bakgrund på ditt akvarellpapper. Jag gjorde min lite tonad, större andel vatten högst upp på papperet och större andel färg längst ner. Låt papperet torka. /
Paint a background on your watercolor paper. I did mine a bit toned, using a larger proportion of water at the top of the paper and more color at the bottom. Allow the paper to dry.
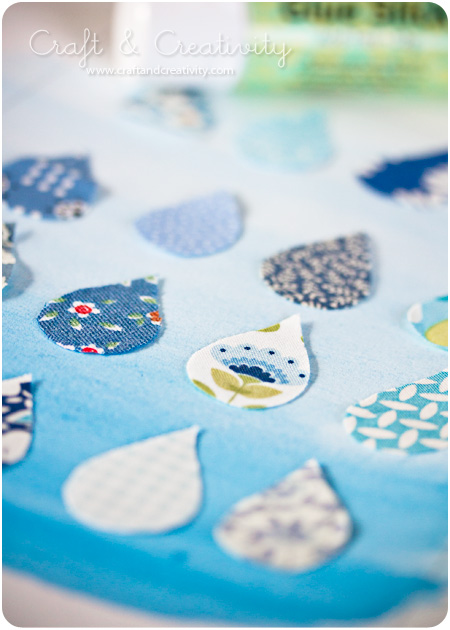
Använd limstift eller annat lämpligt lim och klistra fast dina droppar, jämnt fördelade på papperet. /
Use a glue stick or another suitable adhesive to distribute your drops evenly on the paper.
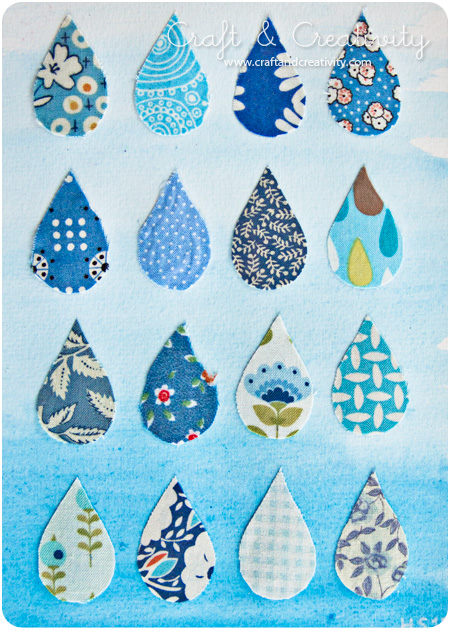
Från ax till limpa på ett kick. Nu är det bara att rama in. /
From start to finish in a snap. The only thing left is the framing.
Fotoramar av kapsyler –
Bottle cap photo frames
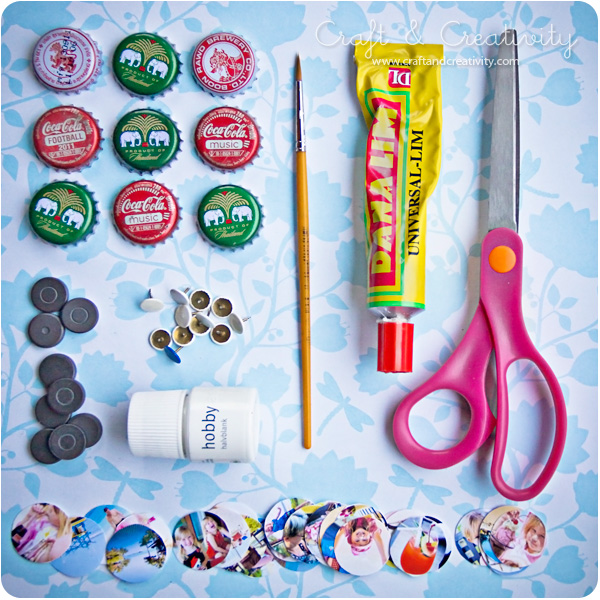
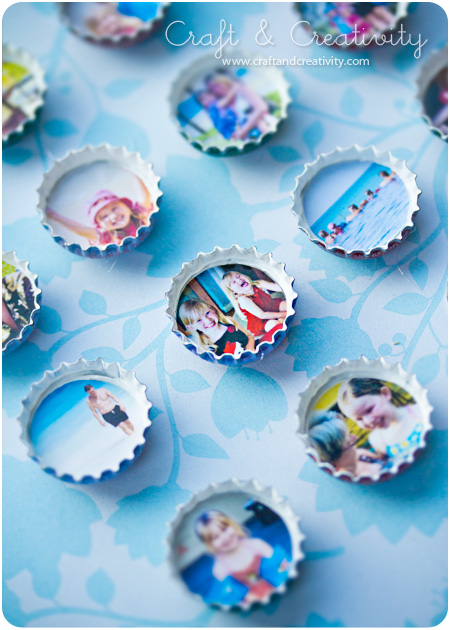
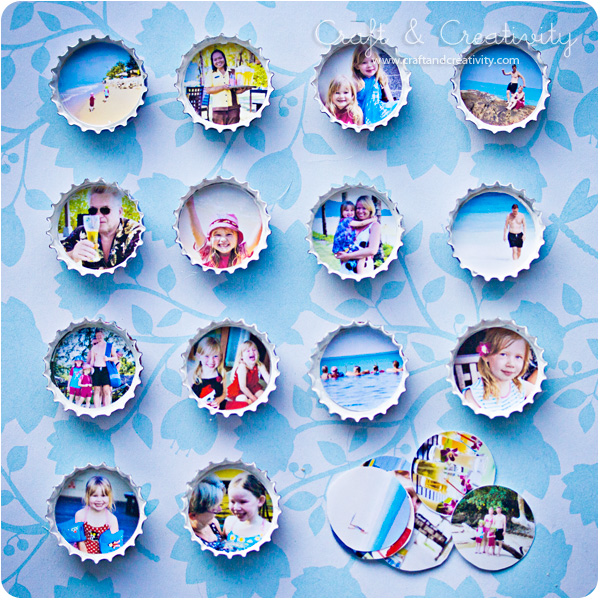
Jag fick med mig lite kapsyler hem från vår Thailand-resa i julas. Inspirerad av ett Martha Stewart-pyssel så fick jag för mig att jag skulle göra miniatyrramar för några av våra Thailands-bilder. Så här gick jag till väga:
—–
I brought some bottle caps back with me from our trip to Thailand. Inspired by a Martha Stewart craft, I decided to make some miniature picture frames for our holiday photos. This is how I went about making them:
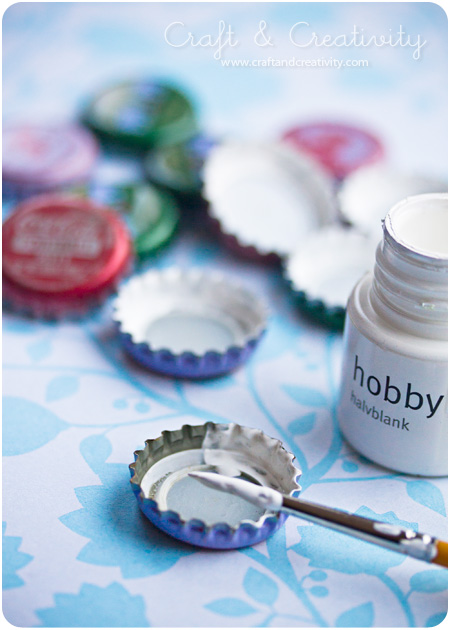
Först och främst målade jag insidan av kapsylerna med två lager vit hobbyfärg. /
First of all, I painted the inside of the caps with two coatings of white hobby paint.
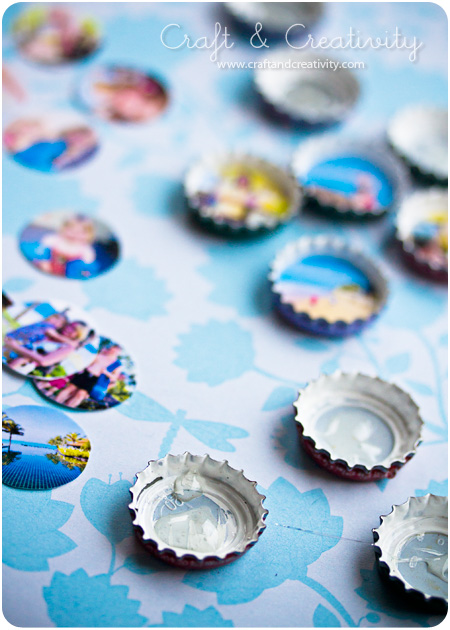
Jag mätte insidan av kapsylen till 2,5 cm i diameter. Därefter klippte jag mina utskrivna fotografier i rundlar av samma mått. När färgen på kapsylerna torkat droppade jag lite klister i mitten och limmade fast mina foton. /
I measured the inside of the cap to be 2.5 cm (1 inch) in diameter. Then I cut my printed photos in circles with the same dimensions. When the color inside the caps had dried I dripped a little bit of glue in the middle and glued my photos in place. /
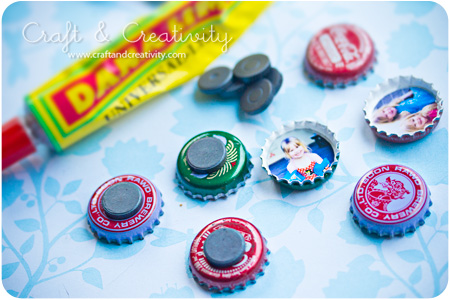
Jag vände på kapsylerna och limmade fast magneter på baksidan. /
I turned the caps around and glued magnets to the back.
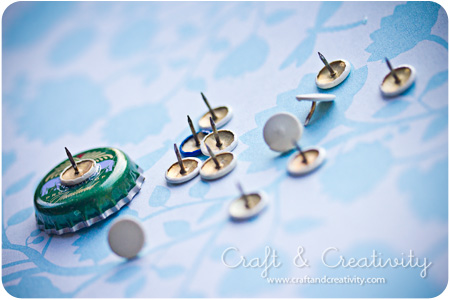
Ett alternativ till magneter är att limma fast häftstift om man vill kunna sätta fotoramarna på en anslagstavla t ex. /
An alternative to magnets is to glue thumbtacks to the back if you want to place your photo frames on a bulletin board for example. /
Mini-tavlor av tändsticksaskar –
Matchbox miniature art
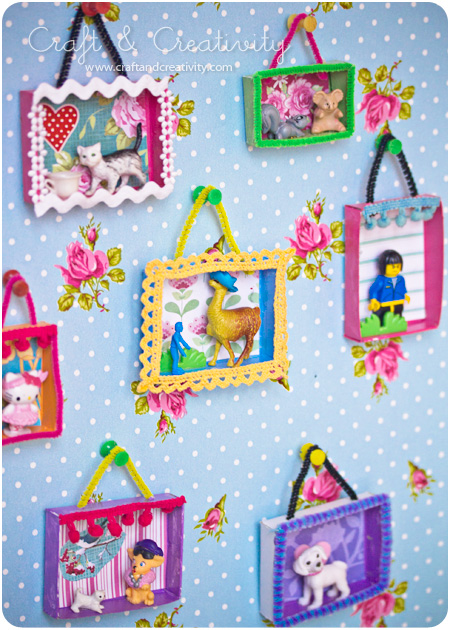
Igår fick jag och barnen för oss att vi skulle göra miniatyrtavlor. Vi plockade fram lite allt möjligt som vi hade hemma och satte igång. Vi målade, klippte, klistrade och hade väldigt roligt under tiden. Välkomna till vår lilla vernissage!
——-
Yesterday me and the kids got the idea to make some miniature art. We used a collection of material we had at home and set in motion. We painted, cut, pasted and had a great time crafting. Welcome to our little exhibition!
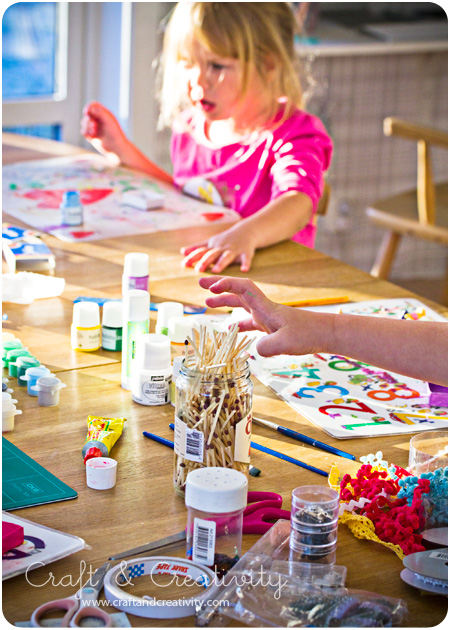
Koncentrerade små pysslare. / Concentrated little crafters.
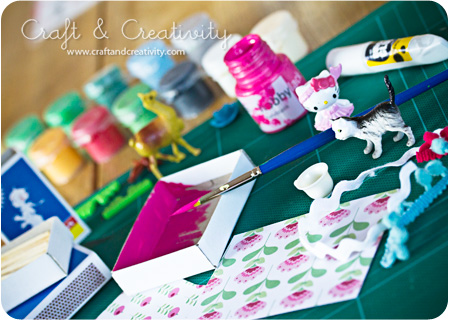
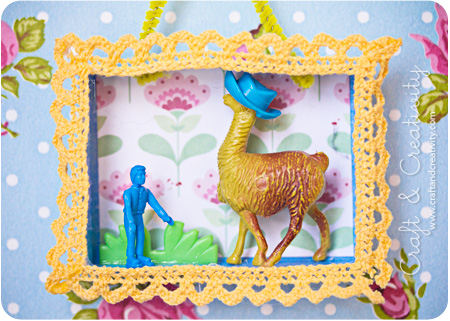
Vi använde oss av: Tändsticksaskar, mönstrade papper, hobbyfärg, penslar, miniatyrfigurer, lim, tygband och piprensare. Man tar det man har, helt enkelt. 🙂
Först målade vi tändsticksaskarna, både invändigt och utvändigt.
——-
We used: matchboxes, patterned paper, hobby paint, brushes, miniature figures, glue, fabric trim and pipe cleaners. You take what you have, basically. 🙂
First we painted the matchboxes, inside and outside.
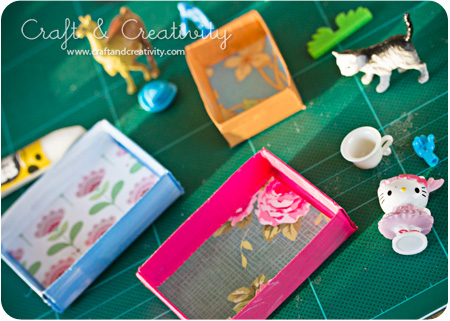
Vi klippte till mönstrade papper som vi klistrade i botten på askarna, som tapeter. /
We cut pieces of patterned paper and glued it to the bottom of the boxes, as wallpaper.
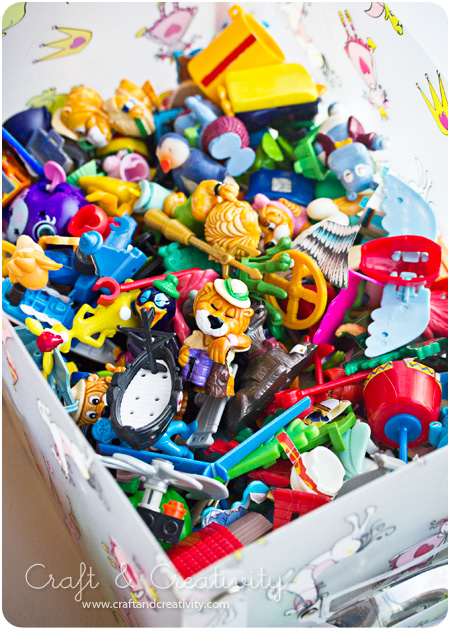
Figurerna valde vi mestadels från barnens gedigna Kinder Ägg leksakssamling… /
The figurines were mostly chosen from the children’s large Kinder Egg toy collection…
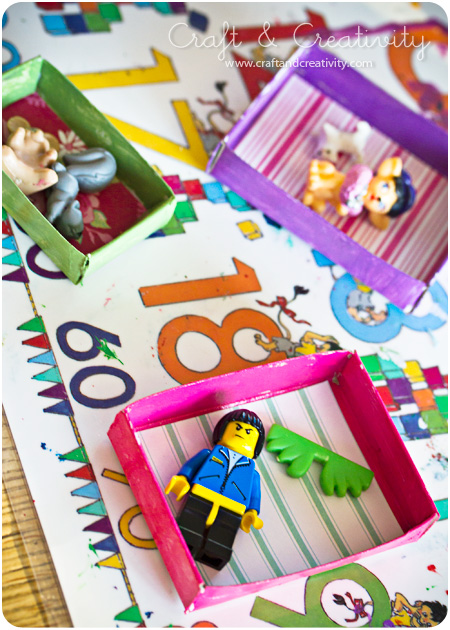
En lego-gubbe fick också vara med. Figurerna klistrade vi fast med snabbtorkande lim. /
A Lego man was also included. We pasted the figurines to the box, using quick drying glue.
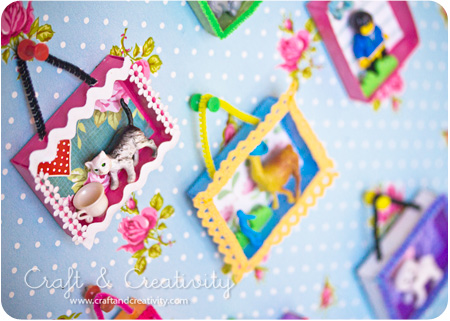
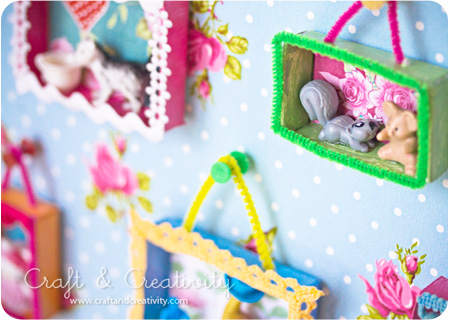
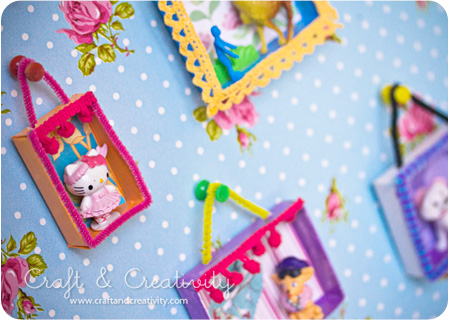
Slutligen klistrade vi tygband och piprensare runt kanterna, som en “ram”. /
Finally we glued fabric trim and pipe cleaners around the edges, as a “frame”.
Dagens pyssel, pappersgran –
Craft of the Day, paper Christmas tree
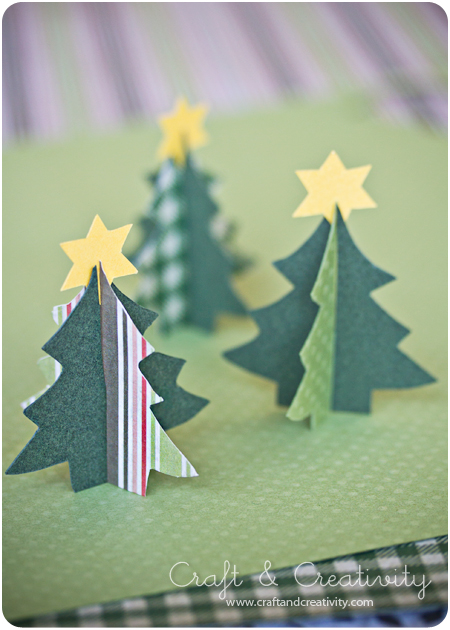
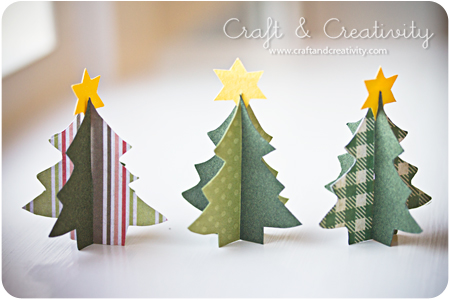
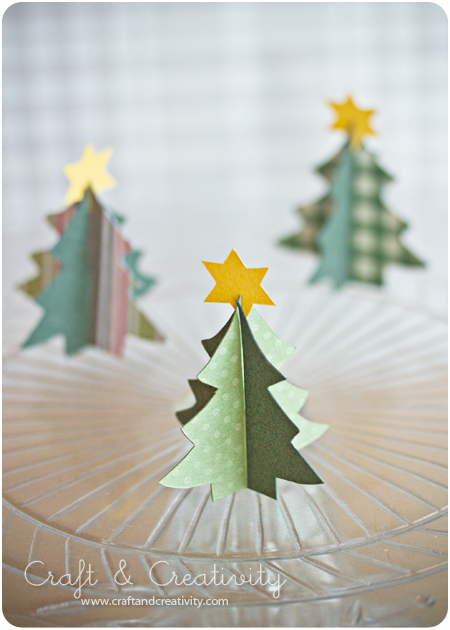
Dessa pappergranar gjorde jag med hjälp av pepparkaksmått. Ett perfekt pyssel att göra tillsammans med barn. En idé är att skriva namn på stjärnorna och använda granarna som placeringskort vid julmiddagen. /
I made these paper trees using cookie cutters. A perfect craft to make together with kids. You could also write names on the stars and use the trees as place cards for your Christmas dinner.
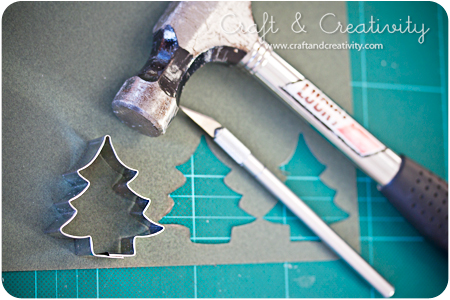
Jag använde mig av min skärmatta, placerade pepparkaksformen ovanpå papperet bankade lite med en hammare för att markera formen. Sedan var det enkelt att skära ut. Det går förstås lika bra att rita med en penna runt och sedan klippa ut. Kanske mer praktiskt om det är barn som hjälper till. Man behöver två granar, gärna i olika mönstrade papper. /
I used my cutting mat, placed the cookie cutter on top of the paper and pounded a bit with a hammer to mark the shape of the tree. After that, it was really easy to cut. If you want, you can trace the outlines of the tree with a pen instead and then cut with scissors. Perhaps that’s a better alternative if your doing this together with a child. You need two tree shapes, preferable in different patterned paper.
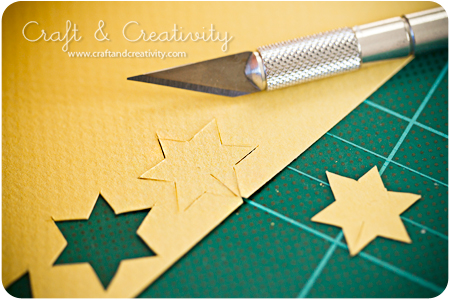
Klipp eller skär ut en liten stjärna i gult eller vitt papper och skär en liten skåra i ena stjärnspetsen. / Cut out a small star in yellow or white paper and make a score in one of the points.
Klipp eller skär till en skåra i båda granarna, den ena uppifrån och den ena nerifrån – som på bilden ovan. / Cut a score in both the trees, one from above and one fro below, as shown in the picture above.
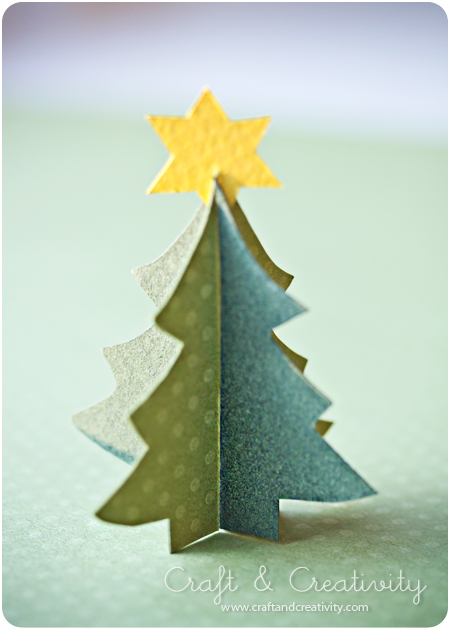
Trä granarna i varandra och placera stjärnan i topp. /
Slip the trees together and place the star on top.
Dagens pyssel, randigt julhänge –
Craft of the Day, Striped Paper Ornament
En amerikansk pysselblogg som jag följer är How About Orange och där finns med massor med roliga pysseltips, beskrivningar och mönster. Dessutom är den fylld med vackra fotografier.
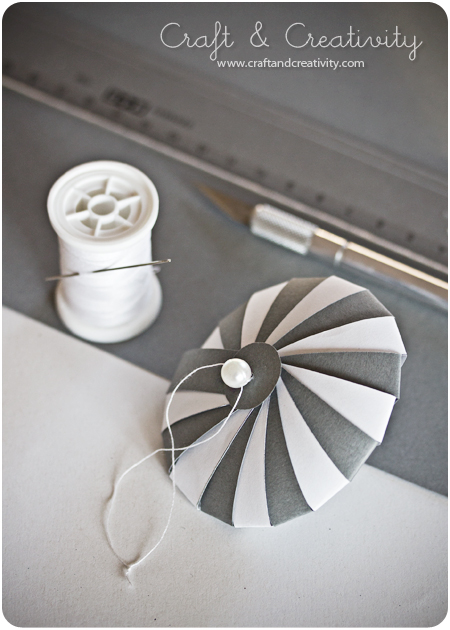
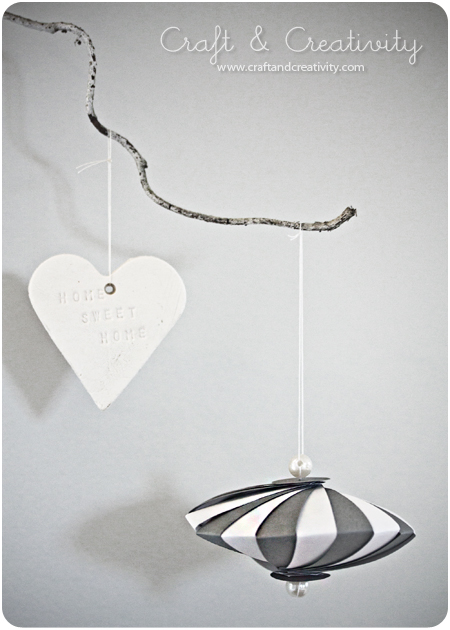
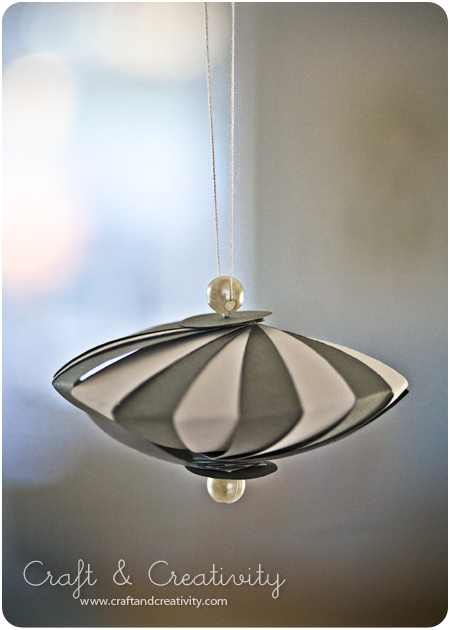
Ett av tipsen jag fastnat för är dessa randiga julhängen i papper, de ser nästan ut som om de hör hemma på tivoli. De var enkla att göra och det krävdes inte mycket material. Klicka er till How About Orange för att se beskrivningen.
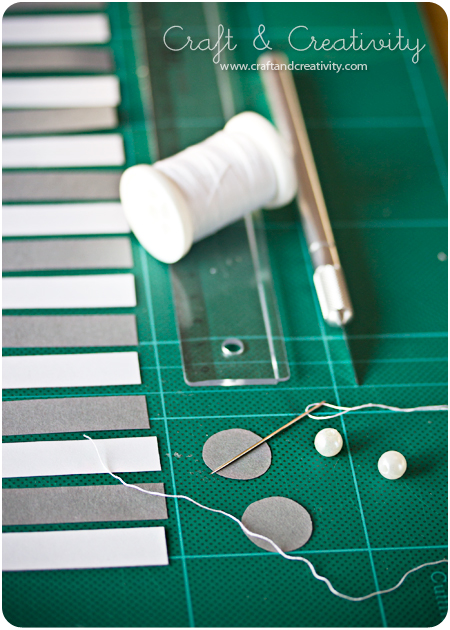
Måtten är i tum och remsorna ska vara 3,5″ x 0,5″, vilket enligt vårt mätsystem är ca 8,9 x 1,3 cm. Lite pilligt att mäta ut (om man inte har en linjal som även visar tum). Därför har jag gjort en mall i Illustrator som ni kan ladda hem i pdf-format om ni vill.
Klicka här för mallen. Förslagsvis kan man skriva ut mallen en gång på vitt papper och en gång på färgat papper (inte för mörkt för då syns nog inte utskriften). Då har man remsor som räcker till två julhängen och man kan blanda färgerna så man får randiga hängen.
How About Orange is an American craft blog that I’ve followed for some time and I’m a big fan of Jessicas work. There you can find lots of fun craft tips, tutorials and templates. Furthermore, it is filled with beautiful photographs.
One of her crafty tips that I’ve fallen for is these striped paper ornaments, they almost look like they belong at a carnival. They were easy to make and required very little material. Click your way to How About Orange to see the tutorial.
The dimensions are in inches and the strips should be 3.5 “x 0.5”, which according to the metric system is approximately 8.9 x 1.3 cm. A bit tricky to measure when you have a ruler which only shows centimeters. 🙂 Therefore I made a template in Illustrator, you can download in pdf format if you wish.
Click here for the template. I suggested you print out the template once on white paper and once on colored paper (not too dark or else the print will not be visible). Then you get enough strips to make two ornaments and you can mix the colors to get the striped effect.
Dagens pyssel, filthjärtan –
Craft of the Day, felt hearts
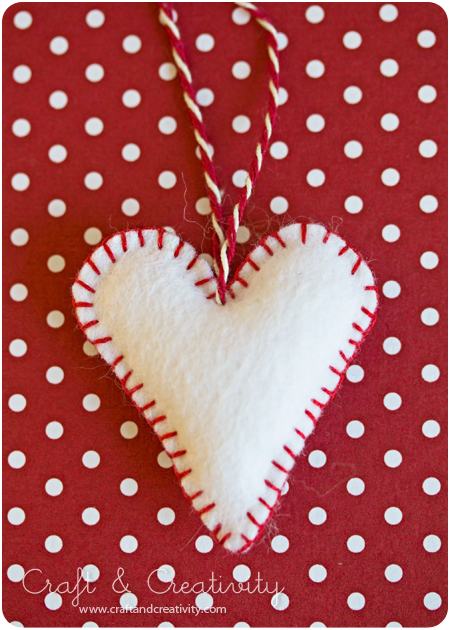
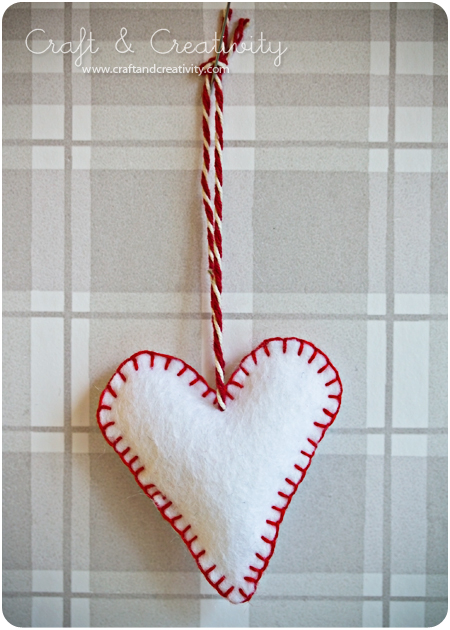
Ja då var det dags för fler hjärtan. 🙂 Jag gillar rött och vitt i granen och då kommer dessa filthjärtan förhoppningsvis passa bra. Jag hade vit filt över efter marängerna och hus-ljuslyktorna. Dessa hjärtan är enkla att göra. Du behöver vit filt, sax, sytråd (eller broderitråd), nål och ett band att hänga hjärtat i.
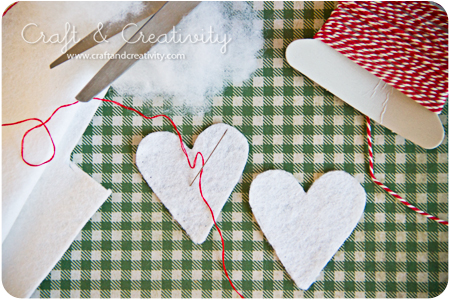
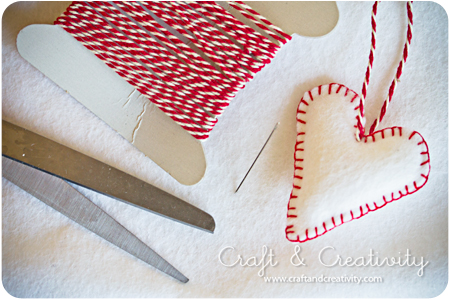
För att måtta hjärtana kan man använda en pepparkaksform till exempel, eller rita för hand. Klipp ut två hjärtan. Sy runt kanten med langettstygn men spara en liten öppning. Fyll med vadd och sy igen det sista. Fäst ett band för upphängning.
It’s about time for some new hearts. 🙂 I like the combination of red and white in the Christmas tree and these felt hearts will hopefully fit right in. I had some scraps of white felt left from the meringues and the felt house lanterns.The hearts are really easy to make. You need white felt, scissors, sewing thread (or embroidery thread), a needle and string or yarn for the hanging.
In order to get the right heart shape, you can use a cookie cutter, or simply draw by hand. Cut out two hearts. Sew around the edge with blanket stitch, but leave a small opening. Fill the heart with cotton wool and close the gap. Attach a string for hanging.

