Semmeldag – Fat Tuesday

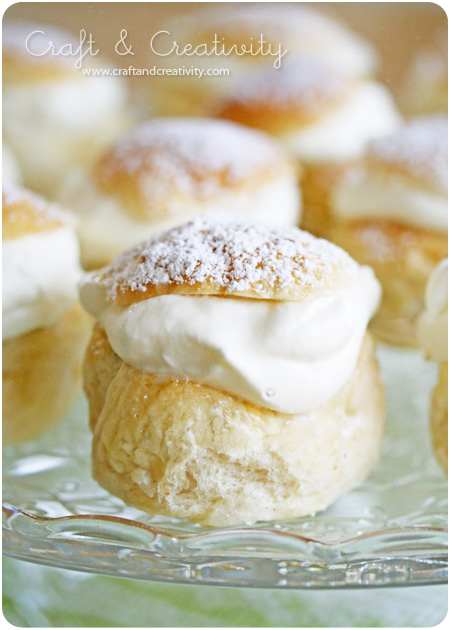
Fettisdag idag och gillar man semlor är det förstås en riktig höjdardag! Mina minisemlor är bakade med recept från Mia Öhrns bok Semlor, men andra bra recept finns på Helt Enkelt och IcaKuriren.se till exempel. Idag hinner jag inte baka några semlor men ett konditoribesök måste jag få till!

För er som vill ha variation på era semlor så jag kan rekommendera Stjärnsemlor hos Kinoko, Yosofines Semlor med rosa fluff eller Blåbärssemlor hos Vardaxlyx.

——–

In Sweden we call this day Semmeldagen or Fettisdagen, according to Wikipedia best translated to “Fat Tuesday” or “Shrove Tuesday”, and comparable to “Pancake day” in the UK and in Australia. We Swedes celebrated this day by eating a type of pastry called Semla (a cardamon spiced wheat bun filled with almond paste and topped with whipped cream). Some eat it in a bowl of hot milk = “Hetvägg”. For a recipe in English, please click here. I made mine miniature sized. That way you can eat more of them … 

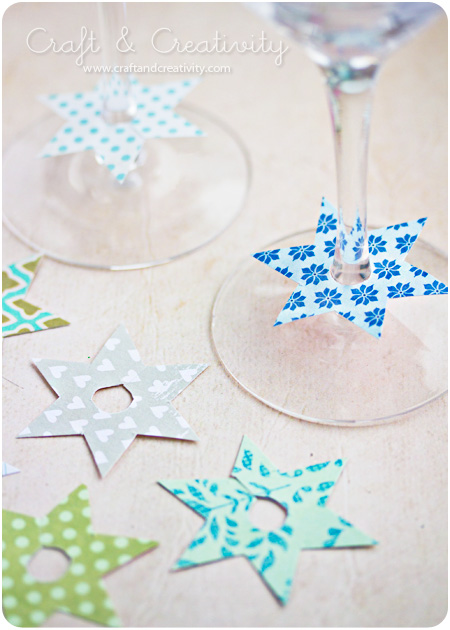
Glasmarkörer – Glass markers

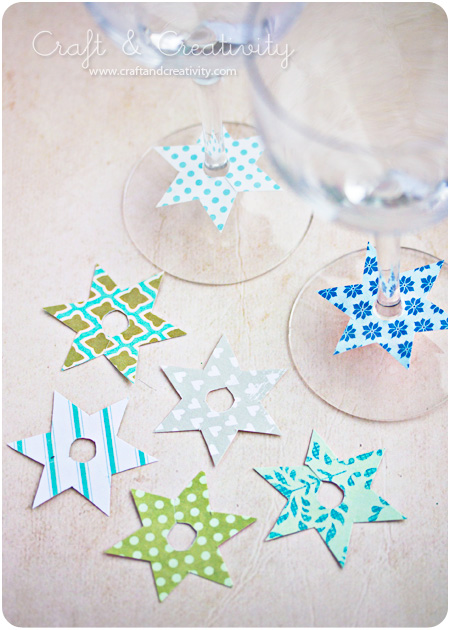
Det närmar sig en jämn födelsedag för min del och jag har börjat förbereda den första av två (!) fester. Jag gillar idén med att markera glasen, dels för att gästerna lättare kan hålla reda på sina glas (och man därmed undviker extra disk) och dels för att det ser lite roligare ut. Det ska ju förstås märkas att det är en pysslare som har kalas! 🙂
——–
I have a milestone birthday coming up and I’ve just started preparing the first of two (!) parties. I like the idea of marking the glasses, partly because it’s easier for the guests to keep track of their glasses (and avoid extra washing up) and partly because it looks more festive. I like the idea that it’s noticeable that this is a crafter’s birthday! 🙂 

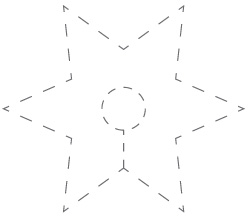
Jag ritade en mall som jag använde för att klippa ut mina stjärnor. /
I drew up a template that I used for cutting my stars.  

Ella på Ellas Inspiration gjorde nyligen ett liknande pyssel, fast med fina pappershjärtan till Alla hjärtans dag. Man kan förstås även köpa färdiga glasmarkörer, både i papper och som roliga sugproppar har jag sett. /
Ella at Ellas Inspiration recently made a similar craft, but with pretty paper hearts for Valentine’s Day. You can also buy ready-made glass markers, I’ve seen paper ones as well as fun plastic ones with suction cups. 

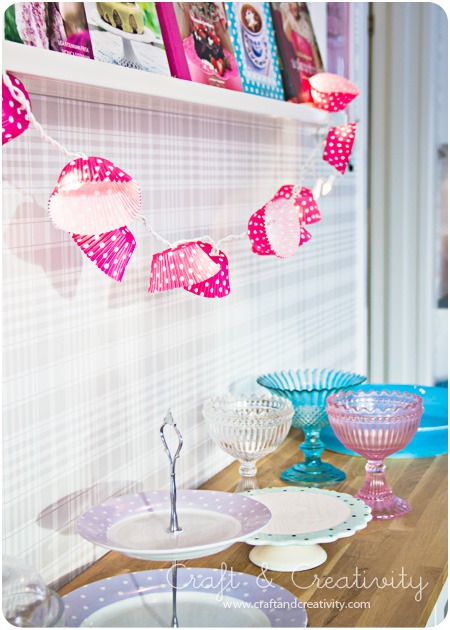
Kalasfin ljusslinga – Cupcake liner lights

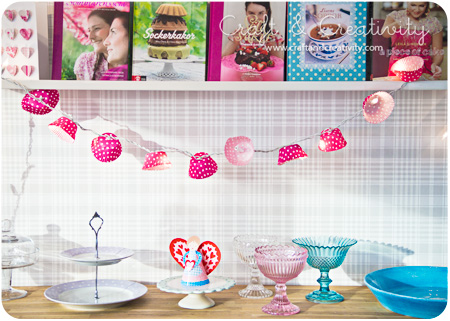
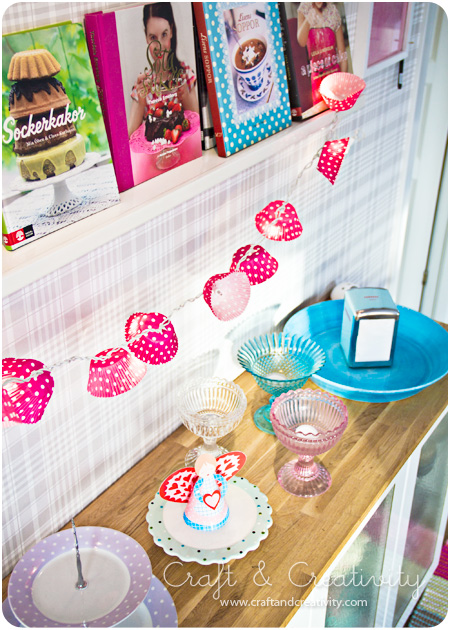
Kombinera en ljusslinga med muffinsformar och du får en kalasfin girland. Kanske ett kul pynt till födelsedagen? Alternativt, varför inte använda vita formar till ett bröllop eller röda till kräftskivan? /
Combine string lights with cupcake liners and get yourself a festive garland. Could be great for a birthday party or why not use white liners for a wedding? 

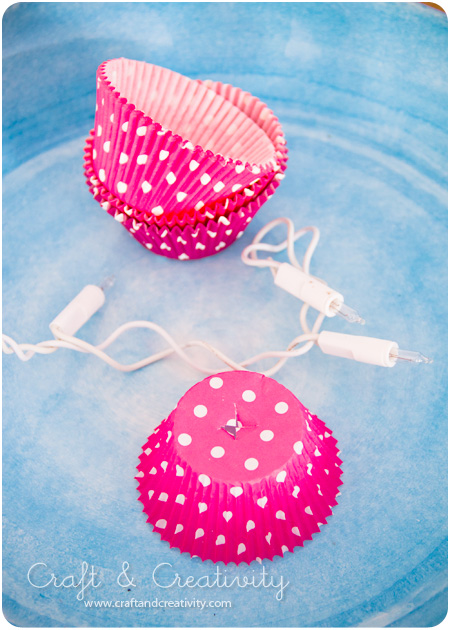
Skär ett litet kryss i mitten av formen och tryck lampan igenom. Jag har sett idén lite här och var och testade bara för att det var så enkelt. /
Cut a small slit in the middle of the liner and press the light through the hole. I’ve seen this idea a bit here and a bit there and tried it just because it was so simple. 

Pasteller, bakböcker och prickar. Vårtema i vårt kök. /
Pastel colors, baking books and polka dots. Our spring themed kitchen. 

Ordning bland banden –
Organized trims & ribbons

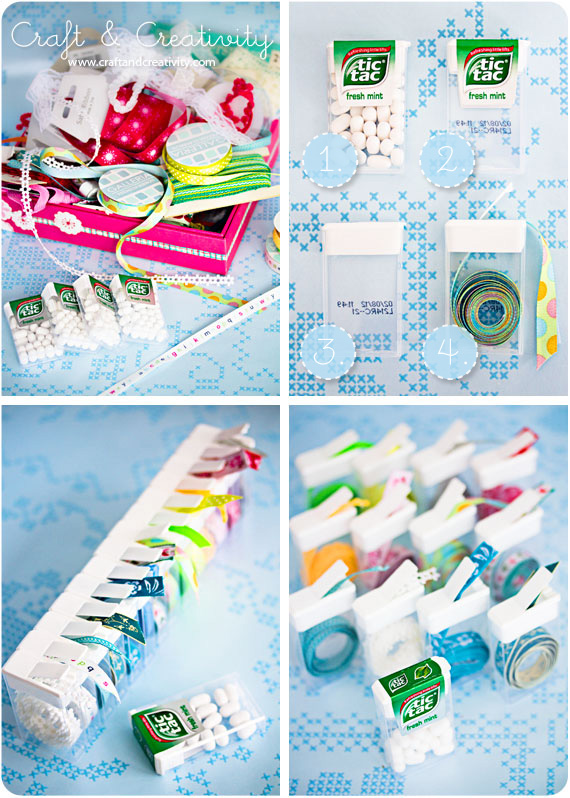
Fina tygband och spetsar är roligt att använda när man pysslar, syr eller slår in paket. Mina band har dock hittills legat huller om buller, hoptrasslade med varandra och i flera olika lådor. Svårt att få någon överblick.

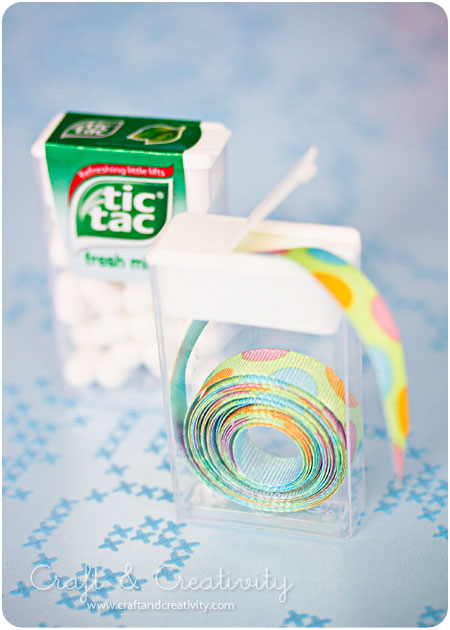
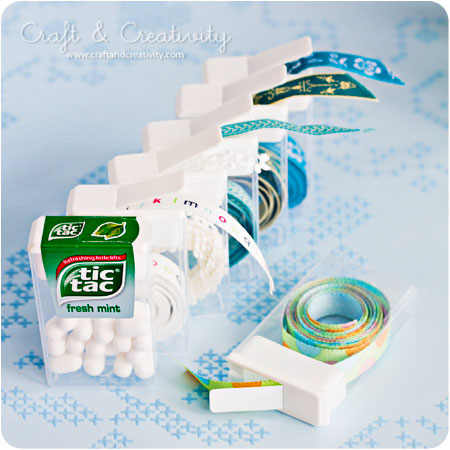
Som så ofta innan hittade jag lösningen via en bild på Pinterest. Bilden ledde mig till en sida som heter Instructables (smart sida för övrigt!) och där fanns en beskrivning på hur man använder TicTac-behållare som praktisk förvaring för tygband. Genialt! Som tur är har jag en make som gillar minttabletter och på Lidl kom jag över ett gäng TicTac’s riktigt billigt.

———–

Beautiful trims, ribbons and lace is fun to use when you’re crafting, sewing or wrapping gifts. My trim stash has been a total mess up to now, all tangled together and no order at all. It’s been hard to get a proper overview. 

As so often before I found the solution via an image on Pinterest. The picture led me to the site Instructables (a great source of inspiration, by the way!) and there I found a description on how to use TicTac containers for a smart ribbon storage solution. Ingenious! Luckily I have a husband who likes mints and I was able to lay my hands on a bunch of TicTac’s really cheap at our local grocery store. 
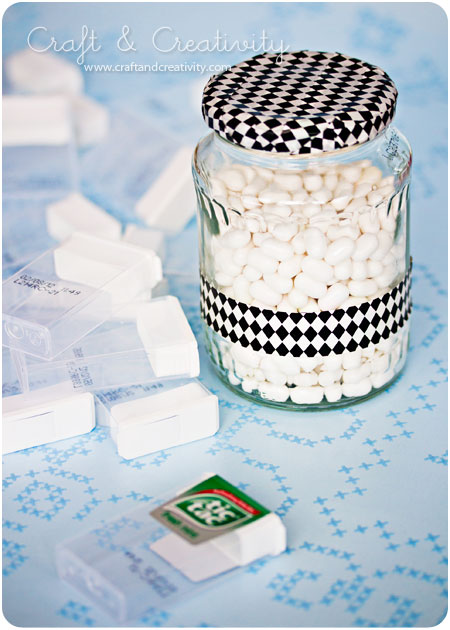
TicTac-tabletterna hällde jag över i en större burk som jag piffade till med lite washi tejp (inget får förbli opyntat, det förstår ni va?). 😉 /
I poured the TicTac tablets into a large jar and pimped the jar with some washi tape (nothing may remain unembellished, you get that right?). 😉
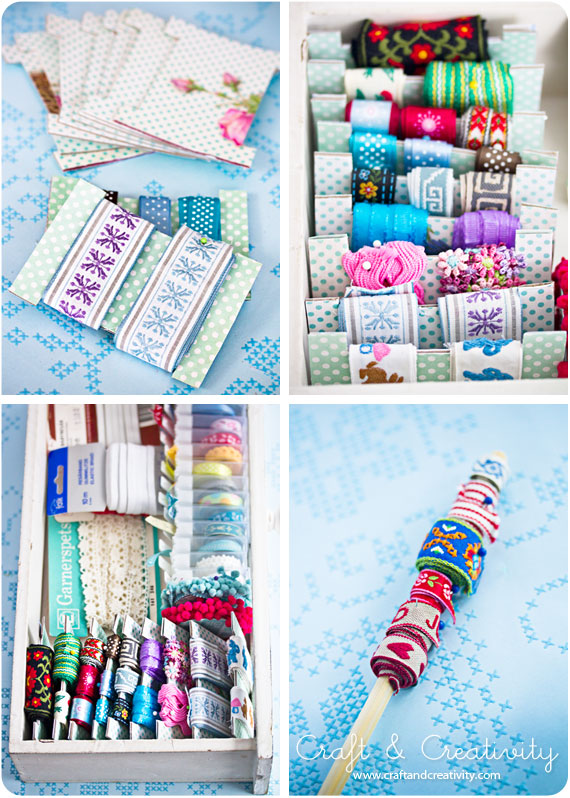
Nu är det ju så att TicTac-behållare är ganska smala och några band fick helt enkelt inte rum. Detta löste jag genom att klippa till kartongbitar som jag sedan virade mina breda band runt. Jag fäste ändarna med synålar. Småsnuttar av band lindade jag runt en kinapinne istället. /
It just so happens that TicTac containers are quite narrow and some of my trims simply didn’t fit. I solved this by cutting out pieces of cardboard and wrapped the wider trims around them. I pinned down the ends with sewing needles. I wrapped tiny trim scraps around a chopstick instead. 
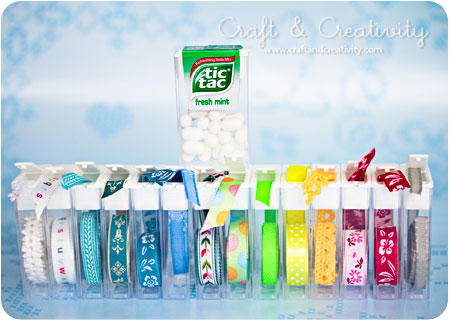
Resultatet blev både fint och överskådligt, tycker jag. Som bonus för att jag varit så duktig “fick” jag köpa lite nya band (och lite ny washi tejp) på Etsy… Nu väntar jag bara på leveransen. 🙂 /
I’m very happy with the result. And as a reward for doing such a good job, I treated myself to some new trims (and some new washi tape) from Etsy … Now I’m just waiting for the delivery. 🙂  
Rosa whoopies – Pink whoopie pies

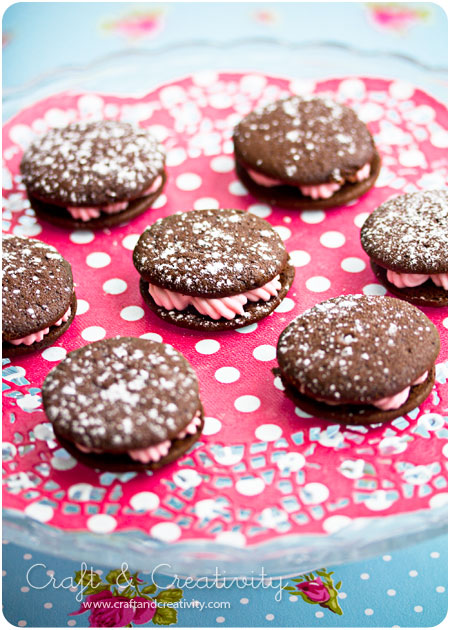
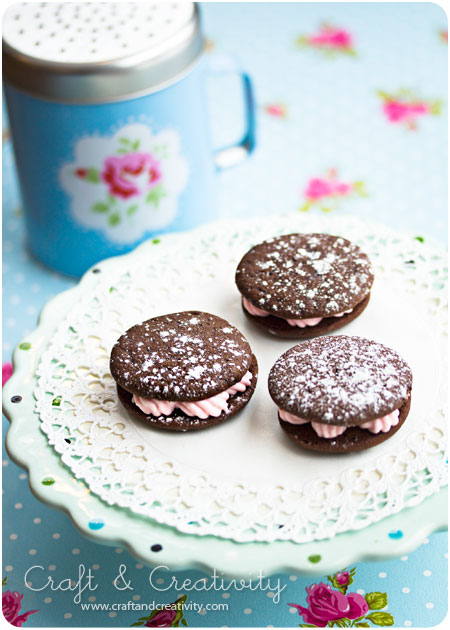
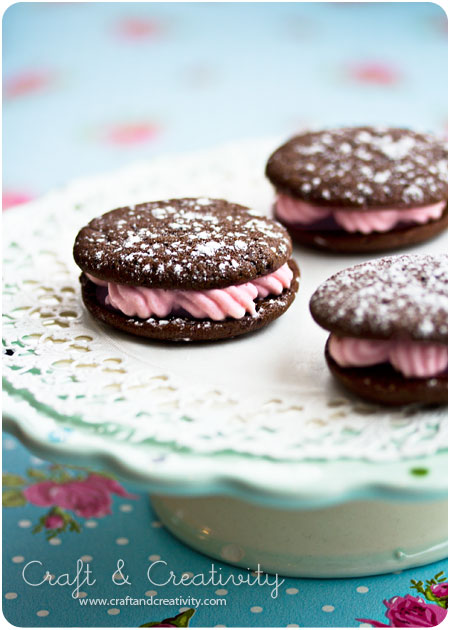
I helgen var vi bjudna på knytkalas och alla familjer skulle ta med en varmrätt och en efterrätt. Jag var sugen på att baka något sött och bestämde mig för att försöka mig på att baka whoopies. Receptet kommer från den underbart inspirerande och alltid lika sprudlande Yesmin på bloggen Vardaxlyx. Kakorna var inte svåra att baka även om det tog lite tid. Men goda blev de!

——-

Last weekend we were invited to a potluck dinner and all the families invited contributed with a main dish and a dessert. I felt like baking and decided to try to make whoopie pies. The recipe (in Swedish) comes from the wonderfully inspiring and ever-ebullient Yesmin at the Swedish blog Vardaxlyx. The cookies wasn’t hard to make but it took some time. However they were delicious! 

Florsockerströaren i bakgrunden kommer från Cath Kidston. Fatet köpte jag i Odense på vår Danmarksresa i somras och tapeten som jag använt som bakgrund kommer från Pip Studio. /
The icing sugar shaker in the background is from Cath Kidston. I bought the cake stand in Odense on our trip to Denmark last summer and the wallpaper that I used for backdrop comes from Pip Studio. 

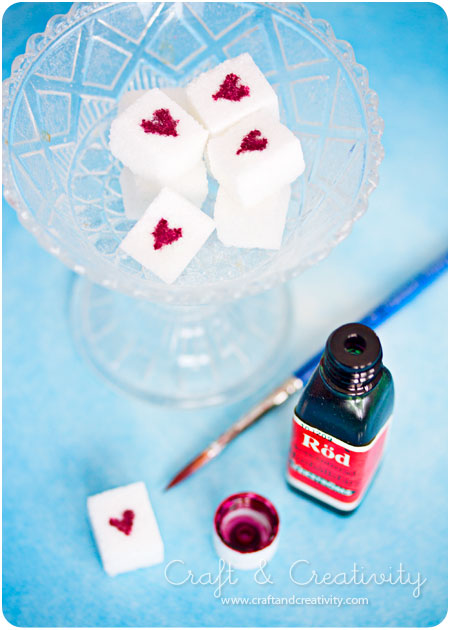
Söt som socker – Sweet as sugar

Okej, bara ett sista hjärtligt pyssel. Jag ska byta tema sedan, jag lovar… 🙂

Du behöver: Sockerbitar, röd hushållsfärg och en pensel.
Doppa penseln i lite röd hushållsfärg (penseln måste ha en smal spets) och måla försiktigt försiktigt. Det behövs bara minimalt med färg.

——–

Ok, just one last heart themed craft. Bare with me … 🙂

You will need: Sugar cubes, red food coloring and a paintbrush.
Dip the brush carefully in red food coloring (the brush must be fine) and paint very gently. You only need a minimal amount of color. 

Inspiration hittad här. / Inspiration found here

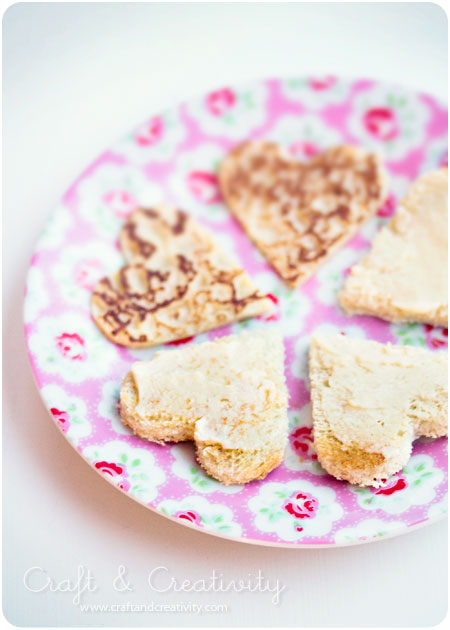
Hjärtlig frukost – Valentine breakfast

Jag tror givetvis på att visa min kärlek för dem jag älskar och bryr mig om, inte bara på Alla hjärtans dag – utan alla dagar på året. Men jag tycker samtidigt att det är lite roligt att sätta guldkant på vardagen och därför gillar jag den 14 februari. Utan att det kostar något extra.

Så här såg barnens frukost ut i morse. Rostat bröd och plättar som jag format som hjärtan med hjälp av pepparkaksmått. Lilla tjejen, som älskar mjölk, fick dessutom en droppe röd hushållsfärg i sitt glas = rosa mjölk!

Ha en fin och hjärtlig dag, oavsett om ni firar Alla hjärtans dag eller inte. <3

———

Obviously I think it’s important to show my love for those I care about, not only on Valentine’s Day – but every day of the year. But I also believe in finding reasons to celebrate and that’s why I like February 14th. Without spending any extra money.

Here what the kids got for breakfast this morning. Toast and pancakes shaped into hearts using a cookie cutter. And my youngest daughter, who loves milk, also got a drop of red food coloring in her glass = pink milk! 

Have a nice and lovley day, whether you celebrate Valentine’s Day or not. <3

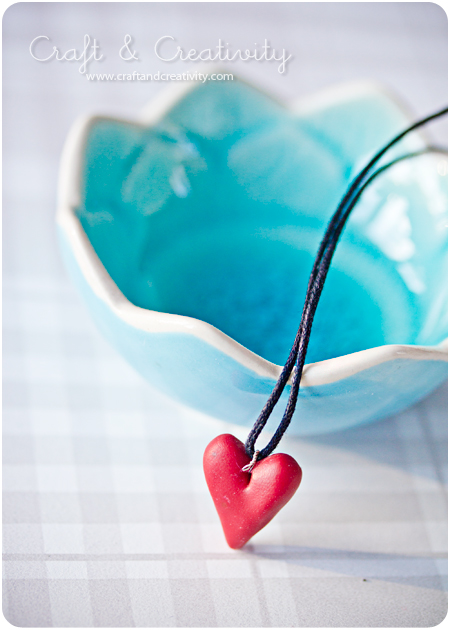
Hjärthalsband – Heart Necklace

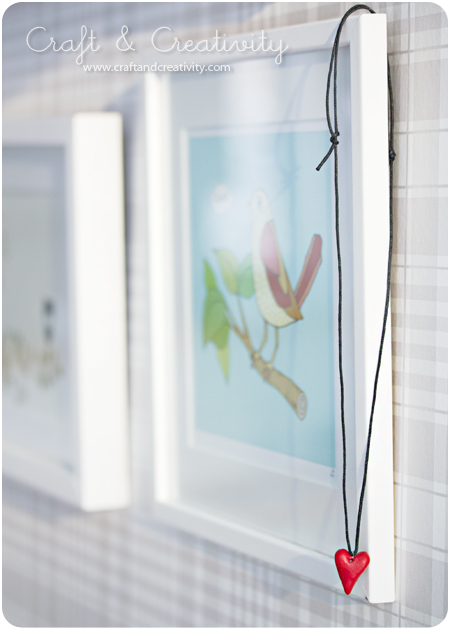
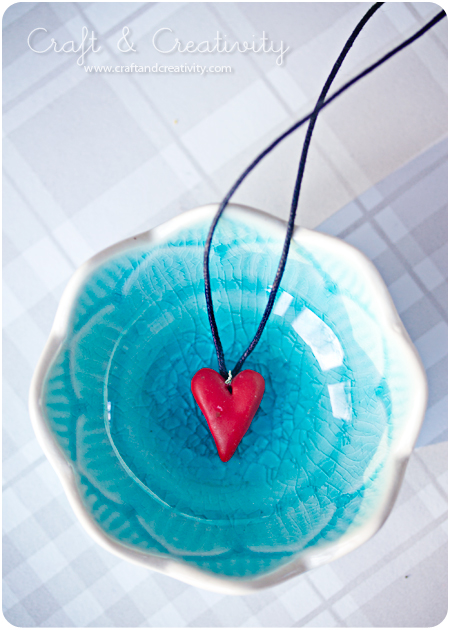
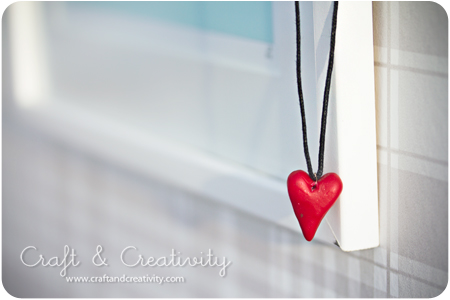
Jag fortsätter på hjärt-temat ett tag till och visar er ett halsband som jag gjort av Fimo-lera. Jag formade hjärtat för hand, gjorde ett litet hål med en synål och brände hjärtat i ugnen i 30 min på 110°C. När hjärtat svalnat trädde jag ståltråd genom hålet, tvinnade ståltråden till en ring och fäste bandet i ringen.
——–
I’ll stick to my heart themed crafts for a bit longer and show you a necklace that I made of Fimo clayI shaped the heart by hand and used a needle to make a small hole. I baked the heart in the oven for about 30 minutes at 110°C (230°F). When it had cooled off I threaded a piece of fine wire through the hole, twined it like a ring and threaded the string through the ring. 

För en beskrivning (med bilder) på hur man knyter en s k “glidande knut” klicka här. /
For a tutorial (with pictures) on how to tie a “sliding knot”, please click here

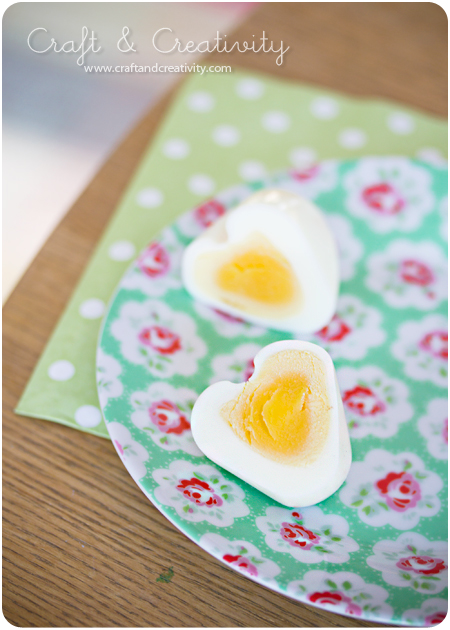
Och för den som känner för att överraska sin käresta eller sina barn med ett hjärtformat ägg på morgonen så är det lättare än man tror, klicka här för beskrivning. Jag var tvungen att testa själv… /
And for those of you who would like to surprise your loved ones with a heart shaped egg for breakfast, it’s a lot easier then you think. Click here for a tutorial. I just had to try it out for myself …  

Garnlindad skolåda –
Yarn wrapped shoe box

Om man kan klä gamla glasflaskor med garn så borde man kunna göra detsamma med gamla skokartonger, eller hur? /
If you can dress up old glass bottles with yarn you should be able to do the same thing with old shoe boxes, right? 

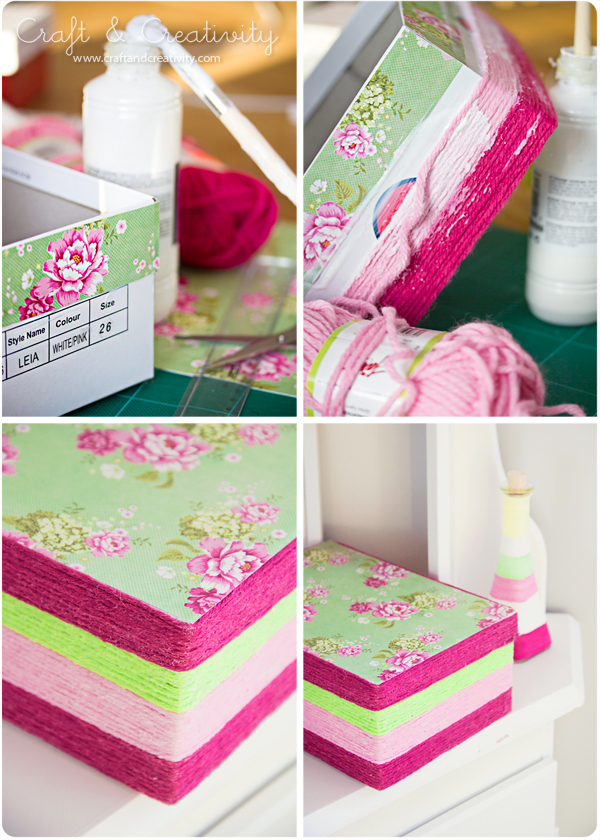
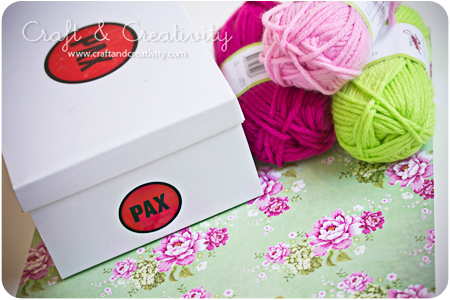
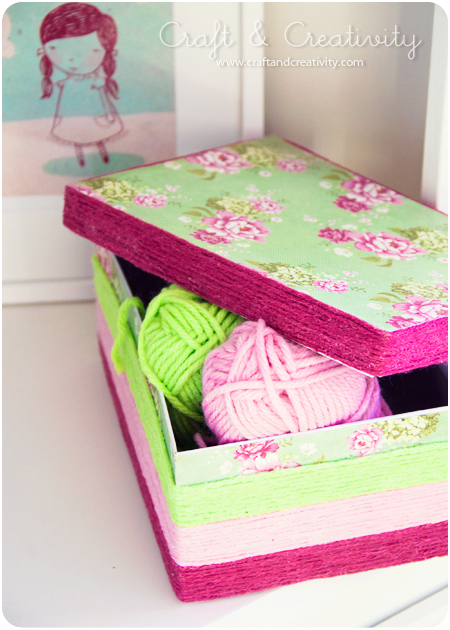
Den här gången använde jag betydligt tjockare garn (för stickor nr 8 ) och det gick snabbt att täcka lådan. I övrigt använde jag en skokartong, decoupage-lim, en pensel och lite mönstrat papper. Vira inte garnet ända upp till kanten för då går det inte att sätta på locket längre. Jag täckte den översta kanten med papper i stället, som ni ser på bilden högst upp.
——
This time I used the much heavier yarn (for knitting needles No. 8) and covering the box went quickly. Besides the yarn, I used a shoe box, decoupage glue (or you can use Mod Podge), a brush and some patterned paper. Do not wrap the yarn all the way to the top because then you won’t be able to fit the lid on. I covered the top edge with paper instead, as you can see in the pictures.

Lockets kanter täckte jag också med garn och avslutade det hela med att täcka ovansidan av locket med mönstrat papper som jag klistrade fast med samma lim som garnet. /
I also covered the edges of the lid with yarn and finished off the hole thing with a piece of patterned paper that I glued on top, using the same glue as with the yarn. 

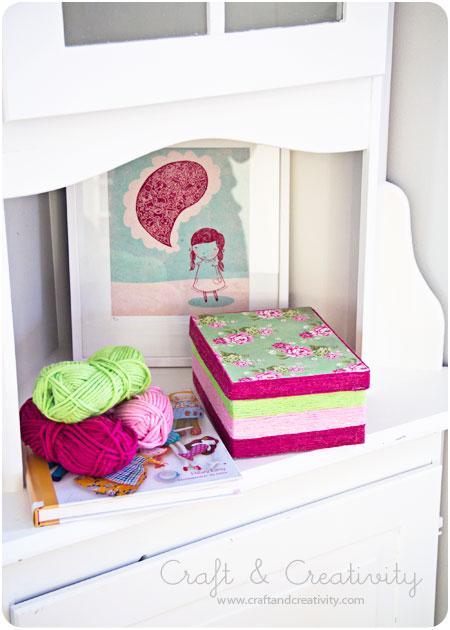
Just nu innehåller lådan… garn. Ganska passande, va? Tavlan i bakgrunden kommer från Multiple Personality, Etsy. /
At the moment the box contains … yarn. Pretty fitting, huh? The print in the background is from MultiplePersonality, Etsy

Alla Hjärtans Dag ängel –
Valentine Angel

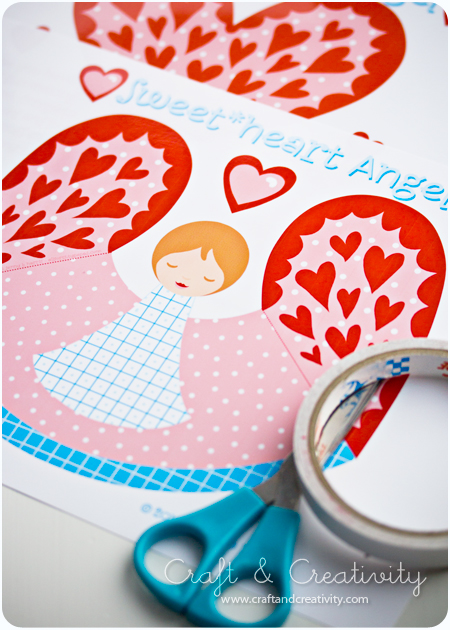
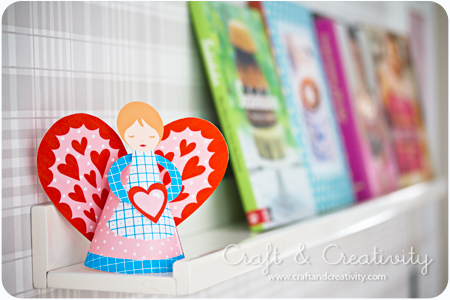
Jenny B. Harris på Allsorts är en av mina inspirationskällor och har varit det under många år. På hennes blogg finns massor med gratis pysselbeskrivningar och mönster. Hon har en liten butik på Etsy och hon är även en väldigt duktig illustratör. /
Jenny B. Harris of Allsorts is one of my favorite sources of inspiration and has been so for many years. On her blog you can find lots of free craft tutorials and patterns. She has a little shop on Etsy and she is also a very talented illustrator.


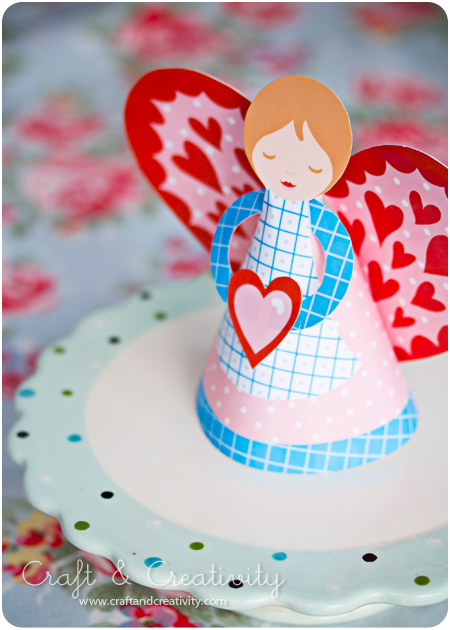
Mönster och beskrivning till denna ljuvliga Alla Hjärtans Dag ängel hittar ni här. Jag skrev ut min på blankt fotopapper och färgerna blev jättefina! /
You can find the pattern and tutorial for making this delightful Valentine’s Day Angel here.
I printed mine on glossy photo paper and the colors popped out really well! 

Ta en titt på Jennys fina hobbyrum: /
Take a look at Jenny’s beautiful art studio