Origamistjärnor – Origami paper stars

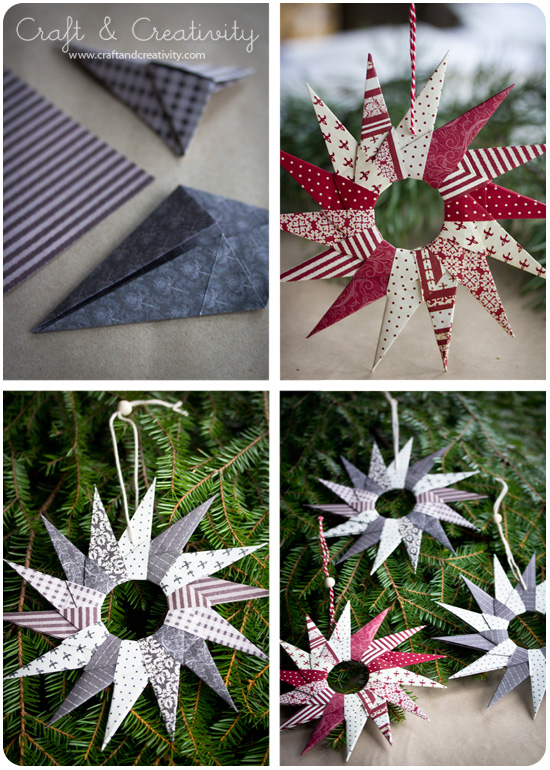
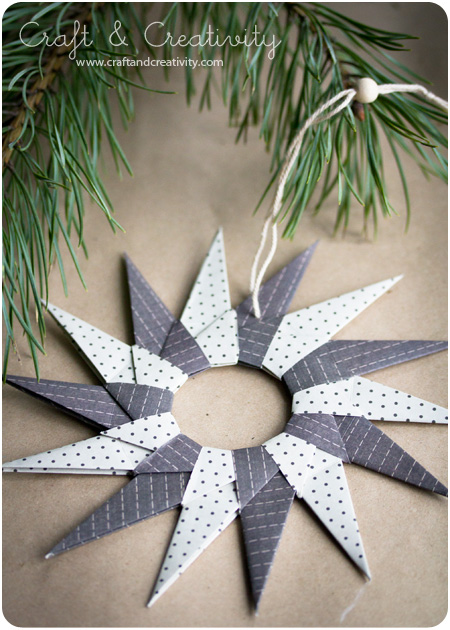
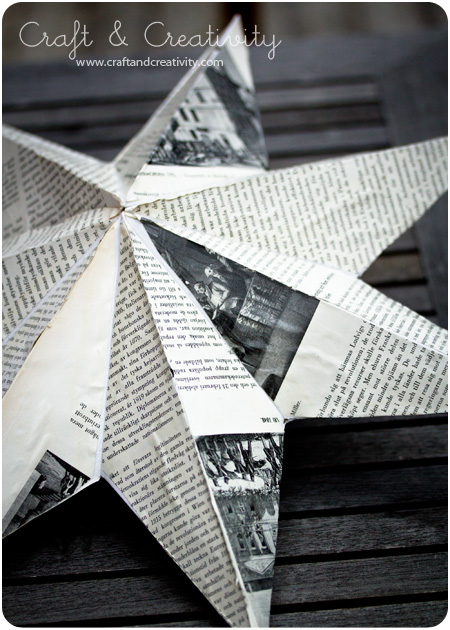
En annan rolig sak som vi gjorde på vår trevliga pysseldag med Pysselbolaget var att 8-åriga Freja lärde mig och min äldsta dotter att vika vackra papperstjärnor. Du hittar en toppenbra beskrivning på hur man viker dem finns hos Pysselbolaget, med bilder och allt. Tack Karin & Freja!

Another fun thing we made on our craft meet with Pysselbolaget, was that 8-year-old Freja taught me and my daughter how to fold lovely paper stars. You will find an excellent tutorial (in English and Swedish) at Pysselbolaget, with pictures and everything. Thanks Karin & Freja!  


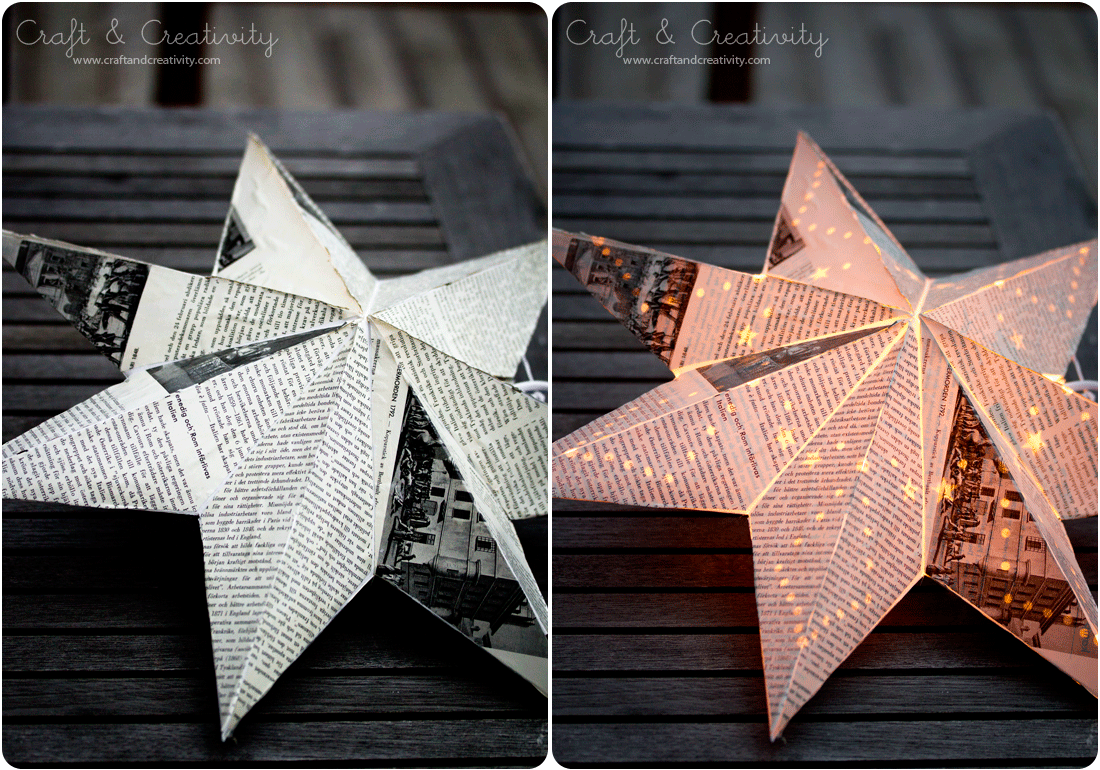
Ovan har jag använt origamipapper som är 10×10 cm. Stjärnorna blev ca 19 cm i diameter.
—-
Above I used origami paper that is 10×10 cm / 4 inches.

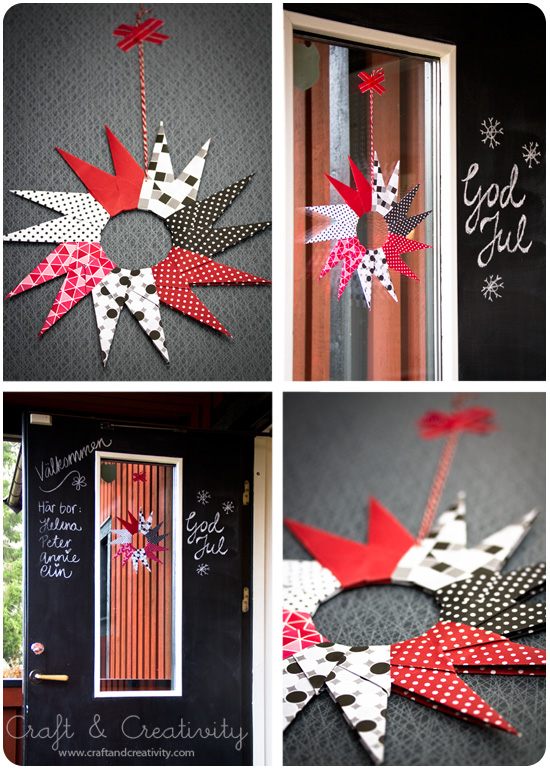
Jag gjorde en origamistjärna till ytterdörren också. Här använde jag ett papper som är en aning tjockare än origamipapper. Notera dock att om man använder papper i A4-format så man måste klippa till papperet så det blir kvadratiskt innan man börjar vika. Insidan av dörren har vi målat med griffeltavelfärg.
—-
I made an origami star for our front door as well. Here I used thicker paper, a bit heavier then origami paper, but it worked nicely too. Note that if you use paper in A4 size, you have to cut the paper to a square before you start folding. The inside of our door is painted with chalkboard paint. 


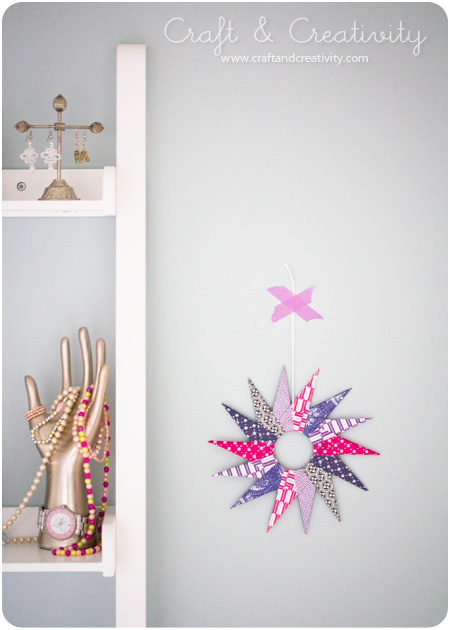
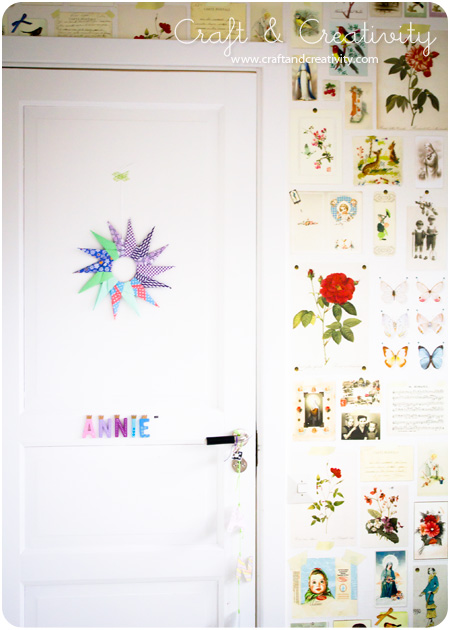
Till vänster en stjärna av origamipapper (papper köpt via Etsy) som jag tejpade på väggen i vårt sovrum och till höger min dotters Annies stjärna som hon hängde på sin dörr.

To the left, an origami paper star (paper purchased via Etsy) taped to the wall in our bedroom and to the right my daughter Annie’s star, which she hung on the door to her room. 

Loppisfynd – Flea market find

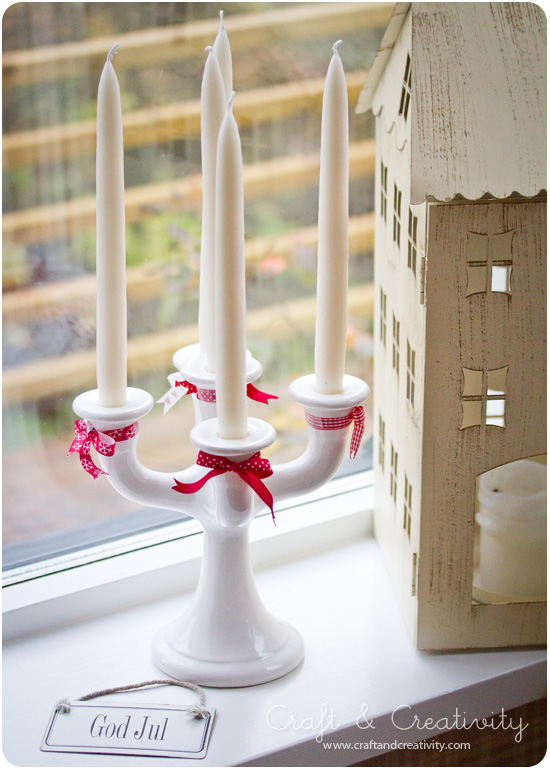
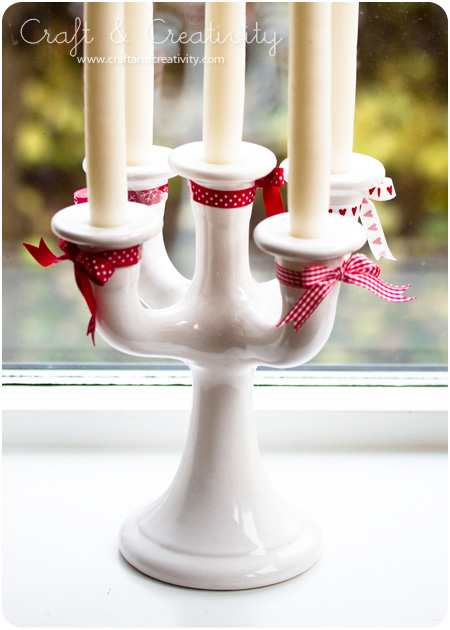
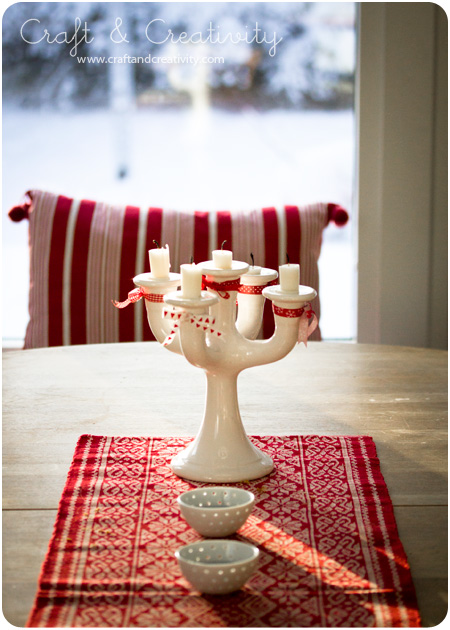
Jag vet inte om ni lade märke till porslinsljusstaken i förra inlägget. För mig har den blivit en ny favorit och nu är ju den perfekta tiden på året att tända ljus, så ofta som möjligt. Det är visserligen ingen adventsstake, men tål kanske att visas idag ändå. 😉
—-
I don’t know if you noticed the porcelain candle holder in my last post. It’s become a new favorite of mine, and this is the perfect season to light candles, as often as possible.

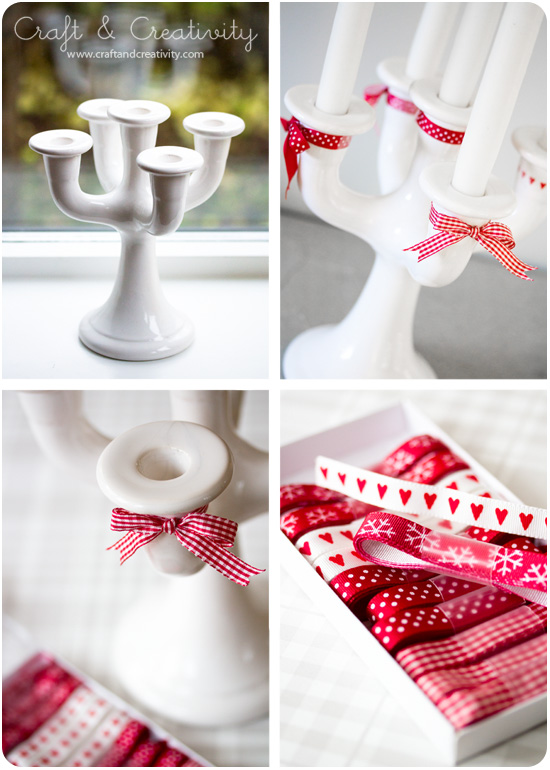
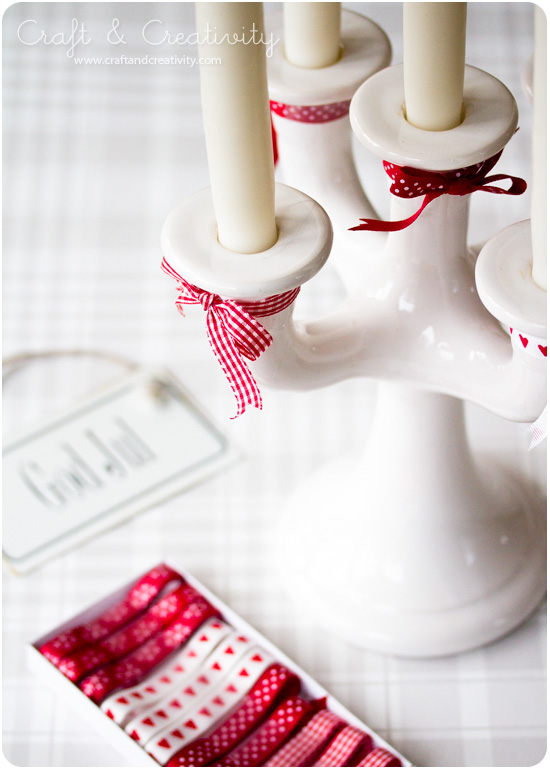
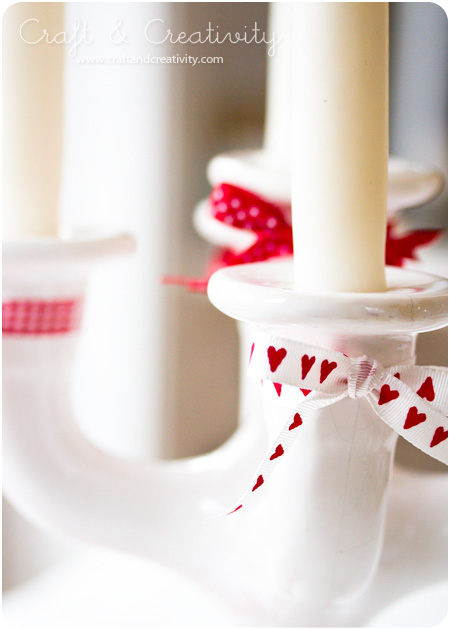
Jag köpte ljusstaken på loppis, för ynka tjugolappen och pyntade till den med dekorationsband från egna butiken. /
I bought the candle holder at a flea market for 20 SEK (2 Euro / 3 USD) and decorated it with ribbons from my own web shop.


Ps. Det syns att dessa bilder är tagna tidigare i veckan, då inte snön hunnit göra trädgården vit och vintrig. 😉 /
Ps. It’s obvious that these pictures were taken earlier in the week, before the snow made the garden all white and wintry. 😉 

Advent i huset – Christmas in the house


Första advent och dags att julpynta huset. Jag pyntar inte överdrivet mycket men plockar fram mina favoriter som är en blandning av gamla och nya saker.
—–
It’s the first Advent before Christmas and time to decorate the house. My favorite Christmas decorations are a mix of old an new stuff. 

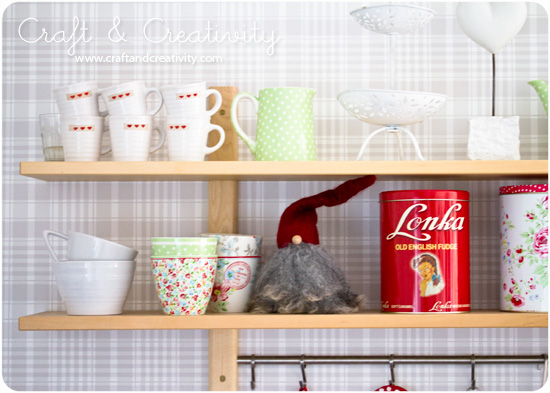
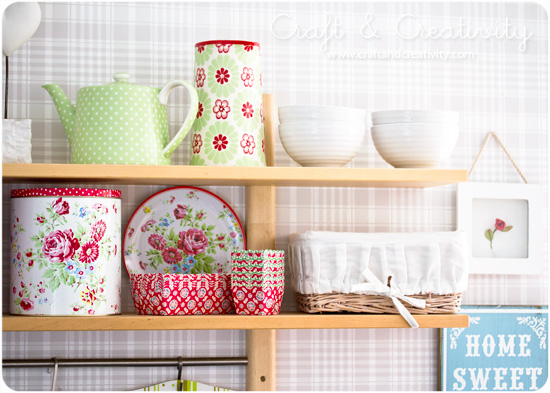
Hyllan i köket ändrar utseende efter säsong. Vissa saker står där året om, som mitt GreenGate och Cath Kidston-porslin. De passar lika bra vår som vinter, tycker jag.

Our kitchen shelf changes look through the seasons. Some of the things have their place there all year round, as my Greengate and Cath Kidston-kitchenware. I think they look nice, winter as well as spring. 


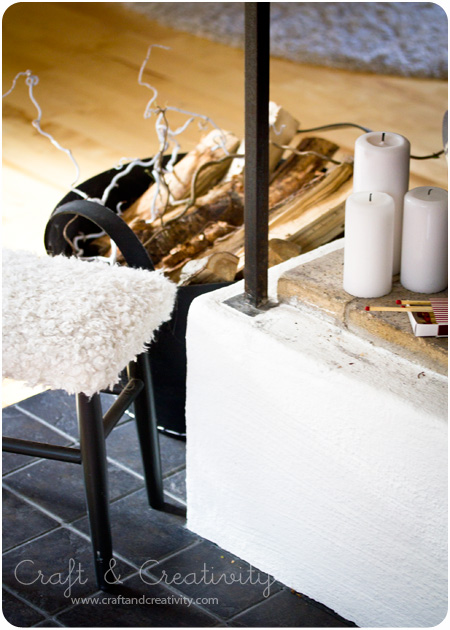
Öppna spisen med blockljus, spraymålad trollhassel och julmattorna är på plats./
The open fireplace with pillar candles and spray-painted witch-hazel.

Jag önskar er alla en riktigt trevlig 1:a advent! För vår del firas den traditionsenligt med julpyssel och julbak hos mamma.
——-
I wish you all a nice first Advent! We will spend it at my mum’s house, baking and crafting for Christmas. As we aways do on this particular Sunday. 

Adventsstjärnor i ny skrud –
Advent star makeover

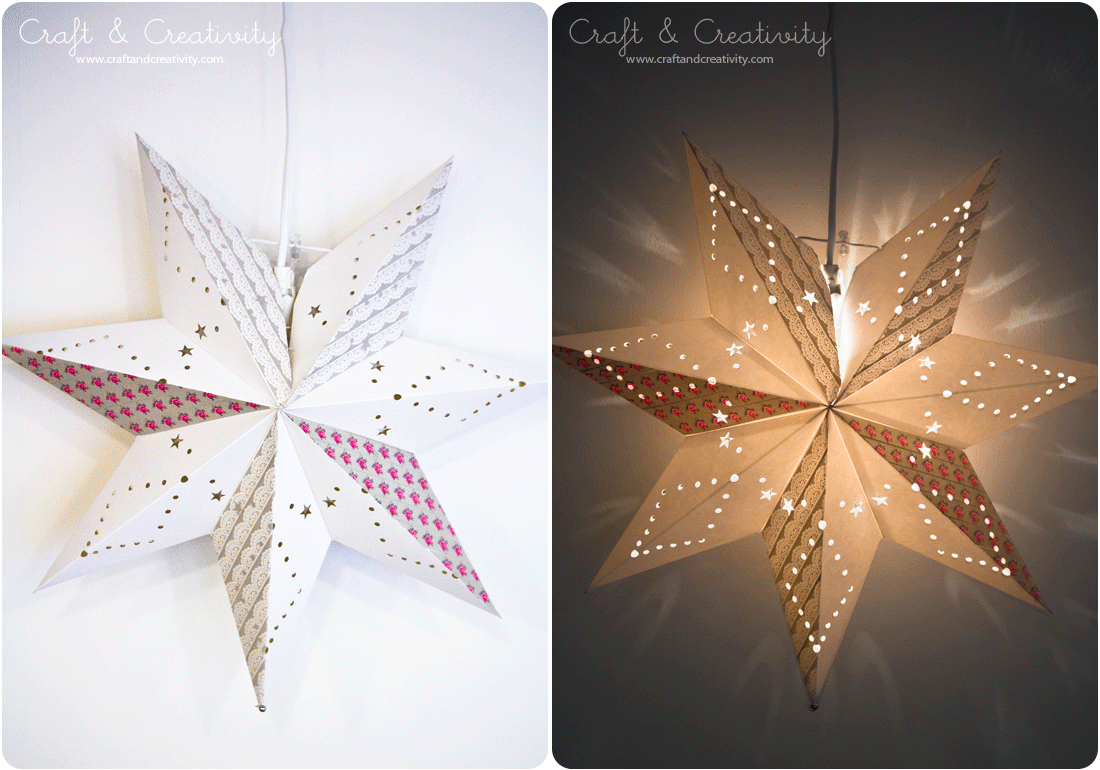
Förra fredagen fick vi fint besök av Karin och hennes dotter Freja från Pysselbolaget. Vi pysslade och bollade idéer tillsammans en hel eftermiddag och kreativiteten sprutade, både bland vuxna & barn. Så roligt! Dessa omgjorda adventsstjärnor är ett av många resultat av denna dag. Idén var att pynta färdiga adventsstjärnor på olika sätt. Antingen köper man nya eller så gör man om gamla som man har hemma.
—–
Last Friday we got a nice visit from Karin and her daughter Freja from Pysselbolaget. We crafted together and exchanged ideas an entire afternoon. There was a flow of creativity in the air, both among us adults and the children. We had so much fun! These pimped Advent stars are one of many result of this day. The idea was to decorate pre-made Advent stars in different ways. You could either buy new ones or use old ones from your stash. 

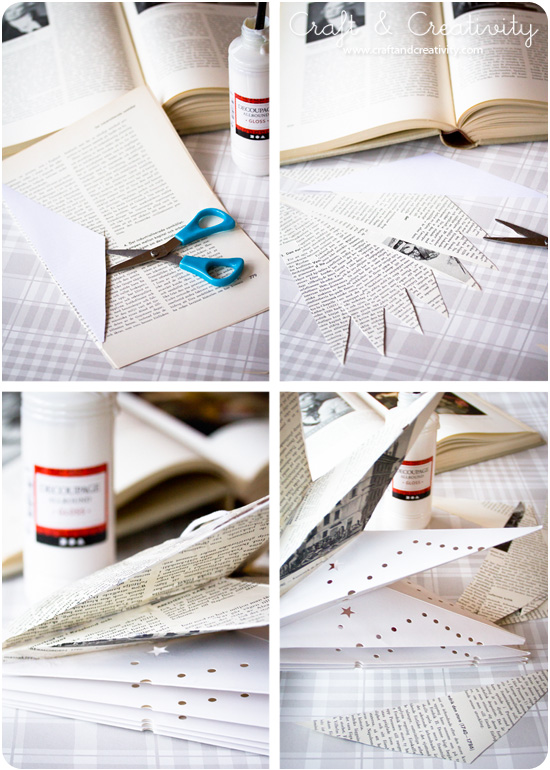
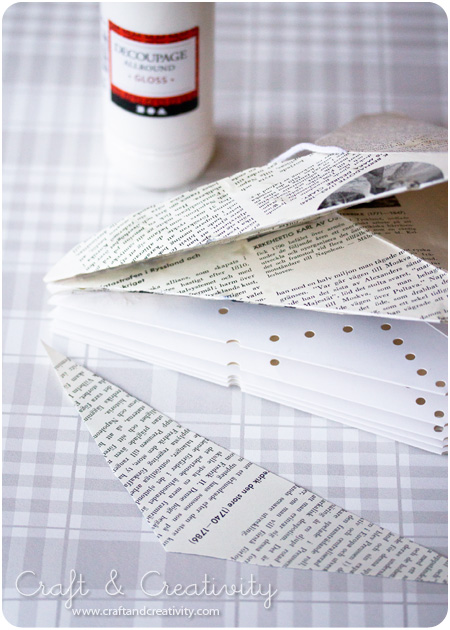
Jag valde att täckte en stjärna med boksidor från en gammal uppslagsbok och limmade och lackade med decoupagelack. Enklast är att börja med att klippa ut en trekantig mall som passar formen av stjärnans udd. Använd sedan mallen för att få rätt form på papperet. Se bilderna ovan. Pensla limmet på stjärnan, lägg papperet på plats och släta ut eventuella ojämnheter med fingrarna. Täck en udd i taget och vänd sedan på stjärnan och ta andra sidan. Blir kanterna ojämna kan du putsa dem med en sax. När stjärnan är helt täckt, lacka ytan med samma decaupagelack som du använde för att limma med. Jag använde blank lack men så här i efterhand hade jag hellre använt den matta varianten. Men det är ju en smaksak.
—–
I chose to cover one star with book pages from an old encyclopedia and used decoupage lacquer (i.e. Mod Podge) for glue and finish. I found that the easiest way is to start by cutting out a triangular template that fit the shape of the points of the star. Then use the template to get the correct shape when cutting the book pages. See the pictures for guidance. Brush decoupage laquer on the star, put the paper in place and smooth out any irregularities with your fingers. Cover one point at a time and then turn the star around and do the other side. If the edges get uneven, you can trim them with a pair of scissors. When the star is completely covered, paint the surface with the same decoupage laquer you used to glue with. I chose the glossy kind, but in retrospect, I would rather have used the matte one. But that’s just a matter of taste. 


A comment for you non-Swedish readers: In Sweden it’s very common to hang these Advent stars in the windows on the first Advent before Christmas. 

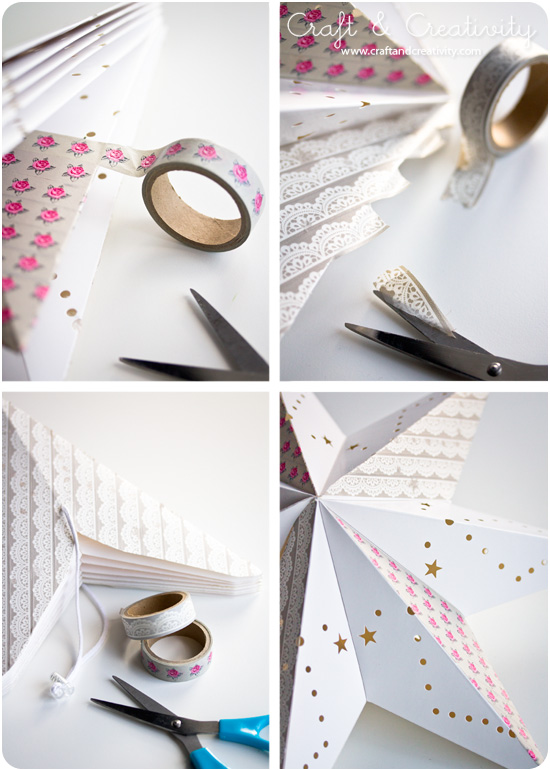
Blinka lilla stjärna. Vår andra stjärna tejpade vi med papperstejp, s k washitejp. Ganska effektfullt det också och mindre kladdigt att jobba med än lim/lack. /
Twinkle twinkle little star. We decorated our second star with paper tape, so called washi tape. Pretty effect-full, and less messy to work with compared to glue/laquer. 

Tejpa hela eller delar av stjärnan. Trimma bort överflödig tejp med en sax och du är klar! Tips: Ta även en titt hos Pysselbolaget och se vad Karin & Freja gjorde med sina stjärnor!
——
Tape the whole or parts of the star. Trim off excess tape with scissors and you’re done! Tip: Take a look at Pysselbolaget and see what Karin & Freya made with their stars!

Idéer för julklappsinslagning –
Christmas gift wrapping ideas

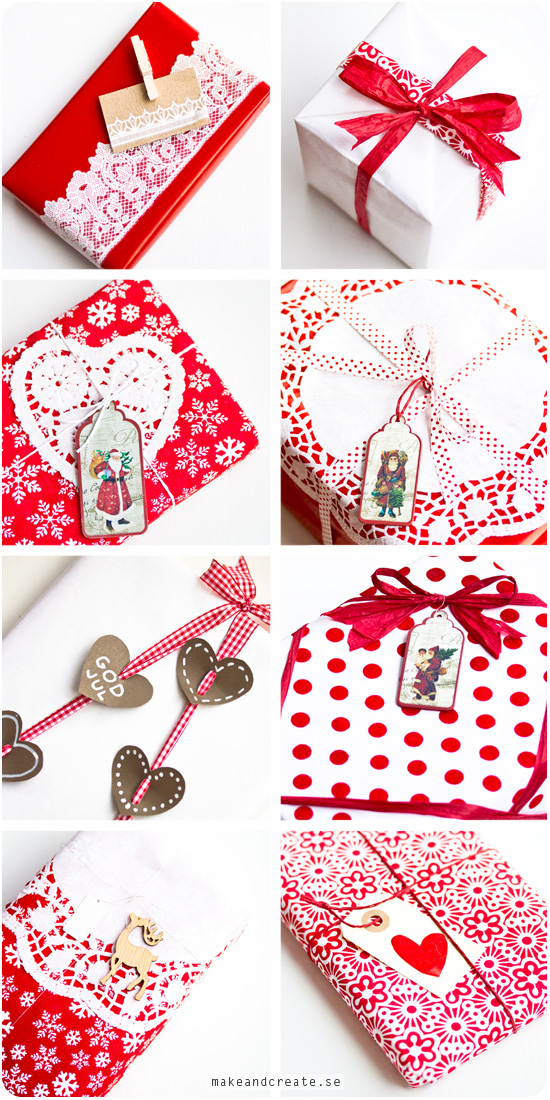
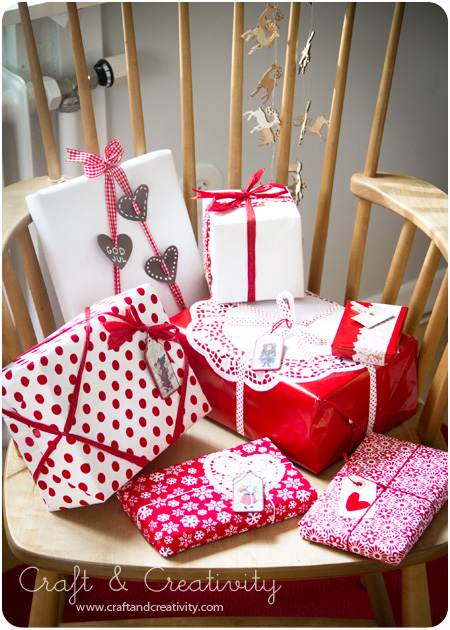
Att slå in julkappar är roligt, om man har lite tid på sig och inte ska slå in alla på samma gång, kvällen innan julafton. Jag tänkte visa er några förslag på inslagningar, i god tid innan jul.

Wrapping Christmas gifts is fun, if you have some time on your hands and don’t have to wrap them all at once the night before Christmas. I thought I would show you some gift wrapping ideas in good time before Christmas. 


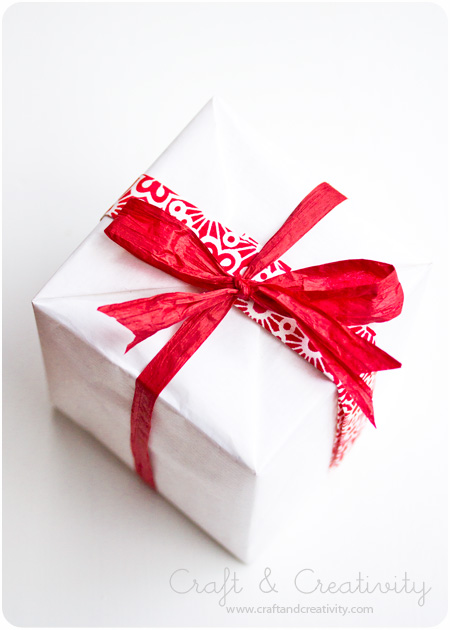
Till vänster ett enkelt rött papper som jag pyntat med en spetsmönstrad gnuggis (rub-on). Kortet är en bit kartong, även den med gnuggmönster på. Jag fäste kortet med en klädnypa med dubbelhäftande tejp under. Det vita paketet till höger har fått en remsa av mönstrat papper som dekoration och ett papperssnöre.
——
To the left, a simple red gift paper decorated with a lace patterned rub-on. The gift tag is a piece of cardboard, also with a piece of rub-on. I attached the card using a clothespin with double sided tape underneath. The the right, I used white paper with a strip of patterned paper and a paper string.


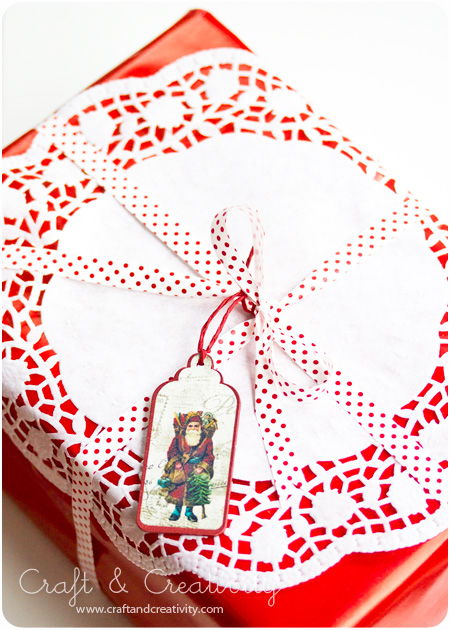
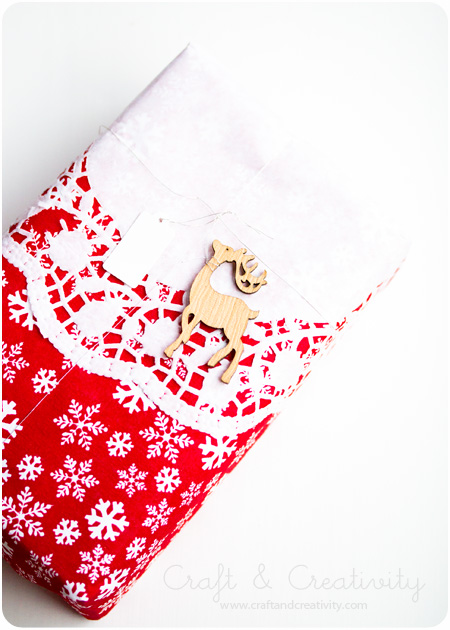
Tårtpapper fungerar väldigt bra på en mörkare bakgrund och min favorit när det gäller julklappsinslagning är den klassiska kombinationen rött och vitt.

Paper doily works very well on a darker colored background and my favorite when it comes to Christmas gift wrapping is the classic combination of red and white.


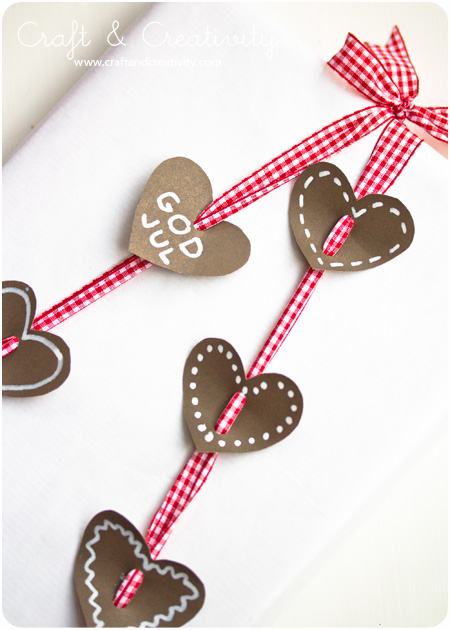
Pepparkakorna är utklippta av brun kartong och som mall använde jag pepparkaksformar. Hålen är gjorda med hålslag och jag har ritat mönster med Hobby Marker som är en vit täckande penna. Jag trädde det rutiga bandet genom hålen och runt paketet. Idén fick jag från ett fotografi taget av Meisi på Flickr. Till höger ett handgjort fint papper med ett enkelt rött band.

The gingerbread cookies are cut from brown cardboard and for template I used a gingerbread cookie cutter. I made holes for the ribbon with a hole punch and drew the icing pattern with a white hobby marker. Finally I threaded the gingham ribbon through the holes and around the package. I got the inspiration from one of Meisi’s pictures on Flickr. To the right a handmade gift wrapping paper with polka dots and a simple red ribbon.


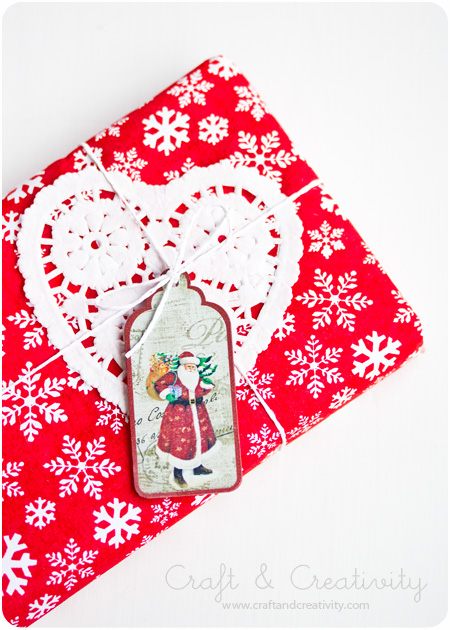
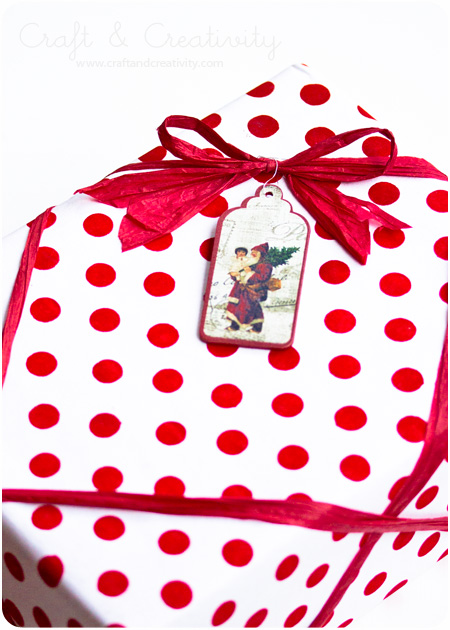
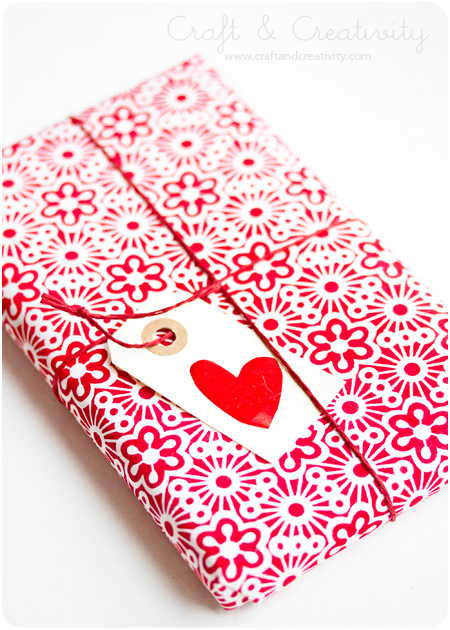
Mer tårtpapper i kombination med röd- och vitmönstrade papper och fina etiketter. Till höger ett manillamärke med ett rött pappershjärta som jag klippt ut och klistrat på.
—-
More paper doily in combination with red and white patterned gift wrapping and pretty tags. I cut and pasted a red paper heart to the manila tag to the right. 

Julgranskulor i papper –
3D paper ball ornaments

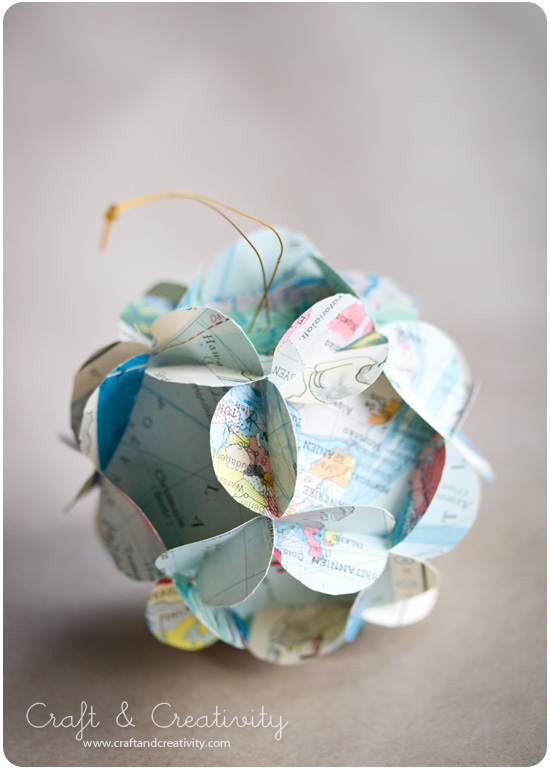
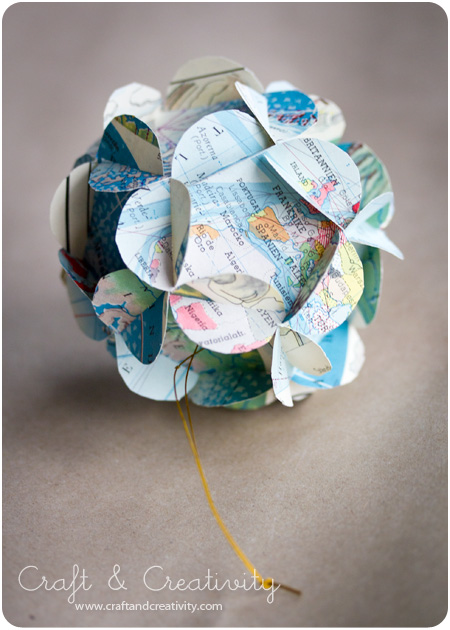
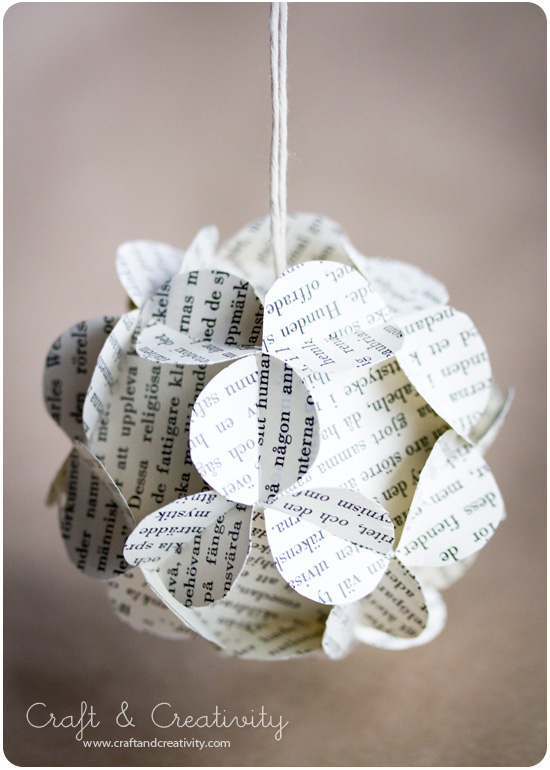
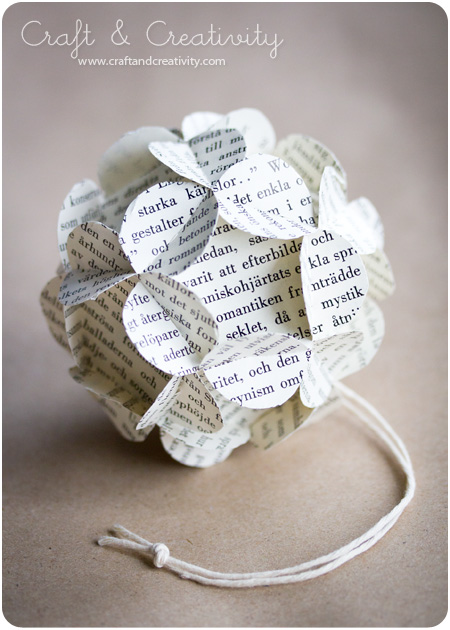
För ett år sedan såg jag en sådan fiffig beskrivning på flätade pappersbollar hos How About Orange. De dyker upp då och då på Pinterest och påmint mig om att de finns där på min mentala vill-pyssla-lista. I helgen skred jag till verket och så här blev resultatet.
——
One year ago, I spotted a clever tutorial on how to make these braided paper balls at How About Orange. These 3D paper balls pop up now and then on various Pinterest boards, and have reminded me that they are on my mental to-craft-list. This weekend I actualized my plan and here’s the result. 


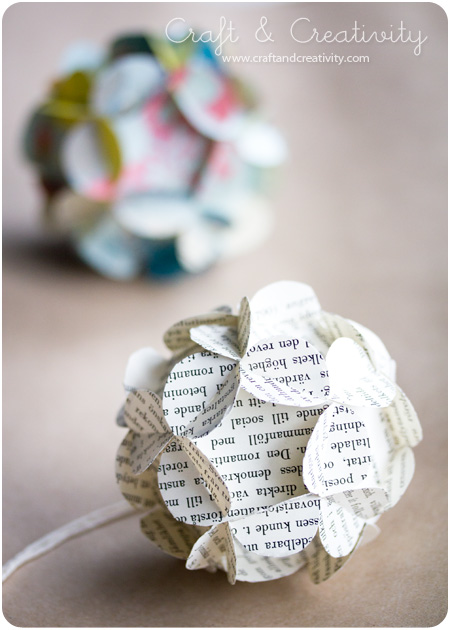
Kulan till vänster är saxad ur en gammal loppisfyndad uppslagsbok och den till höger ur en gammal kartbok. Återvinning till 100%. Jag tänkte att de kan vara fina att hänga i granen. /
The ball on the left is cut out from an old encyclopedia I found at the flee market and the one on the right from a vintage atlas. 100% recycling. I thought they might look nice hanging in the Christmas tree.


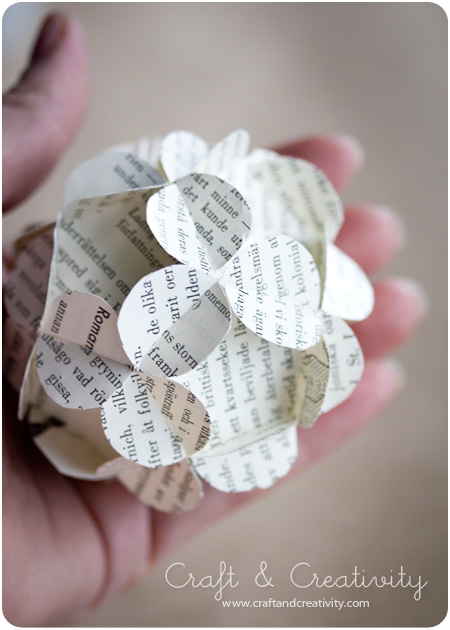
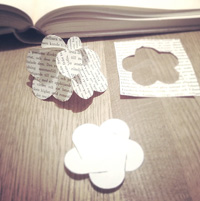
Mallarna ser ut som blommor Jag skrev ut mallen för den minsta pappersbollen och då blev min boll ca 8 cm i diameter. Det finns två större mallar också om man vill göra lite maffigare bollar. De var inte alls svåra att göra. För att göra en boll behöver man tolv “blommor” och för att effektivisera så lade jag mallen på boksidorna och klippte två i taget.  Det finns tydliga och bra instruktioner på How About Orange där du även laddar ner mallarna i pdf-format.
——–
The templates look kind of like flowers. I printed the templates for the smallest paper ball and mine turned out to be about 3 inches (8 cm) in diameter. There are two larger sizes of templates available to print if you want to make lager ones. Thea are not at all difficult to make. You will find excellent instructions over at How About Orange, where you also can download the templates. 

Washitejpad julgran –
Washi taped Christmas tree

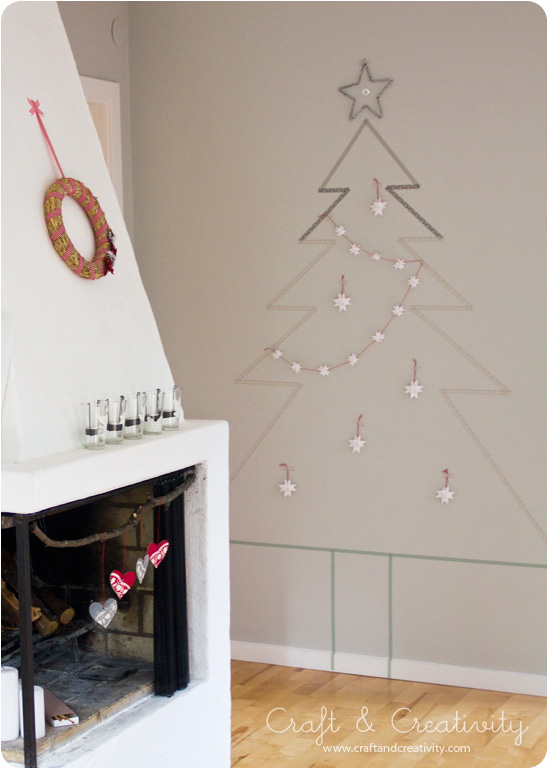
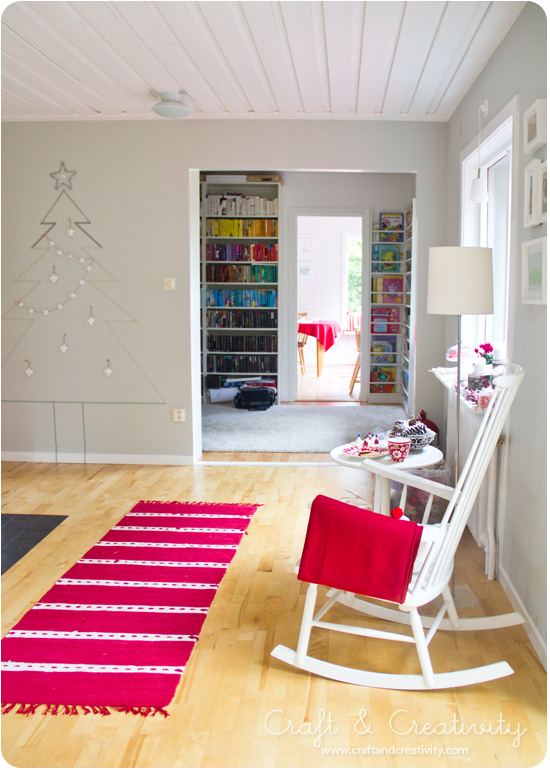
Har man inte plats för en julgran hemma eller helt enkelt vill slippa alla fallande barr så kan man tejpa upp en gran istället. Om inte annat för är det en kul grej. Washitejp (japansk papperstejp) är lätt att ta bort och lämnar inga märken. Svårast var att få granen någorlunda symmetrisk… måttstock är att rekommendera.

If you don’t have room for a real Christmas tree or if your tired of needle-drop, you can tape up a tree instead. if for no other reason, it looks kind of fun. Washi tape (japanese masking tape) is easy to remove doesn’t leave marks. The most difficult thing was to get the tree somewhat symmetrical … I recommend a yardstick.

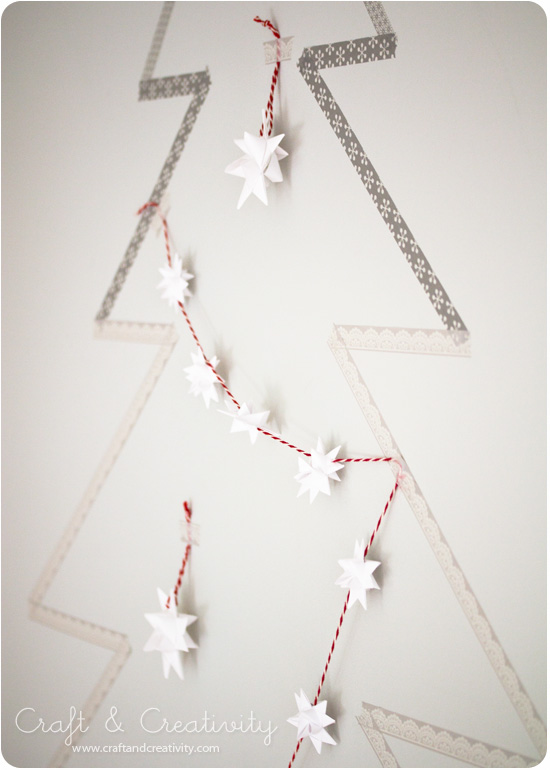
Jag pyntade min gran med de pappersstjärnor som jag vek ihop förra julen. /
I decorated my tree with those paper stars I folded last Christmas.

Vy från vårt vardagsrum, genom biblioteket och in i köket. /
The view from our living room, through the library and into the kitchen.

Enkel julkrans –
Simple Christmas Wreath

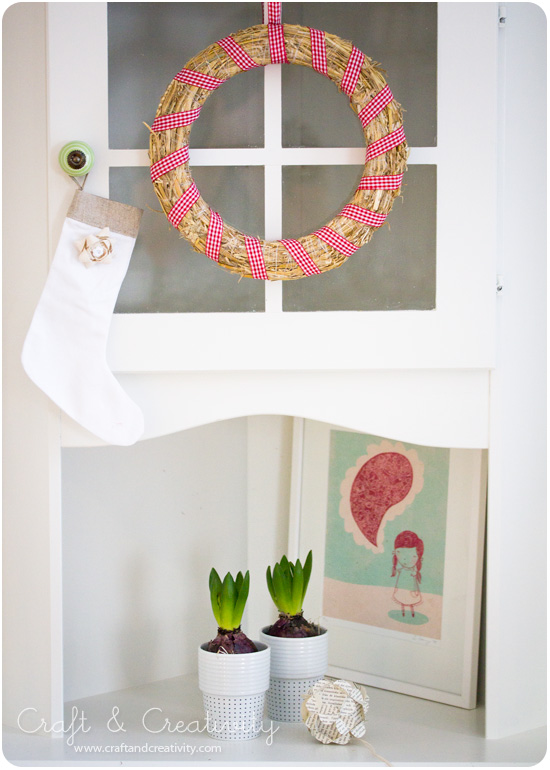
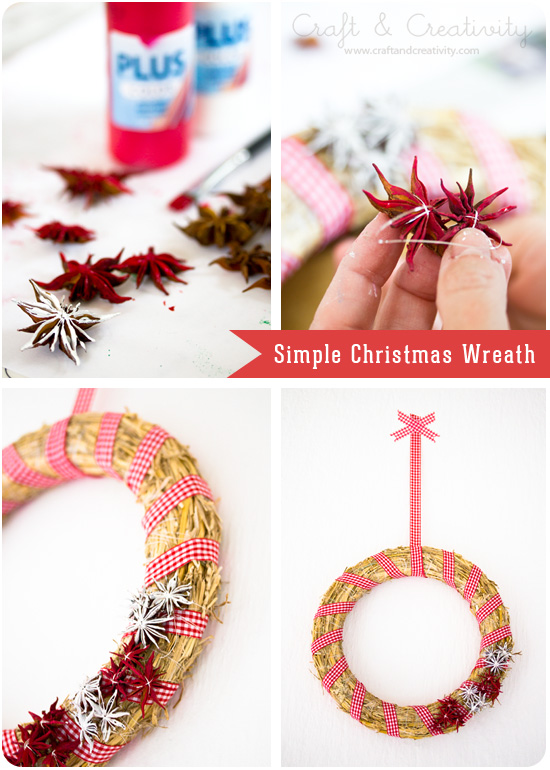
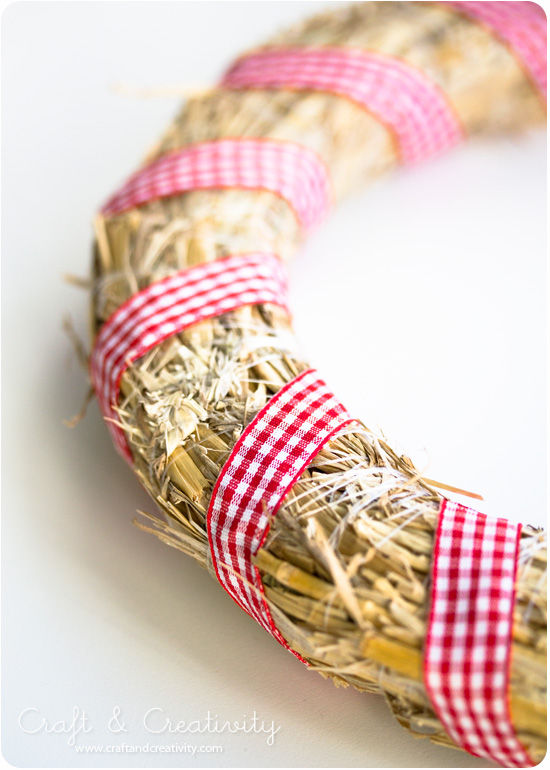
Ett enkelt och snabbt sätt att göra en julkrans är att knyta ett fint band runt en färdig halmkrans. Vill man pynta ytterligare kan man fästa kottar eller anisstjärnor runt kransen med metalltråd. Anisstjärnorna kan man antingen låta vara naturella eller måla dem med lite röd och/eller vit hobbyfärg.

A simple and quick way to make a Christmas wreath is to tie a nice ribbon around a pre-made straw wreath. If you wish to decorate further, you can attach cones or anise stars to the wreath and fixate with wire. You can either keep the anise stars natural, or paint them with some white and/or red hobby paint. 

Polkagrisar av piprensare –
Pipe cleaner candy canes


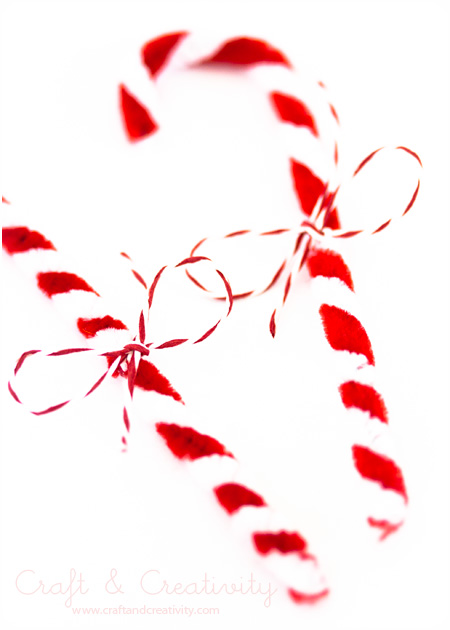
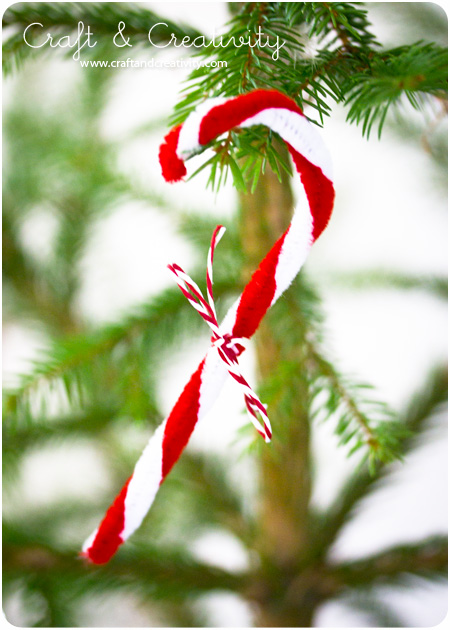
Att göra dessa polkagrisar är superlätt. De går visserligen inte att äta men de är söta som socker att hänga i granen. /
Making these candy canes is super easy. Although not eatable they are surely sweet enough to hang in the Christmas tree. 


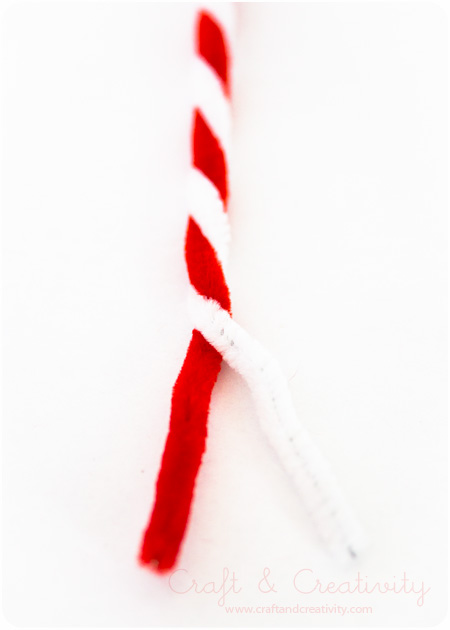
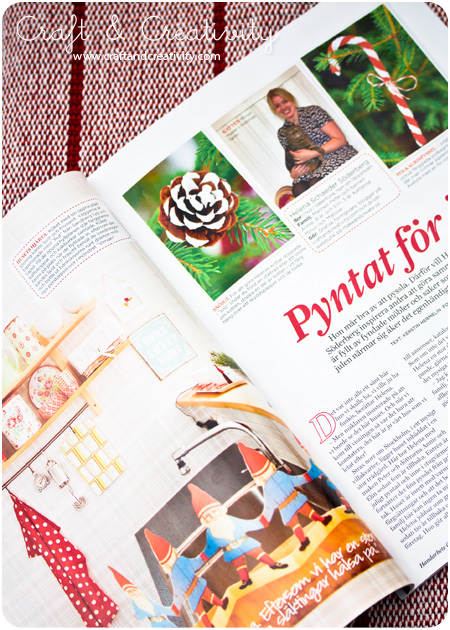
Du behöver två piprensare, en vit och en röd. Vira den ena runt den andra och forma som en polkagris. Sätt ett litet snöre runt och gör en rosett. Polkagrisarna är för övrigt ett av de pyssel som visas i julreportaget från hemma hos mig i senaste numret av Expressens bilaga Handarbete & Pyssel. 🙂
—–
You will need two pipe cleaners, one white and one red. Wrap one around the other and form a candy cane. Wrap a small piece of string around and make a bow. My candy canes were featured in the latest issue of the Swedish magazine Handarbete & Pyssel (Handiwork & Crafts), among other Christmas crafts I made for this article. 🙂

Pärlade julhängen – Beaded ornaments

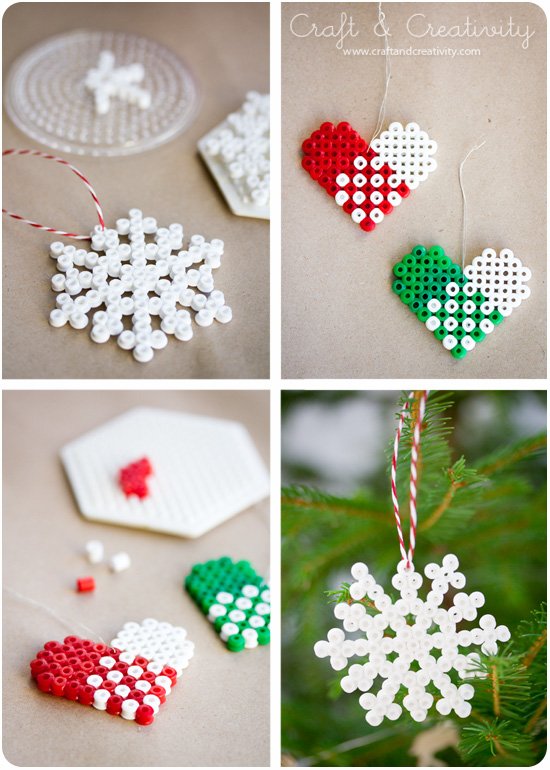
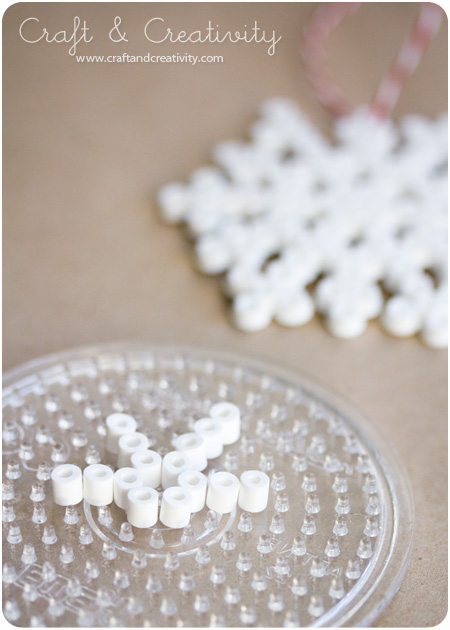
Pärlade julhängen är ett perfekt julpyssel att göra tillsammans barn.
Du behöver: Plastpärlor (även kallade rörpärlor/indianpärlor), pärlplattor, bakplåtspapper, strykjärn och ett snöre för upphängning.
—-
Beaded christmas ornaments is the perfect Christmas craft to make together with kids. 
You will need: Plastic beads (also called ironing beads or perler beads), pegboards, iron, parchment paper and a string for hanging. 


Komponera ditt motiv och när du är klar lägger du bakplåtspapper ovanpå pärlorna på pärlplattan och stryker med varmt strykjärn tills pärlorna smält samman. Stryk båda sidor av motivet om du vill att det ska bli mer stabilt. Låt svalna. Fäst ett snöre eller metalltråd som snöflingan/hjärtat kan hänga i. Tips på mönster på snöflingor kan du hitta på bloggen Heodeza, där jag fick inspiration till detta pyssel.
—–
Create your pattern and when you’re done, place the parchment paper on top of the beads on the pegboard. Use a preheated iron and run it in a circular motion until the beads have fused together. Iron both sides of the ornament if you want it more stabile. Let it cool. Attach a string or wire for hanging your snowflake / heart. Ideas for snowflake patterns can be found at the blog Hoedeza, where I got the inspiration for this craft.